How to Remove Push Fit Plumbing: Step-by-Step Guide for DIY Repairs
How to Remove Push Fit Plumbing: Step-by-Step Guide for DIY Repairs
To remove push-fit plumbing, start by isolating and draining the circuit. Gather essential tools like disconnect keys, release rings, a tubing cutter, and safety gear. For metal or plastic pipes, use a disconnect tool to compress the collet and twist, or cut out the pipe segment. Deburr the edges and either reuse the couplers or fit new ones. Follow further steps to test the connections, troubleshoot any issues, and reassemble the plumbing.
What Push Fit Plumbing Is and When Removal Is Necessary
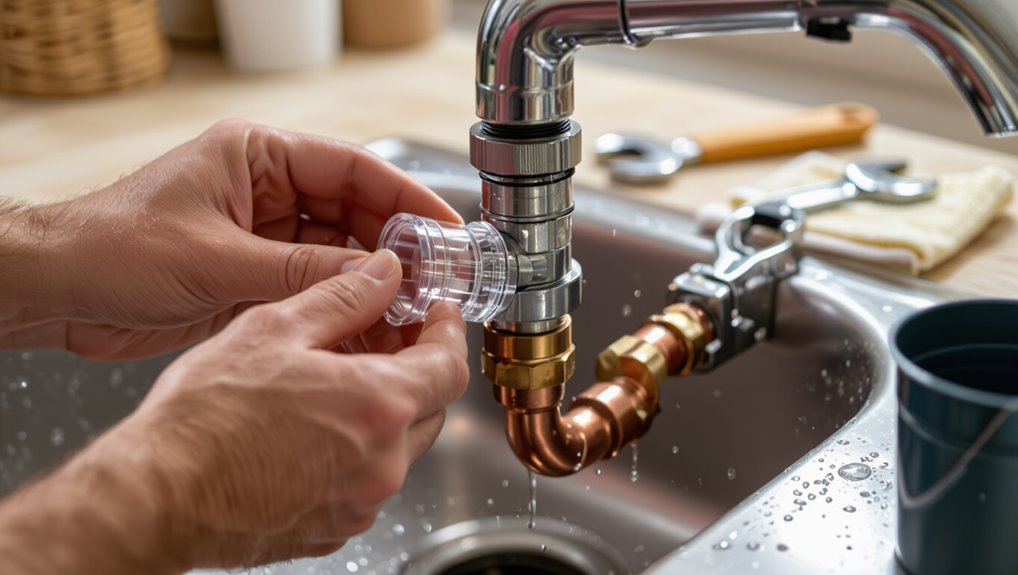
Push fit fittings use a rubber O‑ring and stainless steel teeth or a collet to grip and seal standard pipe materials, with common types including push-to-connect plastic and metal variants.
Removal becomes necessary when seals fail, leaks occur, sections must be replaced, or the system is reconfigured.
Understanding the mechanism and typical failure scenarios helps determine the correct removal technique.
How push fit fittings work (mechanism and common types)
Pressing a pipe into a push-fit fitting creates an immediate, tool-free joint by compressing an internal O-ring and engaging a toothed metal grab ring that locks the pipe in place.
Common types include straight couplers, elbows, tees and stop-ends, made for copper, PEX or plastic.
Understanding seals, grab-ring action and release collars aids decisions about how to remove push fit plumbing.
Situations that require removing push fit fittings (repairs, replacements, leaks, reconfigurations)
Recognizing when a push-fit connection must be removed starts with identifying practical needs: a leaking joint, damaged pipe, planned reconfiguration, or the need to replace a worn or incompatible fitting.
Additional triggers include persistent corrosion, intermittent faults under pressure, installation errors, or upgrades to meet code.
Removal facilitates reliable repairs, component swaps, re-routing, and prevention of water damage when troubleshooting proves necessary.
Tools and Materials Needed for Safe Removal
A concise list of essential hand tools and any specialty removal tools frames the practical work required.
The writer also notes the importance of having replacement fittings, pipe lengths, and sealants ready to avoid delays.
Finally, a brief safety gear and preparation checklist guarantees the task proceeds without injury or accidental damage.
Essential hand tools and specialty removal tools
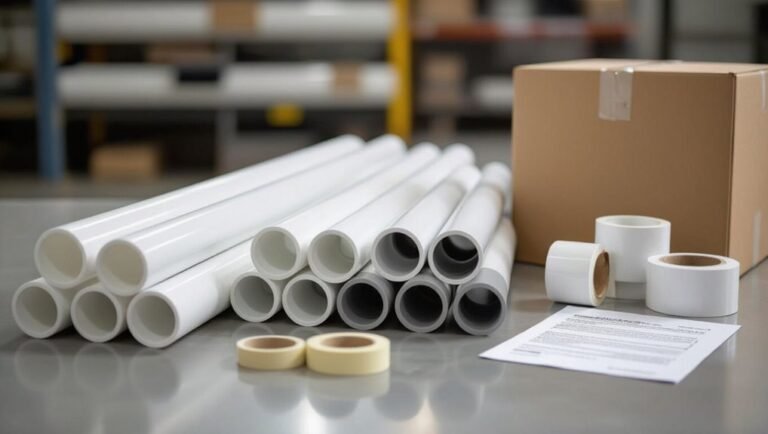
Tools and materials must be organized before work begins to guarantee safe, efficient removal of push-fit plumbing.
Essential hand tools include adjustable wrenches, slip-joint pliers, tubing cutters, utility knife, and a deburring tool.
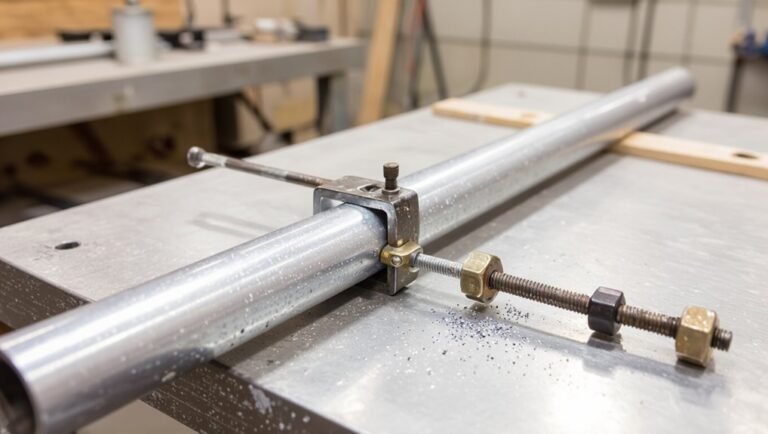
Specialty removal tools—push-fit disconnect keys, internal release rings, and strap wrenches—simplify disengagement without damage.
A flashlight and magnetic tray aid visibility and hardware control.
Replacement parts and materials to have on hand
After gathering hand and specialty removal tools, the next step is to assemble replacement parts and consumables that are likely to be needed during push-fit plumbing removal and reassembly.
Stock extra push-fit couplers, straight and elbow fittings, appropriate-diameter pipe sections, O-rings, silicone grease, PTFE tape, pipe cutters’ replacement blades, and compression olives.
Include spare clamps and small hose segments.
Safety gear and preparation checklist
Several essential safety items and preparatory steps should be checked and laid out before beginning push-fit plumbing removal.
The technician examines the work area, isolates water, ventilates the space, and organizes tools. Personal protection and containment reduce risk and simplify reassembly.
- Safety glasses, gloves, and kneepads
- Bucket, towels, and absorbent pads
- Adjustable wrenches and release tool
- Flashlight and inspection mirror
Pre-Removal Preparations
Before any fittings are touched, the water should be shut off and the section drained in a clear, step-by-step sequence to prevent spills.
The affected run must be isolated and nearby fixtures protected to avoid damage or contamination.
A close inspection of the fitting and pipe condition will determine whether a simple pull, compression release, or cutting method is required.
Shutting off water and draining the system step-by-step
Turn off the main supply and isolate the affected circuit to prevent water flow into the work area; then relieve pressure and drain any remaining water from fixtures and pipes.
Open highest and lowest taps, flush toilets, and operate nearby valves to expel trapped water. Use buckets and towels for residual moisture.
Verify dryness with a cloth before beginning push-fit removal to avoid leaks and water damage.
Isolating the affected section and protecting surrounding fixtures
Isolate the specific pipe run by closing nearby isolation valves and, if available, capping off branch lines to prevent backflow from adjacent circuits.
Place absorbent towels and a drip tray beneath the fitting.
Protect nearby fixtures, finishes, and flooring with plastic sheeting and tape.
Label valves and leave access clear for quick re-isolation.
Keep basic tools and a bucket within reach.
Inspecting the fitting and pipe condition to choose removal method
A careful inspection of the push-fit joint and adjoining pipework determines the safest and most effective removal method.
The inspector checks for corrosion, cracks, deformation, residue, and pipe material compatibility. They note age, previous repairs, and tightness of the fitting.
Based on findings, they decide between pull-out, cutting, or use of release tools, ensuring replacement materials match existing pipe specifications.
Step-by-Step Methods to Remove Different Types of Push Fit Fittings
The section outlines specific, step-by-step techniques for removing push fit fittings from different pipe materials and situations.
It covers methods for copper, plastic (PVC/CPVC), and PEX connections, plus strategies for working in tight or hidden spaces.
Each method emphasizes the tools, motions, and precautions needed for a clean, damage-free removal.
Removing push fit fittings from copper pipe
Two common approaches for removing push-fit fittings from copper pipe are outlined.
Method A uses a brass or plastic spanner tool to release the grab ring without cutting the pipe.
Method B involves cutting the pipe and replacing the fitting with a coupling when the spanner method is not viable.
Method A Using a brass or plastic spanner tool
Slide the brass or plastic spanner tool onto the push-fit collar so it seats evenly against the fitting, then twist and pull to disengage the retaining clip and free the copper pipe.
Maintain steady pressure, avoid angling the tool, and rotate clockwise or counterclockwise as needed.
Once released, withdraw the pipe straight out, inspect seals, and clean the tail for reuse or replacement.
Method B Cutting the pipe and using a coupling replacement
If the spanner tool method fails or the fitting is damaged, cutting the copper pipe and replacing the push-fit with a coupling offers a reliable alternative.
Shut water, mark accessible straight lengths, then cut squarely with a pipe cutter.
Deburr and clean pipe ends, slide on an appropriate sized compression or push-fit coupling, align, and secure per manufacturer instructions.
Test for leaks and restore service.
Removing push fit fittings from plastic (PVC/CPVC) pipe
Removing push-fit fittings from PVC or CPVC requires care to avoid scoring or cracking the plastic.
One common approach uses removal clips combined with a push-and-twist motion to disengage the O-ring and slide the fitting off; another option is to cut out the fitting and replace the damaged section with new fittings and solvent- or mechanical-joined pipe.
The choice depends on access, pipe condition, and whether a permanent repair or temporary removal is needed.
Method A Pushing and twisting technique with removal clips
Begin by locating the collar of the push-fit on the PVC/CPVC pipe and positioning the removal clip so its prongs sit evenly behind the fitting’s release ring; this allows a controlled push-and-twist motion that disengages the O-ring without damaging the pipe.
Apply steady axial pressure, rotate slightly, then slide the fitting off.
Inspect the pipe end for scratches and debris before reuse.
Method B Cutting and rejoining with new fittings
When the push-and-twist release with clips is impractical—such as when the collar is damaged, the pipe end is deeply scored, or the fitting is seized—cutting out the affected section and installing new push-fit components becomes the preferred approach.
Mark and cut straight sections clear of damage, deburr and square the pipe ends, dry-fit new fittings, then press fully home.
Test for leaks and trim if needed.
Removing push fit fittings from PEX pipe
When removing push-fit fittings from PEX, two practical approaches are commonly used.
Method A employs dedicated removal or puller tools designed to release the fitting without damaging the tubing.
Method B removes the fitting and restores the line by cutting back the pipe and installing a new connection with crimp or clamp fittings.
Method A Using removal/puller tools designed for PEX
To remove a push-fit fitting from PEX using a dedicated removal or puller tool, position the cutter or collar so it seats against the fitting’s release ring.
Then apply steady pressure while twisting or pulling as specified by the tool’s instructions.
Work slowly to disengage the retaining teeth, protect the pipe from scoring, then withdraw the fitting.
Inspect and deburr the PEX before reuse.
Method B Cutting and crimping/clamping a new connection
Cut the PEX a short distance back from the push-fit fitting, square the end with a proper cutter, then remove any remaining fitting material and prepare the pipe for a new crimp or clamp connection.
Slide on a stainless steel clamp or position a copper crimp ring, insert the fitting fully, verify depth with a marker or gauge, then compress evenly and trim excess.
Test for leaks.
Removing push fit fittings from tight or hidden spaces
Removing push fit fittings in confined or hidden locations often requires creative access techniques and the use of flexible removal tools to reach and release the collet.
The guide explains when minimal obstruction with angled or extendable cutters and pick tools suffices, and when it is safer to remove surrounding panels or fixtures for proper access.
Clear criteria are provided to help decide whether the extra work of disassembly is warranted to avoid damage and guarantee a secure reassembly.
Access techniques and using flexible removal tools
Accessing push-fit fittings hidden behind cabinets, under floors, or inside wall cavities requires planning and the right flexible tools to avoid unnecessary demolition.
Use inspection cameras, flexible grabbers, and thin wrenches or collar-release tools designed for confined spots.
Support piping with long-reach pliers or strap wrenches, work incrementally, and protect surrounding surfaces with foam sleeves or tape to prevent damage.
When to remove surrounding panels or fixtures
When is it worth taking panels or fixtures off to reach a push-fit joint?
Removal is justified when access is restricted, repeated attempts risk damage, or leaks require clear sightlines.
If panel removal is quicker than dismantling adjacent pipework, or if fixtures block tool insertion, remove them.
Confirm power, water isolation, and cosmetic planning before detaching to simplify reassembly and prevent surprises.
How to Replace or Reconnect After Removal
After removal, the next step is selecting the correct replacement fitting—matching material, size, and connection type to the existing system.
The condition of the pipe ends determines whether they can be reused or need cutting and re-preparation before installing a new push-fit, compression, or soldered joint.
Once reconnected, the system should be pressure-tested and inspected for leaks to confirm a secure seal.
Choosing the correct replacement fitting type
Although various factors determine the best replacement, selecting the correct fitting type hinges on pipe material, diameter, pressure rating, and anticipated permanence of the repair.
The technician matches fitting families—compression, soldered, threaded, or push-fit—to system specs.
Consider chemical compatibility, temperature limits, and local code approval.
Opt for durable materials and ratings exceeding operating conditions to guarantee a reliable, code-compliant reconnection.
Preparing pipe ends for reuse vs. replacement
Begin by evaluating the condition of the exposed pipe ends to determine whether they can be reused or must be replaced.
Inspect for corrosion, scoring, deformation, cracks, or excessive burrs. Measure wall thickness and roundness.
Clean and deburr lightly if within specifications; otherwise cut back to sound material.
Verify remaining length meets connection requirements and that surfaces are smooth, square, and free of contaminants before proceeding.
Installing new push fit, compression, or soldered connections
Select the appropriate fitting type and confirm compatibility with the prepared pipe ends, material (copper, PEX, CPVC, or copper-clad), and system pressure before making any connections.
Follow manufacturer instructions: push fully until the visual stop for push-fit, tighten compression nuts with support and avoid overtightening, or flux and solder copper joints with proper heat and capillary technique.
Cut, deburr, and secure as required.
Pressure testing and checking for leaks after reconnection
Once reconnected, the system must undergo a controlled pressure test to verify joint integrity and detect leaks before full service is restored.
Isolate sections, pressurize to recommended PSI using a gauge and pump, then monitor for pressure drop over a specified period.
Visually inspect joints, feel for dampness, and use leak-detection fluid or soapy water.
Depressurize slowly and repair any faults found.
Common Problems During Removal and How to Fix Them
Removal can present seized fittings that require escalating techniques from basic twisting and cutting to heat or section replacement.
Damaged pipe ends should be assessed and repaired with couplers, sleeves, or shortened and replaced sections as appropriate.
After reassembly, careful testing and proper sealing methods prevent and address leaks promptly.
Stuck or seized fittings escalation steps
When push-fit fittings refuse to budge, escalate methodically to avoid damaging pipework or connectors; a stepped approach moves from simple manual techniques to more involved mechanical or chemical options depending on resistance and material.
Begin with firm grip and twisting motion, then apply penetrating lubricant and gentle heat if appropriate.
Use proper pull tools or pipe grips next; consult a pro before forceful cutting or excessive torque.
Damaged pipe ends repair options (couplers, sleeves, replacement)
Assess damaged pipe ends quickly to choose the appropriate repair: short nicks or slightly deformed copper or plastic can often be corrected with internal sleeves or compression couplers, while crushed, considerably corroded, or jagged cuts usually require replacing the section and using a repair coupling or push-fit replacement piece.
Match material and bore size, deburr and square the cut, then secure with the chosen coupler or sleeve.
Avoiding and addressing leaks after reassembly
After repairing or replacing damaged ends and securing couplers, leaks can still appear after reassembly if seals, alignment, or pressure checks are overlooked.
Inspect O-rings, re-seat fittings evenly, and tighten to manufacturer torque; test with low pressure before restoring full flow. If leakage persists, disassemble and replace seals or couplers.
- Check O-rings for cuts or displacement
- Verify pipe alignment and full engagement
- Use soapy water for leak detection
- Gradually increase system pressure while monitoring
Time-Saving Tips and Best Practices for DIYers
Practical time-saving tips help DIYers choose the right tools—including multi-use alternatives like adjustable wrenches and tubing cutters—to streamline push-fit removal.
Emphasizing techniques that protect pipes and fittings, such as controlled force and proper support, reduces the risk of damage and follow-up repairs.
Clear criteria for when to call a professional, like complex joints, corroded fittings, or lack of proper tools, guide safer decision-making.
Tool selection tips and multi-use alternatives
Choose tools that prioritize function and durability over specialty branding: a compact pipe cutter, a quality set of adjustable pliers, a deburring tool, and a heat-resistant rag cover the majority of push-fit removal tasks.
Prefer multi-use items—adjustable pliers for gripping and twisting, a combined deburr/countersink, and a compact folding saw.
Invest in corrosion-resistant finishes and comfortable grips for repeated use.
How to prevent damage to pipes and fittings during removal
Work methodically to minimize nicks, deformation, and wasted fittings by preparing the work area, using the right tools, and following proven removal steps.
Support pipes to avoid flexing, mark orientations for reassembly, score and remove burrs, and retract clips evenly.
Use padded grips and clean connection faces.
Inspect seals and replace any damaged O-rings or sleeves before reinstallation to guarantee leak-free joints.
When to call a professional plumber
When should a homeowner stop DIYing and call a professional plumber?
A professional is advisable for persistent leaks, extensive corrosion, hidden or difficult-to-access fittings, damaged mains or soil stacks, failed seals after multiple attempts, or uncertain diagnosis.
Also call if local code permits require licensed work, or if time constraints, lack of proper tools, or risk of water damage make a DIY fix impractical or unsafe.
Cost and Materials Comparison
A brief cost comparison outlines typical expenses for DIY removal and replacement, including replacement fittings, pipe, and basic tools.
The analysis weighs material and labor savings of replacing fittings against the lower immediate cost but potential longevity issues of repairing existing push-fit joints.
This information helps determine when replacement is more cost-effective than repair for a given installation.
Typical costs for DIY removal and replacement
Budget considerations drive most DIY decisions for removing and replacing push-fit plumbing fittings. Typical costs include tools, replacement fittings, and incidental supplies; labor is omitted. Estimates vary by material and complexity; homeowners usually spend modestly.
| Item | Typical Cost |
|---|---|
| Basic tool set | $20–$50 |
| Replacement fittings | $2–$10 each |
| Sealant/tape | $3–$8 |
| Miscellaneous | $5–$15 |
Pros and cons of replacing vs. repairing existing fittings
Although repair can preserve existing connections and often costs less upfront, replacing push-fit fittings typically offers greater long-term reliability and predictable material costs.
A decision weighs short-term savings against future leak risk, labor time, and warranty coverage.
Consider material quality, tool needs, downtime, and disposal when choosing between repair and replacement.
- Immediate cost savings
- Longevity and warranty
- Tool and material requirements
- Downtime and disposal
Visual Guide and Reference Diagrams
The article presents clear diagrams showing common push-fit fitting types and the typical removal points to watch for.
Accompanying photos outline a concise, step-by-step checklist for a standard removal and replacement.
Readers are directed to compare images with their own installations before proceeding.
Common push fit fitting types and removal points
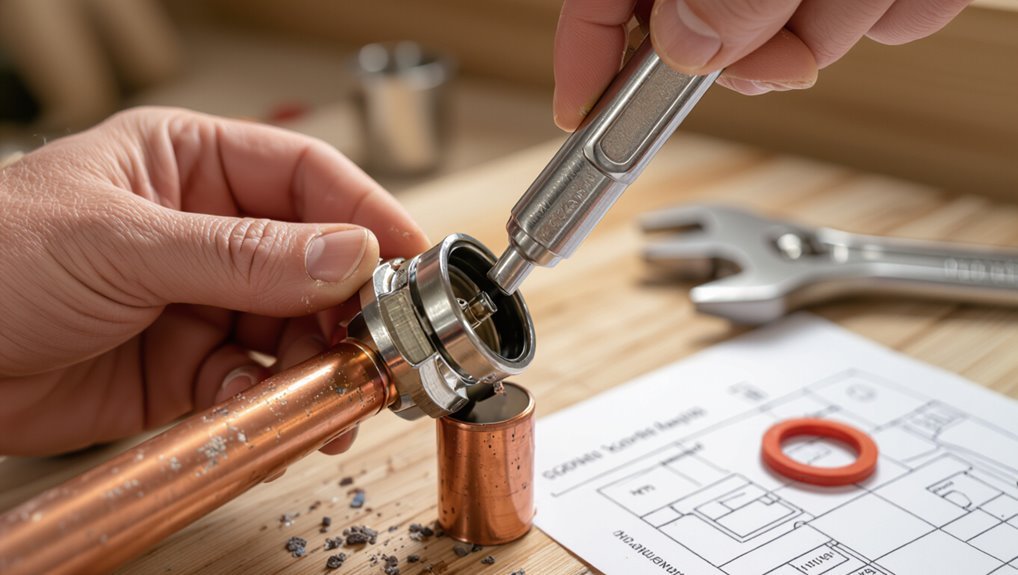
A concise visual guide identifies the most common push-fit connector types—straight couplers, elbows, tees, reducers, and stop-ends—and pinpoints the typical release locations: the collar or release ring around the pipe entry, the O-ring seal inside the socket, and the grab-ring teeth behind the collar.
Diagrams label each part, show pipe insertion depth, and mark removal access points for tool engagement and hand release.
Step-by-step photo checklist for a typical removal and replacement
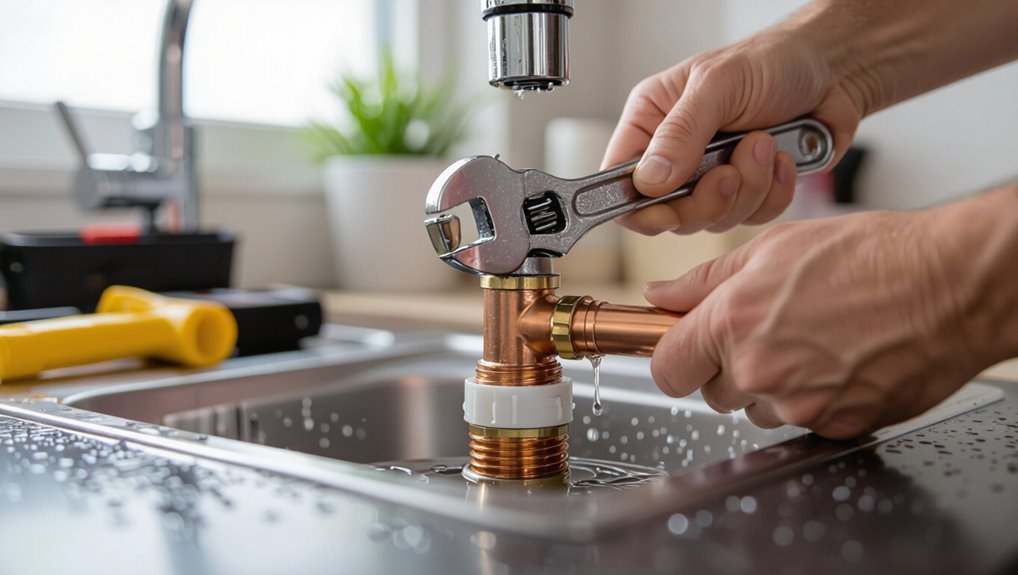
Begin by laying out the components, tools, and safety gear on a clear work surface and photographing them from multiple angles to establish a visual inventory; include the pipe run, push-fit fitting, quick-release collar, grab-ring, lubricant, cutter, and disengagement tool so each subsequent step can be matched to a reference image.
Next photograph: marked cut locations, released collar action, pulled pipe end, cleaned seat, new fitting alignment, and final leak test.
Conclusion
Conclusion: After examining whether push-fit fittings truly resist removal beyond advertised ease, the evidence supports a nuanced truth: many are designed for secure, permanent-to-semi-permanent use yet yield to correct technique and tools. A methodical approach—isolating water, using release collars or wedge tools, and cutting when necessary—resolves most cases. DIYers who respect manufacturer cues and practice patience will reliably remove and replace fittings without damage, debunking the myth that push-fit equals irreversible plumbing.