How to Stop Dripping Noise From Your Air Conditioner: Quick Fixes and When to Call a Pro
If you’re hearing a steady dripping noise from your air conditioner, it’s likely due to a clogged condensate drain, a full or misaligned drain pan, or loose components. To resolve this, turn off the system, inspect the drain pan and line, and clear any blockages using a wet/dry vac or diluted bleach. Additionally, replace any dirty filters and tighten loose parts. If problems persist, or if you suspect leaks or refrigerant issues, it’s essential to contact an HVAC professional. For detailed troubleshooting steps, safety tips, and guidance on when to seek expert help, continue reading.
Why Your Air Conditioner Is Making a Dripping Noise
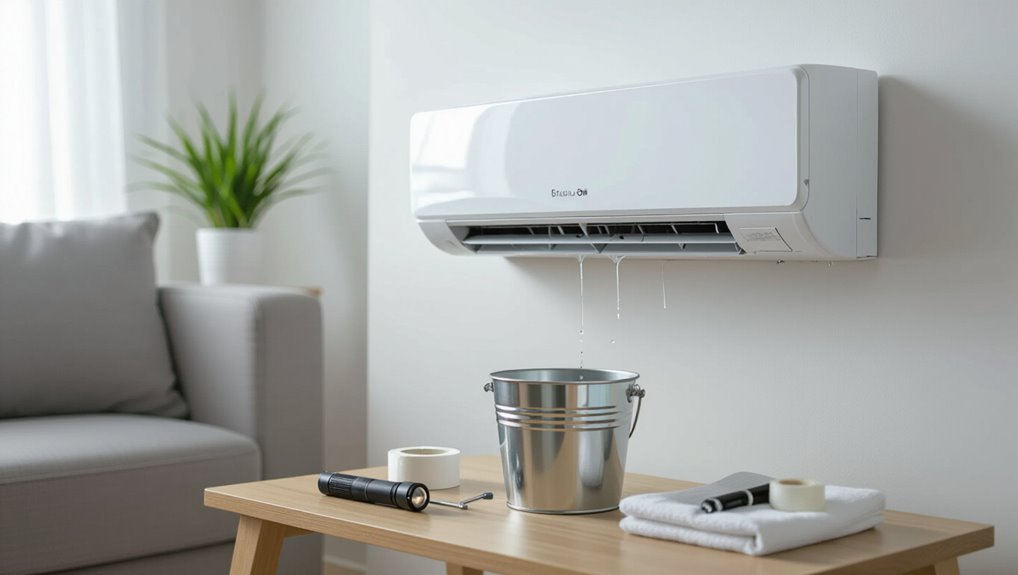
A dripping noise in an air conditioner commonly stems from condensate drain pan overflow, a clogged condensate line, or refrigerant-related issues.
It can be distinguished from hissing, rattling, or gurgling by its regular, rhythmic plinks and location near the indoor evaporator or drain area.
Sometimes the sound signals a minor maintenance task like clearing a blockage, while persistent or irregular dripping may indicate a leak or refrigerant problem requiring professional inspection.
Common causes of dripping or water-like sounds
When an air conditioner emits a steady dripping or water-like sound, it often signals issues with condensate management, such as a clogged drain line, a full pan, or improper drainage causing condensate to overflow or drip onto components.
Other causes include loose internal parts or refrigerant-related hissing that can mimic dripping.
Technicians advise checking drain lines, pans, and mounting; homeowners search how to stop dripping noise from air conditioner.
How to distinguish dripping noise from other AC noises (hissing, rattling, gurgling)
How can one tell a true dripping from other common AC noises? A dripping sound is distinct: regular, soft, liquid-impact taps often near the indoor unit or drain line.
Hissing implies refrigerant leaks or airflow; rattling signals loose panels or fan issues; gurgling reflects condensate movement in clogged drains.
Timing, location, and rhythm help isolate the source.
When a dripping noise indicates a minor issue vs. a serious problem
If the dripping sound comes in a steady, predictable pattern and is localized near the drain pan or condensate line, it typically signals a minor issue such as normal condensate falling into the pan, a slightly misaligned drain, or a small splash from intermittent compressor cycling.
Conversely, irregular, loud, or persistent drips accompanied by reduced cooling, water pooling, or musty odors point to more serious problems like a clogged drain, damaged pan, or refrigerant-related condensation that require prompt inspection and repair.
Regular checks, simple cleaning, and tightened fittings often resolve minor causes; persistent symptoms warrant professional diagnosis to prevent water damage and system failure.
Quick Visual and Safety Checks Before You Start
Before inspecting for noise sources, the technician guarantees the system is powered down and follows basic safety precautions to prevent shock or injury.
A small set of tools and supplies—screwdriver, flashlight, gloves, and a bucket or rags—are gathered and kept nearby.
The initial visual check covers the indoor unit, outdoor compressor, condensate line, and drain pan for obvious obstructions, leaks, or damaged components.
Turn-off and safety precautions
When preparing to work on an air conditioner, power must be fully disconnected and the unit visually inspected for obvious hazards.
The technician guarantees the breaker is off, disconnects any remote power sources, and waits for capacitors to discharge.
Protective gloves and eye protection are used.
Confirm no water leaks or unstable panels, and keep bystanders clear until work is complete.
Tools and supplies to have on hand
A concise kit of basic tools and safety supplies should be assembled and inspected prior to any work on the air conditioner; this allows quick visual and safety checks to proceed without interruption.
Recommended items: flashlight, insulated screwdrivers, adjustable wrench, needle-nose pliers, shop vacuum or wet/dry vacuum attachment, rubber gloves, safety glasses, multimeter, and a small bucket or towels for collecting condensate.
Where to inspect first (indoor unit, outdoor unit, condensate line, drain pan)
With tools assembled and safety checks verified, the technician begins a quick visual and safety inspection of the system in a predictable order: indoor unit, outdoor unit, condensate line, then drain pan.
The indoor check looks for leaks, loose panels and clogged filters. Outside focuses on pooling, damaged fins or refrigerant lines.
The condensate line and drain pan are checked for blockages, corrosion, and proper slope.
Fast DIY Fixes to Stop Dripping Noise
Addressing dripping noises can often be quick and satisfying with a few targeted DIY steps that restore normal operation and quiet.
Common fixes include clearing the condensate line, servicing the filter and drain pan, and securing or leveling components to stop water from pooling and splashing.
- Relief at last: a quiet, drip-free home.
- Confidence regained: simple tasks, clear results.
- Frustration avoided: restore order with a few checks.
Clear or flush a clogged condensate drain line
Flush the condensate drain line to eliminate blockages that cause dripping and gurgling noises from an air conditioner.
A syringe or wet/dry vacuum removes standing water and debris through the access port. Follow with a mild bleach solution or enzyme cleaner to dissolve algae, then flush with water until clear.
Inspect the trap and restart the unit; repeat maintenance regularly to prevent recurrence.
Clean or replace a dirty air filter
After clearing the condensate line, attention should turn to the air filter, a common source of dripping or gurgling sounds when clogged.
Inspect the filter monthly; disposable types should be replaced, washable filters cleaned with mild soap and dried fully.
A dirty filter reduces airflow, causes excess condensation and noise.
Restoring proper filtration often eliminates dripping sounds and improves system efficiency.
Empty and reposition or replace a full or damaged drain pan
Check the drain pan for standing water, rust, cracks, or misalignment, since a full or damaged pan is a frequent cause of dripping and gurgling noises.
If water is present, carefully empty it and inspect for holes.
Reposition the pan to sit level beneath the coil; replace it if warped or corroded.
Testing after adjustment confirms the noise is resolved.
Tighten or secure loose components and drain connections
Tightening loose screws, clamps, and fittings often silences dripping and gurgling by stopping vibration and restoring proper drain alignment.
Inspect mounting brackets, condensate lines, trap connections, and pan fasteners. Use appropriate screwdrivers, pliers, or new clamps to snug but not overtighten.
Replace corroded hardware. Confirm secure routing to prevent movement; test for continued noise and leaks before finishing.
Level the indoor unit or outdoor condenser
If securing loose fittings and realigning drain lines reduced rattles but dripping persists, the next step is to confirm that the indoor evaporator or outdoor condenser sits level.
A tilted unit misdirects condensate, causing pooling and intermittent drip sounds. Use a small level, adjust mounting brackets or pad shims, and retest.
If the frame is warped or adjustment fails, contact a technician.
Insulate exposed refrigerant or condensate lines to prevent condensation
Because exposed refrigerant and condensate lines collect moisture and drip as they cool, insulating them stops water formation and the resulting drip noise.
Use closed-cell foam insulation sized to the pipe, secure with foil tape or zip ties, and seal seams.
Replace deteriorated insulation promptly. Proper insulation reduces condensation, prevents corrosion on lines, and minimizes audible drips without affecting system performance.
Check and adjust condensate pump operation (if applicable)
Inspect the condensate pump for proper operation and alignment, since a malfunctioning or misadjusted pump often causes periodic gurgling or dripping noises.
Confirm power, test the float switch, and clear inlet and discharge lines of debris.
Adjust mounting so the pump sits level and the outlet slopes correctly.
Replace faulty check valves or the pump if it cycles irregularly or fails to evacuate condensate.
Troubleshooting by Location
Troubleshooting by location helps isolate the source of dripping and other noises for targeted fixes.
Inspectors should check the indoor evaporator coil area, condensate drain and pan, and refrigerant lines and insulation for telltale signs like leaks, blockages, or rubbing.
The outdoor unit also merits inspection for water sounds that mimic dripping and for loose or clogged components.
Indoor evaporator coil area signs and fixes
The indoor evaporator coil area often produces distinct sounds and related signs that point to specific causes; recognizing these helps direct effective fixes.
Hissing or bubbling suggests refrigerant issues or airflow over wet coil surfaces. Rattling or vibration points to loose panels or mounting. Frosting causes gurgling when melting.
Recommended fixes: tighten mounts, clean coils, replace filters, check blower function, and schedule HVAC technician for refrigerant or complex faults.
Condensate drain and pan signs and fixes
After addressing sounds from the evaporator coil area, attention turns to the condensate drain and pan, common sources of gurgling, dripping, and overflowing noises.
Inspect for standing water, rust, algae, or loose piping. Clear clogs with a wet/dry vacuum or vinegar flush, tighten fittings, and replace cracked pans.
If frequent backups or corrosion recur, recommend professional drain-line cleaning or pan replacement.
Refrigerant lines and insulation signs and fixes
Inspect refrigerant lines and their insulation for signs of wear, vibration noise, or coolant leaks that can produce hissing, rattling, or ice formation.
Damaged insulation or loose clamps allow lines to vibrate against framing, causing noise and energy loss.
Replace torn foam sleeves, secure clips, and add cushioning where lines contact metal.
Suspected leaks or persistent sounds warrant a certified HVAC technician.
Outdoor unit issues that sound like dripping
Listen for a steady, rhythmic drip coming from the outdoor condenser, which often signals water-related issues rather than internal mechanical failure.
Pooled water, clogged condensate drains, or blocked refrigerant coil pans cause dripping sounds. Check for debris, uneven mounting, and damaged drain lines.
Tighten loose panels and clear vegetation. If leaks persist or electrical components are wet, advise contacting a licensed HVAC technician.
When to Apply Temporary Fixes vs. Permanent Repairs
When immediate relief is needed, simple temporary measures—such as tightening loose panels, adding weatherstripping, or placing a vibration pad—can reduce noise quickly.
Homeowners can attempt permanent fixes like replacing worn bearings, rebalancing or replacing fan blades, and securing or insulating ductwork when they have the right tools and skills.
Postponing proper repair can worsen damage, raise energy use, and increase long‑term costs.
Quick temporary measures to reduce noise immediately
Apply quick temporary measures when immediate noise reduction is needed but the underlying cause is not yet diagnosed or a permanent fix must wait; these stopgap actions—like tightening accessible screws, placing vibration-absorbing pads under the outdoor unit, or securing loose panels—provide immediate relief while safety and long-term repair plans are arranged.
Additionally, gently reposition hoses away from contact points and drape a towel to muffle intermittent drips.
Permanent solutions homeowners can attempt
After using temporary measures to quiet an air conditioner and buy time for diagnosis, homeowners can pursue permanent repairs that address root causes and prevent recurrence.
Typical actions include replacing damaged drain pans, releveling units, repairing condensate drain lines, tightening or replacing loose fan mounts, and installing vibration isolators.
Routine coil cleaning and professional refrigerant checks complete durable solutions that limit future dripping and noise.
Risks of postponing proper repair
Although temporary fixes can silence an air conditioner for a short time, delaying proper repairs increases the chance of more extensive damage, higher energy costs, and safety hazards.
Neglected leaks cause corrosion, mold, compressor failure, and refrigerant loss.
Short-term patches suit emergencies only; planned, permanent repairs restore efficiency, prevent recurring noise, protect indoor air quality, and avoid costlier replacements.
Act before symptoms worsen.
Diagnostic Checklist to Identify the Root Cause
A concise checklist guides the reader through confirming symptoms and gathering evidence before repairs begin.
- Reproduce the noise and check airflow; note leaks, water, or icy lines to provoke concern.
- Inspect drainage, refrigerant lines, and insulation; record observations for the technician.
Step 1: Reproduce and observe the noise
Begin by reproducing the noise under controlled conditions so its characteristics—timing, pitch, location, and triggering actions—can be clearly documented; this creates a reliable baseline for diagnosis.
Observe from multiple positions (near unit, ductwork, and room). Note whether sound coincides with cycles, thermostat changes, or condensate movement, and record with phone or audio device for later comparison and technician review.
Step 2: Check airflow and cooling performance
Inspect airflow and cooling performance systematically to determine whether noise originates from restricted airflow, failing components, or normal operational sounds.
Measure vent airflow, check filter cleanliness, confirm thermostat settings and temperature differentials across evaporator coils.
Listen for abnormal motor, compressor, or fan noises during operation.
Note uneven cooling, frequent cycling, or reduced output—these indicate mechanical or airflow faults requiring service rather than drainage issues.
Step 3: Inspect drainage and water accumulation
With airflow and cooling performance evaluated, attention should turn to drainage and water accumulation, common sources of gurgling, dripping, or hissing noises.
Inspect the condensate pan for cracks, rust, or standing water.
Check the drain line and trap for clogs, algae, or kinks.
Verify the condensate pump (if present) cycles properly.
Note any leaks and document their location for repair.
Step 4: Verify refrigerant line condition and insulation
Examine the refrigerant lines and their insulation for signs of wear or damage, since compromised lines frequently cause rattling, hissing, or excessive sweating noises.
Check for brittle, missing, or compressed foam, oil stains indicating leaks, and loose clamps contacting framing.
Note areas where metal vibrates against surfaces.
Minor insulation repairs reduce noise and condensation; suspected leaks require professional refrigerant service.
Step 5: Record findings for a technician
After noting refrigerant-line issues—insulation condition, oil stains, loose clamps, and points where metal contacts framing—the next step is to compile those observations into a concise diagnostic checklist for the technician.
Document unit model, noise timing, location, photos, and timestamps. Note visible damage, recent repairs, and homeowner troubleshooting attempted.
Prioritize safety hazards and recommend urgent attention if leaks, oil, or exposed wiring are present.
Costs, Parts, and Time Estimates for Common Repairs
Costs and time estimates help prioritize fixes and decide between DIY and professional service. The table below summarizes common parts, typical cost ranges, and expected labor time or difficulty level. Readers can use these figures to set a budget and plan the repair timeline.
| Item / Task | Cost range & time |
|---|---|
| Fan motor replacement — $150–$450; 1–3 hours; moderate | |
| Capacitor replacement — $20–$100; 15–45 minutes; easy–moderate | |
| Compressor replacement — $1,200–$3,500; 4–8+ hours; professional only | |
Typical repair or replacement items and average cost ranges
Typical repairs for noisy air conditioners tend to fall into a few predictable categories—loose or damaged fan blades, worn bearings or motors, failing compressors, refrigerant leaks, and deteriorated mounting hardware—each with characteristic parts, labor times, and cost ranges.
Common parts: blades ($20–100), fan motors ($100–400), bearings ($15–80), compressors ($400–1,500+), refrigerant recharge or repair ($150–600), mounts/isolators ($10–70).
Estimated labor time and DIY difficulty levels
A concise estimate of labor time and DIY difficulty helps homeowners decide whether to attempt a repair or call a technician.
Common tasks:
- unclogging drain pans (15–30 minutes, easy)
- replacing condensate pumps (1–2 hours, moderate)
- fixing loose panels or insulation (30–60 minutes, easy)
- replacing fan motors or compressors (2–6 hours, advanced).
Include safety, basic tools, and permit considerations when evaluating DIY suitability.
Signs You Should Call a Professional HVAC Technician Immediately
Persistent dripping that continues after basic DIY fixes, or water leaks that threaten ceiling, wall, or electrical damage, warrant immediate professional attention.
Suspected refrigerant leaks or compressor malfunctions also require an HVAC technician to diagnose and repair safely.
Recurrent condensate pump or drainage system failures are another sign that timely professional service is needed.
Persistent dripping after DIY fixes
Noticeable dripping that continues after common DIY fixes signals a problem beyond simple clogging or a loose drain pan.
Persistent leakage despite cleaning, unclogging, or tightening suggests damaged condensate lines, corroded pans, failed condensate pumps, or refrigerant-related issues.
A professional HVAC technician can diagnose hidden faults, perform safe repairs, and prevent recurring moisture problems that DIY attempts may miss.
Water leaks causing ceiling/wall damage or electrical risks
When water leaks begin to stain ceilings, warp drywall, or pool near electrical fixtures, immediate professional intervention is required because these signs indicate a risk of structural damage and fire or shock hazards.
A certified HVAC technician can locate the source—condensate line blockages, drain pan failure, or improper unit installation—and perform safe repairs, drying, and electrical inspections to prevent further damage and liability.
Suspected refrigerant leaks or compressor problems
Detecting hissing sounds, oily residue on lines, rapid loss of cooling, or the outdoor unit running constantly are clear indicators of a possible refrigerant leak or failing compressor and warrant immediate professional attention.
A technician will pressurize and dye-test the system, evaluate compressor operation and electrical components, and perform safe refrigerant recovery and repair.
Prompt service prevents equipment damage, unsafe refrigerant exposure, and higher energy costs.
Recurrent condensate pump or drainage system failures
Recurrent condensate pump or drainage system failures manifest as frequent overflow alarms, water pooling around indoor equipment, foul odors from drain lines, or persistent dripping despite attempted DIY fixes.
These signs indicate a risk of water damage, mold growth, and electrical hazards and require immediate professional HVAC intervention.
A technician will diagnose pump motor faults, clogged or collapsed lines, improper slope, or float switch failures and perform repairs or replacements.
What to Expect When a Pro Arrives
When a professional arrives, they will run standard diagnostics—visual inspection, airflow and refrigerant checks, and vibration and electrical tests—to pinpoint the noise source.
The technician will ask about the noise’s onset, frequency, and any recent maintenance, and will expect details about model, age, and past repairs.
All findings, recommended fixes, and parts/warranty information should be documented in a written estimate or work order for the owner to review.
Typical diagnostic steps and tests a technician will perform
A technician begins by observing the unit’s overall condition and listening for the noise while the system runs to pinpoint its source.
They inspect drain lines, pan, condensate pump and fittings, checking for clogs, cracks, or improper slope.
Refrigerant levels, blower operation, and vibration points are measured; airflow and condensate removal are tested.
Findings determine repair or replacement actions.
Questions the technician may ask and information to provide
After completing a visual and operational inspection, the technician will ask targeted questions to gather context and narrow possible causes.
Questions include when the dripping started, frequency, location, recent maintenance, filter age, and symptom triggers.
The technician may request access to condensate pans, ducts, and exterior unit, and ask about past repairs, water stains, or odors to prioritize tests and recommend fixes.
How repairs are documented and warranties to request
Technicians typically document repairs with a written work order that lists diagnosed issues, parts replaced, labor hours, and any recommended follow‑up. This record becomes the basis for billing and warranty claims.
The technician should provide itemized invoices, manufacturer part warranties, and a labor guarantee.
Homeowners should request warranty durations, start dates, coverage limits, and contact information for future service and escalation.
Preventive Maintenance to Avoid Future Dripping Noises
Preventive maintenance reduces the chance of recurring dripping noises and extends system life. Suggested actions include a simple homeowner schedule, seasonal checks before and after heavy use, and timely professional tune-ups:
- A clear routine that prevents surprises and worry
- Quick seasonal inspections that restore confidence
- Professional visits scheduled before peak demand to avoid emergencies
Following these steps helps catch issues early and keeps the unit quiet.
Recommended maintenance schedule for homeowners
A simple, regular maintenance schedule helps homeowners prevent future dripping noises by ensuring condensate lines, drain pans, and condensate pumps stay clear and functional; recommended tasks include monthly filter checks, quarterly inspections of drain lines and pan condition, and annual professional tune-ups to catch wear, leaks, or blockages before they cause audible problems.
Homeowners should log tasks, address minor issues promptly, and replace worn parts as advised.
Seasonal tasks: pre-summer and post-summer checks
Vigilance before and after the cooling season reduces the risk of condensate-related noises and extends system life.
Homeowners should clear outdoor coils, inspect drain pans and condensate lines for blockages, verify proper slope and secure drip pans, replace clogged filters, and check condensate pump operation.
Document observations and address minor issues promptly to prevent dripping sounds and costly repairs during peak use.
When to schedule professional tune-ups
After homeowners complete pre- and post-season checks—clearing coils, inspecting pans and lines, and replacing filters—they should schedule professional tune-ups on a predictable timetable to catch issues that simple inspections miss.
Annual inspections prevent clogged drains, loose fittings, and refrigerant imbalances that cause dripping.
Biannual service is advisable in humid climates or for older systems; request condensate-line cleaning, pan replacement if corroded, and diagnostic testing.
Quick Reference Troubleshooting Flowchart
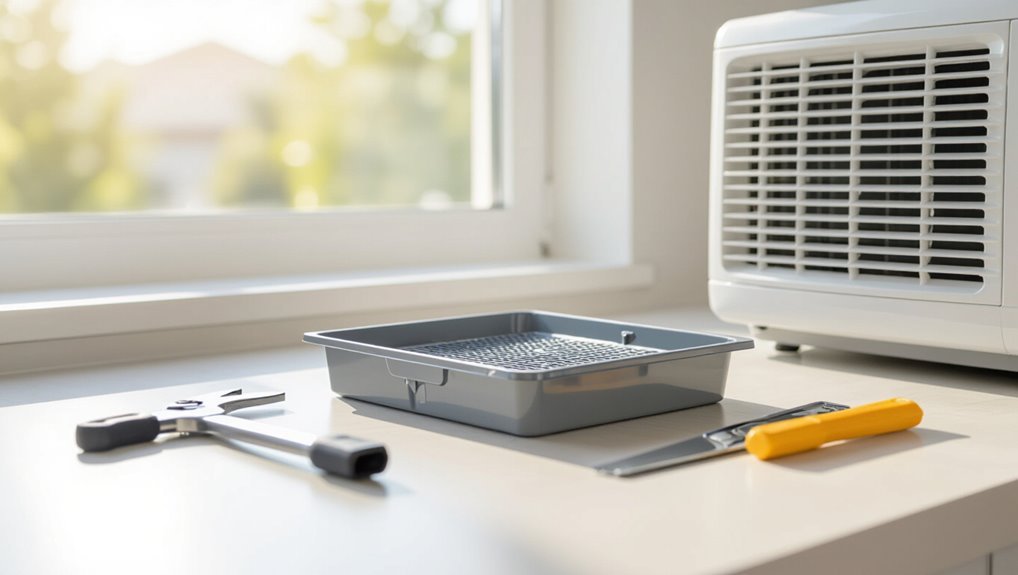
Several straightforward checks guide users from symptom to solution in the quick reference troubleshooting flowchart: identify the noise type (rattle, hum, scrape, or rush), determine whether it originates inside or outside the unit, confirm the operating mode and fan status, and follow the corresponding branch to suggested fixes or technician referral.
The flowchart prioritizes safety, simple DIY remedies, component inspection tips, and clear criteria for calling a pro.
Conclusion
About 70% of homeowners report occasional AC noises, and a persistent dripping sound often signals drainage or condensate issues that are usually simple to fix. Quick visual checks and safe DIY steps resolve many cases, but clogged drain lines, damaged pans, or refrigerant problems require professional attention. Timely preventive maintenance cuts recurrence risk. When unsure or if water or corrosion is evident, calling a licensed HVAC technician guarantees a safe, lasting repair.