How to Replace a Chicago Faucet Cartridge: Step-by-Step Repair Guide
To replace a Chicago faucet cartridge, start by shutting off the water supply and clearing the area around the faucet. Next, remove the handles and trim to reach the bonnet nut. Loosen the nut to pull out the old cartridge, then clean the valve bore and lubricate the O-rings. Insert the new cartridge, ensuring it aligns with the inlet and outlet ports. Reassemble the faucet, tighten everything carefully, restore the water supply, and check for any leaks and smooth handle operation. For detailed model IDs, parts, and troubleshooting tips, continue reading.
Overview of Replacing a Chicago Faucet Cartridge
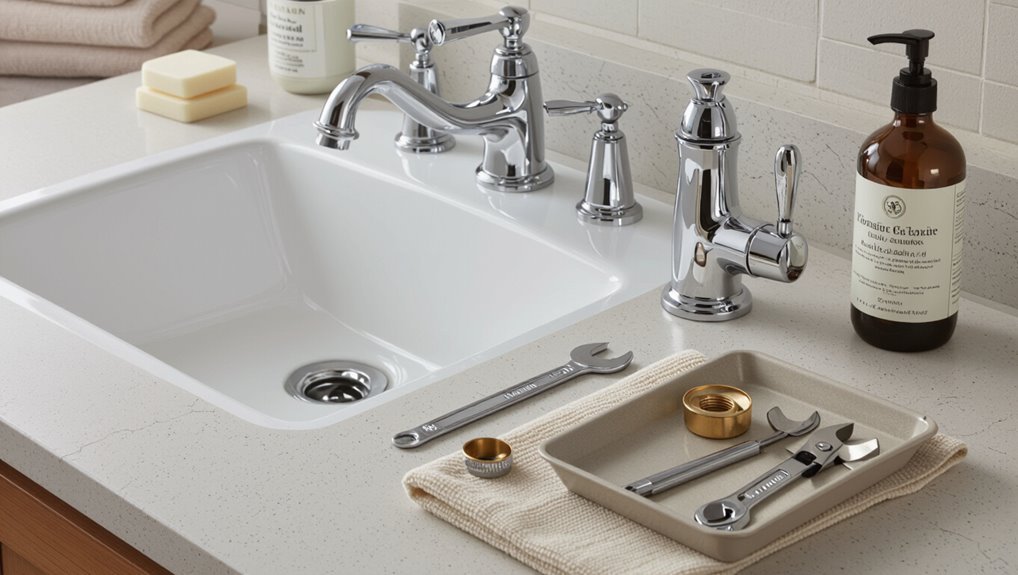
A Chicago faucet cartridge is the internal valve assembly that controls water flow and mixing by sealing and directing hot and cold passages.
Common signs that the cartridge needs replacement include persistent leaks, difficulty turning the handle, or reduced water pressure.
Before beginning, gather basic tools and a replacement cartridge, shut off the water supply, and follow standard safety precautions to prevent injury or flooding.
What a Chicago faucet cartridge is and how it works
The Chicago faucet cartridge is a cylindrical valve assembly that controls water flow and temperature by aligning internal ports and seals as the handle moves.
It contains brass or plastic components, O-rings, and diverter passages.
Understanding its parts and operation simplifies how to replace Chicago faucet cartridge tasks, aiding disassembly, correct orientation, seal replacement, and reassembly for reliable, drip-free performance.
Signs you need to replace the cartridge
Knowing the cartridge’s components and how they function helps diagnose when replacement is necessary.
Common signs include persistent dripping despite tightened handles, reduced or uneven water flow, difficulty moving the handle, sudden temperature control loss, or visible mineral buildup and corrosion around the spout or handle.
Intermittent leaks and noisy operation also indicate internal wear that typically requires cartridge replacement.
Tools and materials required
Several essential tools and a few replacement parts are required to remove and install a Chicago faucet cartridge safely and correctly. A concise kit speeds the job and prevents damage.
- Adjustable wrench, cartridge puller or pliers.
- Replacement Chicago cartridge and O-rings.
- Screwdrivers (flat and Phillips) and penetrating oil.
- Clean cloth, bucket, and plumber’s grease.
Safety precautions and water shutoff steps
Before any work begins, guarantee all safety measures are in place and the water supply is fully shut off to prevent injury and avoid water damage; wear safety glasses and gloves, clear the area around the sink, and place a bucket beneath the faucet to catch residual water.
Verify main and local shutoff valves are closed, relieve line pressure by opening handles, and disconnect power to nearby disposals or heaters.
Identifying Your Chicago Faucet Model and Cartridge Type
Identifying the exact Chicago model and cartridge starts with locating stamped model numbers or markings on the escutcheon, underside of the spout, or the valve body.
Visual comparison of common cartridge shapes, stem lengths, and retaining clip styles helps distinguish between ceramic, compression, and master cartridges.
The text should note when a cartridge needs full replacement versus when seals or springs can be serviced to restore function.
How to find model numbers and markings
How can one locate the model number and identifying markings on a Chicago Faucet?
Inspect beneath handles, on underside of spout, and inside valve body after removing escutcheons.
Look for stamped or etched codes, part numbers, or logo impressions.
Check inlet fittings and mounting flange.
Photograph markings and compare to manufacturer records or parts diagrams to confirm cartridge compatibility.
Visual differences between common Chicago cartridge types
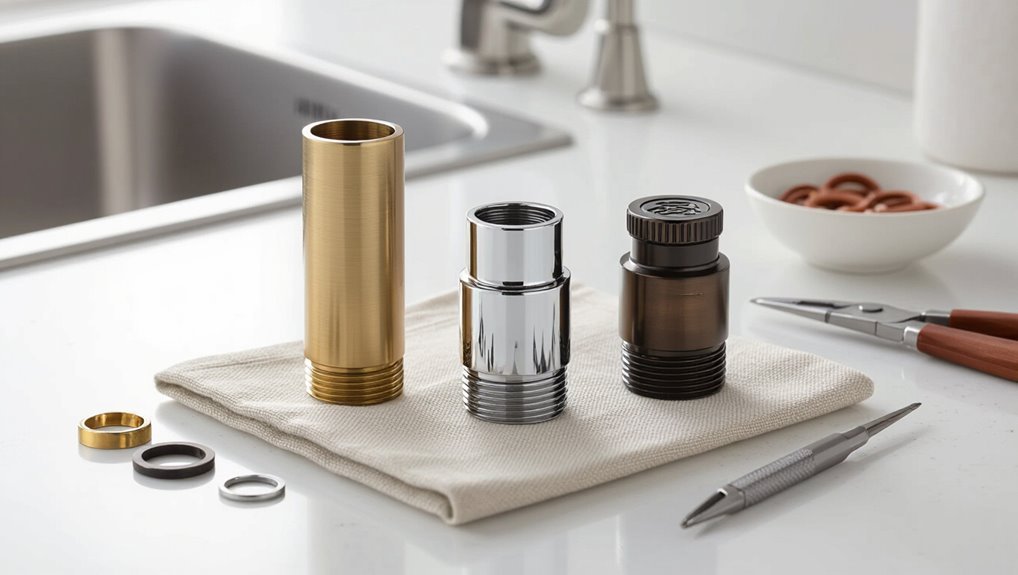
Visual cues make distinguishing Chicago Faucet cartridges straightforward: size, shape, and the arrangement of ports and stem types are the primary identifiers.
Ball-style cartridges are compact with rounded bodies and offset ports. Ceramic disc cartridges appear flatter with dual flat faces and aligned ports.
Stem configurations vary—single lever, dual spindle, or splined stems—while mounting flanges and retaining clips further differentiate models.
When to replace versus repair components
After noting the visual cues that distinguish cartridge types, the next step is deciding whether to replace the entire cartridge or repair individual components by confirming the exact Chicago Faucet model and cartridge variant.
Verify model numbers stamped on the housing or consult manufacturer diagrams.
Replace cartridges for corrosion, seized parts, or multiple failures; repair seals, springs, or seats for isolated leaks or wear when parts match the identified variant.
Preparing for the Repair
Before starting the cartridge replacement, the workspace should be cleared and nearby surfaces protected to prevent scratches and water damage.
The water supply must be shut off and residual pressure relieved by opening the faucet.
Any accessories and trim pieces should be removed and kept organized for reassembly.
Clearing the work area and protecting surfaces
Clear the sink and surrounding counter of toiletries, dishes, and papers to create an unobstructed workspace.
Lay down a waterproof towel or rubber mat to catch spills and protect finishes.
Place a small tray or magnetic dish for screws and parts.
Set aside tools within reach but off wet surfaces.
Use masking tape to shield adjacent countertops from scratches.
Turning off water supply and relieving pressure
With the work area protected and tools at hand, attention shifts to shutting off the water and releasing pressure in the lines to prevent sprays and leaks during the repair.
Locate and close the building or fixture shutoff valves. Open the faucet to drain residual water.
If applicable, shut main supply and relieve downstream pressure by opening other fixtures.
Verify zero flow before proceeding.
Removing accessories and trim pieces
Begin by removing loose accessories and decorative trim to expose the handle and cartridge assembly.
The technician carefully detaches escutcheons, aerator housings, and decorative caps using appropriate tools to avoid scratching finishes.
Retain all fasteners and small parts in a labeled container.
If components resist, apply penetrating lubricant briefly and try again; avoid excessive force that could damage trim or underlying seals.
Step-by-Step Cartridge Replacement Procedure
The technician begins by removing handles and decorative caps to reveal the bonnet nut and underlying body components.
After loosening the bonnet nut, the old cartridge is extracted carefully and the valve body and O-rings are inspected for wear or debris.
Finally, the new cartridge is installed with its ports aligned and the assembly reassembled for testing.
Removing handle(s) and decorative caps
Loosen any visible screw or cap to free the handle before attempting removal, taking care not to scratch surrounding finishes.
Use an appropriate screwdriver or hex key, supporting the handle to prevent sudden drops.
Pry off decorative caps gently with a plastic tool if needed.
Inspect for hidden set screws beneath caps.
Place removed pieces in labeled containers to avoid confusion during reassembly.
Exposing the bonnet nut and body components
Slide aside any remaining escutcheon or trim pieces to reveal the faucet body, then remove any remaining set screws or retaining clips to clear access to the bonnet nut; once exposed, inspect the nut for corrosion or finishing material and clean the area with a cloth so that a wrench or basin pliers can seat securely on the flats without slipping.
Next, note surrounding components — spout base, shank, and retaining collars — and verify alignment and condition before proceeding.
Extracting the old cartridge safely
With the bonnet nut cleaned and surrounding parts inspected, proceed to extract the cartridge by first relieving any residual water pressure and marking component orientations for reassembly.
Grip the cartridge stem with pliers or a puller suited to Chicago faucets, apply steady upward force, and work evenly to avoid twisting.
Remove slowly, containing drips and setting parts on a labeled, clean surface for replacement.
Inspecting the valve body and O-rings
Inspect the valve body and O-rings for wear, mineral buildup, and damage before installing the new cartridge.
Using a flashlight and magnifier, examine sealing surfaces, threads, and bore for pits, corrosion, or debris.
Remove mineral deposits with vinegar or a nonabrasive cleaner.
Replace any flattened or cracked O-rings, lubricate new rings with plumber’s grease, and guarantee proper seating to prevent leaks.
Installing the new cartridge and aligning ports
Before seating the replacement cartridge, confirm that the valve body is clean, all O-rings are lubricated, and the shutoff valves remain closed; proper preparation prevents misalignment and leaks during installation.
Insert the cartridge straight into the valve body, aligning the cartridge ports with the corresponding inlet and outlet channels. Rotate to the indexed position, verify smooth movement, and check port alignment visually before securing.
Reassembling bonnet nut, handle, and trim
Tighten the bonnet nut by hand until it seats, then use an adjustable wrench to snug it an additional quarter to half turn—avoiding over-tightening—to secure the cartridge without distorting the valve body.
Replace any decorative trim sleeve, align the handle spline, slide the handle on, and install retaining screws or caps.
Verify smooth operation of the handle and proper alignment before completing trim installation.
Restoring water supply and testing for leaks
Open the water supply valves slowly to restore flow and observe the faucet and connections for any signs of leakage.
Check under the sink and around the bonnet nut, spout base, and supply line fittings.
Run hot and cold separately, then together, cycling the handle through full range.
Tighten fittings if needed, drain aerator, and confirm steady, drip-free operation before finishing.
Troubleshooting Common Problems During Replacement
Common issues that arise during cartridge replacement include stuck or corroded bonnet nuts, persistent leaks after reassembly, and low flow or cross-flow following installation.
Effective removal techniques, stepwise diagnosis of leaks, and checks for damaged or stripped parts help resolve most problems.
The following guidance outlines practical fixes and when component replacement or professional help is warranted.
Stuck or corroded bonnet nuts: removal techniques
Encountering a stuck or corroded bonnet nut is a frequent obstacle when replacing a Chicago faucet cartridge. Mineral buildup, old thread sealant, or years of neglect can fuse the nut to the valve body.
Apply penetrating oil, allow soak time, then use an appropriately sized wrench with steady, controlled force.
If necessary, heat the nut briefly to expand metal, tapping gently to break corrosion.
Leaks after reassembly: diagnosis and fixes
Inspecting for leaks immediately after reassembly helps pinpoint their source and prevent water damage.
The technician checks supply connections, bonnet nut tightness, cartridge seating, and O-ring placement.
Turned-on supply with towels beneath reveals drip locations. Tighten or reseat components, replace damaged seals, and retest.
Persistent leaks require disassembly to verify part compatibility or damaged valve body before final replacement or professional consultation.
Low flow or cross-flow issues after install
After resolving leaks, attention turns to flow performance: low water pressure or unexpected cross-flow between hot and cold can indicate installation issues or internal cartridge defects.
Check supply shutoffs, inlet screens and debris in the cartridge. Verify correct cartridge orientation and full seating.
Confirm diverter alignment for dual-control models. If problems persist, test with each supply isolated to pinpoint hot or cold source contamination.
Handling damaged or stripped parts
When parts become damaged or threads strip during cartridge replacement, assess the extent of wear immediately to determine whether repair, thread restoration, or full component replacement is required.
Inspect seats, retainer nuts, and mounting surfaces. Use thread chasers or helicoils for recoverable threads; replace corroded or fractured parts.
Source OEM or compatible replacements, verify fit, and retorque to specification to avoid recurrence.
Comparing Replacement Options and Costs
Choices between OEM and aftermarket cartridges, the expected outlay for a DIY replacement, and criteria for hiring a professional all affect the total time and money involved. The table below summarizes typical cartridge costs, estimated DIY labor/time, and signs that a pro is warranted. Readers can use this comparison to decide which route matches their budget and skill level.
| Option | Estimated Parts Cost | When to Call a Professional |
|---|---|---|
| OEM cartridge | $20–$60 | Multiple leaks, damaged valve body, or warranty concerns |
| Aftermarket cartridge | $10–$30 | Uncertain fit, persistent leaks after DIY, or no replacement experience |
| DIY overall cost | $10–$80 (parts + basic tools) | Complex corrosion, hidden damage, or plumbing code issues |
OEM vs aftermarket cartridges
Although both OEM and aftermarket cartridges restore function, they differ in fit, materials, warranty, and price.
OEM parts match original specifications, often ensuring precise fit and manufacturer support but at higher cost.
Aftermarket options vary in quality and may require minor adjustments; they typically cost less and sometimes offer extended features.
Choice depends on tolerance for risk, budget, and desired longevity.
DIY replacement cost breakdown
A straightforward cost breakdown helps homeowners compare the expenses of replacing a Chicago faucet cartridge themselves versus other options.
Typical DIY costs:
- $15–$40 for an aftermarket cartridge
- $25–$75 for OEM
- $5–$15 for basic tools and sealant
- Optional $10–$30 for specialty tools.
Total DIY range: roughly $25–$120, depending on cartridge choice and tool needs.
When to call a professional
When repair complexity, time constraints, or risk of additional damage outweigh the savings of a DIY cartridge swap, homeowners should consider hiring a licensed plumber.
Professionals offer diagnostic certainty, warranty-backed parts and labor, and faster resolution for issues such as persistent leaks, corroded valve bodies, unusual water pressure problems, or hard-to-access installations.
Cost comparisons should weigh labor rates, parts markups, and potential long-term savings from proper repair.
Maintenance Tips to Extend Cartridge Life
Attention to water quality, routine cleaning and inspection, and seasonal care can meaningfully extend a Chicago faucet cartridge’s service life.
Recommendations include installing appropriate filters for hard or sediment-heavy water, scheduling brief inspections and cleanings every few months, and winterizing or performing long-term storage procedures as needed.
Following these practical steps reduces wear and helps prevent premature failure.
Water quality considerations and filters
Several factors of local water—mineral content, sediment load, and chlorine levels—directly affect Chicago faucet cartridge longevity.
Hard water causes mineral buildup; sediment abrades seals. Chlorine and chloramine degrade rubber components.
Installing a sediment pre-filter and a water-softening or carbon filtration system reduces particulates and chemical exposure.
Periodic water testing guides filter selection and replacement frequency to protect cartridge performance and extend service life.
Routine cleaning and inspection schedule
After addressing water quality and installing appropriate filtration, a regular schedule of cleaning and inspection helps detect wear before failures occur.
Recommended routine: inspect seals, check for leaks, and clean aerators monthly; perform deeper cartridge checks quarterly. Follow a simple log to record findings and actions.
- Monthly: visual and aerator cleaning
- Quarterly: cartridge check
- Biannual: seal replacement review
- Immediate: address leaks
Seasonal and long-term care recommendations
Because seasonal conditions and long-term wear affect cartridge performance, a scheduled set of care actions—aligned with temperature extremes and usage patterns—helps preserve function and prevent damage.
Perform winterization: drain and insulate exposed lines, shut off outdoor supplies.
Flush cartridges seasonally to remove mineral buildup.
Lubricate seals annually with plumber-approved grease.
Replace worn cartridges proactively when flow or sealing declines.
Monitor for leaks.
Parts, Compatibility, and Where to Buy
A concise list of essential part numbers and a compatibility checklist helps identify the correct Chicago faucet cartridge.
Trusted retailers and specialty suppliers are recommended for sourcing common and rare components.
If an exact replacement is unavailable, the article will outline cross-reference options and adapter or rebuild alternatives.
Essential part numbers and compatibility checklist
Several key part numbers and compatibility checks determine success when replacing a Chicago faucet cartridge. The technician verifies model code, cartridge number, handle type, and inlet size against the faucet stamp or manual.
Cross-reference OEM and aftermarket numbers, inspect O-ring dimensions, and note finish. Confirm water pressure rating before ordering replacement components.
- Model code
- Cartridge number
- Handle type
- Inlet size
Reliable retailers and sourcing rare parts
Many plumbers and DIYers turn to a small set of reliable retailers for Chicago faucet cartridges and obscure components: manufacturer-authorized distributors, specialized plumbing supply houses, and select online marketplaces that verify OEM compatibility.
They prioritize sellers with clear part numbers, return policies, and verified photos. Local supply houses often stock legacy items; authorized distributors provide direct OEM sourcing and technical support for installation queries.
What to do if an exact replacement isn’t available
When an exact Chicago faucet cartridge cannot be found, the installer should assess compatibility by comparing dimensions, stem type, seal designs, and mounting features against available substitutes.
Compatible aftermarket cartridges, rebuild kits, or cross-reference parts from other models often work if key measurements and functional elements match.
Document part numbers, bring the old cartridge to suppliers, consult manufacturer cross-reference charts, and consider custom rebuild services or professional parts sourcing.
Visual Guide and References
A concise visual guide complements the written instructions with step-by-step photos or diagrams for common Chicago faucet models.
Clear images should show cartridge removal, inspection, and reinstallation stages to reduce errors.
Links to official manufacturer manuals and spare-part diagrams provide authoritative reference and model-specific details.
Step-by-step photos or diagrams for common Chicago models
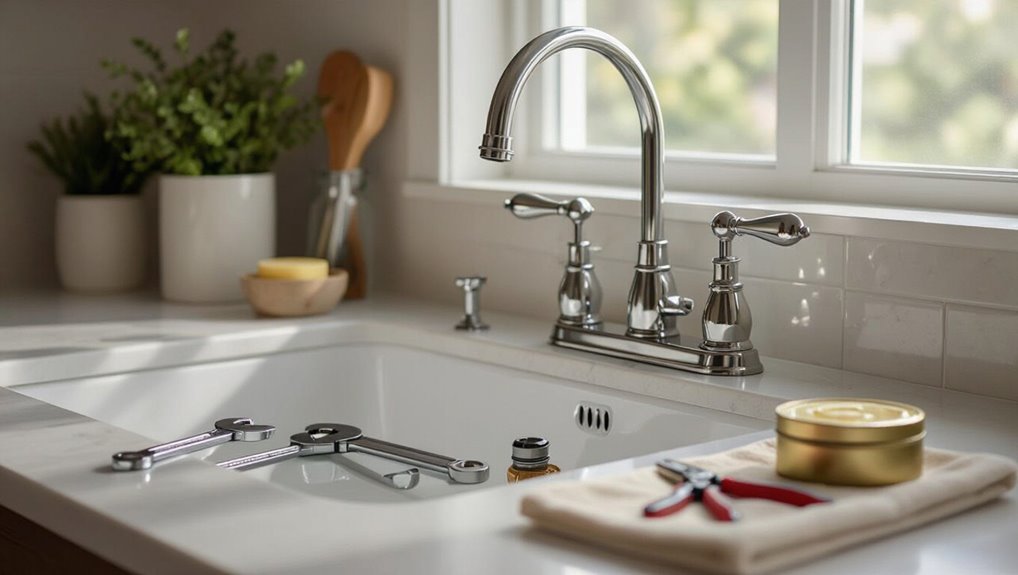
Several clear, labeled photos or diagrams are provided for the most common Chicago faucet models to guide each repair step.
Each image shows tool placement, retaining clip removal, cartridge extraction, and seat inspection. Close-ups highlight O-ring locations and valve orientation.
Sequential numbering matches instructions. Alternate views cover single- and double-handle variants.
Captions note common pitfalls and torque recommendations for reassembly.
Links to manufacturer manuals and spare part diagrams
Manufacturer manuals and exploded-part diagrams provide definitive dimensions, part numbers, and assembly order essential for accurate Chicago faucet cartridge replacement.
They verify model variants, required seals, and torque specs. Consult originals for warranty and cross-reference aftermarket parts. Reliable sources reduce errors and downtime.
- Official Chicago Faucet manual
- Exploded-part diagram PDF
- OEM part-number lookup
- Authorized parts distributors
Conclusion
Replacing a Chicago Faucet cartridge restores reliable operation with a few tools and careful steps. One interesting statistic: worn faucet cartridges cause an estimated 1 trillion gallons of household water waste annually in the U.S., so timely replacement not only fixes leaks but conserves significant water. With correct model identification, proper parts, and basic care, most homeowners can complete the swap quickly, reducing repair costs and helping to prevent larger plumbing issues over time.