How to Clear a Blocked Cold Water Pipe Fast: Step-by-Step Fixes and Prevention
To quickly clear a blocked cold water pipe, first shut off the nearest valve and relieve pressure by opening a nearby cold tap. Wear gloves and eye protection, check for leaks and electrical hazards, and then attempt quick fixes such as plunging, gently tapping, or using a hand snake. For mineral buildup, apply vinegar or a descaler; thaw frozen sections by applying heat towards the faucet. If necessary, flush and reinstall filters. If the blockage persists, consider replacing the pipe or calling a plumber. Detailed steps for each method are provided below.
What to Do Immediately When You Discover a Blocked Cold Water Pipe
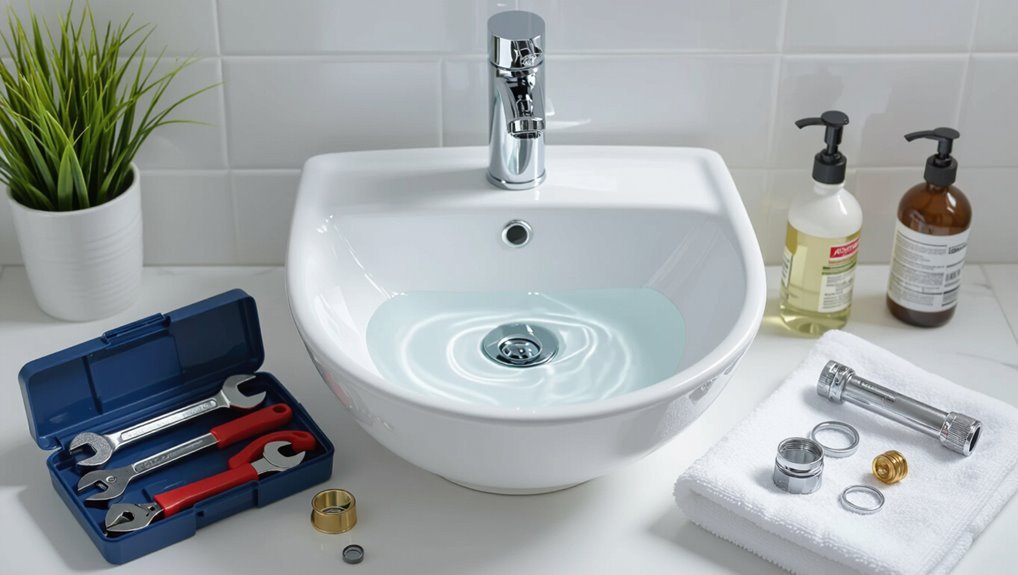
Upon finding a blocked cold water pipe, the first steps are quick safety checks such as confirming electrical appliances are off and evaluating for leaks or flooding.
Next, the person should shut off the water at the nearest local valve and, if necessary, the main supply to prevent further damage.
If there is significant flooding, contaminated water, or uncertainty about the cause, a professional plumber should be contacted immediately.
Quick safety checks before touching plumbing
Caution is essential when a cold water pipe is blocked; before any intervention, the person should shut off the main water supply and relieve pressure by opening a nearby cold tap.
They should wear gloves and eye protection, check for electrical hazards, guarantee good lighting and ventilation, inspect visible fittings for leaks, and have basic tools ready.
These steps aid safe, effective how to clear a blocked cold water pipe.
How to shut off water supply quickly (main valve and local shutoffs)
If a blocked cold water pipe is discovered, the first priority is to stop the flow immediately by locating and turning off the nearest shutoff valve or the home’s main shutoff; this prevents further flooding and limits pressure in the affected line.
Identify local shutoffs under sinks, behind toilets, and for appliances. Turn valves clockwise firmly.
Confirm water is off by opening a nearby tap to relieve remaining pressure.
When to call a professional immediately
After shutting off the nearest valve to stop flow and relieve pressure, determine whether the situation requires professional help.
Call a plumber immediately if there is persistent flooding, water discoloration, foul odor, gushing leaks, frozen or burst pipes, visible pipe damage, or failed DIY attempts.
Also seek help when the blockage affects multiple fixtures or the main line, or when electrical hazards or structural concerns exist.
Fast, Step-by-Step Fixes for a Blocked Cold Water Pipe
The section lists the essential tools and materials to assemble before attempting a repair, then outlines a clear sequence of actions.
First, locate the blockage and judge whether it is reachable; next, try basic DIY clears such as plunging and gentle tapping.
If those fail, proceed to a sink auger or hand snake with care, and finally consider pressurized water or a hose-backflush to force the obstruction out.
Tools and materials to gather first
Preparation requires gathering the correct tools and materials before attempting any repair.
The technician collects essentials to work safely and efficiently, avoiding surprises during clearing. Prioritize quality, protective gear, and compatible fittings to match pipe type.
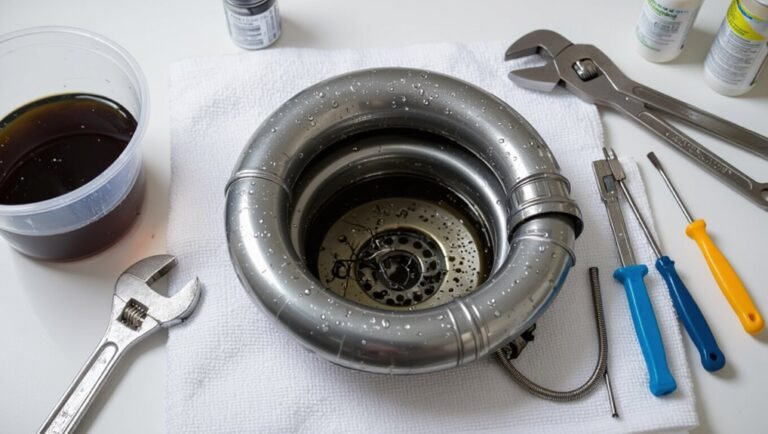
- Adjustable wrench, pipe wrench, and pliers
- Bucket, towels, and rags
- Drain snake or hand auger
- Rubber gloves, safety glasses, and plumber’s tape
Step 1 Locate the blockage and assess accessibility
Locating the blockage begins with tracing the cold water line from the affected fixture back toward the main shutoff to identify likely pinch points or access locations.
Inspect visible pipe sections, joints, valves, and bends for leaks, corrosion, or freezing.
Note access panels, exposed runs, and nearby appliances.
Determine whether the obstruction is reachable with simple tools or requires isolation and professional access.
Step 2 Try basic DIY clears: plunging and tapping techniques
With the blockage identified and accessibility assessed, basic DIY clears can be attempted before calling a professional.
The individual should use a plunger suited to the fixture, guarantee a tight seal, and apply firm, rhythmic strokes.
For pipes accessible under sinks, gentle tapping along the pipe with a wooden handle can dislodge minor obstructions.
Recheck flow; repeat briefly if needed.
Step 3 Use a sink auger or hand snake safely
Feed the sink auger or hand snake into the drain slowly, keeping a firm grip on the casing to control the cable and prevent sudden recoil.
Rotate the handle clockwise to advance, feeling for resistance. When resistance is reached, work gently to break or hook debris.
Withdraw slowly, wiping the cable. Sanitize the tool and test the flow; repeat if necessary, avoiding excessive force.
Step 4 Use pressurized water or hose-backflush method
Flush the line using pressurized water or a hose-backflush to dislodge sediment and soft blockages quickly.
The technician isolates the affected section, attaches a pressure-rated hose or backflush kit, and gradually increases flow while monitoring fittings for leaks.
Continue pulses until debris clears, then drain and inspect flow.
Repeat if necessary.
Confirm proper drainage and no downstream contamination.
Step 5 Apply chemical cleaners safely (when appropriate)
Proceed cautiously when considering chemical cleaners: they can dissolve mineral buildup and organic obstructions but should be used only when mechanical methods have failed and the pipe material and local codes permit.
Select a product labeled for cold-water systems, follow manufacturer instructions, ventilate the area, wear gloves and eye protection, avoid mixing chemicals, flush thoroughly after treatment, and monitor for leaks or corrosion.
Step 6 Remove and clean shut-off valves, aerators, and fittings
Turn off the water supply, then systematically remove and inspect shut-off valves, aerators, and accessible fittings to locate clogs, corrosion, or debris; clean or replace components as needed, reassemble with proper seals, and test for normal flow and leaks.
Use a soft brush, vinegar soak, or compressed air to clear deposits. Replace worn washers or cartridges and confirm leak-free operation before restoring full pressure.
When to attempt pipe disassembly and how to do it safely
Assess whether disassembly is warranted only after easier measures—shut-off valve cleaning, aerator removal, and localized flushing—have failed and the obstruction is clearly within a removable section; confirm water is shut off, drain lines, and wear gloves and eye protection.
Use appropriate tools, support pipe joints, work methodically to loosen fittings, and avoid excessive force.
If corrosion, complex soldering, or uncertainty exists, consult a professional.
How to test flow and check for remaining leaks after repair
Begin testing flow and checking for leaks immediately after reassembly to guarantee the repair holds and normal water delivery is restored.
Open the valve slowly, observe steady pressure and full flow at fixtures.
Inspect joints, connections, and fittings for drips using a paper towel or tissue.
Run water for several minutes, recheck seals, and tighten or reseal any persistent leaks.
Document results.
Troubleshooting Specific Blockage Causes and Targeted Fixes
The section outlines common blockage causes and concise, targeted remedies so readers can match symptoms to solutions quickly. Below is a quick reference comparing cause and practical fix to guide the following instructions.
| Cause | Targeted Fix |
|---|---|
| Mineral scale / lime | Descale with vinegar or commercial descalers; install water softener |
| Sediment / debris | Flush lines, clean traps, add or replace filters |
| Frozen pipes | Thaw with heat tape or hair dryer; insulate and open valves |
| Roots / corrosion | Inspect with camera; cut roots, reroute or replace corroded sections |
Mineral scale and lime buildup descaling methods
Descale mineral scale and lime buildup by selecting a method that matches pipe material, severity of deposit, and access constraints; common approaches include mechanical removal, chemical descalers (acidic or chelating agents), and high-pressure flushing.
Evaluate compatibility: avoid strong acids on aluminum or thin copper.
Apply controlled contact time, neutralize and rinse chemicals thoroughly, and consider cartridge or inline descaling tools for localized access without extensive disassembly.
Sediment and debris flushing and filtration fixes
Address sediment and debris blockages by identifying their source—pipe corrosion, construction residue, well sand, or degraded gasket material—and selecting targeted flushing and filtration remedies that match flow direction, pipe material, and access points.
Use directional high-flow flushing, remove cleanouts or aerators, install temporary coarse-screen filters, descale nearby fittings, and fit permanent sediment traps or cartridge filters sized for particulate load and pressure to prevent recurrence.
Frozen pipe obstruction thawing procedures and precautions
Begin thawing frozen pipe obstructions by confirming the freeze location, evaluating pipe material and surrounding access, and shutting off water to prevent burst-related flooding.
Apply targeted heat (hairdryer, heat tape, or warm towels) working toward the nearest open faucet to relieve pressure. Avoid open flame; monitor for leaks and insulation gaps.
Restore flow gradually, inspect joints, and insulate vulnerable sections to prevent recurrence.
Tree roots and external blockages signs and solutions
After thawing and securing pipes from internal freezes, attention can shift to external intrusions such as tree roots and surface debris that compromise cold water lines.
Inspect for slow drains, wet spots, unusual plant growth, or gurgling. Use camera inspection, mechanical augers, or hydro-jetting to remove roots and debris.
Excavate and repair damaged joints; install root barriers and schedule routine inspections to prevent recurrence.
Corrosion and collapsed pipes diagnosis and replacement options
Corrosion and structural collapse present distinct but often overlapping threats to cold water lines, detectable through reduced flow, discolored water, metallic taste, persistent leaks, or sudden pressure drops.
Diagnosis uses visual inspection, pressure testing, and camera scopes to locate pitting, scale, or delamination.
Replacement options include spot repair with couplings, full section replacement using PEX or copper, and trenchless relining for buried runs.
Tools and Products Compared for Clearing Cold Water Pipes
A concise comparison of available tools and products helps determine the right approach for clearing cold water pipes based on cause, scale, and safety considerations. The overview contrasts manual and powered mechanical options, chemical treatments, and preventive devices, noting typical benefits and risks. Recommendations emphasize matching method to blockage type and following safety and maintenance guidance.
| Category | Key points |
|---|---|
| Manual tools | Snakes, augers, plungers — low cost, good for localized clogs; limited reach/force |
| Power tools | Drum augers, hydro-jetters — effective for stubborn or long blockages; require training and PPE |
| Chemical cleaners | Descalers and solvents — can dissolve buildup; may damage pipes and pose hazards |
| Preventive devices | Filters, sediment traps — reduce recurrence; need proper installation and routine maintenance |
Manual tools (snakes, augers, plungers) pros and cons
Manual manual drain tools—handheld snakes, compact augers, and basic plungers—offer straightforward, low-cost options for clearing cold water pipe blockages.
They require minimal training, suit small clogs, and are portable.
Limitations include reduced effectiveness on deep or hardened obstructions, potential pipe damage if misused, and slower operation.
Regular maintenance and correct technique maximize success while minimizing risk.
Power tools (drum augers, hydro-jetters) when to use and safety notes
When blockages exceed the reach or force of handheld tools, powered options like drum augers and hydro-jetters provide the increased torque and pressure needed to clear deep or stubborn obstructions.
Drum augers mechanically break and retrieve packed debris; hydro-jetters erode scale and biofilm with high-pressure water. Use when manual methods fail.
Follow PPE, secure fittings, pressure-rated hoses, and professional operators for larger systems.
Chemical cleaners and descalers effectiveness and hazards
How effective are chemical cleaners and descalers at clearing cold water pipes, and what hazards accompany their use?
Chemical cleaners can remove scale, grease, and organic buildup in accessible sections but often struggle with heavy mechanical blockages.
Corrosive formulations risk pipe damage, valve and seal degradation, toxic fumes, and skin/eye injury.
Proper ventilation, PPE, and manufacturer instructions are essential; environmental disposal concerns also apply.
Preventive devices (filters, sediment traps) installation and maintenance
Chemical cleaners can address some buildups but are no substitute for upstream prevention; installing filters and sediment traps reduces deposits that lead to stubborn blockages and minimizes reliance on harsh chemicals.
Proper selection matches particle size and flow rate; install at main inlet and before appliances.
Maintain via regular inspection, backwashing or cartridge replacement, and flushing.
Document service intervals to guarantee consistent performance and prolonged pipe life.
Preventing Future Blockages and Maintaining Cold Water Pipes
A proactive maintenance plan helps homeowners spot early signs of buildup and schedule simple checks that prevent blockages.
Implementing water treatment or filtration reduces scale and sediment, while insulation and winterization protect pipes from freeze damage.
When problems recur despite upkeep, evaluating whether to repair or replace sections guarantees long-term reliability.
Regular maintenance schedule and simple homeowner checks
When homeowners adopt a simple, regular inspection routine, cold water pipe blockages become far less likely and easier to address. Biannual checks combined with quick visual inspections after extremes in temperature form the backbone of preventive care.
- Inspect exposed pipes for leaks, corrosion, or insulation gaps.
- Run fixtures to detect reduced flow.
- Clear drains and strainers monthly.
- Record findings and schedule repairs promptly.
Water treatment and filtration options to reduce scale and sediment
Many homeowners benefit from targeted water treatment and filtration to minimize mineral scale and suspended sediment that constrict cold-water pipes over time.
Options include whole-house softeners to reduce hardness, sediment pre-filters to capture particulate, and point-of-use carbon or micron filters for finer removal.
Periodic cartridge replacement, water testing, and professional sizing guarantee system effectiveness and prolong pipe life while preventing recurring blockages.
Insulation and winterization to prevent freezing
Insulating vulnerable pipes and implementing winterization measures prevents freezing-related blockages that can burst lines and disrupt water flow.
Wrap exposed pipes with foam or heat tape, seal gaps around exterior walls and crawlspaces, and maintain minimal indoor temperatures during cold snaps.
Drain and shut off outdoor spigots, disconnect hoses, and consider periodic inspections to confirm insulation integrity and uninterrupted cold-water flow.
When to replace sections vs. repair them for long-term reliability
How should a homeowner decide whether to repair a problematic section of cold-water piping or replace it outright?
Evaluate pipe age, material corrosion, leak frequency, and past repairs.
Repair small localized clogs, minor pinholes, or isolated failures.
Replace when sections show extensive corrosion, multiple repairs, shrinking diameter from buildup, or incompatible materials.
Prioritize replacement for long-term reliability and reduced maintenance.
Cost, Time, and Risk Considerations for DIY vs. Professional Repair
Typical fixes such as clearing sink traps or flushing aerators often take 15–60 minutes and suit those with basic tools, while more complex jobs like removing scale or replacing pipe sections can require several hours and advanced skills.
DIY parts and tools commonly cost from under $20 to about $150, whereas professional services typically range from $100 for simple call-outs to several hundred dollars for labor and parts.
Risks of DIY work include water damage, worsened blockages, or pipe failure, and professional help is advised if leaks are persistent, fittings are corroded, or work requires cutting into mains or structural components.
Typical timeframes and difficulty levels for common fixes
Many common cold-water pipe blockages can be resolved within a short, predictable window: simple debris or aerator clogs often take 15–45 minutes.
Mineral buildups or isolated section replacements may require 1–3 hours, while corroded lines or hidden breaks can extend to a full day or more and typically necessitate professional assessment.
Difficulty ranges from low (basic tools) to high (diagnostics, confined-space work), influencing time and risk.
Estimated cost ranges for DIY parts vs. professional services
After outlining expected timeframes and difficulty levels, attention shifts to the financial side:
DIY parts—basic tools, plungers, drain snakes, sealant, and replacement pipes—typically cost $10–$150 depending on quality.
Professional services range from $100 for minor visits to $400+ for diagnostics and labor; emergency or complex jobs can exceed $600.
Budget considerations should weigh parts, labor, and potential repeat work.
Risks of DIY repairs and signs you should stop and call a plumber
While a homeowner can resolve minor cold-water blockages with basic tools, certain signs indicate the task has exceeded DIY scope and a licensed plumber should be contacted.
Persistent leaks, rising water bills, low pressure throughout the house, visible corrosion, sewage backup, mold growth, or failed temporary fixes signal professional intervention.
Complex diagnostics, concealed pipe damage, or gas-line proximity increase cost and safety risks beyond DIY limits.
Step-by-Step Visual Checklist for an Emergency Cold Water Blockage
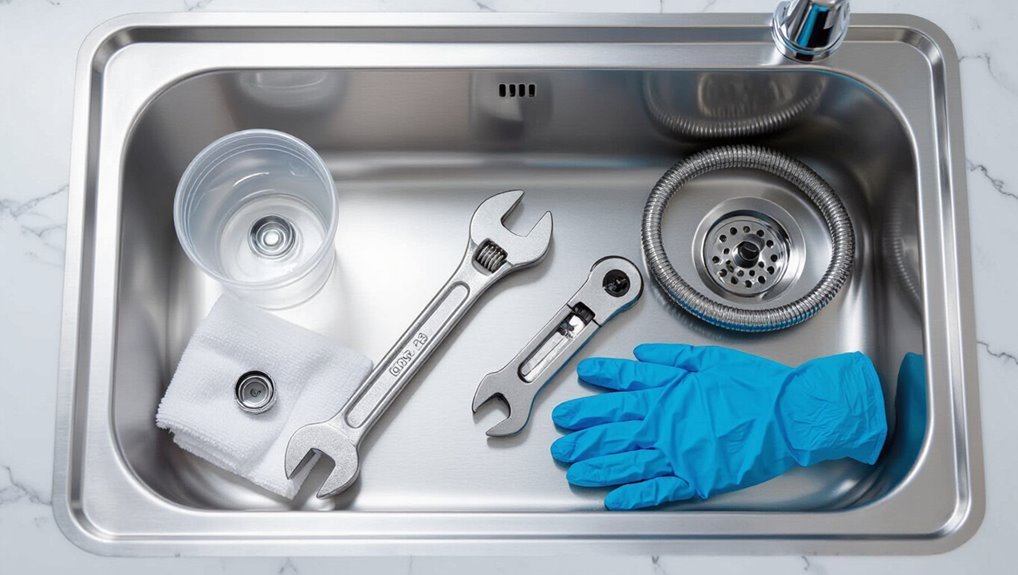
A concise visual checklist gives a clear quick-reference sequence for emergency cold water blockages: shutoff → assess → clear → test → prevent.
Each step is represented by a simple icon and one-line action to speed decision-making under pressure.
The checklist is designed for immediate use before deciding whether further tools or professional help are required.
Quick reference sequence: shutoff → assess → clear → test → prevent
Begin by following a clear five-step sequence: shut off the supply, assess the blockage, clear the obstruction, test flow, and implement prevention measures.
The checklist guides quick decisions, safe tools, and verification. Keep notes on location, method, and outcome for future avoidance.
- Locate shutoff and isolate
- Inspect cause and extent
- Remove blockage safely
- Run flow test and protect
Conclusion
When the frozen faucet is a fallen flag and the blocked pipe a choked stream, the homeowner becomes steward of returning flow. Quick actions—shutting valves, relieving pressure, applying heat—are the steady tools, like keys opening a stubborn gate. Repair choices map to paths: cautious DIY for small snags, professionals for deep-rooted ice or corrosion. Ongoing care is the riverbank—gentle, constant maintenance that keeps water moving and prevents future droughts.