How to Run Water Lines in a House: Step-by-Step Diagram and Layout Guide
To run water lines in a house, start by planning your layout and obtaining necessary permits. Use materials like PEX, copper, or CPVC, and sketch out a main supply route with fixture locations. Choose between a manifold or trunk-and-branch system. Shut off the water, drain existing lines, and perform a pressure test. Install shut-off valves, supports, and insulation according to code. While simple fixture swaps can be handled by experienced DIYers, complex modifications often require a licensed plumber. For detailed step-by-step diagrams, tool lists, and troubleshooting tips, continue reading.
Overview of Running Water Lines in a House
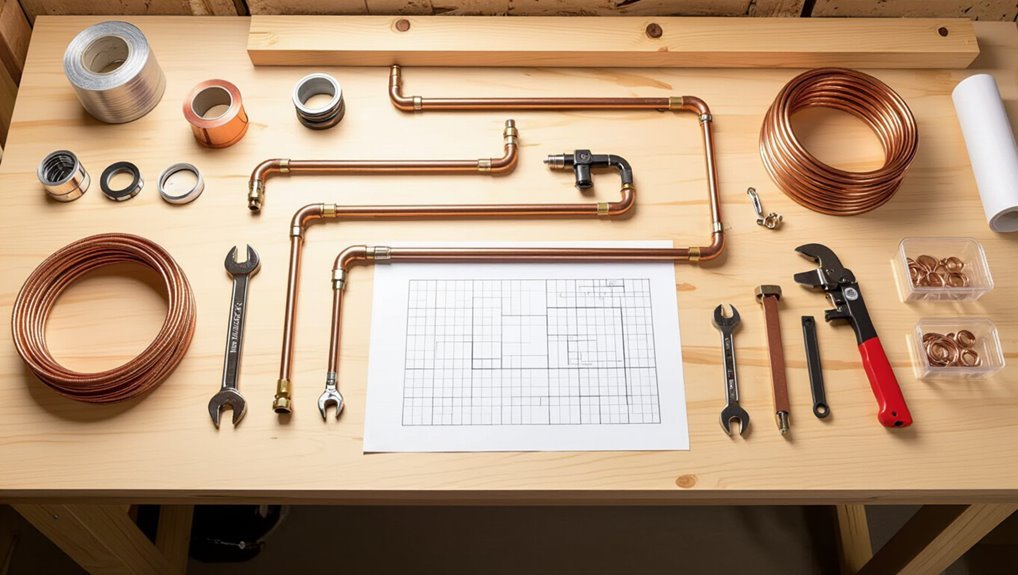
Running water lines refers to installing, extending, or rerouting piping to supply fixtures and appliances, commonly encountered during remodels, additions, or repairs.
Homeowners should weigh project complexity, tools, and local code requirements to decide between DIY work and hiring a licensed plumber.
Permits and adherence to building codes are often mandatory and affect materials, routing, inspections, and liability.
What “running water lines” means and common scenarios
Installing water lines involves laying the pipework that supplies potable water to fixtures and appliances throughout a home.
It covers branch runs to sinks, toilets, showers, laundry, and exterior taps, main feed routing, and looped or trunk-and-branch layouts.
Typical scenarios include new construction, remodels, reroutes for slab work, and adding fixtures; diagrams show routing, shutoffs, and connection points for how to run water lines in a house diagram.
When to DIY vs. hire a licensed plumber
Many homeowners can handle small plumbing tasks, but the decision to DIY or hire a licensed plumber depends on project scope, local code requirements, and the risk of water damage or code violations.
Simple repairs, fixture swaps, and short, accessible runs suit confident DIYers.
Complex reroutes, main shutoff modifications, concealed walls, multi-branch systems, or uncertain diagnostics warrant a licensed plumber to guarantee safety and reliability.
Building code and permit considerations overview
Because water work affects safety, sanitation, and property value, homeowners must address building codes and permits before altering or adding supply lines.
Local codes dictate materials, pipe sizing, backflow prevention, and fixture placement. Permits guarantee inspections for pressure, joints, and connections.
Failure risks fines, failed inspections, insurance issues, and compromised safety; consult local authorities or a licensed plumber to confirm requirements.
Quick Checklist and Materials Required
A concise checklist helps guarantee all tools and supplies are on hand before starting water line work.
It should compare common piping options (PEX, copper, CPVC, PVC), list necessary fittings, valves, and accessories, and specify required safety gear and prep steps.
Preparing materials and safety measures in advance reduces delays and prevents common installation errors.
Tools required for installing water lines
Before beginning a water-line installation, gather a focused set of tools and materials to confirm efficient, safe work:
Essential items assure accuracy, speed, and code compliance without extra trips.
- Pipe cutter and deburring tool
- Adjustable wrench and basin wrench
- Tube bender or spring for shaping PEX
- Teflon tape, thread sealant, fittings assortment
- Drill with bits and hole saws
Common piping materials compared (PEX, copper, CPVC, PVC)
When selecting piping for a house, homeowners should weigh durability, cost, ease of installation, and local code acceptance to match system needs. PEX is flexible and easy to install; copper is durable and corrosion-resistant; CPVC resists hot water and chemicals; PVC suits cold water and drainage. Consider lifespan, freeze resistance, and budget.
| Material | Key trait |
|---|---|
| PEX | Flexible, easy |
| Copper | Durable, long |
| CPVC | Heat-resistant |
| PVC | Inexpensive |
| Comparison | Code-dependent |
Fittings, valves, and accessories checklist
Proper planning assures every fitting, valve, and accessory required for a water‑line project is on hand before any cutting begins.
A concise checklist prevents delays and guarantees compatibility with chosen pipe type. Include sizes, quantities, and materials for each item.
Typical essentials:
- Shutoff valves (ball, service)
- Elbows, tees, couplings
- Pipe adapters and unions
- Mounting clips and straps
- Pipe insulation and dielectric fittings
Safety gear and prep steps
Having assembled the fittings, valves, and accessories, attention shifts to safety gear and preparatory steps that protect workers and the plumbing system.
Workers gather PPE, verify shutoffs, depressurize lines, mark routes, and prepare tools.
Essential checklist and materials include:
- Safety glasses and gloves
- Hearing protection
- Pipe supports and straps
- Lockout tags and shutoff tools
- Debris containment and drop cloths
Planning Your Water Line Layout
The planner first surveys existing plumbing and sketches supply routes to understand how new work will tie into the system.
Fixture locations and demand calculations guide placement of the main supply, branches, and any manifolds, while hot-water routing and recirculation needs influence layout and return paths.
Pipe sizing and material selection are then chosen to meet flow, pressure, and code requirements for the entire plan.
How to read existing plumbing and map supply routes
A clear survey of existing plumbing establishes the foundation for an accurate supply-route map. Inspect visible piping, note materials, sizes, valves, unions, and access points.
Trace runs from the main shutoff to branches, using chalk, tape, or digital photos. Record elevations, concealed chases, and vent locations.
Produce a scaled sketch showing connections and potential routing conflicts for efficient integration.
Determining fixture locations and demand calculations
With the supply routes mapped, the planner must place fixtures and size lines to meet real-world demand.
Fixture locations are marked for kitchens, baths, laundry, and outdoor use, noting flow rates and simultaneous-use probabilities.
Assign fixture units per code, total peak demand, and calculate required pipe capacities.
Consider pressure loss, elevation changes, and future expansion when finalizing layout decisions.
Designing the main supply line, branches, and manifolds
Several key elements guide planning the main supply line, branches, and manifolds: source connection, route efficiency, pipe sizing under peak demand, pressure loss, and accessibility for maintenance.
The designer selects a trunk size to minimize head loss, balances branch lengths to equalize pressure, positions manifolds for short runs and isolation, and provides shutoffs and access points for future expansion, testing, and repairs.
Hot-water routing and hot-water recirculation considerations
Having selected trunk sizes, balanced branch lengths, and located manifolds, the planner must next address hot-water routing and recirculation to guarantee fast delivery, reduced waste, and stable temperatures.
Layout choices include direct runs to frequent fixtures, looped recirculation circuits, and dedicated return lines to minimize lag.
Consider pump placement, control strategies (timers, sensors), insulation, and zoning to optimize comfort and efficiency.
Sizing pipes and selecting correct materials
Proper sizing and material selection guarantee system performance, longevity, and code compliance for a home’s water distribution.
The planner calculates demand (fixture units, flow rates), minimizes velocity and pressure loss, and selects pipe materials—copper, PEX, CPVC, or PVC—based on durability, freeze resistance, installability, and local code.
Joint methods, insulation, and potable approvals complete the specification for reliable, maintainable service.
Step-by-Step Installation Process
The installation begins with preparatory steps: shutting off the water, draining the system, and confirming required permits.
Next comes running the new main supply from the meter or an existing line and choosing a distribution approach, whether a manifold or trunk-and-branch system, with routing planned through crawlspaces, basements, and walls.
Connections are completed using appropriate methods—crimps, push-fit, soldering, or solvent welding—following code and manufacturer guidance.
Preparatory steps: shutoff, drain down, and permit confirmation
Before any cutting or fitting begins, confirm water and power shutoffs, drain the system, and verify that required permits and inspections are in place.
The contractor or homeowner should locate and tag shutoff valves, open faucets and lowest drains to relieve pressure, and bleed remaining lines.
Contact the local building department to obtain permits, schedule inspections, and guarantee compliance with codes before proceeding.
Running a new main supply from meter or existing line
One clear path is to run the new main supply from the meter or an existing line by laying out the route, choosing materials, and assembling fittings in a logical sequence that guarantees pressure, accessibility, and code compliance.
Trenches, sleeves, or crawlspace routing are measured; appropriate pipe (PEX, copper, or CTS) is selected; joints, valves, and backflow prevention are installed; slope and support secure durability.
Installing a manifold or trunk-and-branch system
After running the main supply to the desired service area, installation of a manifold or a trunk-and-branch layout proceeds with a clear sequence of planning, mounting, and connecting branches.
The installer selects manifold location, secures the unit level, installs shutoffs, labels ports, sizes and cuts branch lines, makes leak-tight connections, pressures tests the system, and adjusts flow balance before final insulation and enclosure.
Routing lines through crawlspaces, basements, and walls
Begin by mapping the route for each branch from manifold to fixture, identifying entry and exit points, clearances, and any obstacles such as joists, ductwork, or electrical runs.
Use straight runs where possible, maintain proper slope for drainage, secure lines with approved clamps, protect against abrasion and freezing, route away from heat sources and wiring, and plan access panels for future servicing.
Making connections: crimps, push-fit, soldering, and solvent welding
Select the appropriate joining method—crimp, push-fit, solder, or solvent weld—based on pipe material, local code, and fixture access.
Then prepare each connection point by cutting, deburring, and cleaning to guarantee a watertight joint.
Fit fittings fully, secure crimps or rings with proper tools, apply flux and heat for soldered joints, or solvent for PVC/CPVC.
Test connections for leaks before burying or insulating.
Installing shutoff valves, pressure regulator, and backflow prevention
With fittings prepared and joints verified for watertightness, the installation moves on to shutoff valves, a pressure regulator, and any required backflow prevention devices.
Install main shutoffs at service entry and branch shutoffs at fixtures.
Fit a pressure regulator near the meter, adjust to recommended PSI, and mount backflow preventers per code.
Test operation and check for leaks before restoring service.
Insulating pipes and protecting from freeze and heat
A few strategic steps guarantee pipe insulation effectively prevents freezing and reduces heat loss: identify vulnerable runs (exterior walls, unheated basements, attics, crawl spaces), measure pipe lengths and diameters, choose insulation rated for the service temperature and appropriate R-value, and gather compatible adhesive, tape, and fasteners.
Fit insulation snugly, seal seams and joints, protect exposed fittings with foam covers, and secure with clamps or straps.
Pressure testing and leak detection procedures
Begin by isolating the new piping from fixtures and connecting a calibrated pressure gauge and a suitable test pump or air compressor.
Then pressurize the system to the code-required test pressure (typically 1.5 times working pressure or as specified by local regulations).
Monitor pressure for the required hold period, inspect joints and fittings for visible leaks, and use soapy solution or electronic leak detectors for small leaks.
Document results before repair.
Final hookups to fixtures and system startup
Complete final hookups to fixtures and start the system only after pressure testing confirms no leaks and all repairs are finished.
Install fixture supply lines, verify shutoff valves operate, and mount faucets and toilets per manufacturer torque specs.
Open main valve slowly, purge air from lines at highest fixtures, check for steady flow and proper drainage.
Document settings, label shutoffs, and instruct occupants on operation and maintenance.
Common Layout Examples and Diagrams
The section presents common water line layouts and simple diagrams to illustrate typical routing choices.
Examples include a single-story supply plan, two-story routing with a central manifold, and distinctions between remodel and new-construction strategies.
Sample diagrams show kitchen, bathroom, laundry, and outdoor spigot placements for practical reference.
Typical single-story home supply layout
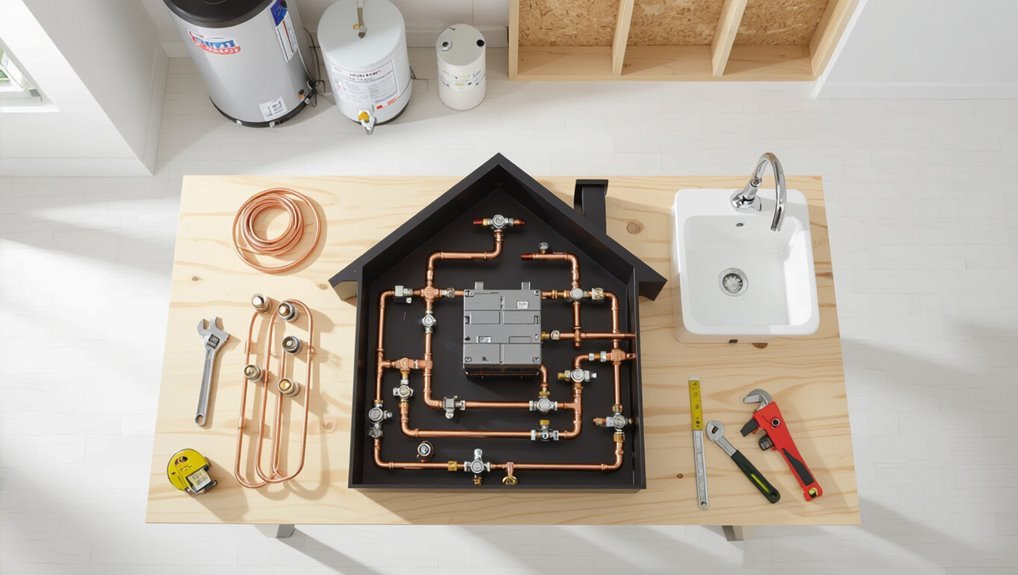
A typical single-story home supply layout centers on a main incoming line that branches into a cold-water distribution loop and a hot-water feed from a central water heater, with fixtures grouped by proximity to minimize pipe runs and heat loss.
Branches serve kitchen, baths, laundry and exterior spigots. Valves at branch points permit isolation.
Pipe sizes taper from main to fixtures per demand calculations.
Two-story home water line routing with manifold
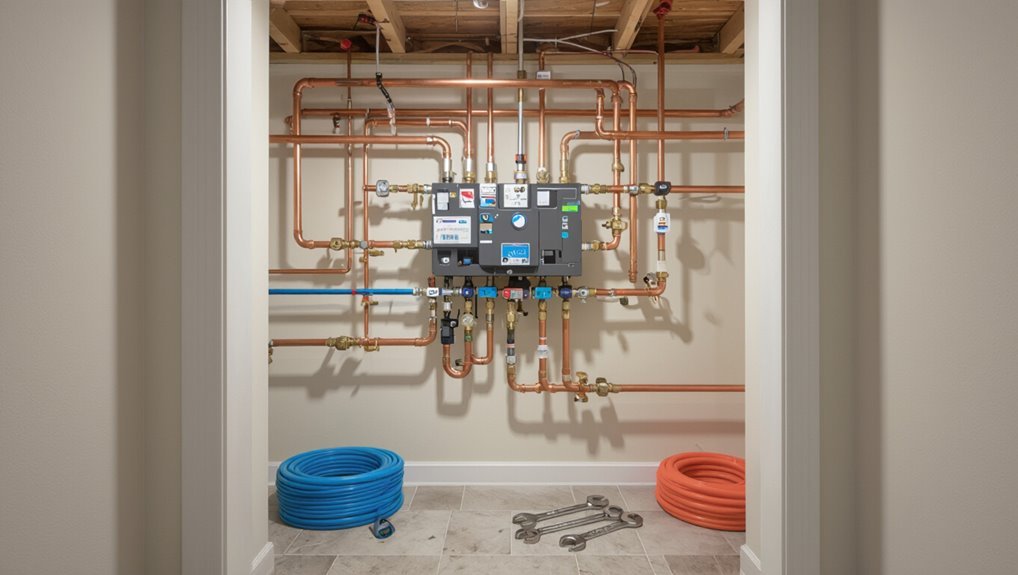
Many two-story homes use a central manifold to simplify routing: a single supply riser runs to a mechanical closet or utility room where a manifold distributes dedicated hot and cold runs to each fixture, minimizing long branch lines and making isolation, balancing, and future changes straightforward.
Typical layout places riser near bathrooms/kitchen, manifold accessible, short dedicated PEX runs to fixtures, and labeled valves for service.
Remodel vs. new-construction approaches
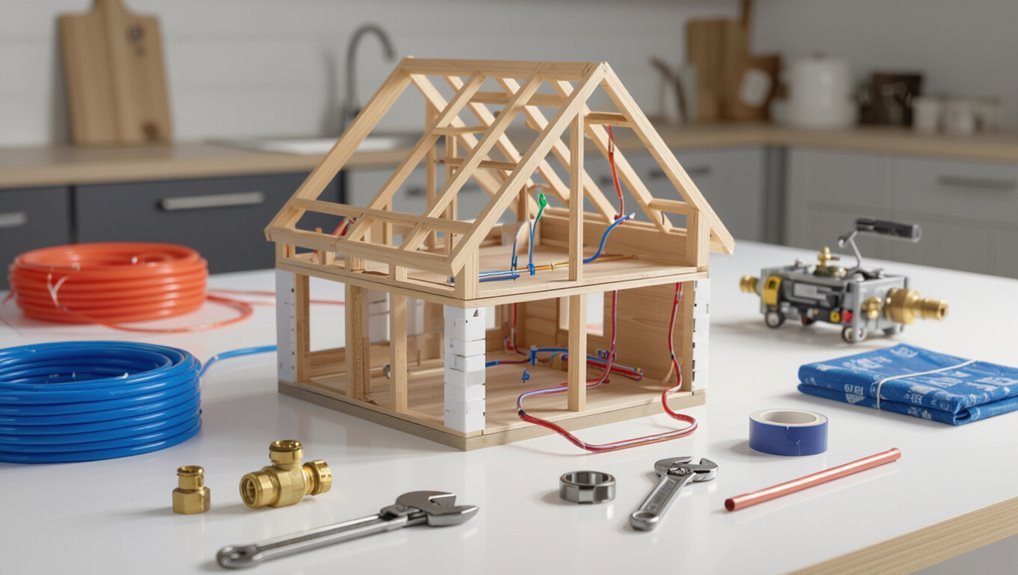
When comparing remodel and new-construction plumbing, priorities shift from flexibility and access to cost and code compliance: remodels must work around existing walls, floors, and finishes, often favoring surface-mounted runs, localized manifolds in accessible cabinets, or reusing existing risers to minimize demolition.
In contrast, new construction permits optimized layouts such as centralized manifolds, straight risers, and concealed PEX networks that reduce material use and improve serviceability.
Remodels prioritize minimal disruption; new builds prioritize efficiency.
Example layouts for kitchens, bathrooms, laundry, and outdoor spigots
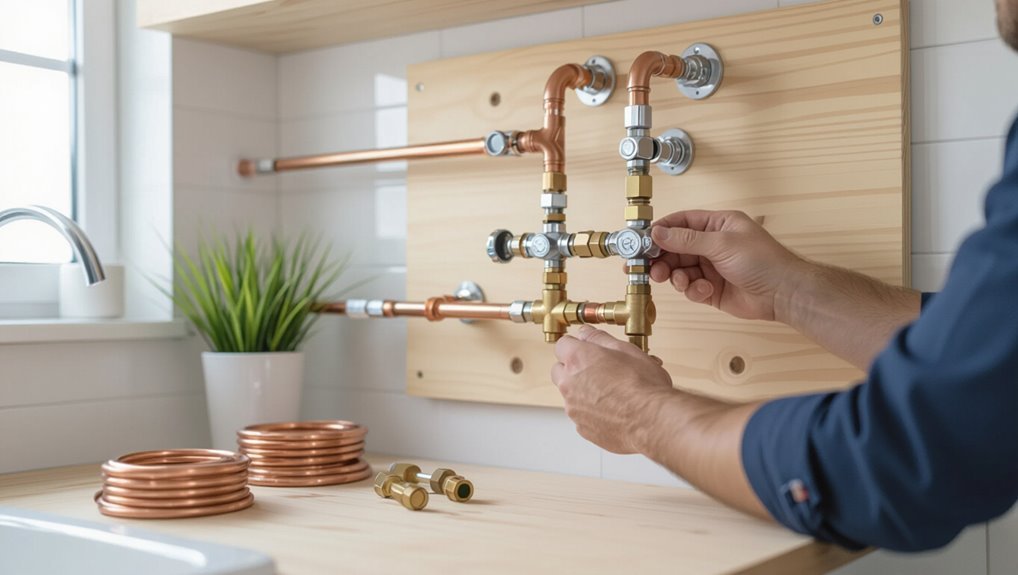
With layout constraints and access differences established for remodels versus new construction, practical examples clarify how those choices translate into real piping runs and component placement.
Sample kitchen layout shows dedicated cold/hot trunks to sink, dishwasher, and refrigerator.
Bathroom example groups fixtures on a common manifold loop.
Laundry uses short supply drops with shutoffs.
Outdoor spigots tap from warm-side branch with frost protection.
Troubleshooting and Common Problems
This section outlines common problems encountered in residential water lines and how to diagnose them.
It covers identifying leaks and low pressure, quieting noisy pipes and curing water hammer, and removing corrosion and sediment.
It also explains how to spot and prevent cross-connections and contamination risks.
Diagnosing leaks and low pressure
Start by isolating symptoms: persistent damp spots, sudden drops in pressure, or unexplained spikes in the water meter often indicate different fault types.
Inspect visible piping, fittings, and appliance connections for drips. Check supply valves, pressure regulator, and main shutoff.
Use a pressure gauge at fixtures to quantify loss.
Trace concealed leaks by monitoring meter, staining, or mold; document findings for repair.
Fixes for noisy pipes and water hammer
Addressing noisy pipes and water hammer begins by identifying the sound and its source: rattling, knocking, or a sudden banging when valves close typically points to loose supports, high flow velocity, or trapped air.
Solutions include securing piping with proper clamps, adding air chambers or an inline water hammer arrestor, reducing flow speed with pressure regulators, and bleeding lines to purge trapped air.
Dealing with corrosion and sediment buildup
Once loose supports and hammering are fixed, attention should turn to long-term pipe health: corrosion and sediment build-up reduce flow, weaken piping, and can contaminate water.
Inspect visible pipework, test water turbidity and pH, and measure flow rates.
Remove scale with mechanical cleaning or chemical descalers where appropriate.
Replace severely corroded sections, install sediment traps or filters, and schedule regular maintenance checks.
Addressing cross-connections and contamination risks
When plumbing systems connect potable water to non-potable sources without proper separation, backflow and cross-connections can introduce contaminants into the household supply.
Inspect for improper ties between irrigation, boilers, and chemical feed lines. Install backflow preventers, air gaps, and check valves per code.
Test devices annually, label hazardous connections, and educate occupants.
Promptly repair leaks or faulty valves to maintain water safety.
Best Practices, Code Compliance and Maintenance
The section outlines practical routing techniques, required supports, and use of expansion loops to prevent stress and leaks.
It then summarizes key code checks—proper venting, backflow prevention, and seismic strapping—homeowners and installers should verify.
Finally, it provides a routine maintenance schedule, signs that piping needs replacement, and guidance on when to call a professional.
Best practices for routing, supports, and expansion loops
Plan routing to minimize pressure loss, limit potential leak points, and allow clear access for maintenance.
Pipes should follow straight runs, avoid unnecessary fittings, and rise where needed for drainage.
Secure lines with appropriate clamps at regular intervals, isolate vibration with cushioning, and provide expansion loops or offsets for thermal movement.
Label runs, maintain access panels, and inspect supports periodically for corrosion or looseness.
Key code requirements to verify (venting, backflow, seismic straps)
A quick verification of key code requirements—venting, backflow prevention, and seismic restraints—ensures water systems operate safely, remain serviceable, and comply with local statutes.
Inspect vent sizing and termination locations to prevent traps siphoning. Confirm approved backflow assemblies, test ports, and installation clearances.
Verify seismic straps on exposed piping, anchor spacing, and flexible connectors per jurisdictional seismic and plumbing codes before final inspection.
Routine maintenance schedule for water lines
Establishing a routine maintenance schedule for household water lines preserves system reliability, prevents costly failures, and guarantees ongoing code compliance.
It should specify inspection frequency, tasks, responsible parties, and documentation procedures tailored to pipe materials, water quality, and local regulations.
- Quarterly visual inspections and leak checks
- Annual pressure and backflow testing by certified personnel
- Biennial water quality sampling for contaminants
- Routine valve exercise and labeling
- Recordkeeping of inspections, repairs, and permits
When to replace piping and signs of failure
When visible corrosion, recurrent leaks, persistent pressure loss, or discolored water appears, the plumbing system should be evaluated promptly to determine whether partial repairs or full pipe replacement are warranted.
Replacement is recommended for widespread corrosion, brittle or collapsed tubing, lead or banned materials, and repeated failures.
A certified plumber should assess code compliance, document defects, recommend materials, and provide cost estimates before proceeding.
Cost Estimates, Timeframes, and When to Hire a Pro
Typical cost ranges vary by project type—new builds generally cost less per foot than retrofits, while partial upgrades fall in between—so homeowners should budget accordingly.
Estimated timeframes for common installations, along with required permits, inspections, and documentation, help set realistic schedules.
When complexity or code compliance is uncertain, a concise list of questions to ask and a contractor vetting checklist can clarify whether to hire a professional.
Typical cost ranges by project type (new build, retrofit, partial)
Cost varies considerably depending on whether plumbing is run during a new build, added in a retrofit, or extended for a partial project, with labor, materials, and access complexity driving most differences.
New builds typically range $800–$3,500 for full rough‑ins; retrofits often cost $1,200–$6,000 due to demolition and access; partial additions (single fixtures) commonly run $300–$1,500 depending on distance and fittings.
Estimated time for common installations
Several common water‑line installations have predictable time ranges that depend on scope and access: running a line to a single sink in an open basement may take 1–3 hours.
Adding a bathroom rough‑in typically requires 4–8 hours, and a full house rough‑in for a new build usually occupies 1–3 days.
Labor, materials, permitting, and unexpected repairs can extend schedules; complex retrofits or hard‑to‑access routes may double estimates.
Questions to ask a plumber and contractor vetting checklist
Who should be asked what, and when should a homeowner call in a pro? A homeowner should request written estimates, clear schedules, and proof of licensing and insurance; call a pro for complex reroutes, unknown pipe materials, leaks behind walls, or permit-required work.
Vetting checklist:
- Verify license, insurance, bonding
- Obtain itemized written estimate
- Ask projected start/end dates
- Request references and photos of past work
- Confirm warranty and payment terms
Permits, inspections, and documentation to expect
After vetting contractors and securing written estimates, homeowners should turn attention to the permits, inspections, and paperwork that govern plumbing work.
Local building departments require permit applications, approved plans, and paid fees. Inspections occur at rough-in and final stages.
Retain receipts, inspection reports, and warranty documents.
Expect variable costs and timeframes; hire a licensed professional when complexity, code compliance, or insurance requirements exceed DIY capability.
Additional Resources and Reference Materials
The article points readers to reliable building codes, manufacturer guides, and installation manuals for authoritative specifications and safety requirements.
It also recommends instructional videos, clear diagrams, and downloadable templates to support practical planning and layout.
These resources together help bridge theory and on‑the‑job execution.
Reliable codes, manufacturer guides, and installation manuals
Consult authoritative codes, manufacturer guides, and installation manuals to confirm water-line work meets safety, performance, and warranty requirements.
Referencing these confirms compliant materials, correct fittings, approved installation methods, and inspection readiness.
- Local plumbing code chapters and amendments
- ANSI/ASME and ASTM product standards
- Manufacturer installation sheets for pipes/valves
- Approved joining and support methods
- Inspection and testing protocols
Recommended videos, diagrams, and downloadable templates
Having confirmed code and manufacturer requirements, supplementary multimedia and printable aids help translate specifications into practical steps.
Recommended resources include curated tutorial videos, editable CAD and PDF diagrams, plumbing parts checklists, printable layout templates, and inspection-ready labeling sheets.
These materials enable accurate planning, reduce errors, and support inspections.
- Step-by-step video walkthroughs
- Editable CAD and PDF schematics
- Parts and fittings checklist
- Printable line-layout templates
- Inspection labeling sheets
Conclusion
In the end, the homeowner found the water lines routed exactly where the plumbers’ dog liked to nap—proof that planning, code knowledge, and patience converge. With materials organized, permits obtained, and layouts double-checked, simple runs proceeded smoothly while complex sections called for pro help. Little surprises—a hidden beam, a stubborn valve—turned into learning moments. Coincidence or not, careful preparation made reliable plumbing and fewer surprises the rule rather than the exception.