How to Replace an Overflow Tube in a Toilet: Step-by-Step Repair Guide
How to Replace an Overflow Tube in a Toilet
To replace an overflow tube in your toilet, follow these steps: First, shut off the water supply and drain the tank. Next, remove the refill hose and the retaining clip, and extract the old tube. Clean the seating area, then insert and secure a new tube at the proper height. Reconnect all components and test the toilet to ensure proper filling and sealing. Regular follow-up inspections can help prevent future issues. For detailed troubleshooting and variations, refer to the full guide.
What an overflow tube does and why it may need replacement
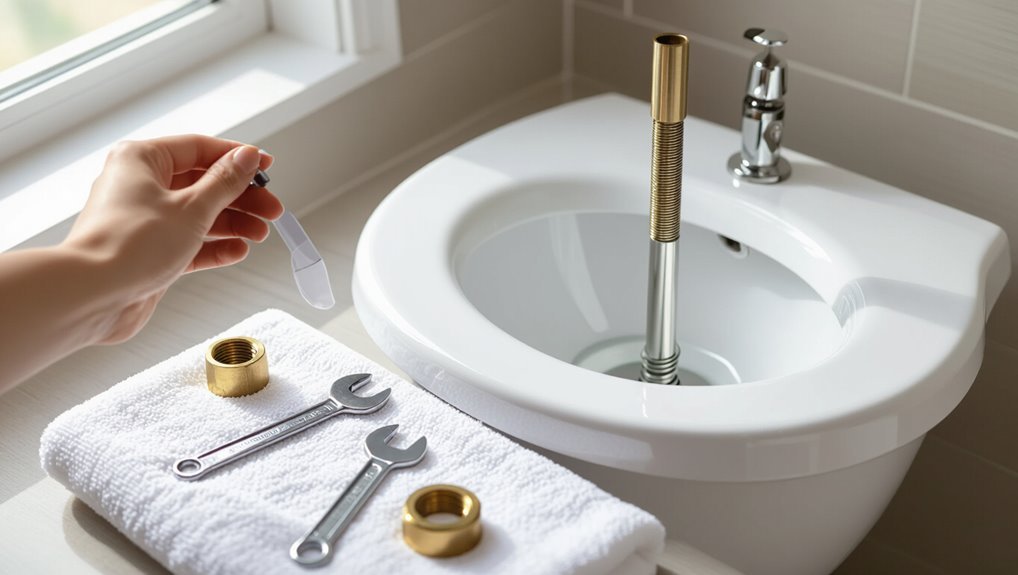
The overflow tube directs excess water from the tank into the bowl to prevent overfilling and maintain proper flush function.
Cracks, warping, mineral buildup, or a misaligned tube can cause constant running, weak flushes, or visible leaks.
Leaving a faulty overflow tube unrepaired risks water waste, higher bills, and potential water damage to the toilet or surrounding floor.
Purpose of the overflow tube in toilet operation
An overflow tube acts as a safety channel inside the toilet tank that directs excess water into the bowl when the fill mechanism fails or the water level rises above its designed height.
It preserves tank integrity, prevents flooding, and maintains correct water level for flushing.
Understanding this function informs when and why to learn how to replace an overflow tube in a toilet.
Common signs that the overflow tube is damaged or failing
Having established the overflow tube’s role in preventing overfilling and directing excess water to the bowl, attention turns to signs that the tube itself may be compromised.
Common indicators include visible cracks or warping, persistent running water despite correct float adjustment, mineral buildup obstructing flow, irregular water level, and corrosion or softening at attachment points.
Early detection guides timely replacement.
Risks of leaving a faulty overflow tube unrepaired
Neglected overflow tubes can lead to persistent water loss, unpredictable bowl levels, and increased risk of continuous running that raises water bills and wastes resources.
A faulty tube also risks tank overflows, interior component damage, and mold from chronic dampness. Prolonged leaks strain municipal systems, increase repair costs, and may cause structural harm to flooring and ceilings beneath bathrooms if left unaddressed.
Tools and materials needed for replacing an overflow tube
Before beginning the replacement, the reader should gather the correct parts and a few helpful tools to guarantee a smooth repair. Recommended items include compatible replacement tubes and seals, plus optional tools that simplify the job:
- Replacement overflow tube matched to the toilet model or universal fit
- New flapper and refill valve seals (recommended when replacing the tube)
- Adjustable wrench and channel-lock pliers
- Optional: hose clamp pliers, utility knife, and a small cup for bailer use
Having these on hand reduces surprises and speeds completion.
Recommended replacement parts and how to choose the right tube
A few essential replacement parts and the correct selection of an overflow tube determine whether a toilet repair will be durable and leak-free.
Recommended parts include a compatible overflow tube, refill tube, flapper or flush valve seal, and tank-to-bowl gasket.
Choose a tube matching tank height and fill valve connection, PVC or ABS material for durability, and manufacturer specifications to guarantee proper fit and function.
Optional tools that make the job easier
Several handy tools can shorten the job and reduce frustration when replacing an overflow tube. A basin wrench, adjustable pliers, silicone lubricant, and shop towels simplify access, grip, sealing, and cleanup. A small flashlight and flexible mirror help inspect tight spaces. Useful extras speed work and prevent damage.
| Tool | Purpose |
|---|---|
| Basin wrench | Reach nuts |
| Flashlight | Inspect interior |
Preparation before starting the repair
Before beginning the repair, the water supply should be shut off at the shutoff valve and the tank drained to prevent spills.
Surfaces around the toilet are protected with towels or a drop cloth and a small tray is used to collect nuts, clips, and other parts.
The tank and its components are inspected for cracks, corrosion, or worn seals to identify any additional repairs needed.
How to turn off water supply and drain the tank safely
Shut off the toilet’s water supply at the shutoff valve located on the wall or floor behind the bowl, then flush the toilet to lower the water level in the tank as much as possible.
Open the tank cover carefully.
Use a sponge or small cup to remove remaining water from the tank.
Verify the valve is fully closed and no refill occurs before proceeding.
Steps to protect bathroom surfaces and collect small parts
Lay down towels and a waterproof mat around the toilet to catch drips and protect flooring.
Place a washable drop cloth or cardboard on nearby countertops and the bathroom vanity to prevent scratches or cleaning-solution damage.
Set a magnetic tray or small container atop the closed tank lid for screws, clips, and washers.
Keep a towel-lined bucket nearby for removed parts and excess water.
Inspecting the tank and related components to diagnose additional issues
Lift the tank lid and visually scan the interior to identify worn, loose, or mineral-crusted parts that could indicate additional problems.
Check the fill valve, flapper, chain, and flush valve for deterioration, leaks, or misalignment.
Note mineral deposits on components and inside the tank.
Verify bolts, gaskets, and water level; document any issues to address during or after overflow tube replacement.
Step-by-step guide to replacing the overflow tube
The following steps outline a clear procedure for replacing the overflow tube, beginning with removing the tank lid and inspecting the internal layout.
The guide then covers disconnecting the refill tube and flapper, removing the old overflow tube (with methods for snap-in, glued, or integrated types), and cleaning the tank while checking for cracks or mineral buildup.
Finally, it explains how to install the new overflow tube and align it with the refill and flush mechanisms.
Step 1 Remove the tank lid and inspect internal layout
Begin by removing the tank lid and setting it on a soft, stable surface to prevent chips or cracks.
The technician notes the fill valve, float, overflow tube, and flapper positions.
Identify mounting styles, clips, and hose routes.
Look for mineral buildup, cracks, or loose fittings that could affect replacement.
Photograph the layout for reference before proceeding.
Step 2 Disconnect refill tube and detach flapper or flush valve components
Next, shut off the water supply and flush the toilet to empty most of the tank.
Then disconnect the refill tube from the fill valve and set it aside.
Then unhook the flapper chain from the flush handle arm, lift the flapper off its seat, and remove any retaining clips or fasteners holding the flapper or flush valve assembly.
Keep parts organized for reassembly.
Step 3 Remove the old overflow tube (methods for snap-in, glued, or integrated tubes)
With the tank emptied and flapper components set aside, attention turns to freeing the overflow tube itself.
For snap-in tubes, depress retaining tabs and lift straight up.
For glued tubes, apply heat or solvent near the base and gently pry with a plastic scraper to avoid porcelain damage.
For integrated units, unbolt the entire assembly from the tank and lift out as a single piece.
Step 4 Clean the tank area and check for cracks or mineral buildup
The tank interior should be thoroughly cleared of loose debris and dried. Then, it should be inspected visually and by touch for hairline cracks, warped seals, or mineral encrustation around the overflow opening and mounting points.
Hard water deposits should be softened with vinegar or a descaler, gently scrubbed with a nonmetal brush, and rinsed.
Any damaged components must be noted for replacement before proceeding.
Step 5 Install the new overflow tube and align with refill and flush mechanisms
Begin by positioning the replacement overflow tube inside the tank so its base seats securely over the flush valve opening and its top aligns beneath the refill tube outlet; confirm the tube’s mounting tabs or gasket engage the tank fittings without forcing or twisting.
Adjust tube height so overflow level matches manufacturer specs, guarantee vertical alignment with the flush valve, and tighten any retaining clip or nut snugly but not overtightened.
Step 6 Reconnect refill tube, flapper, and any linked parts
Reconnect the refill tube, flapper, and any linked parts by seating each component in its original position and securing connections so they operate smoothly together. Confirm clips and hooks engage, tubing reaches the overflow without kinks, and the flapper seals evenly. Verify chain length allows full flush without binding.
| Component | Check |
|---|---|
| Refill tube | Secure, no kinks |
| Flapper | Seal integrity |
| Chain | Correct length |
| Clips/hooks | Engaged |
Step 7 Restore water, adjust water level, and test for proper operation
With the refill tube, flapper, and chain secured, water can be turned back on and the tank refilled slowly to observe seating and seals.
The fill valve should shut off at the marked waterline; if not, adjust the float or fill-valve height.
Cycle the flush to confirm the refill rate, flapper closure, and proper overflow routing, making minor adjustments as needed.
Step 8 Final inspection for leaks and correct flush/overflow behavior
Perform a systematic final inspection to verify there are no leaks and that the flush and overflow operate correctly. Check tank connections, fill valve, and overflow tube alignment. Flush repeatedly, observe refill and overflow behavior, and inspect for drips. Confirm water level meets manufacturer specs and adjust if needed.
| Item | Action | Outcome |
|---|---|---|
| Tank bolts | Tighten | No leaks |
| Fill valve | Test | Proper refill |
| Overflow tube | Verify | Correct height |
| Flush | Repeat | Consistent flush |
| Water level | Measure | Meets spec |
Variations and special cases
Different toilet designs and age-related issues can change how an overflow tube is accessed and replaced, from one-piece versus two-piece models to older or uncommon fixtures.
In some modern units the overflow and flush valve are integrated, necessitating replacement of the entire assembly rather than just the tube.
Corrosion, adhesive or seized parts require alternative removal techniques and may dictate when a full valve swap is the safer option.
Replacing overflow tube in one-piece vs. two-piece toilets
One-piece and two-piece toilets require slightly different approaches when replacing an overflow tube because their tank construction and access points vary.
For two-piece units, remove the tank lid, drain water, and replace the tube with standard fittings.
For one-piece models, access may be limited; partial disassembly or manufacturer-specific clips and seals are often needed.
Always match part dimensions and secure seals properly.
Integrated overflow/flush valve assemblies when to replace the whole assembly
When tanks show recurrent leaks, erratic flushing, or wear that affects multiple internal components, replacing the entire integrated overflow/flush valve assembly is often more reliable than patching individual parts; assemblies that combine the overflow tube and flush valve simplify replacement when seals, stems, or molded passages are damaged, when parts are obsolete or proprietary, or when intermittent faults resist diagnosis.
| Sign | Cause | Action |
|---|---|---|
| Leak | Warped seal | Replace assembly |
| Faulty flush | Worn stem | Replace assembly |
Dealing with corroded, stuck, or glued tubes
Tackle corroded, stuck, or glued overflow tubes with care and the right tools, since these conditions require techniques beyond standard replacement.
Apply penetrating lubricant, allow dwell time, and use heat cautiously to soften adhesives.
Protect surrounding parts, use strap or chain wrenches for grip, and apply steady, controlled force.
If damage occurs or removal fails, consider replacing the entire assembly.
Replacing overflow tube in older or unusual toilet models
Older and unusual toilet models often require modified procedures and parts when replacing the overflow tube, because tank designs, mounting methods, and materials can differ markedly from modern standards.
Inspect model-specific fittings, note proprietary clips or integrated assemblies, and source compatible replacements or adapters.
Preserve aged porcelain and seals; use gentle tools.
When uncertain, consult manufacturer diagrams or a plumber to avoid damage.
Troubleshooting common problems after replacement
After replacing the overflow tube, the most common follow-up issues include continuous running or overfilling, a low water level, and persistent leaks at tank connections.
Diagnosis should focus on whether the fill valve and float need adjustment or replacement, whether the overflow height is correct, and whether seals and tank bolts are tightened and intact.
Simple fixes include adjusting or replacing the fill valve/float, trimming or repositioning the overflow, and replacing gaskets or retightening bolts to stop leaks.
Water continues to run or overfill diagnosis and fixes
If water continues to run or the tank overfills after replacing the overflow tube, the problem is usually a misaligned or improperly adjusted fill valve, a faulty flapper or refill tube, or debris obstructing the fill mechanism.
Diagnosing these issues systematically—observing the fill cycle, checking water level relative to the overflow tube, and inspecting the flapper seal and refill hose—will identify the specific cause and the appropriate corrective action.
Replace or clean affected parts.
Low water level after replacement adjustments to fill valve and float
Check the fill valve and float settings first when the tank fills below the proper waterline following a replacement.
Inspect float height, reposition clip or adjust cup/arm to raise shutoff point.
Make certain fill valve refill tube sits above overflow.
Verify valve refill rate isn’t restricted by debris; flush or replace valve if weak.
Test several cycles to confirm consistent correct water level.
Persistent leaks at tank connections sealing and bolt checks
Inspecting tank-to-bowl connections and bolts is the first priority when water continues to seep after an overflow tube replacement.
The technician checks the tank-to-bowl gasket, tightens bolts evenly to avoid warping, and replaces corroded washers or bolts.
Sealant or a new gasket is applied if needed.
After reassembly, tests for leaks under full and partial fills confirm repair success.
Cost, time, and when to call a professional
A typical DIY overflow tube replacement takes about 30–60 minutes and commonly costs $10–30 for parts such as a replacement tube or a full refill valve kit.
If leaks persist, the toilet runs continuously, or internal tank damage is evident, the job exceeds routine DIY scope. In those cases, a licensed plumber should be contacted to diagnose and repair underlying issues.
Typical DIY time and parts cost estimates
Cost and time estimates help homeowners decide whether to tackle an overflow tube replacement or hire help. Typical DIY time: 30–90 minutes. Parts cost: $5–$25 for a replacement tube or kit. Complexity and age of toilet can widen estimates.
| Item | Typical range |
|---|---|
| Time | 30–90 minutes |
| Parts cost | $5–$25 |
| Tools | Minimal |
Signs the repair is beyond DIY and requires a plumber
After estimating time and parts, homeowners should recognize situations where a repair exceeds typical DIY scope and requires a plumber.
Persistent leaks, cracked tank or bowl, corroded or inaccessible fittings, repeated failures after attempted fixes, water damage or mold, unclear source of overflow, or lack of proper tools/experience warrant professional assessment.
Expect higher labor costs but faster, reliable resolution and warranty.
Maintenance tips to prolong overflow tube life
Routine inspections and cleaning help prevent mineral buildup that can shorten an overflow tube’s lifespan.
Suggested practices and replacement timing can reduce failures and unexpected leaks.
Recommended actions include:
- Inspect for mineral deposits monthly
- Clean with a non-corrosive descaler as needed
- Replace the tube every 3–5 years or per manufacturer guidance
- Consider upgraded materials or treatments for hard-water environments
Routine inspections and cleaning to prevent mineral buildup
Inspecting the overflow tube and surrounding tank components at regular intervals helps catch mineral buildup before it impairs function.
A quarterly visual check, gentle scrubbing with a soft brush, and wiping deposits with vinegar or a mild descaler prevent corrosion and sticking.
Flapper seals, fill valve areas, and tube tops should be cleaned; loosened mineral crusts can then be rinsed away to maintain reliable operation.
Recommended replacement intervals and preventive upgrades
While an overflow tube can last many years with proper care, manufacturers and plumbers typically recommend evaluating its condition every 3–5 years and replacing it if signs of cracking, warping, or persistent mineral clogging appear. Preventive upgrades include using corrosion-resistant materials, installing a water softener, and replacing worn seals to extend service life.
| Visual | Upgrade |
|---|---|
| New tube | Corrosion-resistant PVC |
| Softener | Reduces minerals |
| Seal kit | Prevents leaks |
| Inspect | Annual check |
| Replace | 3–5 years |
Quick-reference checklist for replacing an overflow tube
A concise checklist helps guarantee the overflow tube replacement proceeds safely and efficiently; it lists required tools, safety steps, and key measurements so nothing is missed during the job.
A technician follows steps methodically: shutoff, drain, inspect, measure, remove, replace, test, and document.
Quick checklist:
- Shut off water and drain tank
- Measure tube height and fittings
- Remove old tube and clean seating
- Install new tube, test for proper fill
Conclusion
Like a steady river rerouted into a new channel, replacing the overflow tube restores quiet balance to the toilet’s inner workings. The repair reclaims control over water levels, preventing spills and prolonging tank life. With proper tools, patience, and attention to seals and alignment, most homeowners can complete the task quickly; persistent leaks or complex fittings signal it’s time to call a pro. Regular checks keep the system flowing calmly for years.