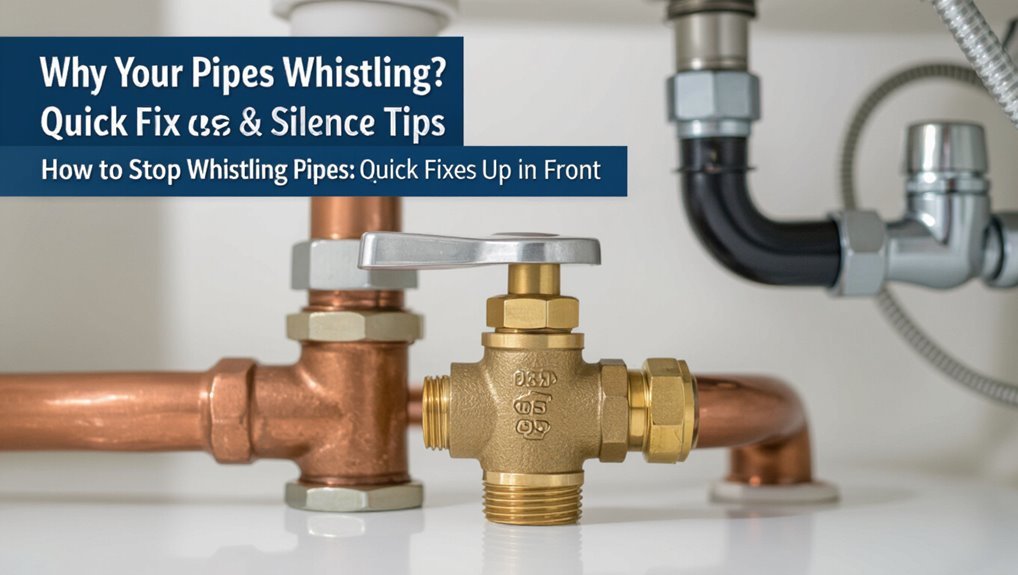
Why Your Pipes Whistling? Quick Fixes & DIY Silence Tips
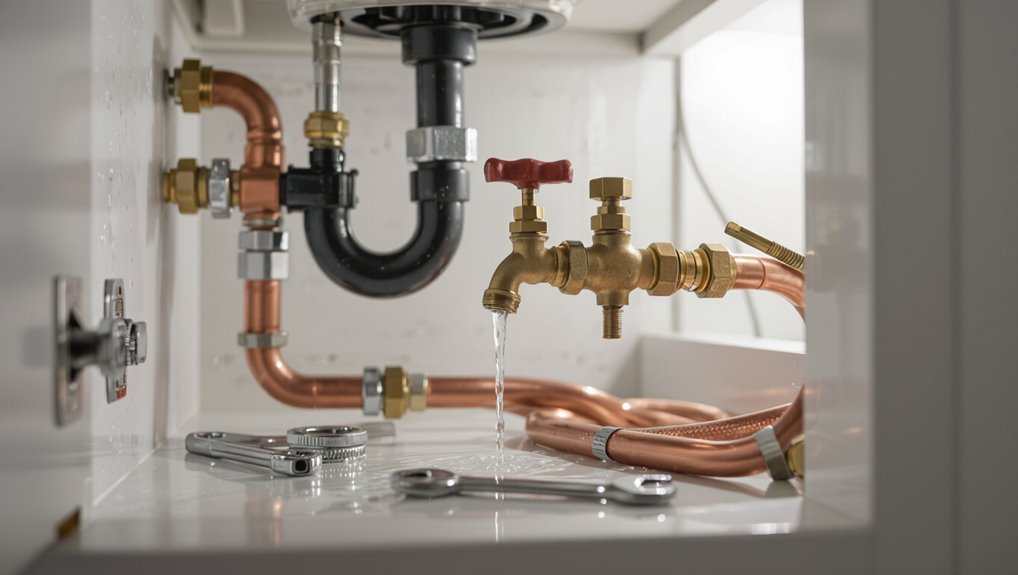
If your pipes are whistling, it usually indicates turbulent flow caused by high pressure, a partially closed valve, or vibrations from loose fittings and worn internal parts. To quickly resolve this issue, you can try slightly opening shutoff valves, cleaning aerators, tightening packing nuts, and securing loose pipe runs. Additionally, mineral buildup in components like aerators and PRV diaphragms can restrict flow and create high-pitched sounds. Measuring your system’s pressure and adjusting or replacing the pressure reducing valve (PRV) may also be necessary. For detailed step-by-step checks, tools needed, and guidance on when to call a professional, keep reading.
How to Stop Whistling Pipes : Quick Fixes Up Front
Begin by identifying the whistle’s source: check visible pipe joints, valves, and fixtures for loose fittings, mineral buildup, or partially closed valves that create turbulent flow.
A homeowner can tighten fittings, reseat or replace washers, and clear aerators to reduce vibration.
For mineral deposits, a vinegar soak or gentle scraping restores smooth flow.
Partially closed shutoffs and pressure-reducing valves should be adjusted carefully; if noise persists, slightly opening or replacing them often stops whistling.
Insulating clamps or foam pipe wrap dampens residual vibration.
If these quick fixes fail, professional assessment is recommended to avoid damaging plumbing while troubleshooting.
Find the Whistling Pipe: 5-Step Diagnosis
After trying quick fixes, the next step is a focused, systematic check to locate the whistling source. A technician or homeowner moves methodically: listen at fixtures, isolate valves, and note when noise changes with water use. Shut off branch valves to narrow location. Inspect visible runs for loose fittings or straps; tap pipes lightly to detect vibration points. Use a smartphone to record and compare tones in different areas. If needed, enlist a second person to operate taps while the diagnostician listens.
| Step | Action |
|---|---|
| 1 | Listen fixtures |
| 2 | Isolate valves |
| 3 | Inspect runs |
Why Pipes Whistle (And What to Try First)
Whistling in pipes often stems from two common causes: high water pressure and loose valve parts that vibrate when water flows.
The first step is to check system pressure and adjust or install a pressure regulator if readings exceed recommended levels. If pressure is normal, inspect and tighten or replace valves and packing to eliminate vibrating components.
High Water Pressure
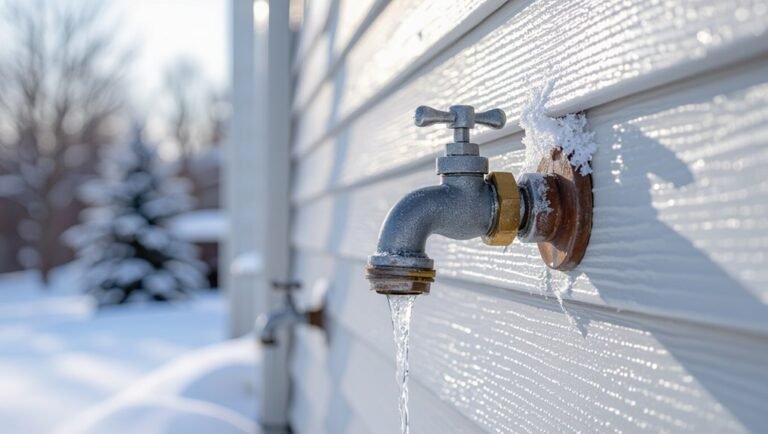
High household water pressure can force pipes or fittings to vibrate, producing a sharp, whistle-like tone when flow is restricted by valves or fixtures. The condition often appears when supply pressure exceeds recommended levels (typically above 60–80 psi), stressing joints and causing turbulent flow at narrow points.
Measuring pressure with a gauge at an outdoor spigot identifies the problem. Installing or adjusting a pressure-reducing valve (PRV) to achieve steady, lower pressure usually eliminates the noise.
Temporary mitigation includes partially opening a faucet to reduce local pressure. Persistent high readings warrant a licensed plumber to set or replace a PRV for safe, long-term control.
Loose Valve Parts
Inspect valve components when pipes emit a sudden, high-pitched tone during operation.
Loose packing nuts, worn seats, or unseated washers can vibrate as water flows, creating a whistle. The homeowner can tighten accessible nuts, replace deteriorated washers, or swap cartridge-type valves.
Always shut off water and relieve pressure before disassembly.
If the noise persists after basic adjustments, corrosion or hidden damage may require a replacement valve or professional inspection. Properly fitting parts stop turbulence at the source, restoring quiet flow and preventing leaks.
- Tighten visible packing nuts
- Replace worn washers or seats
- Swap cartridge or stem assemblies
- Call a plumber for corroded valves
Quick DIY Checks: Valves, Faucets, and Straps
A quick set of DIY checks can often identify the source of whistling pipes.
First, the shutoff valve should be operated to confirm it fully opens and closes without grinding or looseness.
Next, faucet aerators should be inspected for debris and pipe straps tightened or added where vibration causes movement.
Check Shutoff Valve Operation
When water pipes emit a whine, checking the shutoff valve operation is a quick diagnostic that often reveals the cause: partially closed or stiff valves create turbulence and vibration.
One must visually inspect valve position, operate it gently, and note any change in pitch.
Corroded stems, loose packing nuts, or foreign debris can cause partial closure; simple lubrication or cycling may restore smooth flow.
If a valve resists or leaks, replace it to eliminate noise and prevent failure.
Safety: shut main supply before major repairs and drain lines.
- Check valve position and alignment
- Slowly open and close to test feel
- Lubricate stiff stems if accessible
- Replace leaking or seized valves
Inspect Faucet Aerators
Why is the aerator worth checking first? A clogged or damaged aerator often creates high-frequency noise as water constricts through mineral buildup or a dislodged screen.
The homeowner should remove the aerator with pliers covered by cloth, inspect screens and flow restrictors, and rinse or soak parts in vinegar to dissolve deposits. Replace deteriorated washers or the entire aerator assembly if cleaning fails.
Reinstall snugly to avoid leaks and test for remaining whistling at multiple flow settings. If noise persists despite a clean aerator, the problem likely lies elsewhere in the faucet or supply lines.
Secure Loose Pipe Straps
If cleaning the aerator does not stop the whistling, attention should shift to the piping itself, where loose straps can allow vibration and high-pitched noise as water flow causes pipes to move against framing.
A quick inspection locates rattling sections; tightening or replacing worn straps usually silences the sound. Use cushioned clamps or add rubber tape under metal straps to dampen vibration. Make sure straps are placed near fixtures and at manufacturer-recommended intervals. Work calmly, shut off water if needed, and avoid overtightening which can stress pipes. Professional help is advised for persistent or hard-to-reach noises.
- Inspect for loose or missing straps
- Tighten strap screws securely
- Add rubber padding or cushioned clamps
- Replace corroded or broken straps
Fix a Whistling Faucet Aerator in 5 Minutes
Tighten a few steps and the annoying whistle from a faucet aerator can usually be silenced in five minutes.
The aerator is removed with pliers wrapped in cloth to protect finish, then inspected for mineral buildup, debris, or a misaligned screen.
Soaking parts in vinegar loosens scale; a soft brush clears particles.
Reassemble components in order, ensuring the rubber washer seats correctly.
Hand-thread the aerator, then snug with pliers without over-torquing.
Test flow for lingering vibration; replace the aerator if damage persists.
Quick inspection and cleaning resolve most faucet whistles, restoring quiet flow efficiently.
Stop Whistling Pipes From Pressure-Reducing Valves (PRVs)
When whistling is traced to a pressure-reducing valve, the check valve and internal diaphragm are common culprits and should be inspected for wear or debris.
Technicians then assess and, if needed, adjust the PRV pressure setting to reduce turbulent flow that causes noise.
If tightening the bonnet or replacing the valve does not stop the whistle, a full PRV replacement is recommended.
Check Valve and Diaphragm
In cases where a pressure-reducing valve (PRV) produces a persistent whistle, the check valve and internal diaphragm are common culprits.
Inspection reveals worn diaphragms, mineral buildup, or a sticking check valve that allows turbulent flow.
Replacement or cleaning often stops noise; matching parts to valve model guarantees proper sealing.
Temporary lubrication or descaling may help but can mask failure.
Safety precautions include shutting water off and relieving pressure before work.
When uncertain, a qualified plumber should perform the repair to avoid leaks or damage.
- Look for visible wear or cracking
- Clean mineral deposits gently
- Replace diaphragm with OEM part
- Test under normal pressure
Adjust Pressure Settings
By adjusting the outlet pressure of a pressure-reducing valve (PRV) to the manufacturer’s recommended range, humming or whistling caused by excessive downstream pressure can often be eliminated.
The homeowner or technician should measure static and dynamic pressures with a gauge at a convenient tap, compare readings to guidelines (typically 50–60 psi residential), and make small adjustments at the PRV screw or bonnet while observing noise change.
After each minor turn, allow flow to stabilize before rechecking.
If noise subsides when pressure falls into range, document the setting.
Routine monitoring prevents recurrence when supply conditions shift.
Tighten Or Replace PRV
Tighten the PRV packing nut or replace the entire valve if whistling persists despite correct pressure settings. A loose packing nut lets the stem vibrate; a worn seat or diaphragm can also cause high-frequency noise.
Inspect for leaks, corrosion, and mineral buildup before deciding. If tightening stops the whistle, monitor for recurrence; if not, replace the PRV to restore quiet operation and consistent downstream pressure.
Replacement is straightforward for someone comfortable with basic plumbing but hire a pro if unsure or if local codes require permits.
- Check for visible leaks and mineral deposits
- Tighten packing nut incrementally
- Test water pressure after adjustments
- Replace PRV when worn or damaged
Silence Loose or Vibrating Pipe Straps
Secure or replace loose pipe straps to eliminate the rattling that often causes whistle-like noises.
Inspect visible runs for gaps, worn padding, or broken fasteners. Tighten straps just enough to prevent movement without compressing insulation or deforming piping.
Replace corroded metal straps with cushioned or rubber-lined clamps where pipes cross framing to damp vibrations. Use isolation clips for plastic plumbing to reduce sound transfer.
After securing, run water at typical flow rates to confirm noise reduction. Repeat inspections after seasonal shifts or remodeling. Professional help recommended if access is limited or noises persist despite proper strap support.
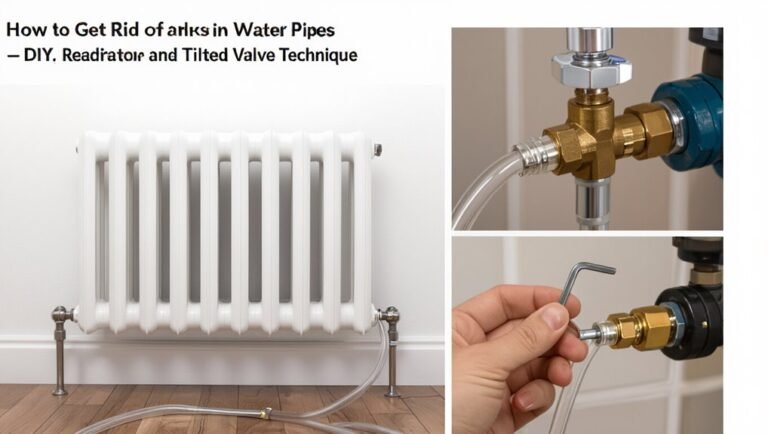
Fix Water-Hammer & Air Noise in Pipes
Address water-hammer and trapped-air noises by identifying their sources—sudden valve closures that send shock waves through the system, or air pockets that cause banging, sputtering, or high-pitched surges. The homeowner inspects recent valve changes, loose fixtures, and locations of loud impacts.
Solutions include installing water-hammer arrestors, securing pipes to reduce movement, bleeding trapped air via highest faucets, and checking pressure-reducing valves for correct settings. Persistent problems may require replacing worn appliances or adding expansion tanks.
Safety precautions: shut off supply before work and relieve pressure. Professional help is advised if noise remains after basic corrective steps.
- Install arrestors near fast-closing valves
- Secure pipes with straps
- Bleed air from high faucets
- Check and adjust pressure settings
Descale Pipes: When Mineral Buildup Makes Pipes Sing
Descaling pipes becomes necessary when mineral deposits from hard water narrow passages and cause high-pitched whistling or reduced flow. The homeowner inspects fixtures, identifies scale near valves and aerators, and chooses appropriate descaling methods—vinegar soak for removable parts, diluted acid for metal pipes with caution, or professional flushing for extensive buildup. Regular preventive treatments reduce recurrence. Safety includes turning off water, ventilating, and protecting finishes. If noise persists after descaling, corrosion or loose components may be factors requiring further diagnosis.
| Method | Advantage | Precaution |
|---|---|---|
| Vinegar soak | Cheap | Not for sealed systems |
| Acid flush | Fast | Requires PPE |
| Professional flush | Thorough | Costly |
Tools & Parts You’ll Need (With Budget Ranges)
For tackling whistling pipes, a compact kit of hand tools, replacement parts, and safety gear covers most homeowner needs. A basic set lets one locate rattles, tighten fittings, swap washers, and replace small valves. Typical budgets range: minimal repairs under $30, common parts $30–$100, and higher-quality valves or cartridges $100–$200. Parts can vary by pipe material and fixture type.
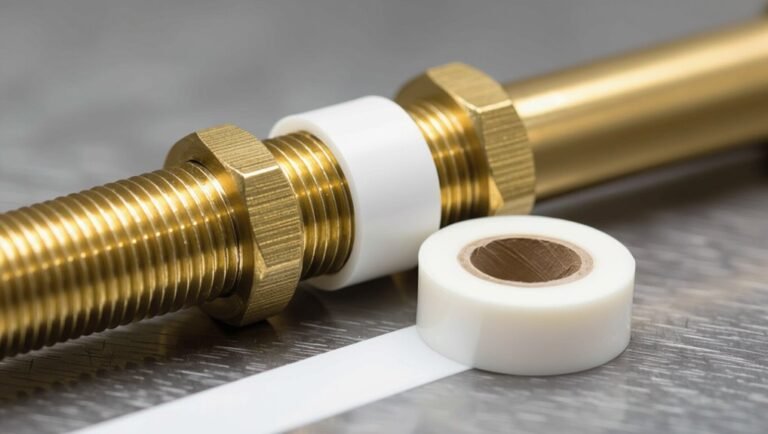
- Adjustable wrench, channel-lock pliers, plumber’s tape ($10–$30)
- Assortment of washers, O-rings, replacement cartridges ($5–$60)
- Pipe clamp, silicone sealant, thread sealant ($10–$40)
- Small replacement ball valve or gate valve ($20–$200)
Safety: When to Shut Off Water Before You Work
After gathering tools and parts, the next safety consideration is when to shut off the water before beginning work. The person evaluates whether the task involves valve replacement, pipe disassembly, or only minor adjustments.
For anything that risks spray, pressure changes, or valve removal, the main shutoff or localized shutoff must be closed. Drain lines and open faucets to relieve residual pressure. Use a bucket and towels to manage remaining water.
If the building has multiple units, confirm which shutoff controls the affected area. Keep a wrench nearby and label valves for future reference before restarting water slowly.
When to Call a Plumber (Signs & Expected Costs)
When should a homeowner call a plumber for a whistling pipe? A professional is warranted if the noise persists after basic checks, accompanies pressure loss, or signals potential damage. Plumbers diagnose valve issues, loose fittings, or hidden pipe stress and recommend repairs or replacements. Typical service costs vary: a diagnostic visit, minor repairs, and more extensive fixes carry different ranges depending on region and complexity.
- Sudden loud whistling with pressure drops
- Repeated noise after tightening or cleaning
- Visible leaks, corrosion, or water stains
- Older plumbing or hard-to-reach pipes needing inspection
Prevent Whistling Pipes: Simple Long-Term Steps
Having called a professional for persistent or severe whistling, a homeowner can reduce future risks by adopting a few straightforward maintenance habits and small upgrades.
Regularly inspect valves, faucets, and visible pipes for looseness, corrosion, or mineral buildup; tighten fittings and replace worn washers promptly. Flush water heaters annually to remove sediment that promotes turbulent flow. Install or upgrade water pressure regulators and consider softeners where hard water is present to limit scale. Secure loose pipes with proper clamps and add foam insulation to dampen vibration. Schedule periodic plumbing checkups to catch developing issues before they produce noise.
Conclusion
A few gentle nudges often hush a whistling pipe, but when the house begins to sing, it hints at systems needing a kinder touch. Tending valves, aerators, and straps can soothe noise before it insists on louder remedies. For those cautious of improvisation, professional hands offer a discreet remedy. In any case, addressing the small sighs now prevents them from becoming louder complaints later—an unobtrusive step toward household harmony.