How to Stop Pipes From Banging: Quick Fixes for Noisy Plumbing
To stop noisy, banging pipes, address common causes like water hammer, loose supports, trapped air, and thermal expansion. Secure loose pipes with cushioned clamps and straps every 4–6 feet, add foam insulation where pipes contact framing, and replace any worn faucet washers or valve components. Install a water-hammer arrestor near quick-closing valves, bleed the water lines to eliminate trapped air, and consider reducing system pressure with a regulator. If these quick fixes don’t resolve the issue, it may be time to consult a plumber for a more thorough diagnosis.
Stop Banging Pipes Now: 5 Quick Fixes You Can Try
Five straightforward fixes can stop pipes from banging without calling a plumber.
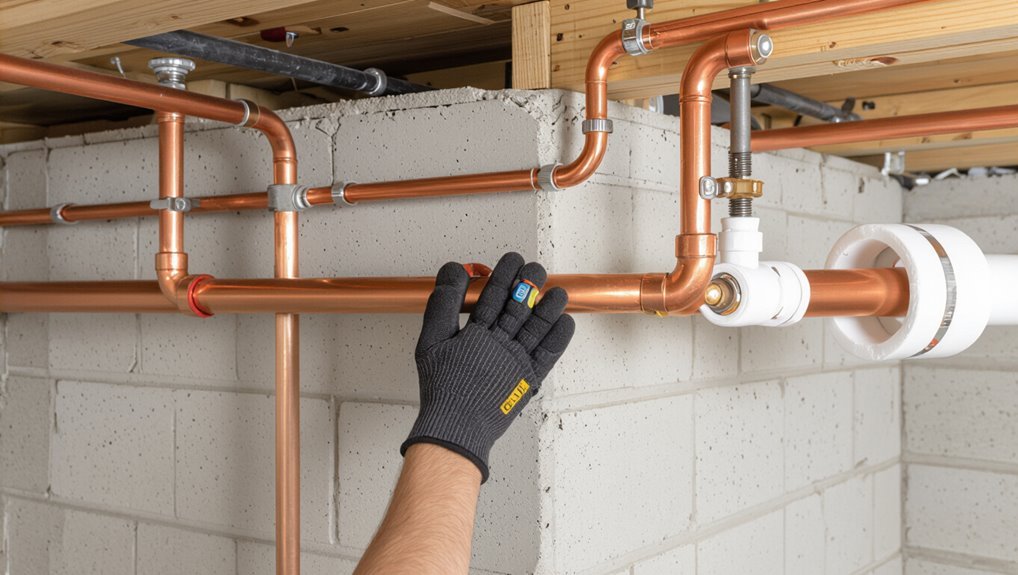
The homeowner secures loose pipes with cushioned clamps, reducing vibration where pipes cross joists.
Installing a water hammer arrestor near quick-closing valves absorbs shock from sudden flow stops.
Adjusting system pressure via the regulator prevents excessive force that triggers banging.
Draining and refilling the system to remove trapped air cushions columns and stabilizes flow.
Replacing worn faucet washers and valve parts eliminates abrupt closures that create shock waves.
Each fix requires basic tools and caution; when uncertain, escalation to a professional guarantees safety and lasting resolution.
Diagnose Pipes Banging: Where the Noise Starts and What It Means
Listening to when and where pipes knock gives the clearest clues to their cause: a sharp bang near a laundry or dishwasher typically signals water hammer from a quick-closing valve, rattling along a run that crosses joists points to unsecured pipes, a persistent thump that follows a fixture shutoff suggests high system pressure or trapped air, and intermittent tapping tied to temperature changes often indicates expansion against framing.
Observing timing, location, and which fixtures are active narrows diagnosis. Low-frequency clunks when pumps start suggest pressure spikes; metallic ticks during heating cycles indicate thermal movement. Note patterns before attempting repairs or calling a plumber.
Stop Rattling Pipes: Clamps, Straps, and Padding That Actually Work
Begin by securing loose runs with the right hardware: metal clamps and cushioned straps stop most rattles by holding pipes tightly against framing while isolating vibration.
The writer notes simple materials and placement matter. Use foam pipe wrap where pipes cross studs, rubber-lined clamps at intervals, and adhesive-backed padding in tight cavities to prevent metal-on-wood contact.
Fasten clamps snug but not deforming the pipe.
Check for worn hangers and replace with neoprene-lined options.
Tighten connections that allow movement.
Regular inspection after repairs confirms effectiveness and reveals missed contact points.
- Foam wrap at crossings
- Rubber-lined clamps every 4–6 ft
- Adhesive padding in cavities
Install a Water‑Hammer Arrestor (DIY Step‑by‑Step + Cost/Time)
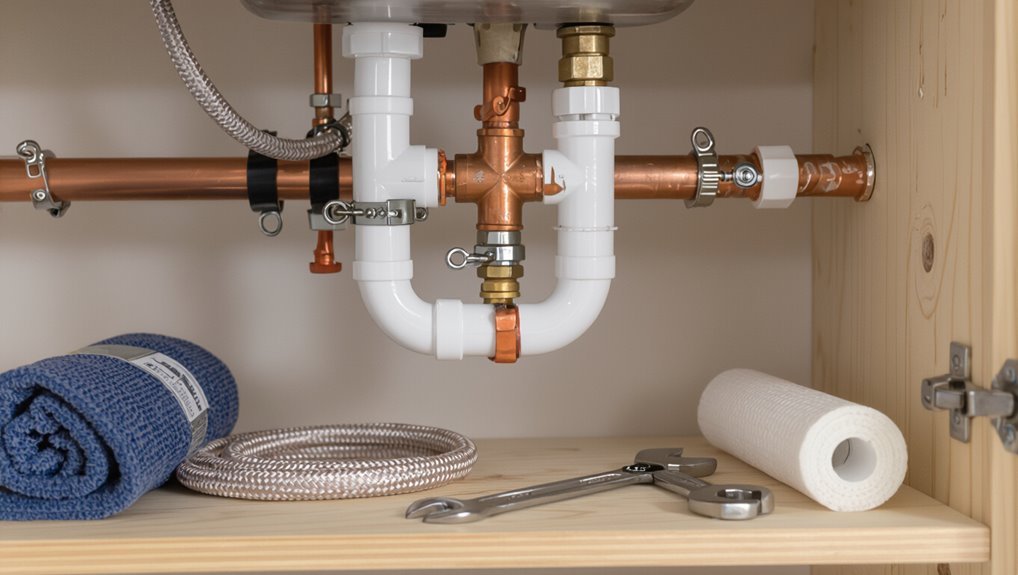
After securing loose runs and isolating rattles, the next step is to address sudden shock from fast-closing valves by installing a water‑hammer arrestor.
A homeowner locates the offending fixture, shuts off supply, drains the line, and chooses a compatible arrestor (in-line or stop‑valve-mounted).
Cut the pipe, deburr, and fit per manufacturer instructions using solder, compression, or push‑fit connectors.
Test by restoring water and cycling the fixture; listen for eliminated bangs and check for leaks.
Typical parts cost $15–$50; time is 30–90 minutes depending on access and skill.
Safety: work with mains off and basic tools only.
When to Call a Plumber : What Photos and Details to Show Them
When should a plumber be called instead of continuing DIY? A professional should be contacted when banging persists after basic fixes, water damage appears, or the source is inaccessible. Provide clear, focused information to speed diagnosis.
- Photos: exterior shots of noisy fixtures, pipe runs in basements/ceilings, and any visible damage.
- Details: times noise occurs, recent changes (appliances, valves), water pressure readings if available.
- Context: home age, previous plumbing work, and whether multiple fixtures are affected.
Concise, well-lit images plus the timeline and context let a plumber assess urgency and prepare tools or replacement parts.
Conclusion
A homeowner patches a loose strap and, by chance, the kitchen tap’s ghostly thump halts—the same day a neighbor mentions a plumber’s arrestor fixed their squeal. These coincidences underline a simple truth: small fixes often stop big noises, and timing matters. Armed with clamps, padding, and an arrestor, one can quiet most pipes. When sounds persist, the same serendipity that revealed solutions suggests it’s time to call a pro.