How to Reset Rheem Tankless Water Heater: Step-by-Step Troubleshooting Guide
To reset a Rheem tankless water heater, first isolate power, gas, and water. Then, perform a soft reset by power cycling the unit or pressing the dedicated reset button located behind the access panel, following your specific model’s instructions. If this doesn’t resolve the issue, a factory hard reset may be necessary. After resetting, check for error codes, water flow, and ignition. This guide also includes model-specific sequences, safety precautions, and troubleshooting tips to assist you further.
How to Reset a Rheem Tankless Water Heater Quickly
A quick reset is recommended when the unit displays transient error codes, briefly loses power, or fails to ignite despite normal water flow.
It can clear temporary faults and restore operation without tools or service.
Persistent errors, sensor failures, or scale buildup will not be fixed by a reset and require inspection or maintenance.
When you should reset the unit immediately
When error codes persist, power cycles fail, or the unit exhibits sudden loss of hot water, a reset should be performed immediately to prevent further damage and restore normal operation.
Technicians or owners troubleshooting how to reset rheem tankless water heater should also reset after gas supply interruptions, abnormal noise, or safety lockouts.
If symptoms continue post-reset, arrange professional service promptly.
What a reset can and cannot fix
Following an immediate reset prompted by persistent error codes or safety lockouts, understanding what that reset can realistically address helps set expectations for further action.
A reset can clear transient electronic faults, reset protective trips, and restore normal operation after temporary conditions.
It cannot repair mechanical failures, clogged sensors, scale buildup, gas supply issues, or wiring faults; those require inspection and repair.
Safety Precautions Before Resetting
Before attempting a reset, the technician should don appropriate personal protective equipment such as gloves and eye protection.
Power and gas supplies must be shut off according to manufacturer instructions to prevent shock or leaks.
Finally, confirm that water and electrical feeds are isolated to guarantee the unit is safe to service.
Required personal protective equipment
Technicians should always wear appropriate personal protective equipment (PPE) to reduce risk of burns, electrical shock, and exposure to gas or hot water while resetting a Rheem tankless water heater.
Required items include insulated gloves, safety goggles, flame-resistant clothing, and sturdy footwear.
Hearing protection is advised if working near noisy equipment.
Respiratory protection should be used when venting or in poorly ventilated spaces.
Turning off power and gas safely
Shut off all electrical and gas supplies to the unit before any reset attempt to eliminate risk of shock, fire, or explosion.
A qualified person locates the heater’s breaker and flips it off, then closes the gas shutoff valve.
Confirm valve position visually and label controls if needed.
Avoid operating switches, and do not attempt repairs until power and gas remain secured.
Verifying water and electrical isolation
One essential step is confirming that both water and electrical supplies are fully isolated to prevent accidental flow or energization during a reset.
The technician verifies the main water shutoff is closed and drain valves are opened to relieve pressure.
Circuit breakers or fused disconnects must be turned off and locked or tagged out.
Confirm isolation with a tester and visually inspect valves and switches.
Tools and Parts You May Need
A concise list of common tools—screwdrivers, adjustable wrench, multimeter, and a flashlight—helps prepare for a reset and basic troubleshooting.
It is also prudent to have replacement parts on hand such as a spare fuse, inlet filter, and O-rings for quick swaps if failures are discovered.
These items minimize downtime and support a smoother, safer procedure.
Common tools list
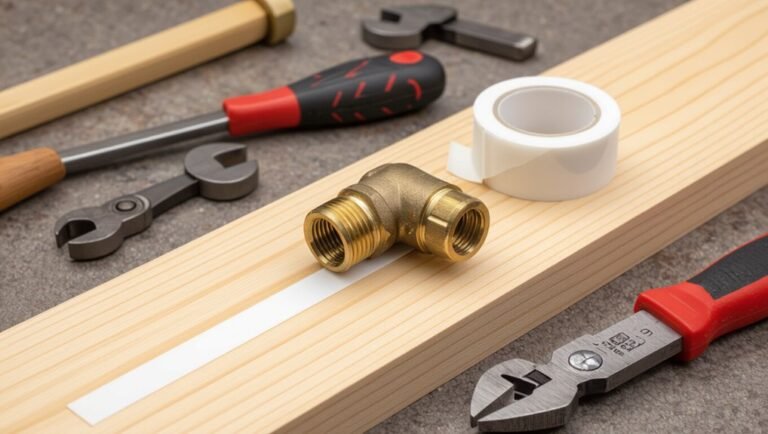
Before beginning the reset procedure, gather a concise set of tools and replacement parts to guarantee the job proceeds smoothly: adjustable wrench, flathead and Phillips screwdrivers, bucket, hose (for flushing), 1/4-inch hex (Allen) wrench, Teflon tape, replacement inlet/outlet filters or isolation valves if corroded, and safety gloves and goggles.
- Multimeter for basic electrical checks
- Pipe wrench for stubborn fittings
- Funnel for draining and refilling
- Soft brush for filter cleaning
Replacement parts to have on hand
Spare parts reduce downtime and secure a successful reset or repair of a Rheem tankless water heater.
Recommended items include replacement filters, inlet/outlet fittings, pressure relief valves, ignition sensors, flame rods, thermistors, and solenoid valves.
Keep manufacturer-specific gaskets, O-rings, and key electrical connectors.
Having these parts on hand minimizes service delays and guarantees correct, safe component swaps during troubleshooting.
Step-by-Step Reset Procedure for Common Rheem Tankless Models
The following section outlines how to locate the control panel and reset button, and when to use each reset method.
It covers soft resets via power cycling, manual reset-button presses, and factory/hard resets where applicable.
Brief model-specific notes for the Performance, RTG, and RTGH series highlight any differences in procedure.
Locating the reset button and control panel
A clear understanding of the control panel layout and reset button location simplifies troubleshooting across common Rheem tankless models.
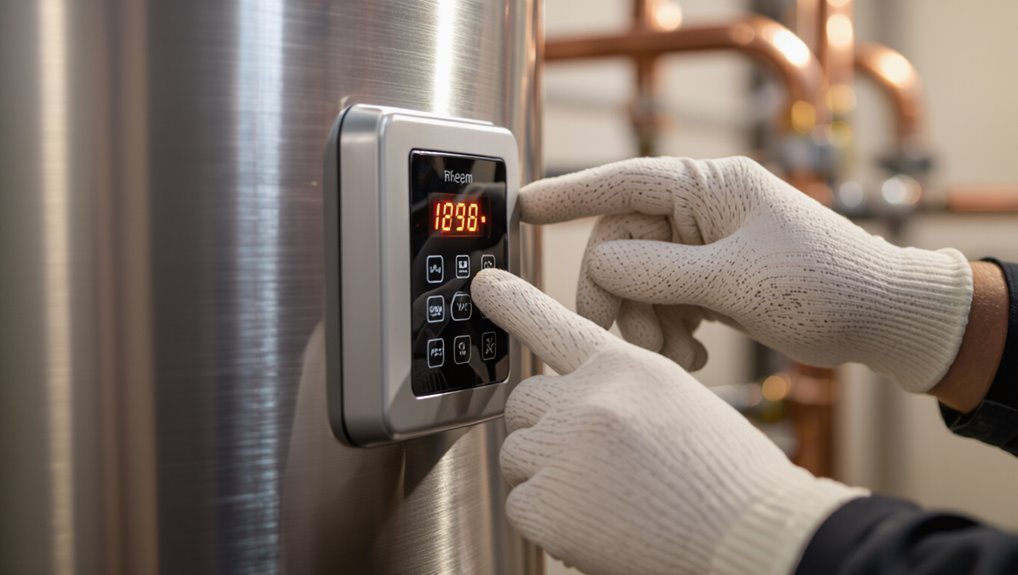
Locate the front access panel, usually secured by clips or screws. The control panel sits behind it, featuring an LCD, mode buttons, and a recessed or labeled reset button.
Consult the model-specific manual for exact placement and access precautions before attempting any interaction.
Performing a soft reset (power cycle)
Perform a soft reset by fully cycling power to the unit, which clears transient errors without altering saved settings.
The technician disconnects power at the breaker, waits 30–60 seconds, then restores power, observes startup diagnostics, and notes any persistent codes.
This simple power cycle resolves many intermittent faults before further troubleshooting.
- Cut power
- Wait
- Restore power
- Check codes
Performing a manual/reset button press
To reset common Rheem tankless models using the manual/reset button, locate the button on the control panel or behind the access cover and press it according to the model-specific sequence; this clears certain fault codes and forces a restart without interrupting household power.
- Verify water and gas supplies are on.
- Press and hold per manual timing.
- Observe LED/code changes.
- If unresolved, record codes and proceed to diagnostics.
Performing a factory or hard reset (when applicable)
When a manual reset does not clear persistent faults or restore normal operation, a factory or hard reset returns compatible Rheem tankless units to their original default settings by fully resetting the control board and clearing stored error histories.
Technicians should confirm model compatibility, power down safely, follow the manufacturer’s hard-reset sequence, and verify post-reset operation and error logs.
- Confirm compatibility
- Power down safely
- Execute hard-reset sequence
- Verify operation
Model-specific notes for popular Rheem Series (Performance, RTG, RTGH)
After completing a factory or hard reset, technicians should consult model-specific procedures because button layouts, keypad sequences, and diagnostic displays vary across Rheem’s Performance, RTG, and RTGH lines.
Performance series uses simple keypad resets; RTG models often require holding power and temp buttons plus confirmation.
RTGH (condensing) adds menu navigation and maintenance prompts.
Always verify error codes and firmware notes before restarting.
Checking System Status After Reset
After the reset, the technician inspects the unit’s display for any codes and checks indicator lights for active errors.
Gas and electrical supplies are then restored and a hot-water test is run to confirm ignition and flow.
The observer notes how long the system takes to stabilize and what normal operating behavior—steady temperature and no error codes—looks like.
Verifying display codes and error lights
How should one confirm the unit has returned to normal operation?
Check the digital display for a steady temperature readout and absence of fault codes.
Observe any indicator LEDs: steady green or no error light denotes normal status.
If codes or flashing lights persist, record the exact code, consult the manual for meaning, and proceed with targeted diagnostics or contact service.
Restoring gas and power and running a hot-water test
Once gas and electrical connections have been reinstated, the technician should power the unit and slowly open the hot-water faucet to initiate a demand cycle; this confirms the heater is receiving inputs and allows observation of ignition, burner operation, and flow-sensing behavior.
The technician notes startup sounds, flame stability, and any error codes, checks for leaks, and verifies consistent hot-water delivery under typical flow conditions.
How long to wait and what normal operation looks like
When the technician completes the restart and initiates a demand cycle, a brief stabilization period of about 1–3 minutes is typically sufficient for the system to reach steady operation.
During this time, the controller completes self-checks, the ignition sequence may cycle briefly, and flow-sensor readings settle.
Afterward, normal operation includes steady burner ignition, stable temperature at setpoint within a few degrees, no error codes, and consistent water flow.
Troubleshooting Persistent Problems
When a reset does not resolve the issue, the technician should review persistent error codes and document any that remain active.
They should then inspect for causes of no-hot-water conditions, including blocked heat exchangers, inadequate gas ignition, and incorrect water flow or pressure.
If gas ignition failures or flow problems persist after reset, further diagnostic testing and professional service are recommended.
Common error codes that won’t clear with a reset
Which error codes indicate a deeper issue rather than a transient fault?
Persistent codes often signal hardware or installation problems needing repair or replacement.
Common non-clearing examples include:
- E1 — ignition failure after multiple attempts.
- E2 — flame loss or gas valve malfunction.
- E6 — flow sensor or board communication fault.
- A3 — overheating or heat exchanger blockage requiring service.
Diagnosing no-hot-water after reset
Start by confirming basic conditions: verify the unit shows power, the gas supply (or electrical connection for electric models) is on, and hot water demand is present at a fixture.
If still cold, inspect inlet water supply valves, filters, and flow sensors for blockage; check error history and temperature setpoint; guarantee venting and condensate lines are clear.
Log findings before contacting service.
Gas ignition failures and resets
Address gas ignition failures methodically, since persistent ignition faults are a common cause of no-heat conditions and can indicate issues ranging from simple gas supply interruptions to faulty ignition components or control board errors.
Inspect gas supply, shutoff valve, and pressure; check venting and air intake for obstructions.
Observe error codes, attempt controlled reset, then test ignition.
Replace ignition module or call qualified technician if faults persist.
Water flow and pressure issues after reset
After confirming ignition and gas supply, attention should turn to water flow and pressure, since resets can reveal or mask hydraulic faults that leave the unit running but not delivering hot water.
Inspect inlet filters, clean aerators, and verify minimum flow rates.
Check for closed or partially closed valves, blocked lines, or failing circulation pumps.
Measure pressure and address drops or fluctuations promptly.
When to Call a Professional
If a unit exhibits safety-critical failures—such as gas leaks, persistent electrical faults, or overheating—professional service is required immediately.
Homeowners should also consider warranty terms and whether an authorized technician is needed to avoid voiding coverage.
When contacting a technician, provide the model and serial number, error codes, a brief description of symptoms, and any troubleshooting steps already taken.
Safety-critical failures requiring service
Several situations involving a Rheem tankless water heater indicate urgent, safety-critical failures that require a qualified technician rather than DIY attempts.
Severe gas smells, persistent carbon monoxide alarms, visible flame instability, or repeated ignition failures with erratic behavior demand immediate professional intervention.
Significant leaks around the heat exchanger, electrical arcing, or combustion chamber damage also qualify—stop use, isolate power/gas, and contact certified service without delay.
Warranty and service-call considerations
Responsibility for repairs often hinges on warranty terms and the nature of the fault, so owners should review their Rheem documentation before attempting fixes.
If the unit is under warranty or the issue involves sealed components, electrical faults, gas supply, or persistent errors after basic resets, a qualified technician should be contacted.
Unauthorized repairs may void coverage; document symptoms and actions taken.
What information to provide to a technician
When calling a technician, homeowners should be prepared to provide clear, specific details about the Rheem tankless unit and the problem: model and serial numbers, installation date, recent maintenance or service history, a description of symptoms and error codes displayed, recent changes to gas, water, or electrical supply, and any troubleshooting steps already attempted.
Additionally, include photos of the unit, error displays, piping, and installation area, plus preferred access times.
Preventative Maintenance to Reduce Future Resets
Regular descaling and flushing on a set schedule helps prevent mineral buildup that often triggers resets.
Routine inspections of filters and vents guarantee proper airflow and combustion.
Seasonal checks, including winterizing procedures where applicable, reduce weather-related failures and extend reliable operation.
Regular descaling/flushing schedule
Although mineral buildup accumulates gradually, a consistent descaling and flushing schedule is essential to maintain heat-exchanger efficiency and prevent frequent electronic resets.
A recommended routine is annual descaling in moderate-hardness areas and biannual in hard-water regions.
Use manufacturer-approved descaling solutions, follow lockout and bypass procedures, and record dates.
Regular flushing preserves flow sensors, improves performance, and reduces service calls.
Filter and vent inspections
Inspect filters and vents at set intervals to prevent airflow restriction and particle buildup that can trigger system faults or premature resets.
Technicians should remove, clean, and replace inlet and combustion filters per manufacturer guidance.
Visually inspect venting for obstructions, corrosion, or loose connections and guarantee proper clearances.
Document inspections and corrective actions to track wear and anticipate replacements before failures occur.
Seasonal checks and winterizing tips
When temperatures change, technicians should perform seasonal checks and winterizing steps to prevent freeze damage and reduce the likelihood of future resets.
Inspect insulation on exposed pipes, verify condensate drain integrity, and flush the unit to remove sediment.
Install or test freeze protection devices and guarantee proper vent clearances.
Document findings and schedule follow-up maintenance before cold weather sets in.
Quick Reference: Reset Steps and Common Error Codes
Refer to the following concise reset steps and common error codes to quickly diagnose and clear most Rheem tankless water heater issues. Perform power cycle, check gas and water supply, press reset per model, and monitor display. Common codes: E001 (ignition), E002 (overheat), E004 (flow).
| Action | Typical Code |
|---|---|
| Power cycle | E001 |
| Check flow/gas | E002 |
| Press reset | E004 |
Conclusion
To summarize, resetting a Rheem tankless water heater restores normal function like rebooting a map to find a lost route: simple resets often resolve transient errors, while persistent faults signal deeper issues. Following safety precautions, using the correct reset steps for specific models, and performing regular maintenance can minimize future interruptions. If error codes persist after troubleshooting, contacting a qualified technician guarantees safe, reliable repair and protects the longevity of the unit.