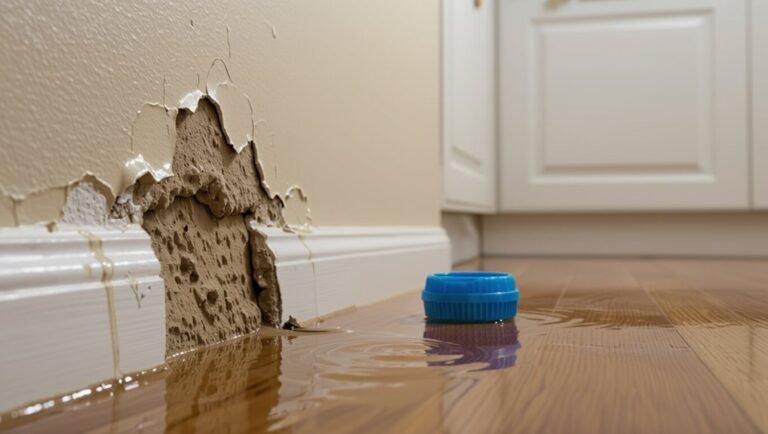
How to Replace a Handle on an Outside Faucet: Step-by-Step Fix for Leaky Outdoor Spigots
To replace a handle on an outside faucet and stop leaks effectively, follow these straightforward steps. First, identify the type of handle and valve, then shut off the water supply and drain the line. Next, remove any set screws or retaining nuts to lift off the handle. Inspect the stem, O-rings, and washers for wear. Install a matching replacement part, secure it with fasteners, and reattach any trim. Finally, gradually restore water pressure and check for leaks. If problems continue, further inspection or additional parts may be necessary.
Overview of Replacing an Outside Faucet Handle
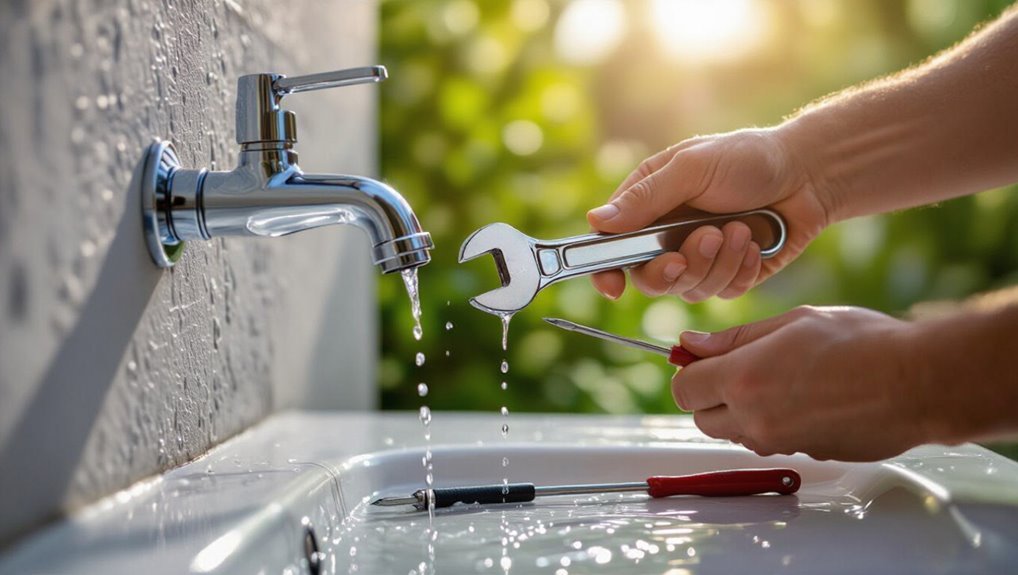
An outside spigot handle often fails from wear or corrosion, leading to leaks and impaired water control.
Replacing the handle restores proper function and can stop water waste.
Common outdoor configurations include stem-type multi-turn valves and quarter-turn ball or ceramic cartridges, each requiring different replacement parts and tools.
Why replacing a spigot handle matters for leaks and function
Replacing a spigot handle directly addresses common sources of outdoor faucet leaks and restores reliable flow control.
Replacing worn, stripped, or improperly seating handles prevents drip-induced damage, reduces water waste, and improves shutoff precision.
Knowing how to replace handle on outside faucet enables timely repairs, restores user safety by eliminating unexpected spray, and prolongs valve life, avoiding deeper plumbing interventions.
Types of outdoor faucet handles and valves commonly encountered
Identify the faucet type before beginning work, since outdoor spigots use a few common handle and valve designs that determine removal steps and replacement parts.
Typical handles include multi-spline wheel, lever, and quarter-turn ball styles. Valves are usually compression stems, washerless ceramic cartridges, or ball valves.
Matching the handle to the valve type guarantees correct parts, tools, and straightforward replacement.
Quick checklist: Tools and parts you’ll need
A concise checklist covers the basic tools required, the replacement parts with guidance on selecting the correct handle or cartridge, and essential safety items plus preparation steps.
Tools may include screwdrivers, an adjustable wrench, pliers, and a hex key; parts guidance explains matching model, size, and valve type.
Safety notes recommend shutting off water, protecting surfaces, and wearing gloves and eye protection.
Tools list
Several basic tools and a few replacement parts will cover most faucet-handle jobs: an adjustable wrench, screwdriver set (flat and Phillips), allen keys/hex wrenches, needle-nose pliers, and plumber’s grease.
A rag and small container for parts help. Safety glasses are advised. Proper sizing reduces damage.
- Wrench gripping a corroded nut
- Screwdriver engaging a stripped screw
- Hex key tucked into a set screw
- Pliers holding a stubborn stem
Replacement parts and how to choose the right handle or cartridge
Before starting work, gather the specific replacement parts that match the faucet’s model and the few essential tools from the previous list; correct fitment guarantees a smooth repair.
Identify handle type (lever, knob, cross) and stem/cartridge style (compression, ball, cartridge) by visual inspection or model number.
Match materials (brass, stainless) for durability.
Bring spare screws, O-rings, and a sealing washer for final assembly.
Safety items and preparation steps
Gather necessary safety items and confirm preparation steps before touching the plumbing: safety glasses, work gloves, a towel or small bucket to catch drips, and non-slip footwear; shut off the water supply at the appropriate valves and drain remaining water by opening the faucet.
Also gather adjustable wrench, screwdriver set, replacement handle or cartridge, plumber’s tape, penetrating oil, rag, and a parts tray to organize fasteners.
How to identify the exact problem before replacing the handle
A brief inspection distinguishes handle or stem symptoms — such as looseness, stiff rotation, or visible corrosion — from internal valve issues like persistent dripping or irregular water flow.
Simple tests, including operating the faucet at different temperatures and pressures and observing where water appears, help pinpoint whether the leak originates at the handle, stem, or body.
If corrosion, multiple component failures, or repeated leaks are found, replacing the entire faucet is often more cost-effective than swapping the handle alone.
Symptoms that indicate handle or stem issues vs. internal valve problems
When a faucet behaves oddly, distinguishing handle or stem problems from internal valve failures requires observing specific, repeatable symptoms.
Loose, wobbly handles, grinding or stiffness during rotation, or water only leaking while turning indicate stem or handle faults.
Constant drips with handle untouched, leakage from the spout despite tight handles, or flow that changes regardless of handle position suggest internal valve or seat deterioration.
How to test the faucet to locate the leak source
After observing symptoms that differentiate handle or stem problems from internal valve failures, the next step is a systematic leak test to pinpoint the fault before replacing the handle.
Inspect with water off for external drips, tighten packing nut, then open and close slowly while watching for seepage at handle, spout, and connection.
Use dye or tissue to locate fine leaks precisely.
When to replace the entire faucet instead of just the handle
Deciding whether to replace the entire faucet hinges on evaluating damage, age, and repairability: persistent leaks from the valve body, widespread corrosion, cracked inlet or mounting components, or obsolete parts that cannot be sourced typically justify full replacement rather than just a handle swap.
Additionally, frequent repairs, internal cartridge failure, stripped valve seats, or mismatched components indicate replacement is more cost-effective and reliable long-term.
Step-by-step guide to replacing an outside faucet handle
The following steps outline replacing an outside faucet handle, beginning with shutting off the water supply and draining the line.
Next, the decorative cap, screw, and old handle are removed so the valve stem, bonnet nut, and packing can be inspected for wear.
The guide then covers removing and replacing the handle or cartridge—with instructions for compression, ball, and quarter-turn faucets—followed by reassembly, seating components, and proper tightening.
Step 1 Shut off water supply and drain the line
Shut off the outdoor shutoff valve or the main water supply to the house, then open the faucet to relieve pressure and drain any remaining water from the line.
Confirm flow has stopped and check nearby fixtures to verify the system is isolated.
Wear gloves, place a bucket beneath the spout, and wipe residual moisture to prevent slips and simplify subsequent disassembly.
Step 2 Remove decorative cap, screw, and old handle
Begin by locating and prying off the small decorative cap at the center of the handle with a flathead screwdriver or a thin pry tool, exposing the retaining screw beneath.
Use an appropriate screwdriver to remove the screw, turning counterclockwise.
Grip the handle firmly and pull straight off; if stuck, apply penetrating lubricant briefly and twist while pulling.
Set parts aside for reuse or replacement.
Step 3 Inspect valve stem, bonnet nut, and packing for wear
With the handle removed and fasteners set aside, inspect the exposed valve stem, bonnet nut, and packing for signs of wear or damage.
Look for corrosion, grooves, scoring, or bent stems.
Check the bonnet nut for rounded flats and loose threads.
Examine packing material or washers for cracking, compression, or mineral buildup that could compromise a watertight seal.
Step 4 Remove and replace the handle or cartridge (with variations for compression, ball, and quarter-turn faucets)
Proceed to remove the remaining hardware and install the replacement handle or cartridge appropriate to the faucet type.
For compression faucets, lift stem assembly and replace bonnet/washer.
For ball faucets, swap the cartridge and align cam/ball components.
For quarter-turn ceramic cartridges, extract old cartridge and seat new one with proper orientation.
Confirm smooth operation before reassembling external trim and securing fasteners.
Step 5 Reassemble, seat components, and tighten properly
After the replacement cartridge or handle components are verified to operate smoothly, reassembly of the exterior pieces can begin.
Seat any O‑rings, packing, and washers in their grooves, align the handle or trim, then install retaining nuts, screws, and escutcheon.
Tighten fasteners evenly to manufacturer torque or snug fit without overcompressing seals.
Confirm smooth rotation and correct alignment before finishing.
Step 6 Turn water back on and test for leaks
Open the shutoff and slowly restore water pressure while observing the repaired handle and surrounding connections for any signs of leakage.
The technician cycles the handle, opens and closes the valve fully, and checks for steady drips, wetness, or sudden pressure loss.
Any leak prompts immediate shutoff, reseating of components, or retightening.
Confirm dry fittings and normal operation before finishing.
Visual aids and measurements
Clear photos and simple diagrams help identify handle styles and show where to measure shaft diameter and thread pitch.
Instructions note use of calipers or a ruler for blade or round shaft measurements and describe how to match common thread types.
A quick identification guide lists typical configurations—single lever, cross, and wing handles—with visual cues for fast recognition.
How to measure handle size and thread type
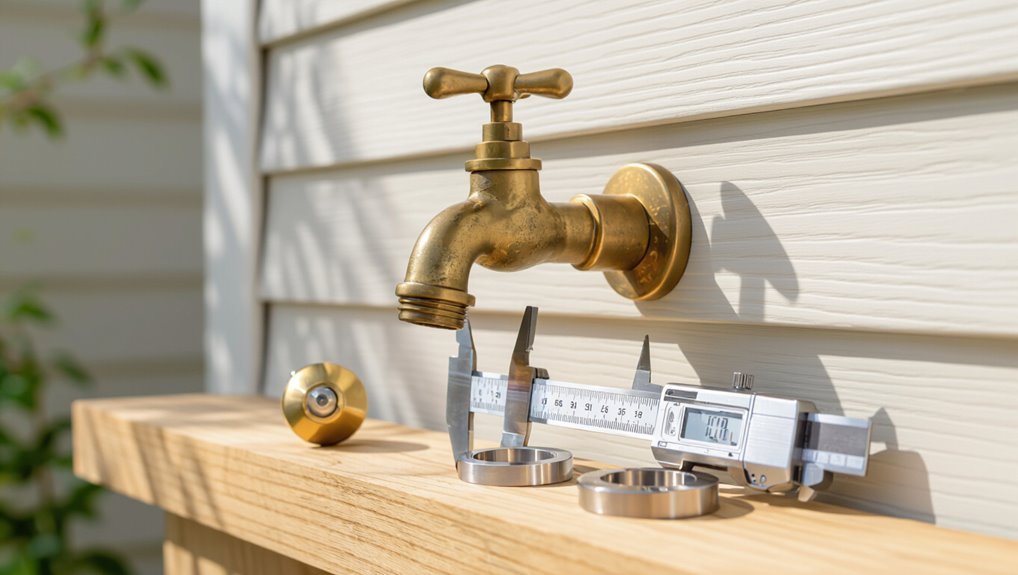
Before removing the handle, the technician measures both the exposed stem and the handle base to determine diameter, length, and thread pitch; these three dimensions identify compatibility with replacement parts.
A caliper measures stem diameter and length; a ruler confirms overall handle reach.
Thread pitch is checked with a screw gauge or thread pitch card. Measurements are recorded and matched to manufacturer’s specifications.
Common handle configurations with quick identification guide
A concise visual-key helps identify the most common faucet handle types—lever, knob, cross, and paddle—by their shape, mounting method, and visible fasteners. The guide lists shape, mounting, and typical fastener for quick matching; measure handle diameter and stem type to confirm fit.
| Shape | Mounting | Fastener |
|---|---|---|
| Lever | Set screw | Visible hex |
| Cross | Nut-on | Exposed nut |
Troubleshooting common problems after replacement
After replacing a faucet handle, common issues may still appear and warrant quick checks.
A persistent drip usually points to an improperly seated cartridge or worn seal that should be reseated or replaced.
Loose or stiff handles often need a simple adjustment or lubrication, while spraying or uneven flow can indicate deeper valve damage requiring inspection or cartridge replacement.
Persistent drip after handle replacement and how to fix it
Check the faucet for a persistent drip following a handle replacement, since a steady leak usually indicates an installation or part issue rather than a problem with the water supply.
Inspect the valve stem packing, seat and washer for proper seating and wear. Tighten packing nut or replace worn seals and the valve seat if scored.
Reassemble and test; replace cartridge if leak persists.
Handle feels loose or difficult to turn adjustments and lubrication
Inspect the handle when it feels loose or stiff, since either symptom usually points to improper fastening, worn internal components, or insufficient lubrication.
Tighten mounting screw and check splines for wear. If stiff, apply plumber-grade grease to the stem and O-rings after disassembly.
Replace damaged washers, O-rings, or a worn handle. Reassemble and test operation, ensuring smooth, secure movement.
Water spraying or uneven flow diagnosing deeper valve damage
Addressing water spraying or uneven flow requires determining whether the problem stems from surface debris, a damaged cartridge, or worn valve seats and seals.
Inspect the aerator and passageways for mineral buildup, then test flow with the handle at different positions.
Persistent spray or pressure loss indicates internal valve damage; replace the cartridge or seat assembly and reseat seals, testing for leaks and consistent flow afterward.
Preventive maintenance to extend faucet life
Preventive maintenance helps prolong faucet performance by addressing seasonal risks, routine wear, and proper component care.
Advice includes winterizing outdoor faucets to prevent freeze damage, keeping a schedule for inspections and minor repairs, and using recommended lubricants and sealants on exposed fixtures.
Following these practices reduces leak risks and extends service life.
Seasonal winterizing tips to avoid freeze damage
As temperatures drop, homeowners should prepare outdoor and unused indoor faucets for winter to prevent freeze damage that can crack valves and burst pipes.
Drain and shut off outdoor lines, open spigots to bleed residual water, and install insulated covers.
Disconnect hoses, insulate exposed piping, and consider frost-proof fixtures.
Prompt winterizing reduces stress on seals and minimizes costly freeze-related repairs.
Regular inspection and minor repairs schedule
A simple, regular inspection schedule helps catch wear and minor issues before they escalate into costly replacements.
Inspect faucets monthly during active seasons and after storms: check for drips, loose handles, corrosion, and supply-line integrity.
Tighten fasteners, replace worn washers or packing, and clear aerators as needed.
Log actions and dates to track trends and plan timely parts replacement.
Recommended lubricants and sealants for outdoor faucets
After establishing a routine inspection and minor repair schedule, attention shifts to the specific products that protect outdoor faucets from wear and weather.
Recommended choices include silicone-based plumbers’ grease for stems and O-rings, lithium or synthetic grease for metal threads, and NSF-rated plumber’s tape for threaded joints.
For exterior sealing, use exterior-grade silicone caulk or polyurethane sealant to resist moisture and freeze cycles.
When to call a professional plumber
If a handle issue is accompanied by persistent leaking, low water pressure, visible pipe corrosion, or irregular noises, it likely indicates valve or supply-line damage that exceeds DIY repair.
In such cases, a professional plumber can diagnose the scope of the problem, advise on parts or replacement, and prevent further water damage.
Homeowners should be prepared for diagnostic fees, labor charges, and possible parts costs, and expect the plumber to provide an estimate before proceeding.
Signs of complex valve or pipe damage requiring professional service
Recognize warning signs that indicate damage beyond a simple handle repair: persistent leaks that continue after replacement, water pooling inside cabinets or behind walls, sudden loss of water pressure confined to one fixture, visible corrosion or crumbling on valve bodies, and recurring sewer or metallic odors from the drain.
Additional indicators include fluctuating pressure, noisy pipes, rusty water, cracks in supply lines, or mold growth—call a professional.
Cost considerations and what to expect from a repair visit
When signs point to damage beyond a simple handle repair, homeowners should also consider the likely costs and what a professional visit will involve.
Typical charges include a trip fee plus hourly labor; parts and permit costs may add up.
Expect diagnosis, estimate, and either on-site repair or recommendation for replacement.
Ask for written quotes, warranties, and timeframe before work begins.
Quick parts and shopping guide
A concise shopping checklist helps identify replacement handles and cartridges by matching model numbers, spindle dimensions, and mounting styles shown in product listings or packaging.
The guide recommends checking compatibility charts and bringing the old part or clear photos when buying in-store or ordering online.
It also notes affordable brands with solid warranties and advises looking for durable materials, ceramic cartridges, and good customer reviews as quality indicators.
How to match replacement handles and cartridges online or in-store
Begin by identifying the faucet’s visible features—handle shape, finish, and any brand markings—then check the underside or trim for model numbers and patent stamps that pinpoint the exact part.
Use those details when searching online or asking store staff. Bring photos or the old part for comparison.
- corroded brass stem, threaded cartridge
- cross handle with square splines
- stamped model tag under escutcheon
- finish-matched chrome cap
Affordable brands and quality indicators to look for
Several reliable budget-oriented faucet brands—Delta, Moen’s basic lines, Pfister, Glacier Bay, and American Standard’s economy ranges—offer replaceable cartridges and handles at modest prices while maintaining usable quality. Look for solid die-cast or brass components, ceramic discs, clear warranty terms, and easy-to-find parts numbers.
| Feature | Why it matters |
|---|---|
| Material | Durability |
| Cartridge type | Leak resistance |
| Parts availability | Repairs 쉽게 |
Conclusion
Replacing an outside faucet handle restores function and stops leaks, offering a quick, budget-friendly fix that often saves hours and dollars. With the right tools, correct replacement part, and basic care, the task proves straightforward for most homeowners. Like tightening the ship’s rudder before rough seas, a timely repair prevents larger problems. If persistent issues or unclear faults remain, consulting a professional plumber guarantees a durable solution and protects the home’s plumbing system.