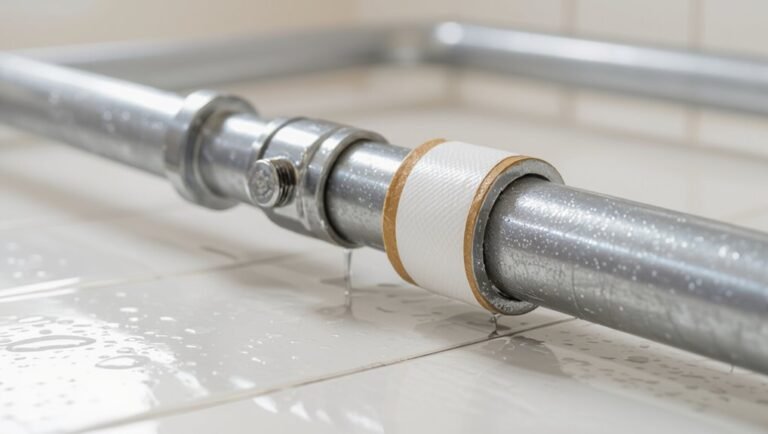
How to Replace a Plastic Toilet Water Supply Valve Yourself: Step-by-Step Guide
How to Replace a Plastic Toilet Water Supply Valve Yourself
Replacing a plastic toilet water supply valve is a straightforward DIY task that can save you time and money. To do it yourself, you’ll need basic tools and materials. Start by shutting off the water supply, draining the line, and disconnecting the supply hose. Next, remove the old valve and install a compatible brass or chrome replacement using either compression or threaded fittings. Tighten all connections with wrenches, then gradually restore the water supply and check for any leaks. Remember to wear personal protective equipment (PPE) and use towels to catch any drips. For detailed tips, troubleshooting advice, and guidance on when to call a professional, follow the step-by-step instructions below.
Overview of Replacing a Plastic Toilet Water Supply Valve Yourself
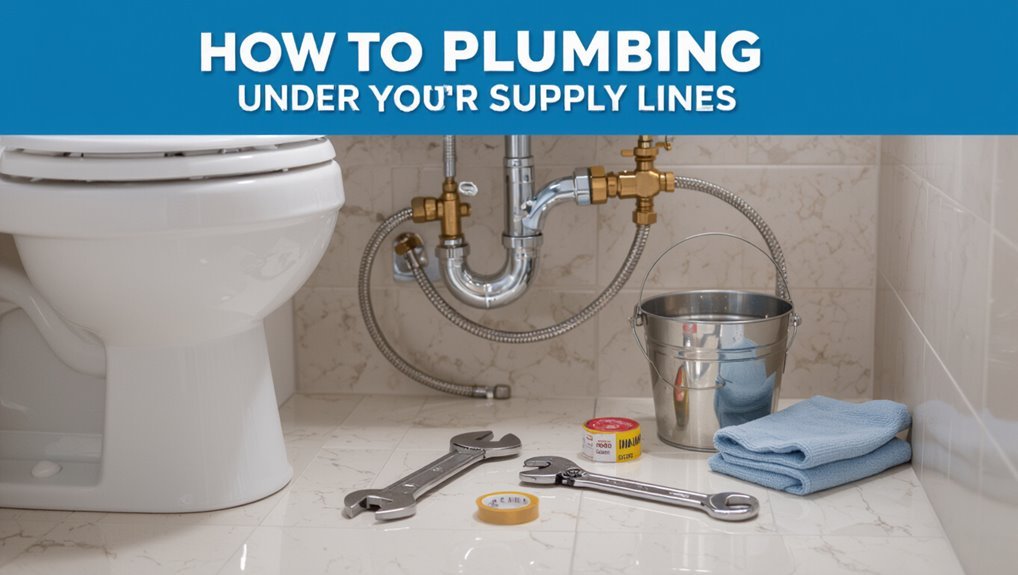
This guide explains replacing a plastic toilet water supply valve, including tools, parts, and safety precautions. It is designed for homeowners comfortable with basic plumbing and hand tools.
It outlines shutting off the water, draining the line, removing the old valve, installing the new valve, and testing for leaks. The task typically takes 30–60 minutes and requires beginner-to-intermediate skill.
What this guide covers and who should attempt the repair
When a plastic toilet water supply valve leaks, sticks, or shows visible cracks, a straightforward replacement can restore reliable shutoff and prevent water damage.
This guide explains tools, parts, safety precautions, and stepwise instructions for how to replace a plastic toilet water supply valve. It suits homeowners with basic plumbing experience and confidence using wrenches; complex or corroded installations warrant a professional.
Quick summary of steps and expected time/skill level
Most replacements take about 30–60 minutes for a homeowner with basic tools and moderate DIY experience.
The process: shut off main or supply, drain tank, disconnect old valve, install and tighten new valve, reconnect supply line, open water and check for leaks.
Expect basic plumbing skill, an adjustable wrench, Teflon tape, and willingness to troubleshoot minor leaks; call a pro if unsure.
Safety Precautions and Preparations
Before beginning, the writer recommends using gloves and eye protection to guard against contaminants and unexpected sprays.
They should shut off the main or local shutoff valve and confirm the supply is closed by testing a nearby faucet.
Finally, they should open the toilet tank and a lower faucet to relieve pressure and drain residual water.
Necessary personal protective equipment
Personal protective equipment (PPE) reduces injury risk and contamination while replacing a toilet water supply valve.
Recommended items include safety goggles to protect eyes from spray and debris, nitrile gloves for chemical and germ protection, and work gloves for grip and cut resistance.
Knee pads protect joints during prolonged kneeling; closed-toe shoes prevent foot injuries from dropped tools or parts.
How to turn off and verify household water supply shutdown
With PPE in place, the next step is to shut off and confirm the household water supply has been stopped.
Locate the main shutoff (meter valve or curb stop) and turn clockwise until fully closed.
Verify by opening a downstream tap; flow should cease.
Check the toilet supply shutoff valve as secondary confirmation.
Note visible meter indicators or neighbor comparison if unsure.
How to relieve pressure and drain residual water
Bleed off trapped pressure and capture remaining water to prevent spills and injury: open a nearby faucet at the highest point in the house to admit air, then flush the toilet and hold the handle down to let the tank drain.
Place towels and a bucket under the valve, disconnect the supply line slowly, and use a sponge to remove residual water from the tank and bowl.
Tools and Materials Required
The next section outlines the specific valves, fittings, and tools needed to complete the replacement safely and effectively.
Recommended items include:
- Ball stop or angle stop valves in brass or chrome-plated brass (and compatible compression or sweat fittings).
- Basic tools: adjustable wrench, channel-lock pliers, tubing cutter (or hacksaw as an alternative).
- Supplies: plumber’s tape, replacement braided supply line, and a small bucket or towels for cleanup.
This list will guide selection and offer household alternatives where appropriate.
Recommended replacement valve types and materials
One essential consideration when replacing a toilet water supply valve is selecting a valve type and material that match the existing plumbing and local code requirements.
Common choices include brass angle stop valves for durability, stainless steel or chrome-plated brass for corrosion resistance, and quarter-turn ball valves for reliable shutoff.
Avoid PVC on threaded metal fittings; guarantee compression or sweat connections match existing lines.
Tools checklist with alternatives for common household tools
Several common tools and a few optional items cover most toilet supply valve replacements.
Essentials: adjustable wrench, channel-lock pliers, flathead and Phillips screwdrivers, Teflon tape, bucket, rags.
Alternatives: vice-grips for pliers, basin wrench for tight spaces, needle-nose pliers for clips, plumber’s tape can substitute Teflon tape.
Optional: small flashlight, utility knife, replacement compression or angle stop valve.
Identifying the Existing Valve and Common Valve Types
The inspector first notes whether the valve is an angle stop (corner-mounted with a 90° outlet) or a straight stop (inline outlet) and checks whether it is plastic or metal by visual inspection and gentle flex testing.
Corrosion, cracking, persistent leaks, stiffness when operating, or mineral buildup indicate replacement rather than a simple packing or washer repair.
Finally, compatibility with the existing supply line fittings and the toilet fill valve inlet size is confirmed to guarantee the chosen replacement will connect securely.
How to inspect and diagnose a plastic angle stop vs. straight stop
Begin by visually comparing the valve body and outlet orientation to determine whether the fitting is an angle stop or a straight stop: an angle stop turns the water 90 degrees and directs the supply toward the toilet, while a straight stop continues inline with the pipe and connects directly forward.
Check mounting (wall or inline), threaded versus compression connections, plastic fittings’ mold markings, and inlet/outlet alignment for correct identification.
Signs the valve needs replacement versus repair
When should a toilet water supply valve be replaced rather than repaired?
Persistent leaks, visible cracks, brittle or discolored plastic, seized operation, or internal corrosion indicate replacement.
Intermittent drip after tightening, minor packing nut leaks, or smooth-operating but older valves may justify repair or parts replacement.
Safety-minded users should replace valves showing structural damage or unreliable shutoff performance to prevent failures.
Compatibility considerations with supply line and toilet fill valve
Several simple observations help identify the existing toilet water supply valve and its compatibility with both the supply line and the toilet fill valve.
Inspect connection types—compression nut, flare, or threaded—material (plastic, brass) and pipe size.
Match threads and diameter to replacement parts.
Verify fill valve tailpiece size and washer type to guarantee a watertight seal and proper alignment during installation.
Step-by-Step Valve Replacement Procedure
The procedure begins with preparing the workspace and protecting the floor, then shutting off the water and draining the line to prevent leaks.
Next, the technician disconnects the supply line and removes the old plastic valve using safe methods.
Finally, threads and connection points are cleaned and inspected before installing the replacement.
Step 1 Prepare the workspace and protect flooring
Clear the area around the toilet and gather drop cloths, towels, and basic tools before beginning work.
Remove rugs and unnecessary items, fold towels for extra padding, and position a container for small parts.
Guarantee adequate lighting and ventilation.
Lay drop cloths to protect tile or vinyl, securing edges with tape.
Keep tools within reach to minimize movement during the repair.
Step 2 Shut off water and drain the line
Shut off the water at the nearest supply stop and confirm the valve is fully closed before proceeding.
Open the toilet tank and flush to remove most water.
Place a small bucket or towel beneath the valve to catch residual drips.
Press the tank fill valve or gently squeeze the supply line to relieve remaining pressure.
Verify no flow before continuing to the next step.
Step 3 Disconnect the supply line from the valve
Loosen the nut that connects the flexible supply line to the shutoff valve using an adjustable wrench or channel-lock pliers, holding the valve body steady with a second wrench to prevent twisting.
Support the supply line by hand, back off the nut until the line separates, and catch residual water with a small cup or rag.
Inspect ferrule and threads for damage before discarding the line.
Step 4 Remove the old plastic valve safely
Begin by placing a small bucket or towel beneath the valve to catch any remaining water.
Then hold the valve body steady with one wrench while using another to turn and remove the compression nut or mounting nut securing the plastic valve to the pipe.
Gently wiggle and pull the valve free, draining residual water.
Dispose of the old valve and clear away debris before proceeding.
Step 5 Clean and inspect threads/connection points
After removing the old valve, wipe the pipe end and surrounding area with a clean rag to remove residual water, corrosion, or debris.
Inspect threads or compression surface for nicks, burrs, or corrosion. Use a wire brush and emery cloth to clean metal threads; remove loose material and burrs.
Verify the pipe is square, undamaged, and dry before proceeding to installation.
Step 6 Install the new valve (compression vs. threaded installation)
Fit the new valve to the prepared pipe end, choosing the correct method—compression or threaded—based on the valve type and existing plumbing.
For compression, slide the ferrule and nut, seat the valve, then tighten the nut firmly without over-torquing.
For threaded, apply appropriate thread sealant tape or compound, hand-start the valve, then tighten with a wrench until snug and leak-resistant.
Step 7 Reconnect the supply line and secure fittings
With the new valve seated and tightened, the supply line is reattached and all fittings secured before restoring water.
The installer aligns the flexible hose, threads or compresses the connection, and hand-tightens initial engagement. A final wrench snug prevents movement without overtightening. Cloth or tape protects finish.
Excess length is arranged to avoid kinks, and the area is wiped clean of debris.
Step 8 Turn water back on, check for leaks, and final adjustments
Turn the shutoff valve slowly to restore water flow, watching the connections and surrounding area for any signs of leakage.
Observe the supply line, fittings, and valve body for drips for several minutes.
Tighten nuts lightly if seepage appears, then retest.
Flush the toilet to verify operation, adjust alignment or support as needed, and guarantee the valve handle operates smoothly without wobble.
Visual Guide and Troubleshooting Photos
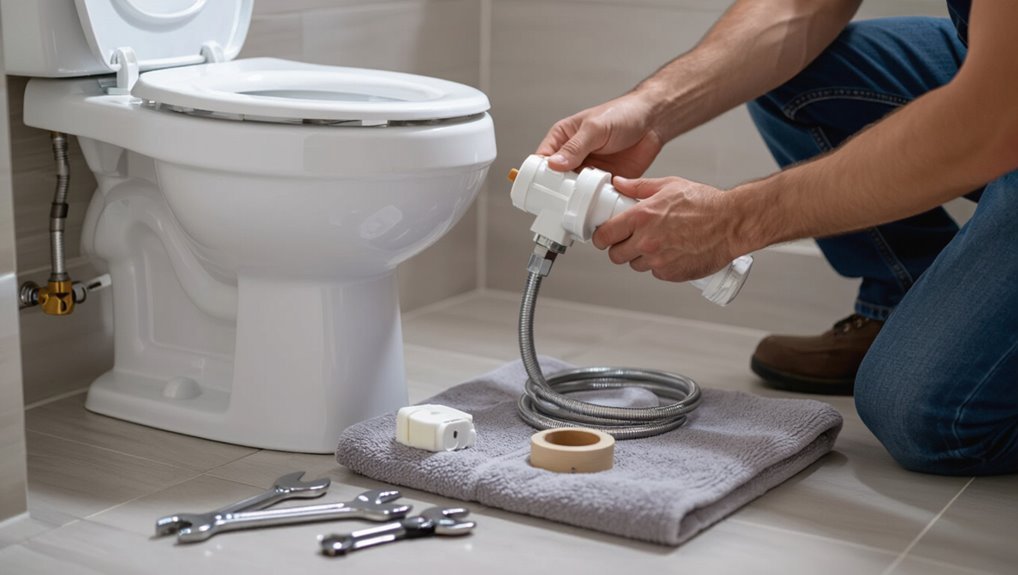
This section presents clear photos showing common valve types and typical failure points to help readers identify what they have and what may be wrong.
A step-by-step photo sequence documents the removal and installation process for quick visual reference.
Captions and callouts highlight critical connections and trouble spots to simplify troubleshooting.
Photo examples of valve types and common failure points
Several common toilet shutoff valves are pictured here to help identify types and typical failure points.
Photos show angle, straight, and multi-turn plastic valves, plus compression and push-fit connections.
Close-ups highlight cracked bodies, stripped stems, corroded threads, warped seals, and mineral buildup causing leaks.
Visual markers guide diagnosis without illustrating removal or installation procedures.
Photo sequence of removal and installation steps
Begin by documenting the existing valve and surrounding connections with a wide-angle photo.
Then take a close-up of the shutoff stem, compression or push-fit joint, and supply line to establish a baseline for removal.
Next photograph each removal step: turning off water, draining line, loosening fittings, extracting valve.
During installation, capture positioning, sealing threads, tightening, and final leak test images for troubleshooting.
Common Problems and How to Fix Them
Common post-installation issues include minor leaks that usually respond to a careful retightening, damaged threads or fittings that may require inserts or replacement, and valves seized by corrosion or freezing that need penetrating fluid and gentle leverage.
Guidance will cover how to tighten without overtightening, options for repairing stripped threads or swapping fittings, and safe techniques to free a stubborn valve.
The section will also explain when a plastic valve should be upgraded to a metal one for durability and reliability.
Minor leaks after installation and how to tighten safely
Small drips around a newly installed toilet supply valve often indicate a loose connection or slightly misaligned washer rather than a faulty valve.
Inspect fittings, gently tighten compression nut or coupling wrench-turn quarter turns, and recheck.
If present, reseat or replace the rubber washer and confirm supply is off before adjusting.
Verify no leaks under normal pressure; stop if resistance or damage appears.
Stripped threads or damaged fittings and repair options
If tightening and washer replacement do not stop a leak, the problem may be stripped threads or otherwise damaged fittings that prevent a watertight seal.
Options include replacing the faulty coupling nut or valve, installing a new compression sleeve and nut, or using a threaded repair adapter.
Verify water is off, dry the area, and test connections after repair to confirm no leakage.
Stubborn corrosion or frozen valves techniques to loosen
Apply penetrating oil and gentle heat to free a valve seized by corrosion or mineral buildup.
Then work it back and forth to break the bond before attempting removal.
Use a strap wrench or adjustable pliers with padding to avoid crushing plastic.
Protect nearby finishes and avoid excessive force; if movement begins, continue slow, incremental turns.
Clean threads and ports before reinstalling a new valve.
When a plastic valve should be replaced with a metal valve
Several situations indicate a plastic toilet shutoff valve should be replaced with a metal one: visible cracking, repeated leaks, brittleness from age or sunlight, high water pressure, or frequent maintenance that stresses fittings.
Metal valves offer greater durability, resistance to cracking, and longer service life.
Replace plastic when failures recur, threads strip, or when local codes or homeowner preference favor metal for reliability and peace of mind.
Time-Saving Tips and Best Practices
Experienced installers recommend preventing cross-threading and confirming a leak-free seal before restoring water to save time and avoid rework.
They weigh the pros and cons of compression, sweat, and threaded connections based on access, materials, and permanence.
They also follow clear rules for when to use thread sealant (for tapered threads) versus compression ferrules (for compression fittings).
Preventing cross-threading and ensuring proper sealing
Begin by aligning the valve and fitting carefully to prevent cross-threading: threads should seat smoothly with light finger pressure before any wrench is applied.
Use thread sealant or plumber’s tape sparingly on male threads, wrap clockwise, and avoid over-tightening.
Tighten incrementally with a properly sized wrench, check for leaks, and retighten slightly if necessary to guarantee a reliable, drip-free connection.
Choosing between compression, sweat, and threaded connections
After seating threads and confirming a leak-free fit, the next decision is selecting the connection type: compression, sweat (soldered), or threaded.
Compression fittings are quick, require no heat, and suit metal or plastic supply lines.
Sweat offers permanent, vibration-resistant joints but needs soldering skill.
Threaded connections provide easy disassembly for maintenance; choose based on skill, tools, and long-term access needs.
When to use thread sealant vs. compression ferrules
A few simple rules help decide between thread sealant and compression ferrules: use thread sealant (tape or pipe dope) on tapered threaded fittings to fill thread pitch gaps and prevent leaks.
Use compression ferrules when joining a compression valve to a smooth pipe or tubing where the ferrule forms a mechanical seal.
Prefer ferrules for vibration resistance; sealant suits metal or plastic tapered threads and repairs.
Cost Estimate and When to Call a Professional
A basic DIY replacement typically costs $15–$50 for a new shutoff valve plus $10–$30 for any specialty tools or fittings.
If water damage, corroded pipes, persistent leaks after replacement, or inaccessible connections are present, a licensed plumber should be called.
Professional assessment and repair may add labor costs but prevent worsening damage and code violations.
Typical DIY cost breakdown for parts and tools
Several common parts and a few basic tools account for most DIY costs when replacing a toilet water supply valve. Typical expenses include a replacement valve, flexible supply line, plumber’s tape, and basic hand tools. Estimated total: $15–$40. Table summarizes typical items and price ranges.
| Item | Typical Cost |
|---|---|
| Valve & fittings | $8–$25 |
| Supply line & tape | $5–$15 |
Signs the job is beyond DIY and requires a plumber
After outlining the typical parts and modest DIY costs, attention should turn to clear indicators that the replacement exceeds homeowner skill or equipment.
Call a plumber if corrosion prevents valve removal, persistent leaks occur after replacement, showering or main shutoff complications arise, soldered or copper fittings are involved, water pressure problems persist, or the homeowner lacks proper tools, confidence, or local-code knowledge.
Maintenance Advice to Extend Valve Life
A simple maintenance routine can greatly extend a toilet supply valve’s service life.
Inspect valves every 3–6 months for leaks, corrosion, mineral buildup, and loose fittings.
Operate the valve fully open and closed a few times each year to keep moving parts from seizing.
Routine inspection schedule and what to look for
How often should the toilet water supply valve be checked to avoid leaks and premature failure?
Inspect visually every 3–6 months and after any plumbing work or temperature extremes.
Look for moisture, corrosion, mineral buildup, softened or cracked plastic, loose fittings, and drips at joints.
Confirm the valve remains securely mounted and the supply line shows no kinks or swelling.
Replace at first sign of deterioration.
How to operate valves occasionally to prevent seizure
Operate the supply valve periodically to keep internal parts moving and prevent mineral deposits from seizing the mechanism.
Turn the handle fully off and on several times, using gentle, firm motion. Cycle it monthly in hard-water areas and every three months elsewhere.
After cycling, check for smooth action and minor leaks.
Address stiffness promptly: apply plumber’s lubricant or replace the valve if resistance persists.
Quick Reference Checklist
A concise checklist helps guarantee the valve replacement proceeds smoothly and that the installation holds up afterward.
Recommended items include:
- Verify shutoff, gather tools, and inspect the new valve.
- Confirm leak-free connections and restore water pressure.
- Test operation and note maintenance reminders.
Pre-job checklist
Before starting work, the technician confirms that necessary tools, replacement parts, and safety gear are on hand and that the toilet area is clear and accessible.
They verify water shutoff functioning, have a bucket and towels ready, and confirm compatible replacement valve and fittings.
Gloves and eye protection are checked.
Lighting, workspace ventilation, and cellphone access for emergencies are guaranteed before proceeding.
Post-installation checklist
With the new valve in place and the workspace cleared, the technician follows a concise post-installation checklist to verify system integrity and proper operation.
Items include checking for leaks at all joints, confirming valve fully opens and closes smoothly, ensuring correct water pressure and flow to the tank, re-securing fittings, testing toilet flush cycles, and documenting completion date and any observations for future reference.
Conclusion
After the last wrench turn and the drip finally stopped, a quiet pause lingers—was the leak truly ended, or merely delayed? The new plastic valve sits flush, tools scattered like clues. One small oversight could summon a flood; yet careful steps and tested parts offer guarded confidence. If any doubt remains, professional hands will reveal the truth. For now, vigilance replaces haste, and the simple act of replacement holds its fragile, suspenseful promise.