
How to Use a Soaker Hose for Foundation Watering: Step-by-Step Guide and Best Practices
To effectively use a soaker hose for foundation watering, position the hose 6–36 inches from your foundation wall, ensuring spacing of 12–24 inches apart based on soil type. Lightly bury or mulch the hose to minimize evaporation and protect it from UV damage. Utilize a pressure regulator (15–25 psi), a timer, and an anti-siphon device for optimal operation. Regularly inspect the system for clogs, leaks, and freeze risks, and adhere to local codes. Consulting an engineer can provide additional insights for installation and maintenance.
What a Soaker Hose Is and Why It’s Ideal for Foundation Watering
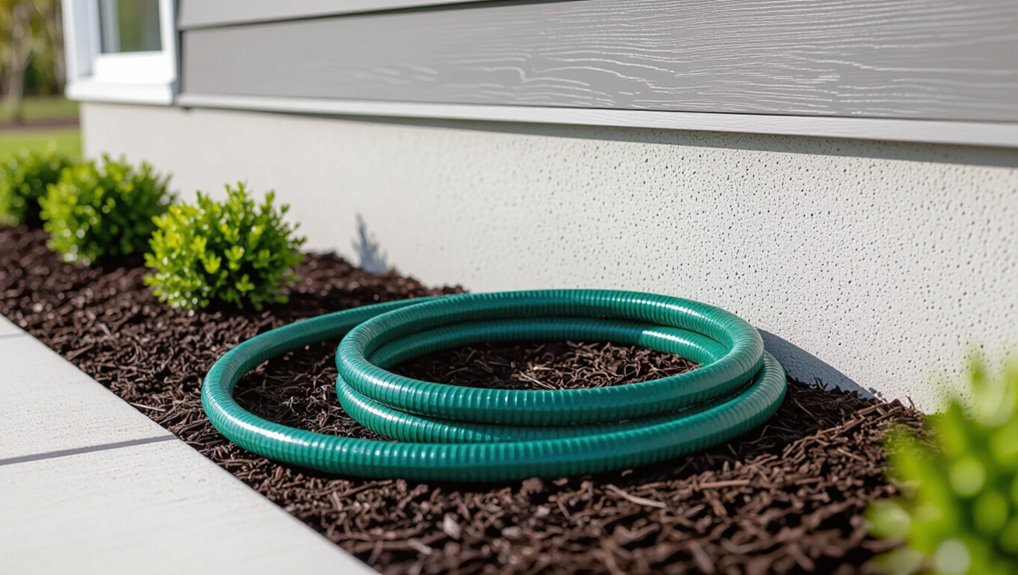
A soaker hose is porous tubing that releases water along its length at a controlled seepage rate, with output influenced by water pressure and hose placement.
It suits foundation watering because it delivers consistent, low-volume moisture that minimizes runoff and maximizes water efficiency.
Limitations include poor performance on steep slopes, potential clogging in hard water areas, and unsuitability for rapid deep watering needs.
How soaker hoses work (porous tubing, seepage rate, pressure considerations)
Porous tubing delivers water directly into soil through thousands of microscopic holes that release moisture slowly and evenly.
The seepage rate depends on hose porosity, wall thickness and soil absorption; low pressure yields uniform seepage while high pressure forces channeling.
Proper layout and pressure regulation are essential when learning how to use soaker hose for foundation to guarantee controlled, consistent subsurface wetting.
Benefits for foundation watering (consistent moisture, reduced runoff, water efficiency)
When applied along a foundation, a soaker hose delivers steady, low-volume moisture that keeps surrounding soil evenly damp without saturating the surface.
This promotes stable soil moisture, minimizing shrink-swell cycles that stress foundations.
Slow seepage reduces surface runoff and erosion, directing water where roots and subsoil need it.
The method conserves water by lowering evaporation and delivering targeted irrigation with minimal waste.
Limitations and when not to use a soaker hose
Although soaker hoses excel at delivering slow, localized moisture, they are not universally appropriate for every foundation or site condition.
They underperform on steep slopes, compacted clay, or heavily layered drainage where water pools or runs off. Unsuitable for freezing climates, high-pressure mains without regulators, or where roots require deep, infrequent irrigation.
Regular inspection prevents blockages, rodents, and uneven wetting.
When and How Often to Water a Foundation with a Soaker Hose
Seasonal needs dictate a foundation watering schedule: more frequent, shorter sessions in summer, reduced frequency in spring and fall, and minimal or none in winter where freezing is a concern.
Soil texture and its moisture-holding capacity—sandy soils needing more frequent applications, clay retaining water longer—should guide timing and duration.
Monitoring for signs of under-watering (cracks in soil, gaps at the foundation) and over-watering (puddling, spongy soil, water stains on the foundation) will indicate when to adjust the soaker hose regimen.
Seasonal watering schedule (spring, summer, fall, winter considerations)
Because soil moisture needs change with temperature and plant growth, a foundation watering schedule using a soaker hose should be adjusted each season to maintain consistent subsurface moisture without overwatering.
Spring: increase frequency for thaw and root development.
Summer: water more often but shorter durations, early morning.
Fall: reduce frequency, deeper soak to prepare for dormancy.
Winter: suspend or minimal watering to avoid freezing.
Soil type and moisture-holding capacity effects on frequency
When soil texture and organic content determine how long water stays available, a soaker-hose schedule must be tailored to those properties: sandy soils drain quickly and require more frequent, shorter applications to maintain subsurface moisture.
In contrast, clay and loam retain water longer and benefit from less frequent, deeper soaks to avoid saturation and runoff.
Adjust frequency seasonally, monitor moisture, and set run times based on root depth.
Signs of under-watering and over-watering around foundations
If soil around a foundation dries back into visible cracks or pulls away from the footing, it signals under-watering that can stress masonry and create gaps for pests.
Conversely, persistently soggy soil, standing water, efflorescence on walls, or recurring basement dampness indicate over-watering that promotes heaving, erosion, and mold.
Monitor soil moisture, surface cracking, plant decline, and drainage; adjust soaker hose duration and frequency accordingly.
Planning Your Soaker Hose System for Foundation Protection
Planning a soaker hose system begins with measuring the foundation perimeter and noting access points to determine required hose lengths.
The installer must then calculate available water pressure and flow to select appropriate hose diameter and quality features that deliver consistent seepage.
Finally, comparing layout options—single run, staggered loops, or multiple zones—helps balance coverage, water use, and control.
Assessing your foundation perimeter and measuring lengths
Before laying any hose, a careful survey of the foundation perimeter establishes accurate lengths, identifies corners, steps, and obstacles, and determines where water access and valves should be placed.
Measure continuous runs, note offsets for bay windows and porches, and record distances to spigots.
Sketch the perimeter to scale, mark existing landscaping and hardscape, and list hose segments for ordering and installation.
Determining flow rate and water pressure needs
With perimeter measurements and spigot locations mapped, attention shifts to calculating the system’s required flow rate and operating pressure.
The homeowner determines available gallons per minute (GPM) at each spigot, then divides needed GPM by planned hose runs.
Account for pressure loss from fittings and elevation changes; aim for consistent low-pressure delivery suitable for soaker operation to guarantee even seepage without runoff.
Choosing hose type, diameter, and quality features
Choosing the right soaker hose type, diameter, and quality features determines how effectively the foundation receives slow, even moisture without waste or damage.
Select porous rubber or reinforced polyethylene for durability. Match diameter (¼”–¾”) to desired flow and run length; larger diameters reduce pressure loss.
Prioritize UV resistance, kink resistance, uniform pore distribution, and reliable end fittings to minimize leaks and maintenance.
Mapping layout options (single run, staggered loops, multiple zones)
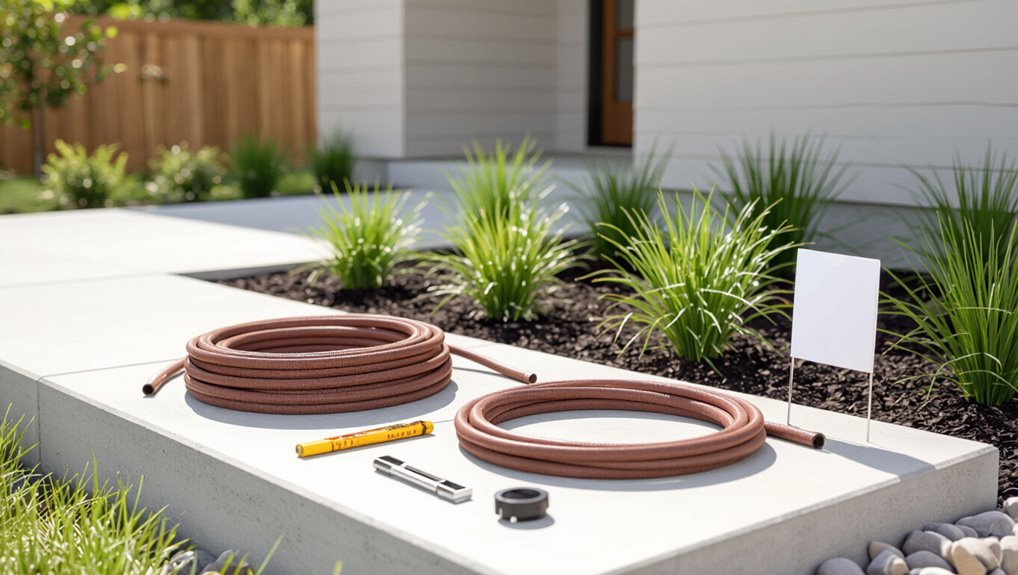
A clear layout plan determines how evenly moisture reaches the foundation and how easily the system can be maintained.
Options include a single run along the foundation for simplicity, staggered loops to cover varied soil or plantings, and multiple zones controlled separately for adjustable run times.
Selection depends on foundation length, soil absorption, water pressure and maintenance access.
Materials and Tools Needed
The section lists the essential components for a foundation soaker hose system, including the soaker hose itself, connectors, a timer, and a backflow preventer.
It also notes optional accessories that can improve performance or convenience, such as mulch, drip tape, a pressure regulator, and hose splitters.
Practical considerations for selecting and matching these parts will follow.
Required components (soaker hose, connectors, timer, backflow preventer)
Essential components for a foundation soaker hose system include the hose itself, compatible connectors and valves, an automatic timer, and a backflow preventer to protect potable water.
A porous soaker hose rated for low pressure guarantees even seepage. Durable connectors and shutoff valves allow secure runs and maintenance.
A programmable timer schedules irrigation; a backflow preventer prevents contamination of the mains.
Optional accessories (mulch, drip tape, pressure regulator, hose splitters)
With the core components in place, attention turns to optional accessories that refine performance and convenience: mulch to retain soil moisture and suppress weeds, drip tape for targeted low-flow watering along tight foundation gaps, a pressure regulator to protect porous hoses from high municipal pressures, and hose splitters to run multiple zones from a single supply.
These items improve efficiency, longevity, and control.
- Protects pressure-sensitive components
- Conserves water and reduces maintenance
- Enables flexible zoning and coverage
Step-by-Step Installation Guide
The installation guide outlines each task in order, beginning with preparing the ground by clearing debris, confirming proper grade, and cutting shallow trenches.
It then covers laying the soaker hose at the correct distance and pattern from the foundation, connecting to the water supply with valves, timers, pressure regulators and anti-siphon devices, and securing the line with stakes and appropriate cover.
A final step describes an initial test run and adjusting flow to guarantee even saturation without runoff.
Preparing the ground (clearing debris, checking grade, digging shallow trenches)
Begin by removing rocks, roots, and surface debris along the foundation line to create a clear workspace; this prevents punctures and guarantees even water distribution.
Next, inspect and adjust grade to slope gently away from the foundation, preventing pooling.
Where needed, dig shallow trenches to seat the hose slightly below soil level, compacting backfill to secure placement and maintain runoff control.
Laying the soaker hose (distance from foundation, spacing, pattern)
One should position the soaker hose roughly 6–12 inches from the foundation wall, laying it in a continuous run or parallel loops depending on length and soil type.
Spacing intervals of 12–18 inches work for clay; 18–24 inches suit sandy soils.
Maintain gentle curves, avoid kinks, secure with stakes, and run ends to low spots for even distribution and minimal runoff.
Connecting to water supply (valves, timers, pressure regulators, anti-siphon devices)
After securing the soaker hose layout near the foundation, attention turns to connecting it to the water supply.
A shutoff valve and hose bib adapter join the hose; install a pressure regulator to limit flow to 15–25 psi.
Add an anti-siphon device to prevent backflow.
Integrate a programmable timer for automatic cycles.
Check all fittings for leaks and adjust pressure as needed.
Securing and covering the hose (stakes, mulch, soil cover)
Secure the soaker hose with landscape stakes and cover it with an appropriate layer of mulch or soil to keep it in place, protect it from UV exposure, and blend it into the planting bed.
Space stakes every 2–3 feet, avoid crushing emitters, and use organic mulch 1–3 inches deep or loose soil to insulate lines while allowing water infiltration and easy inspection.
Initial test run and flow adjustments
With the hose staked and covered, the system is ready for an initial test run to confirm even flow and identify leaks or pressure issues.
Turn water on slowly, observe emitters along the length for uniform seepage, and check fittings for drips.
Adjust upstream pressure with the valve or regulator and reposition or add emitters where flow is weak.
Repeat until consistent.
Programming Watering Duration and Zones
The homeowner should program timer schedules to match soil type and seasonal water needs.
Run times are calculated from the hose output and the root zone’s required moisture depth.
Schedules must also be adjusted for recent rainfall and potential freezing conditions.
Setting timer schedules based on soil and season
Programmers should base timer schedules on soil type, seasonal evapotranspiration, and plant water needs, assigning shorter, more frequent cycles for sandy soils and longer, less frequent runs for clay soils to promote deep infiltration without runoff.
Adjust intervals seasonally: increase frequency and reduce duration in hot, dry periods; decrease frequency and extend soaking after cooler, wetter months.
Monitor soil moisture and modify accordingly.
Calculating run times using hose output and root zone needs
When calculating run times, designers should translate soaker hose output and root zone depth into volume-based targets per zone, converting flow rate (gallons or liters per hour) and desired water depth (inches or mm) over the wetted area into minutes of run time so each root zone receives the planned soil moisture replenishment.
Calculate area wetted, multiply desired depth, divide by hose flow, then round for practical cycles.
Adjusting for rainfall and freeze conditions
After establishing baseline run times from hose output and root zone needs, irrigation schedules must be adjusted to account for incoming precipitation and freezing temperatures to prevent overwatering or system damage.
Controllers should include rain sensors or manual suspend during wet periods, reduce durations after measurable rainfall, and winterize by draining lines and shutting off zones before freeze risk.
Adjust zones individually based on exposure.
Maintenance and Troubleshooting
A regular maintenance routine keeps a foundation soaker hose system reliable and efficient: inspect for clogs, leaks, and UV damage, and note any uneven seepage or low-pressure areas.
Periodic flushing and cleaning, plus proper winterizing, prevent buildup and freeze damage.
Address common problems promptly by clearing blockages, repairing or replacing damaged sections, and adjusting pressure or emitter spacing to restore even seepage.
Routine inspection checklist (clogs, leaks, UV damage)
Regular inspections of a foundation soaker hose system focus on three primary concerns: clogs that restrict flow, leaks that waste water and undermine soil saturation, and UV damage that degrades hose material.
Inspect for reduced output along runs, visible wet spots or pooling indicating leaks, brittle or discolored sections from sun exposure, loose fittings, and root intrusion near emitters.
Document findings and prioritize repairs.
Flushing, cleaning, and winterizing the system
Flush and clean the foundation soaker hose system before dormancy to prevent blockages, minimize freeze damage, and extend component life.
Open end caps, flush with clear water until runs clear, then disconnect and drain hoses.
Remove debris from emitters and filters, replace worn seals, and store removable components indoors.
Inspect timers and backflow preventers; insulate or remove exposed fittings for winter.
Fixing common problems (uneven seepage, low pressure, damaged sections)
Diagnose common soaker-hose issues by observing seep patterns, measuring outlet pressure, and inspecting lines for visible damage.
Correct uneven seepage by repositioning hoses, adding drip tape, or clearing soil clogs with gentle flushing.
Address low pressure with a larger-diameter supply line, reduced length, or adjusted valves.
Repair damaged sections by cutting out the fault and reconnecting with barbed couplings or replacing affected runs.
Safety, Legal, and Structural Considerations
Guidance on siting soaker hoses emphasizes keeping emitters several inches to a few feet from the foundation, using mulch and proper grading to protect landscaping and direct water away from the structure.
Homeowners must also check local codes, seasonal watering restrictions, and permit requirements that could affect installation and operation.
If cracks, settling, persistent dampness, or complex drainage issues appear, a structural engineer or licensed irrigation professional should be consulted.
Recommended distance from foundation and landscaping best practices
Several factors determine the ideal placement of a soaker hose relative to a building: soil type, foundation material, slope, and local frost and drainage conditions.
Maintain a gap of 12–36 inches from the foundation, adjusting outward on heavy clay or steep grades.
Use mulch and graded beds to channel water away, avoid direct contact with walls, and space hoses to encourage even, deep soaking without surface pooling.
Local codes, watering restrictions, and permitting concerns
Local regulations and utility requirements can dictate where and how a soaker hose may be installed around a foundation, and compliance is essential to avoid fines, damage, or unsafe conditions.
Homeowners should check local watering bans, seasonal restrictions, and setback rules; obtain permits if required; verify underground utility locations before digging; and document approvals to guarantee lawful, safe foundation irrigation without violating municipal codes or utility easements.
When to consult a structural engineer or irrigation professional
Judgment about when to consult a structural engineer or an irrigation professional should be based on risk factors that affect a foundation’s integrity and compliance.
Consultation is advised for visible cracks, uneven settlement, poor drainage, high water table, complex grading, proximity to trees, or planned structural changes.
A professional assesses risk, recommends spacing, flow rates, installation setbacks, and documents compliance to prevent damage and liability.
Comparison: Soaker Hose vs. Other Foundation Watering Methods
A concise comparison highlights how soaker hoses stack up against drip irrigation, sprinklers, and manual watering regarding pros and cons, cost, water efficiency, and installation complexity. The table below summarizes key trade-offs for quick reference. Readers can use this snapshot to decide which method best fits their budget, water goals, and willingness to install or maintain a system.
| Method | Quick comparison |
|---|---|
| Soaker hose | Low cost, high water efficiency, simple install |
| Sprinklers / Drip / Manual | Sprinklers: higher cost and runoff; Drip: efficient but more complex; Manual: low tech but labor-intensive |
Pros and cons side-by-side (drip irrigation, sprinklers, manual watering)
When evaluating foundation-watering options, homeowners should weigh each method’s efficiency, installation effort, water distribution control, and maintenance needs.
Soaker hoses deliver even, low-pressure seepage ideal for root zones. Drip systems offer precise, configurable emitters with higher upfront cost. Sprinklers provide broad coverage but risk runoff and uneven deep-wetting. Manual watering is flexible but labor-intensive and inconsistent.
Soaker hose: low maintenance, limited layout flexibility.
Drip: precise, customizable, emitter clogging risk.
Sprinklers: fast, uneven depth, evaporation loss.
Manual: adaptable, time-consuming, human error.
Cost, water efficiency, and installation complexity comparison
Comparing costs, water efficiency, and installation complexity helps homeowners decide which foundation-watering method best fits their budget and landscape needs.
Soaker hoses: low cost, high water efficiency, simple DIY installation.
Drip systems: moderate to high initial cost, very efficient, more complex layout and emitters.
Sprinklers: higher cost, lower efficiency, easier zoning but risk runoff.
Manual watering: no equipment cost, inefficient, labor-intensive.
Best Practices and Expert Tips for Long-Term Foundation Health
Experts recommend combining practical soil care, simple monitoring, and coordinated irrigation to protect foundations over the long term.
Proper mulching and soil amendments improve moisture retention and reduce runoff, while probes or basic sensors allow timely adjustments.
Integrating foundation watering with the overall landscape system guarantees consistent moisture without overwatering.
- Mulch and amend soil to stabilize moisture levels and improve drainage.
- Use soil moisture probes or low-cost sensors for regular checks.
- Coordinate soaker hoses with broader irrigation schedules to maintain balance.
Mulching and soil amendments to improve moisture retention
Effective moisture management begins with combining appropriate mulches and soil amendments to stabilize near-foundation moisture levels and reduce seasonal expansion and contraction.
Apply a 2–4 inch organic mulch band away from siding; replenish annually.
Incorporate compost or well-aged organic matter to improve water-holding capacity and drainage balance.
Avoid heavy clay compaction; use gypsum or sand amendments only after soil testing confirms need.
Monitoring soil moisture with probes and simple sensors
Several simple soil probes and inexpensive moisture sensors can provide reliable, ongoing data to help maintain stable moisture levels near a foundation.
Placed at 6–18 inches depth and spaced along the perimeter, sensors detect trends and trigger manual checks or automated valves.
Regular logging, seasonal recalibration, and comparison to visual inspections prevent overwatering and help preserve soil structure and foundation stability.
Integrating foundation watering into overall landscape irrigation
When foundation watering is coordinated with the broader landscape irrigation system, moisture management becomes more consistent and easier to maintain without creating conflicts between turf, beds, and foundation zones.
Designate separate zones, sync schedules to seasonal needs, and use controllers with moisture-sensor inputs.
Balance run times to prevent runoff, prioritize deep, infrequent irrigation near foundations, and document adjustments for long-term monitoring and maintenance.
Real-World Examples and Typical Install Scenarios
The section presents two practical setups: a small home perimeter layout with a parts list and a recommended watering schedule, and a large property multi-zone system with zoning strategy and management tips.
Each example outlines materials, spacing, run lengths, and timer programming tailored to typical soil and foundation conditions.
Readers are guided to compare scenarios and adapt components and schedules to their site-specific needs.
Small home perimeter layout example with materials and schedule
A compact perimeter irrigation layout for a small single-story house typically uses a single run of 1/2-inch soaker hose looped around foundation beds, fed from a garden faucet with a pressure regulator, in-line filter, and an automatic timer.
This setup minimizes trenching and provides even moisture for shallow-rooted ornamentals.
Materials: soaker hose, stakes, backflow preventer, couplings, mulch.
Schedule: twice weekly, 45–60 minutes each, adjust seasonally.
Large property multi-zone setup and management tips
Although larger properties require more planning and equipment, a multi-zone soaker hose system typically divides the landscape into 3–8 irrigation zones—foundation beds, ornamental shrub rows, vegetable plots, and distant tree lines—each fed by its own valve or timer and sized to match flow and plant water needs.
Real-world setups pair zone-specific run lengths of 1/2″ or 3/4″ soaker hose with pressure regulation, filtration, and flow-balancing manifolds to guarantee even distribution while simplifying maintenance and seasonal adjustments.
Zones are scheduled by soil type and plant class, using staggered run times, winter isolation valves, simple diagnostics, and clear labeling to streamline repairs, conserve water, and maintain root-zone moisture targets across varied microclimates.
Conclusion
Like a careful gardener tending the roots of an ancient oak, using a soaker hose for foundation watering preserves what lies beneath. When applied with planned timing, correct placement and vigilant maintenance, it steadies soil moisture, averts shrink-swell cycles and guards structural integrity. Thoughtful installation, adherence to safety guidelines and seasonal adjustments secure long-term performance. Informed, consistent care transforms a simple hose into a quiet sentinel against foundation stress.
