
How to Tell If Your Toilet Flapper Needs to Be Replaced: 7 Signs and Fixes
If your toilet flapper is failing, it may need to be replaced. Look for signs such as continuous running, a slow drop in tank water level, visible warping or cracks, mineral buildup, detachment from the valve seat, frequent jiggling of the handle to stop the flow, or if it’s over three to five years old. You can perform simple tests like a dye test or inspecting the chain. Replacing the flapper is an easy task that requires basic tools. For more detailed guidance on diagnosing issues, identifying parts, and following step-by-step repair instructions, continue reading.
What a Toilet Flapper Is and Why It Matters
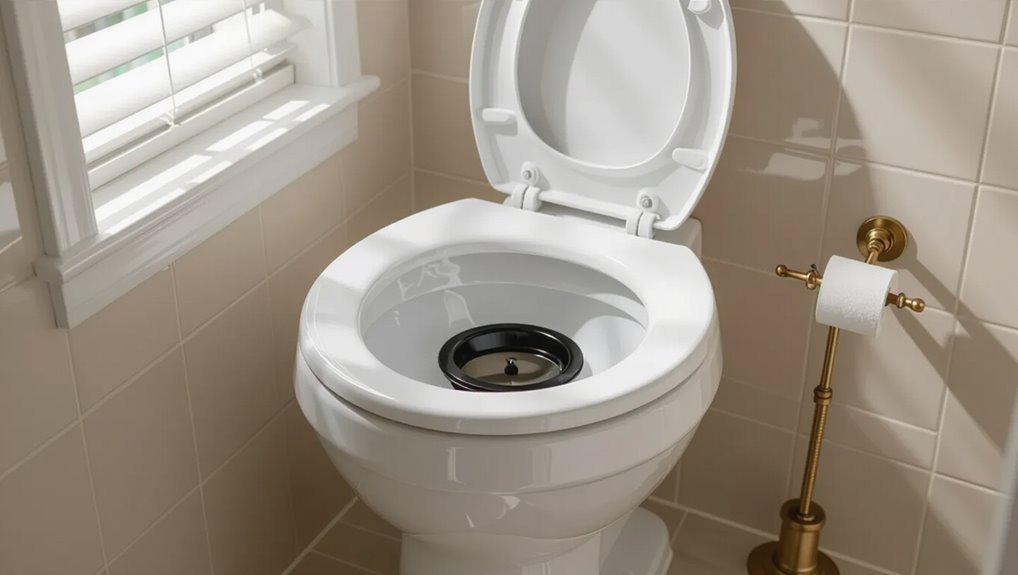
A toilet flapper is a rubber or silicone valve that lifts to release water from the tank and reseals to stop the flow, with designs ranging from simple flat discs to weighted or adjustable models.
Its material and construction determine how well it seals and how quickly it responds, influencing longevity and compatibility with different flush mechanisms.
When a flapper fails to seal properly, it causes continuous or partial leaks that increase water usage and degrade toilet performance.
How a flapper works inside a toilet tank
The flapper is a flexible rubber valve seated over the tank’s flush valve opening that controls water release during each flush.
It lifts when the flush handle lifts a chain, allowing water to exit the tank and refill afterward.
Observing delayed seating, continuous seepage, or weak flush helps homeowners determine how to tell if toilet flapper needs to be replaced.
Common materials and designs for flappers
Recognizing signs that a flapper is failing leads naturally to questions about what flappers are made of and how their shapes affect performance.
Flappers commonly use rubber, silicone, or vinyl; each resists wear differently. Designs include round, flapper-seat-specific, and universal adjustable models. Some feature weighted or float attachments to aid sealing.
Compatibility with flush valve size and hinge type determines effective replacement choice.
How a faulty flapper affects water usage and toilet performance
When a toilet flapper fails to seal properly, small but continuous leaks can transform an otherwise efficient fixture into a persistent source of wasted water and erratic flushing.
A compromised flapper raises water bills, causes low tank levels that trigger repeated refills, and yields weak or incomplete flushes.
Over time, constant cycling stresses valves and can mask larger plumbing issues requiring prompt replacement.
Quick way to tell if your flapper needs replacing
A simple two-minute test can reveal whether a flapper is leaking: add a few drops of food coloring to the tank, wait without flushing, and check the bowl for colored water.
Observing the tank and bowl for continuous running or a slowly falling water level also indicates a failing seal.
These quick checks help determine if the flapper needs replacing.
Simple two-minute test to check for leaks
One quick method checks for a leaking flapper in under two minutes: add a few drops of food coloring to the tank, wait 60–120 seconds without flushing, and inspect the bowl for colored water.
If dye appears, the flapper seals poorly and likely requires replacement. No dye indicates the flapper holds.
Repeat once more if results seem uncertain before deciding on repairs.
How to observe the tank and bowl for continuous running
Watch the tank and bowl for the telltale cycle of continuous running: water refilling, valve click, and brief silence followed by another refill within a minute or two.
Observers note rhythmic repeats, rising bowl level between cycles, or faint phantom refills. These signs indicate a flapper failing to seal.
If cycles persist after adjusting chain slack, replacement is recommended to stop wasted water and noise.
Seven clear signs your toilet flapper needs replacement
The section lists seven clear, observable signs that indicate a toilet flapper likely needs replacement.
These symptoms range from persistent running and slow tank draining to visible damage and sealing failure. Recognizing these clues early can prevent water waste and repeated repairs.
- Continuous running after flushing
- Visible warping, cracking, or mineral buildup
- Flapper won’t seal or frequently requires handle jiggling
Sign 1 Toilet continuously runs after flushing
A continuously running toilet after a flush often indicates the flapper is failing to seal properly, allowing water to leak from the tank into the bowl until the fill valve reactivates.
This persistent flow wastes water and raises utility bills.
Inspection may reveal warped, cracked, or hardened rubber.
Replacing the flapper typically restores a tight seal and stops the constant refill cycle.
Sign 2 Water level in tank drops slowly between uses
Noticing the tank’s water level steadily sinking between uses signals a slow leak past the flapper rather than an immediate overflow.
This gradual decline often indicates the flapper isn’t sealing fully, allowing water to seep into the bowl. It wastes water and may indicate deterioration or misalignment.
Testing with dye or inspecting seal seating confirms the issue and whether replacement is warranted.
Sign 3 Visible warping, cracking, or mineral buildup on the flapper
Visible damage—such as warping, cracks, or a crust of mineral deposits—indicates the flapper has lost its ability to form a reliable seal.
Visual inspection reveals deformities, brittle edges, or calcified buildup that prevent full contact with the valve seat.
When rubber appears misshapen, fissured, or encrusted, replacement is recommended to restore proper sealing and prevent ongoing water waste.
Sign 4 Flapper won’t seal or falls off the valve seat
If the flapper repeatedly fails to seat or detaches and drops into the tank, the toilet will either continue running or intermittently leak as water escapes past the valve seat.
This indicates worn mounting ears, a stretched chain, misaligned seat, or degraded flapper material.
Replacement restores reliable sealing and prevents water waste; inspect fit and alignment before reinstalling or replacing the flapper.
Sign 5 Frequent need to jiggle the handle to stop running
A flapper that intermittently fails to seat can also produce a handle that must be jiggled to stop the tank from running.
Repeated tapping temporarily reseats a warped or mineral-coated flapper or realigns a stretched chain.
If brief handle manipulation consistently halts continuous flow, the flapper or its chain likely requires inspection and replacement to restore reliable sealing without manual intervention.
Sign 6 Age: flapper older than 3 to 5 years or manufacturer estimate
By the three- to five-year mark, many rubber or PVC flappers begin to lose elasticity and sealing ability, so age alone is a reliable indicator that replacement may be needed.
Manufacturers often provide lifespan estimates; exceeding them increases failure risk.
Even without visible damage, an older flapper is more prone to leaks, hardening, and deformation, warranting proactive replacement to prevent persistent phantom flushing.
Sign 7 Flapper chain length problems or corrosion of attachment points
Check the chain length and attachment points for signs of improper adjustment or corrosion that can prevent the flapper from sealing correctly.
A chain that’s too short holds the flapper slightly open; too long allows entanglement under the seal. Corroded hooks or worn holes cause uneven tension and leaks.
Replace the chain or attachment hardware—or the flapper—if adjustment or cleaning doesn’t restore reliable closure.
How to diagnose the specific cause of flapper problems
To diagnose flapper problems, a simple dye test can confirm leaks while a close inspection of the flapper and valve seat reveals wear or debris.
Chain length and handle/lever operation should be checked for binding or improper tension.
Finally, the tank water level and refill valve interaction are evaluated to guarantee proper seating and seal.
Dye test for identifying leaks ()
How can a simple dye test pinpoint whether a flapper is the source of a toilet leak? A few drops of food coloring in the tank, wait 10–20 minutes without flushing, then check the bowl for color.
If dye appears, the flapper or its seal allows water through; if not, look elsewhere.
- Add dye to tank
- Wait without flushing
- Inspect bowl for color
Inspecting the flapper and valve seat for wear or debris
Lift the tank lid and examine the flapper and valve seat closely for wear, mineral buildup, or debris that can prevent a tight seal.
Look for cracks, warping, hardened edges, or residue on the rubber and corroded or pitted valve seats.
Remove loose deposits with a cloth or soft brush; replace the flapper if deformities or persistent sealing gaps remain.
Checking chain length and handle/lever operation
After inspecting the flapper and valve seat for physical damage or buildup, attention should turn to the chain and handle assembly, since improper chain length or sticky lever action often mimics flapper failure.
Verify chain has slight slack at rest, not so short it holds the flapper ajar nor so long it tangles.
Test handle return; clean or tighten pivot, replace corroded parts.
Evaluating tank water level and refill valve interaction
When diagnosing flapper issues, the tank water level and the refill valve’s behavior should be checked next because incorrect fill height or a malfunctioning valve can prevent the flapper from sealing or cause premature opening.
Inspect float position, adjust refill valve height, and observe refill tube placement.
Verify stable water level below overflow and that valve shuts off promptly; replace valve if it cycles or leaks.
Step-by-step flapper replacement guide
A concise walk-through lists the tools and materials required, explains how to shut off the water and drain the tank, and shows how to remove the old flapper safely.
It then outlines how to select a compatible replacement flapper and install it, including proper chain length adjustment.
Clear, stepwise instructions help guarantee a secure fit and reliable flush performance.
Tools and materials needed
Several basic tools and a replacement flapper are required to complete the job efficiently.
The technician gathers items chosen for compatibility and durability, avoiding unnecessary extras. Quality materials reduce repeat work and guarantee a proper seal.
- Replacement rubber flapper (correct size/type)
- Adjustable pliers or wrench
- Small flat screwdriver or utility knife
Preparing the toilet: shutting off water and draining the tank
Shut off the water supply and empty the tank before touching the flapper: locate the shutoff valve behind the toilet, turn it clockwise until it stops, then flush to drain as much water as possible while holding the handle down to let the cistern empty.
Use a sponge or small cup to remove remaining water, place towels around the base, and make certain the supply line stays closed.
Removing the old flapper safely
Begin by confirming the tank is empty and the water supply remains closed.
Then put on gloves to avoid contact with grime and cleaner residues.
Detach the flapper chain from the flush lever, slide the flapper off the overflow tube pegs or unclip its ears, and inspect for corrosion or mineral buildup.
Remove debris, then discard the old flapper safely.
Choosing the right replacement flapper (compatibility tips)
With the old flapper removed and the tank cleaned, the next step is selecting a replacement that matches the toilet’s make and flush mechanism.
Verify flapper type (ball, flat, or universal), seat diameter, and connection style.
Check material compatibility (rubber vs. silicone) for chemical resistance and longevity.
Confirm lift compatibility with the overflow tube and consult manufacturer specs or model number for exact matches.
Installing the new flapper and adjusting chain length
Install the new flapper by seating it over the flush valve, securing its ears or hooks to the overflow tube pegs, and attaching the chain to the flush lever so the flapper lifts fully without binding.
Adjust chain length with one or two free links: not taut, not slack.
Verify smooth vertical motion, no rubbing on tank parts, and that the hinge sits evenly.
Restoring water, testing seal, and final adjustments
After confirming the flapper seats evenly and the chain allows unobstructed vertical movement, the tank can be refilled and the seal tested.
Reopen the water supply slowly, observe filling, then perform several test flushes. Check for leaks or delayed sealing.
Trim chain or reposition flapper if needed to prevent slippage or sticking.
Verify consistent closure and normal refill cycle before replacing the tank lid.
When a repair is enough vs. when to replace the entire flush assembly
Simple fixes such as cleaning the flapper seat, reseating the rubber, or adjusting the chain can often restore a leak-free seal and extend the part’s service life.
However, persistent leaks, visible damage to the flush valve or a cracked overflow tube indicate the entire flush assembly should be replaced.
The decision often comes down to comparing the time and modest cost of repairs against the higher cost but longer-term reliability of a full replacement.
Small fixes that can extend flapper life (cleaning, reseating, chain adjustment)
Inspecting the flapper and its surrounding components often resolves common leaks without full assembly replacement.
Gentle cleaning of mineral deposits, careful reseating to guarantee an even seal, and adjusting chain slack to prevent binding or over-stretching commonly restore reliable operation.
Small parts like clips or guides can be tightened or replaced individually. Replace only if cracking, warping, or persistent leaking remains.
Signs that indicate the flush valve or overflow tube should be replaced too
When should the entire flush assembly be replaced rather than just the flapper?
Persistent leaks after flapper replacement, visible cracks or warping in the flush valve or overflow tube, corroded mounting surfaces, repeated misalignment, or continuous siphoning indicate broader failure.
If sealing surfaces are damaged or parts no longer fit securely, replace the flush assembly to restore reliable, watertight operation.
Cost and time comparison: repair vs full replacement
After signs point beyond a faulty flapper—persistent leaks, warped seats, or damaged mounting surfaces—the next question becomes whether to repair individual parts or replace the entire flush assembly. Cost and time tradeoffs favor repair for simple parts: low price, short labor. Full replacement suits chronic or multiple failures: higher cost, longer install, but longer lifespan.
| Option | Typical cost | Typical time |
|---|---|---|
| Repair parts | $5–$30 | 10–30 min |
| Full assembly | $40–$120 | 30–90 min |
| When to choose | Minor damage | Multiple or structural failures |
Preventive maintenance to extend flapper life
A regular inspection schedule—checking for warping, cracking, and seepage every few months—helps catch early signs of flapper wear.
Simple practices like using mild cleaners, flushing out mineral deposits, and avoiding harsh bleach tablets reduce buildup and chemical damage.
Choosing durable materials such as silicone or rubber blends designed for hard water or septic systems further prolongs flapper life.
Regular inspection schedule and what to look for
Routine inspections keep a toilet flapper functioning and prevent premature failure. Monthly visual checks and quarterly hands-on tests catch wear early.
Replace if cracking, warping, or persistent leaks occur. Record dates and findings to track deterioration.
- Inspect for cracks, soft spots, or warped edges
- Test seal by observing water level and listening for running
- Check chain slack and clip condition
Best practices to reduce mineral buildup and chemical damage
Monthly inspections naturally lead to attention on factors that accelerate flapper wear, especially mineral deposits and harsh cleaners.
Recommend using mild, pH-neutral cleaners and flushing cleaning tablets that are flapper-safe sparingly.
Periodically remove and wipe the flapper and valve seat with a soft cloth and vinegar solution to dissolve scale.
Maintain balanced water chemistry and avoid bleach-heavy treatments to extend component life.
Recommended flapper materials for hard-water or septic systems
Several durable materials outperform standard PVC in environments with hard water or septic exposure: silicone, EPDM rubber, and reinforced nitrile compounds resist mineral scaling and chemical breakdown better than ordinary rubber.
Fluorocarbon blends and chlorinated polyethylene offer additional chemical resilience.
Select flappers rated for potable-water contact and higher Shore hardness; guarantee compatibility with valve seats and replace annually or when elasticity and seal integrity decline.
Common mistakes to avoid when replacing a flapper
Common errors during flapper replacement include fitting the wrong size or an incompatible model, which can prevent a proper seal.
Over-tightening hardware or misaligning parts can warp components and cause leaks.
Failing to check the flush valve and fill valve for wear or malfunctions can lead to repeat problems despite a new flapper.
Using the wrong size or incompatible flapper
One frequent error when replacing a toilet flapper is choosing a part that doesn’t match the tank’s specifications; an incorrect size or incompatible design can cause leaks, poor flush performance, or rapid wear.
Manufacturers vary in seat diameter, hinge style, and material compatibility. Selecting the correct replacement by verifying model numbers or measuring the seat prevents recurring leaks, inefficient flushing, and premature failure.
Over-tightening or misaligning components
When installing a replacement flapper, over-tightening the mounting nut or misaligning the hinge and chain can distort seals, bind movement, and produce continuous leaks or incomplete flushes.
Proper alignment and moderate tightening preserve seal integrity and free movement. Confirm the chain has slight slack at rest, the flapper seats evenly, and fittings are snug but not forced to prevent premature wear and malfunction.
Ignoring underlying valve or fill valve issues
Even with correct flapper alignment and moderate tightening, problems can persist if the underlying flush valve or fill valve is faulty.
Replacing a flapper without inspecting these components can leave slow fills, intermittent running, or poor seals.
Technicians should check valve seats, overflow tube height, and fill valve operation; replace worn or misadjusted parts to guarantee a lasting repair and prevent repeated leaks.
Signs a professional plumber is needed
Repeated leaks after several flapper replacements suggest a deeper issue that likely requires professional assessment.
Visible damage such as a cracked tank, heavily corroded fittings, or complex valve assemblies also indicates the need for an experienced plumber.
Homeowners should request a diagnostic inspection and written estimate when problems persist or when repairs involve structural or valve-system concerns.
Recurrent leaks after multiple replacements
Noticeable leaks that return after several flapper replacements indicate a problem beyond a simple parts failure; the issue often stems from underlying valve seat damage, corroded mounting hardware, or misaligned flush-valve components that a basic DIY fix cannot resolve.
Persistent leaking despite correct installation signals deeper alignment or seal issues requiring professional inspection, diagnostic tools, and targeted repairs to prevent ongoing water waste and failure.
Cracked tank, corroded fittings, or complicated valve systems
When hairline fractures, extensive corrosion, or complex factory-installed flush mechanisms are present, a homeowner should call a professional plumber rather than attempt further DIY fixes.
Visible tank cracks, rusted bolts or fittings, and integrated valve assemblies often require specialized tools, parts, or tank replacement.
A licensed plumber assesses structural damage, prevents leaks or collapse, and guarantees compatible repairs that meet local codes and safety standards.
When to request a diagnostic inspection and estimate
How can one tell if a simple flapper swap will suffice or if professional evaluation is warranted?
Persistent leaks after replacement, recurring phantom flushes, unclear water source, damaged or warped tank components, and unfamiliar valve configurations indicate deeper issues.
Multiple failed DIY attempts, visible structural cracks, or the need for permit‑grade repairs warrant requesting a diagnostic inspection and a written estimate from a licensed plumber.
Quick troubleshooting cheat-sheet
A concise cheat-sheet outlines fast fixes for common flapper symptoms and clear instructions on testing results after each repair.
It separates quick actions (e.g., adjust chain length, clean seal) from expected outcomes so the reader knows when the issue is resolved.
The sheet also flags signs that warrant professional help if tests fail.
- Adjust chain length: lift handle, observe seal; expect solid closure and no continuous run.
- Clean or replace flapper: flush after installation; expect full flush and proper refill.
- Check valve seating: press flapper manually during fill; expect water level stabilization and no hissing.
Fast fixes for each common symptom
Identify the symptom, match it to the likely cause, and try the targeted quick fix before calling a plumber.
Slow tank refill: adjust float or clear fill valve.
Continuous running: clean or reseat flapper, check chain length.
Weak flush: raise water level or replace flapper.
Intermittent leak: swap worn flapper or tighten seat.
Hissing: inspect refill tube for misplacement.
When to test and what to expect after each repair
After trying the quick fixes above, test each repair immediately and again after several flush cycles to confirm the issue is resolved and has not recurred.
Observe for continuous running, slow fill, weak flush, or intermittent leaks. Note noises and check for water level stability.
If problems persist, retighten, realign, or replace the flapper and retest.
Document results and next steps.
Visual aids and measurements to help choose the right flapper
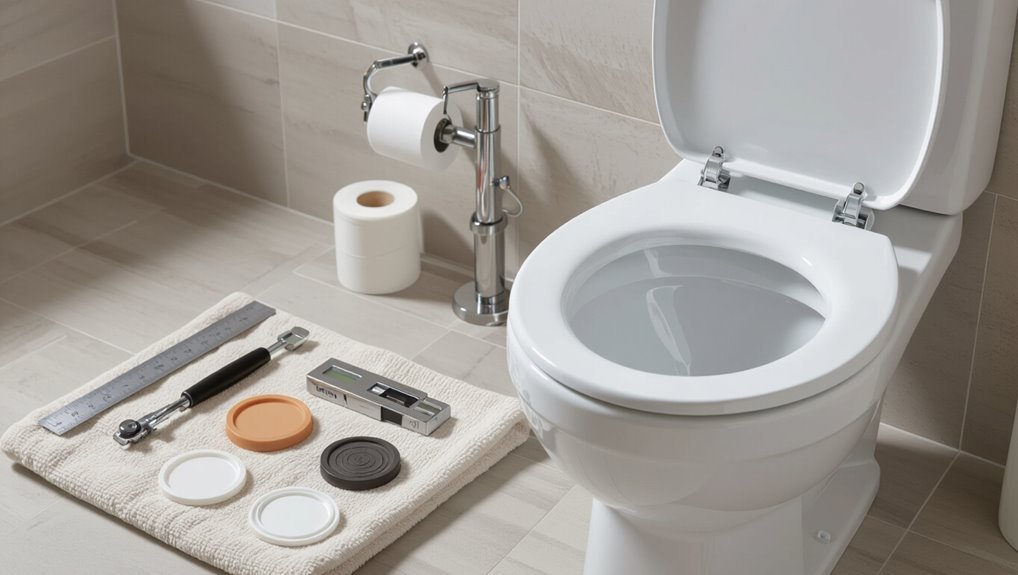
A simple diagram and a few key measurements guide selection of the correct flapper.
Measure the valve seat diameter and the flapper’s height and width, and compare those numbers to manufacturer specifications.
Include a labeled sketch showing proper chain length and the flapper’s seating position to guarantee reliable sealing and lift.
Measuring valve seat diameter and flapper dimensions
When choosing a replacement flapper, measuring the valve seat diameter and the flapper’s key dimensions guarantees a proper seal and reliable operation.
Use a ruler or caliper to record inside seat diameter, flapper diameter, stem or hinge spacing, and thickness.
Note manufacturing tolerances and compare measurements to replacement specifications.
Photograph existing parts for reference and confirm compatibility before purchasing.
Diagram of proper chain length and flapper seating position
Although often overlooked, correct chain length and precise flapper seating are critical to prevent leaks and guarantee a full, reliable flush.
A simple diagram should illustrate: chain with 1/2 inch slack at rest, centered lift so flapper clears fully, and even contact around the valve seat.
Include measurements for common flapper types and clear labels for alignment and hinge points.
Conclusion
In sum, the toilet flapper is the small gatekeeper whose condition quietly determines water loss and flush performance. When leaks, age, warping, or persistent running appear, replacement restores efficiency and stops waste. Like a tired hinge finally freed, a new flapper brings smooth, reliable operation. Homeowners who follow diagnostic steps and avoid common mistakes can resolve most issues themselves, while persistent or complex faults signal the need for a professional plumber.
