
How to Tell if Your Toilet Flapper Is Bad: Quick Checks and Fixes
To determine if your toilet flapper is bad, look for signs like silent leaks, a running toilet, or low tank water levels. Quick checks include listening for hissing sounds, adding food coloring to the tank to detect seepage, inspecting for cracks or warping, and testing the chain slack. Simple fixes, such as cleaning mineral buildup or adjusting the chain, can often resolve issues. For more persistent problems, consider replacement options, associated costs, and troubleshooting tips.
What a Toilet Flapper Is and Why It Matters
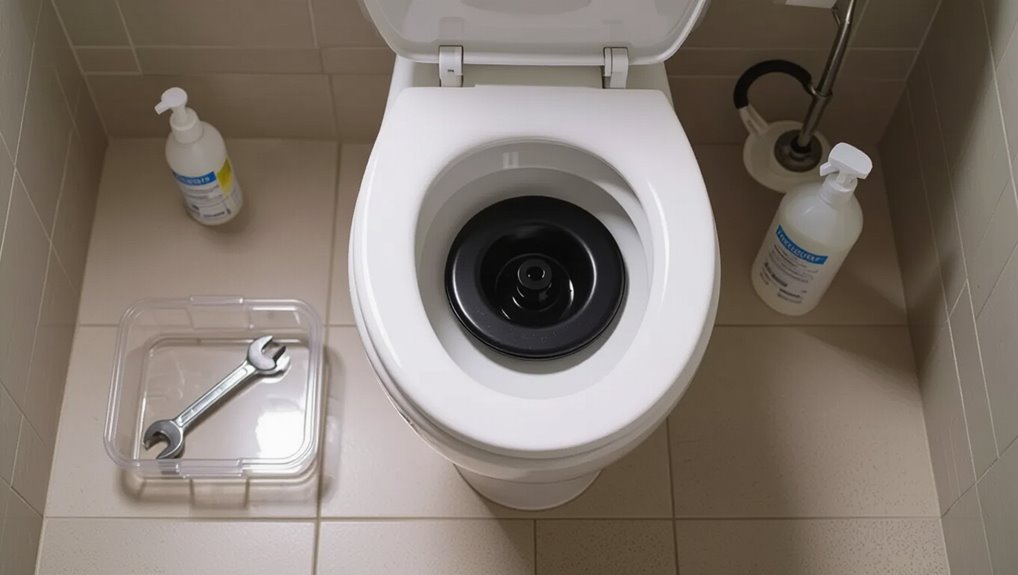
A toilet flapper is a rubber or silicone valve that seals the tank and lifts during a flush to let water flow into the bowl, then reseats to stop the flow.
Flappers come in various shapes and materials—standard rubber, flexible silicone, and adjustable or universal designs—to match different tank configurations.
A worn or warped flapper can leak slowly, causing higher water usage and increased utility bills.
How a flapper fits into the toilet flushing system
The flapper sits at the base of the toilet tank and serves as the valve that controls water release during a flush.
It seals the flush valve, lifts when the handle is actuated, and allows water to flow into the bowl before reseating to stop flow and refill.
Observing seal integrity and timing helps determine how to know if toilet flapper is bad.
Common materials and types of flappers
Common flapper types include rubber, silicone, and foam designs, each offering distinct durability and sealing characteristics relevant to performance and maintenance.
Rubber flappers are economical but can degrade and warp. Silicone offers improved longevity and chemical resistance. Foam models provide lightweight sealing for specialized valves.
Variations include adjustable lift, universal-fit styles, and manufacturer-specific shapes to match tank geometry and flush mechanisms.
Signs that a failing flapper affects water usage and bills
When a flapper begins to fail, subtle leaks often translate into continuous water loss that quietly inflates utility bills over weeks or months.
Homeowners may notice higher monthly charges, running toilets between flushes, or low tank levels.
Meter tests, audible hissing, and dye tests confirm leaks.
Prompt replacement or seal cleaning restores proper sealing, stopping waste and reducing unnecessary expenses.
Quick Way to Tell if Your Flapper Is Bad (Immediate Checks)
A brief visual inspection can reveal obvious wear, warping, or mineral buildup on the flapper and its seating.
A simple dye test—adding food coloring to the tank and watching for colored water in the bowl—confirms hidden leaks.
Listening for hissing or timing how quickly the tank refills helps identify slow or intermittent sealing failures.
Visual inspection checklist
If a quick determination is needed, a visual inspection offers the fastest indication of a failing toilet flapper. The observer notes condition, fit, and function before further testing.
- Check for warping, cracks, or brittleness.
- Verify the flapper seals evenly on the valve seat.
- Inspect chain slack and attachment.
- Look for mineral buildup or softening around the rubber.
The dye test to detect hidden leaks
Visual inspection can catch many visible flapper problems, but a dye test reveals leaks that aren’t obvious to the eye. A few drops of food coloring in the tank show seepage into the bowl without flushing.
Wait ten minutes; colored water indicates a leak.
Steps:
- Add dye.
- Close tank.
- Wait.
- Inspect bowl for color.
Listening and timing method to find slow leaks
When quiet attention is applied, the listening-and-timing method quickly reveals slow flapper leaks by detecting the faint hiss or drip of water escaping from the tank into the bowl.
This immediate check requires no tools beyond a watch and a quiet room, and can confirm a leak in minutes by noting sound and timing how long the tank takes to refill after a flush.
- Flush and listen.
- Time refill interval.
- Compare to normal cycle.
- Repeat to verify.
Detailed Diagnostic Steps
The author begins by instructing removal of the tank lid and basic safety precautions before any inspection.
They then describe examining the flapper for warping, cracks, and mineral buildup and testing the chain length and its connection to the flush lever.
Finally, they recommend checking the flush valve seat and ensuring the overflow tube is properly aligned.
Removing the tank lid and safe preparation
Begin by turning off the water supply to the toilet and flushing to drain most of the tank; this reduces weight and prevents accidental spills.
Remove the lid carefully, gripping both sides and keeping it vertical. Place the lid on a padded, stable surface.
Wear gloves and eye protection. Clear nearby items and guarantee good lighting. Keep tools and replacement parts within reach.
Examining the flapper for warping, cracks, and mineral buildup
Inspect the flapper closely for signs of warping, hairline cracks, or mineral deposits that could prevent a tight seal. The detached observer notes texture, flexibility, and sealing rim condition.
Follow these checks:
- Visualize warping under good light.
- Run fingertip along edges for brittleness.
- Look for white or green mineral rings.
- Press gently to confirm uniform rebound.
Testing chain length and connection issues
Because an improperly adjusted chain can prevent a flapper from seating correctly, a systematic test of chain length and connections is vital before replacing parts.
Inspect link slack, clip position, and corrosion.
Perform these steps:
- Check chain slack with flapper closed.
- Confirm clip attaches to lift arm without binding.
- Adjust length to allow full closure.
- Replace frayed chain or clip.
Checking flush valve seat and overflow tube alignment
Several precise checks guarantee the flush valve seat and overflow tube are aligned and sealing properly before replacing components.
Inspect the seat for cracks, mineral buildup, and warping; clean or lightly sand as needed.
Confirm the overflow tube is vertical, centered, and undamaged.
Lower and raise the flapper to verify smooth seating.
Replace the valve or tube if misalignment or persistent leaks remain.
Quick Fixes You Can Try Without Replacing the Flapper
Basic non-replacement remedies focus on restoring the flapper’s seal and motion.
Cleaning mineral buildup and reseating the flapper can stop leaks, while adjusting chain length or lift settings corrects improper closure.
For short-term relief, applying a silicone lubricant or an appropriate sealant can improve sealing until a full repair is performed.
Cleaning mineral deposits and reseating the flapper
A few straightforward steps can often clear mineral buildup and restore a flapper’s seal without a replacement. The procedure is concise:
- Shut off water and drain the tank.
- Inspect and clean rim and flapper with vinegar and a soft brush.
- Wipe sealing surfaces dry and remove residue.
- Re-seat flapper carefully, verify alignment, then restore water and test for leaks.
Adjusting or replacing the chain and lift settings
Check the chain length and lift adjustment next, since improper tension or a damaged connector often prevents a flapper from sealing or lifting fully.
Inspect, adjust, or replace the chain and arm to restore proper motion.
- Shorten chain to prevent constant lift.
- Add one link for full seal.
- Replace corroded connectors.
- Guarantee wrist pin free rotation.
Temporary fixes: using silicone lubricant or sealants (when appropriate)
Apply temporary silicone lubricants or sealants cautiously to stop minor leaks and improve flapper seating without immediate replacement.
Use a bathroom-safe, non-hardening silicone grease or a removable sealant sparingly on the valve seat or flapper edge.
Clean surfaces first, test several flushes, and avoid permanent adhesives.
These measures are short-term; persistent leaks or warped flappers require proper replacement for reliable operation.
When to Replace the Flapper and How to Choose the Right One
Persistent leaking, visible warping, or a flapper that won’t seal are clear signs replacement is necessary.
Choosing the correct replacement requires matching flapper type to the toilet model and flush mechanism—universal, adjustable, and specific-fit options vary by design.
Comparisons of rubber, silicone, and composite materials help evaluate durability and resistance to chemicals and mineral buildup.
Signs replacement is necessary
When should a flapper be replaced?
Visible cracks, warping, or mineral buildup that resists cleaning indicate failure.
Persistent running or slow leaks after adjustment, frequent refilling, and flapper parts that no longer seal securely are clear signs.
If rubber feels brittle or stretches, replacement is prudent.
Replacing restores proper seal, conserves water, and prevents higher utility costs.
Matching flapper type to toilet model and flush mechanism
Selecting the correct flapper depends on both the toilet’s flush mechanism and the bowl design. Match size, valve type, and lift style before buying.
Consider universal versus model-specific parts and confirm chain length.
Recommendations:
- Measure valve opening diameter.
- Identify flush type (lift/flush valve/over/under).
- Check manufacturer model number.
- Test fit and seal before final installation.
Materials and durability comparison
Because the flapper sits in constant contact with water and mechanical components, material choice and construction directly determine lifespan and performance. Rubber offers flexibility but ages; silicone resists degradation; molded plastics suit modern designs. Choose by longevity, cost, and compatibility.
| Material | Durability | Feeling |
|---|---|---|
| Rubber | Moderate | Familiar |
| Silicone | High | Reassuring |
| Plastic | Variable | Practical |
Step-by-Step Flapper Replacement Guide
A concise step-by-step replacement guide lists the tools and materials required, outlines how to remove the old flapper safely, and explains installing the new flapper with proper chain length adjustment.
It also covers simple post-installation tests to confirm a reliable seal and correct flush. The following instructions are presented in clear sequence for efficient, low-risk completion.
Tools and materials needed
Tools and materials for a flapper replacement are few but specific: a replacement flapper suited to the toilet model (universal or model-specific), adjustable-length chain or lift wire, slip-joint pliers, a flathead screwdriver, a small bucket or towel to catch water, and optional plumber’s grease and silicone sealant for stubborn seals.
- Replacement flapper
- Chain/wire
- Pliers/screwdriver
- Bucket/towel
Removing the old flapper safely
With the replacement parts gathered and the tank drained into the bucket or towel, the next step is to remove the old flapper safely. The procedure minimizes damage and mess:
- Disconnect lift chain from flush lever.
- Unhook flapper ears from overflow tube pegs.
- Cut or remove stubborn ring attachments.
- Clear debris from seat and inspect valve area before installing new part.
Installing the new flapper and adjusting chain length
Begin by fitting the replacement flapper to the overflow tube or valve seat according to its design, ensuring the ears or ring align with the attachment points and the sealing surface sits flush and clean.
Then attach the chain to the flush lever arm, allowing slight slack for full closure.
Adjust chain length incrementally:
- Set initial length.
- Test lever travel.
- Shorten if slack.
- Lengthen if binding.
Post-installation tests to confirm the fix
After adjusting the chain and confirming the flapper seats properly, perform a series of simple tests to verify a reliable seal and correct operation.
The technician should:
- Flush and observe lift and reseal timing.
- Add dye to tank, wait ten minutes, check bowl for color.
- Listen for continuous seepage.
- Recheck chain slack and refill valve alignment, adjust if needed.
Troubleshooting Related Problems
If problems persist after replacing the flapper, the cause may lie elsewhere and warrants targeted troubleshooting.
Common issues include a constantly running tank despite a new flapper, a flapper that repeatedly detaches or slips off its seat, or faults originating from the fill valve or flush valve assembly rather than the flapper itself.
The following section outlines checks and fixes for each of these scenarios.
Persistent running even after flapper replacement
When a toilet continues to run despite installing a new flapper, the issue typically lies elsewhere in the tank assembly or water supply rather than the flapper itself.
Check the fill valve for proper shutoff, inspect the overflow tube height and for leaks, verify chain length and tension, examine the flush valve seat for warping, and test water pressure and supply valve operation.
Flapper keeps detaching or slipping off
Investigate causes of a flapper that repeatedly detaches or slips off, as this symptom usually points to installation issues, deteriorated mounting points, or an incompatible replacement part.
Inspect chain length, twist-free attachment, and ring or ears for cracks.
Replace warped or brittle mounts, choose the correct flapper model, and guarantee clips or seat retainers engage properly.
Tighten or reposition components to prevent recurrence.
Issues caused by fill valve or flush valve rather than the flapper
A flapper that repeatedly detaches can sometimes distract from problems that actually originate with the fill valve or the flush valve assembly.
Faulty fill valves can overpressurize or underfill, causing erratic seal seating; worn or misaligned flush valve components can prevent proper flapper contact.
Diagnosing water level, valve alignment, and valve body cracks helps isolate the true culprit before replacing the flapper.
Maintenance Tips to Extend Flapper Life
A regular inspection schedule helps catch wear and misalignment before leaks develop.
Simple steps to prevent mineral buildup and corrosion—such as cleaning with a soft brush and using appropriate cleaners—prolong flapper function.
Persistent leaks, warped parts, or unclear causes warrant contacting a professional plumber.
Routine inspection schedule
Establishing a regular inspection schedule prevents small flapper issues from becoming leaks or costly repairs.
A concise monthly check keeps performance reliable and identifies wear early.
Suggested routine:
- Inspect flapper for cracks or deformation.
- Test seal by adding dye and watching for color transfer.
- Verify chain length and attachment.
- Note any slow fill or phantom flush for immediate action.
Preventing mineral buildup and corrosion
Although often out of sight, mineral buildup and corrosion steadily degrade flapper function if not actively prevented.
Regular cleaning, water softening, and gentle descaling prolong life.
Recommended actions:
- Inspect monthly for white deposits or green corrosion.
- Wipe flapper with a soft cloth and mild vinegar solution.
- Replace if rubber shows pitting or stiffness.
- Install a water softener or use cartridge filters.
When to call a professional plumber
When should a professional be summoned for flapper issues?
A plumber is warranted when leaks persist after flapper replacement, when water level fluctuates due to fill-valve or overflow problems, when corrosion or tank cracks are evident, or when diagnostic steps are unclear.
Professional assessment prevents recurring failures, addresses hidden valve or seal defects, and guarantees compliant repairs.
Cost, Time, and Environmental Impact
Typical DIY flapper replacements cost a few dollars for the part and under an hour of labor, while professional service may run $75–150 including call-out and labor.
Common repairs like reseating or replacing the flapper usually take 10–30 minutes for a homeowner with basic tools.
Repairing a leaking flapper stops continuous water loss, cutting household water use and lowering utility bills as well as reducing unnecessary environmental strain.
Typical costs for DIY replacement vs professional service
One clear way to decide between a DIY toilet flapper replacement and hiring a pro is to compare upfront costs, time investment, and environmental consequences. DIY parts: $5–20, minimal waste, homeowner time. Pro service: $75–200, includes labor, possible parts, professional disposal.
| Option | Typical cost |
|---|---|
| DIY parts | $5–20 |
| Professional service | $75–200 |
| Disposal impact | Lower vs managed higher |
Time required for common repairs
Comparing upfront costs and environmental footprints naturally leads to examining how long common flapper repairs take, since time is a tangible cost for both DIYers and professionals.
Replacing a flapper typically requires 15–30 minutes for a homeowner, while adjusting chain length or float takes 5–15 minutes.
A plumber may complete full replacement in 20–40 minutes, including inspection and cleanup.
How fixing a bad flapper saves water and reduces bills
Fixing a faulty toilet flapper immediately stops persistent leaks that can waste dozens to hundreds of gallons per day, translating directly into lower water bills and reduced municipal supply demand.
Repair costs are low; simple replacement often takes under 30 minutes. Savings accumulate monthly, lowering utility expenses and easing infrastructure strain.
Environmental benefits include reduced energy for treatment and decreased freshwater extraction, supporting sustainability goals.
Visual Guides and Reference Diagrams
The article presents clear visual guides showing common flapper styles with labeled parts to help identify make and function.
It also includes before-and-after photos of typical repair scenarios to illustrate expected results.
These references aim to speed recognition and confirm successful fixes.
Common flapper styles with labeled parts
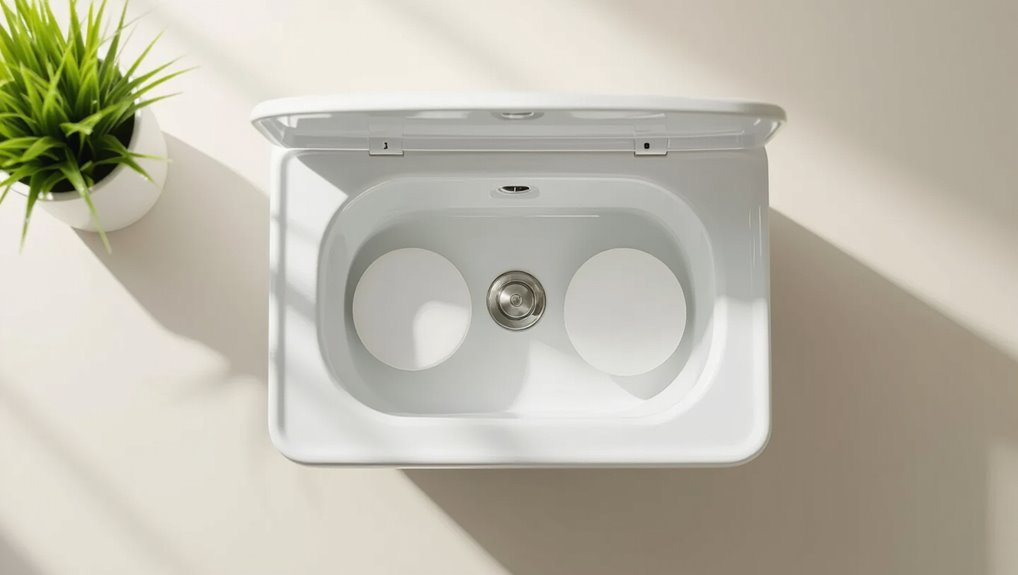
A concise visual primer highlights the most common toilet flapper styles—flat rubber discs, tapered cone types, and ball-and-seat assemblies—each accompanied by clear labels for their key parts such as the seal edge, hinge ears, chain attachment, and guide seats.
Diagrams show material, typical wear points, mounting methods, and suggested inspection spots to speed identification and match replacements efficiently.
Before-and-after photos of repair scenarios
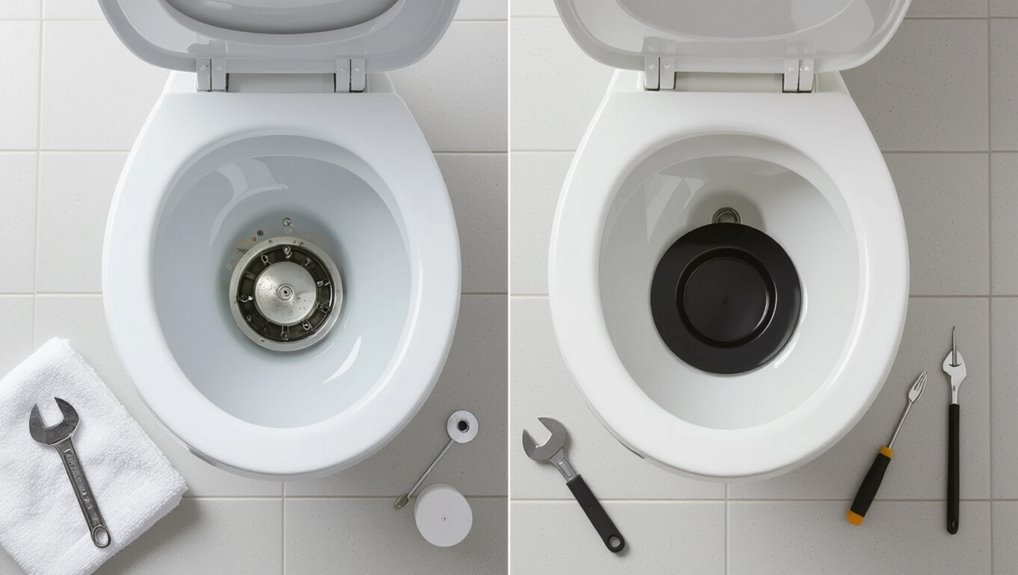
When photographed side-by-side, before-and-after images quickly reveal the practical effects of common flapper repairs—worn seal edges, stretched chains, and misaligned hinge ears become obvious contrasts to properly seated replacements and adjusted linkages.
Captions should note cause, diagnostic sign, and corrective step. Close-up shots of contact surfaces and chain routing aid comparison.
Include scale or ruler and consistent lighting for accurate visual reference.
Conclusion
A toilet flapper, small as a heart valve, governs the pulse of the bathroom; when it falters, the house’s rhythm stutters. Like a worn hinge on an ancient gate, a degraded flapper heralds leaks and waste. Timely inspection and modest repairs restore flow and thrift, turning a quiet malfunction into renewed order. By treating the flapper as both sentinel and steward, one preserves comfort, conserves water, and honors practical caretaking.
