How to Install a Gas Line for a Dryer Safely: Step-by-Step Guide for Homeowners
To safely install a gas line for your dryer, start by planning and ensuring compliance with local codes. Confirm the type of gas you’ll be using and obtain any necessary permits. Use approved materials, including a shutoff valve, sediment trap, gas-rated flexible connector, and appropriate fittings. Begin by shutting off the gas supply, then pressure-test the line at 10–30 psi. Check all joints for leaks using soap or an electronic detector. Secure the gas lines, install an accessible shutoff valve, and schedule an inspection. Follow these step-by-step procedures and safety checks to ensure a safe installation.
What You Need to Know Before Installing a Gas Line for a Dryer
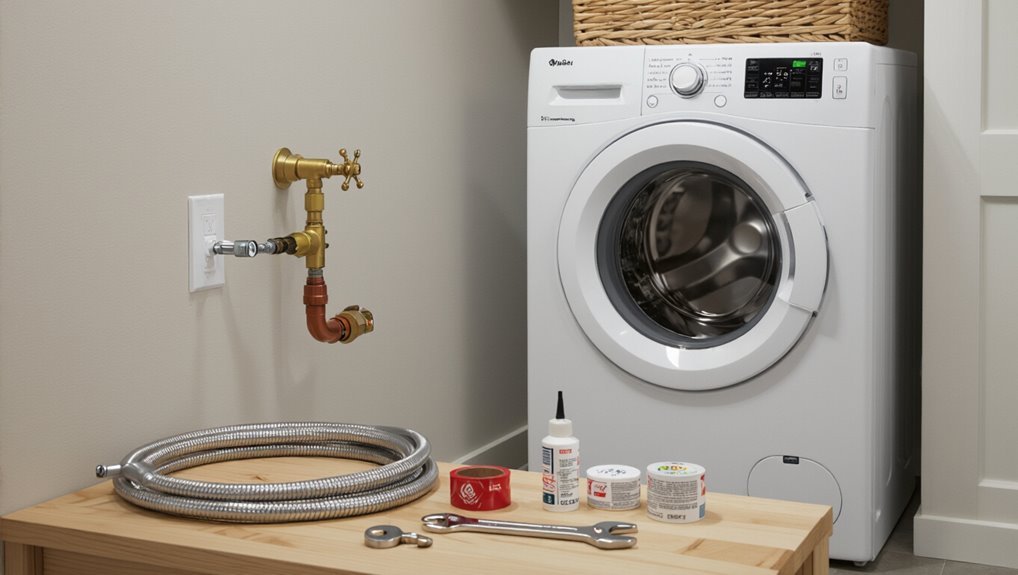
Before beginning a dryer gas line installation, the installer should recognize that correct installation affects both safety and appliance performance.
They must check local codes and permits, know when a licensed professional is required, and confirm whether the dryer will use natural gas or propane and the appropriate supply pressure.
Finally, they should assemble the required tools, materials, and personal safety equipment before starting work.
Why proper gas line installation matters for safety and performance
Proper gas line installation directly affects both household safety and dryer performance, since leaks, improper fittings, or undersized piping can cause fire hazards, carbon monoxide buildup, and inadequate gas flow.
Readers learning how to install a gas line for dryer should prioritize correct materials, secure joints, appropriate pipe sizing, and pressure testing.
Proper installation prevents emergencies, preserves appliance efficiency, and reduces long-term repair costs.
Local codes, permits, and when to hire a licensed professional
Many jurisdictions require permits and adherence to specific gas, plumbing, and building codes when installing a dryer gas line; failure to comply can result in fines, failed inspections, or unsafe installations.
Homeowners should verify local requirements, obtain required permits, and schedule inspections.
Complex runs, conversions, or unfamiliarity with codes warrant hiring a licensed plumber or gas fitter to confirm compliance and safety.
Types of gas used for dryers (natural gas vs. propane) and supply considerations
Two common fuel options for residential dryers are natural gas and propane, and each requires specific supply considerations.
Natural gas is delivered via municipal pipelines at lower pressure; appliance orifices and pressure regulators are sized accordingly.
Propane, stored onsite in tanks, needs higher-pressure-compatible fittings and vaporization capacity.
Both demand compatible dryer models, correct gas pressure, proper ventilation, and adherence to local code.
Required tools, materials, and safety equipment
Gather the correct tools, materials, and safety gear before beginning a dryer gas-line installation to guarantee the job is safe, code-compliant, and efficient.
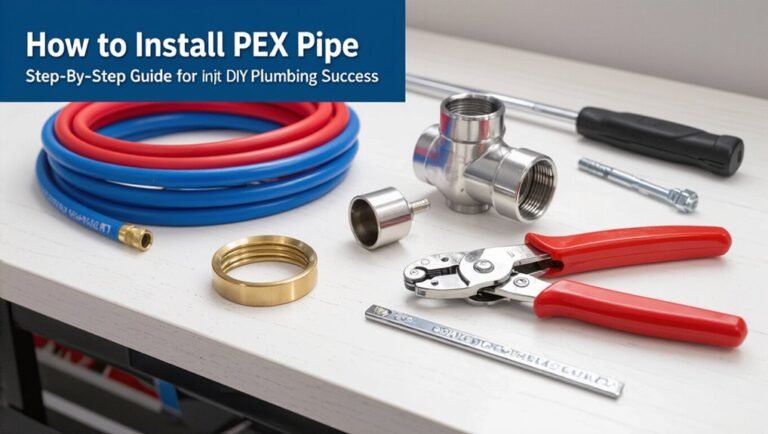
Essential items include fittings, pipe, sealant, and a shutoff valve. Protective equipment and testing devices prevent leaks and injury.
- Pipe wrenches, tubing cutter, thread sealant
- Gas-rated flexible connector, shutoff valve, fittings
- Gas detector, leak solution, safety goggles
Preparing for Installation
The installer inspects the dryer location and maps the most direct, code-compliant gas route before work begins.
They measure existing gas pressure and supply capacity to confirm the system can support the appliance.
Next steps include selecting appropriate pipe material and fittings (CSST, black iron, copper, or flexible stainless) and securing any required permits and inspections.
Inspecting the dryer location and determining the optimal gas route
Before any connections are made, the installer should thoroughly inspect the dryer location to verify clearances, floor level, and proximity to existing gas and venting lines.
They assess route options for minimal length, avoiding sharp bends, heat sources, and electrical wiring. Accessible shutoff placement and code-compliant clearances are noted.
Surface mounts, wall penetrations, or concealed runs are chosen to minimize damage and facilitate future service.
Measuring gas pressure and checking existing gas supply capacity
Measure gas pressure and verify supply capacity to guarantee the existing system can support a dryer without causing low flame or unsafe conditions.
A qualified technician should use a manometer at the appliance connection and at upstream test ports to record static and operating pressures.
Compare readings to appliance specifications and nominal supply (natural gas or LP).
Confirm sufficient BTU delivery and document results before proceeding.
Choosing the right pipe material and fittings (CSST, black iron, copper, flexible stainless)
Having confirmed pressure and capacity, attention turns to selecting pipe materials and fittings that match the home’s installation constraints, code requirements, and the dryer’s fuel type.
Consider durability, flexibility, connection types, and bonding needs. Typical options include:
- CSST for flexibility; requires bonding and protective routing.
- Black iron for durability; threaded fittings.
- Flexible stainless or copper for short runs and appliance connection.
Obtaining permits and scheduling inspections
When local codes apply, the installer must secure the appropriate permits and schedule required inspections to guarantee the gas line work complies with safety and code standards.
The installer should research local permitting procedures, submit plans if required, pay fees, and book inspections at rough‑in and final stages.
Documentation must remain on site for inspectors and to validate warranties or insurance claims.
Step-by-Step Gas Line Installation for a Dryer
The procedure begins with turning off the main gas supply and verifying zero pressure.
Then, it proceeds through layout and preparation of the work area.
Next steps cover cutting and preparing pipe or fittings (including threading or flaring if needed) and assembling and securing the line to the dryer location.
The sequence finishes with installation of a shutoff valve and a sediment trap or drip leg where required.
Step 1 Shutting off the main gas supply and verifying zero pressure
Begin by locating and turning off the home’s main gas shutoff valve. Then confirm the supply is fully depressurized by testing at a nearby appliance connection or service port with a calibrated manometer or leak detector; only proceed once the gauge reads zero and no gas odor is present.
Next, vent trapped gas by opening a downstream appliance valve briefly. Recheck pressure and document zero reading before beginning work.
Step 2 Marking the route and preparing the work area
With the supply verified at zero and the work area safe, attention shifts to laying out the gas line route and readying the space.
The installer measures clearances, identifies studs, joists, and obstructions, and marks wall and floor penetrations.
Electrical and plumbing conflicts are noted.
Protective coverings and ventilation are arranged, required permits and utility locates confirmed, and tools and materials staged for efficient, safe progress.
Step 3 Cutting and preparing pipe/fittings (threading or flaring if required)
Cut pipe to measured lengths using a proper tube cutter or hacksaw, then deburr and clean each end to guarantee a snug, leak-free joint.
Threading requires a die or pipe threader and sealant rated for gas; verify thread direction and depth.
For soft copper, flare ends with the correct-sized flaring tool and inspect flares for cracks or unevenness before fitting.
Step 4 Assembling and securing the line to the dryer location
Position the prepared pipe or tubing and fittings along the planned route to the dryer, confirming alignment with the appliance inlet and any wall or floor penetrations.
Tighten fittings with appropriate tools, using approved sealant on threaded joints. Secure line to framing with straps or clamps at code-intervals, avoiding over-tightening.
Maintain gentle bends, support near the dryer, and verify final alignment before pressure testing.
Step 5 Installing a shutoff valve and sediment trap/drip leg if required
Install a shutoff valve and a sediment trap (drip leg) where the dryer line connects to the building supply to allow quick gas shutoff and catch debris or condensate before it reaches the appliance.
Position the valve accessible, oriented for full shutoff, and install the drip leg vertically with adequate length.
Secure fittings, support piping, and verify local code requirements for valve type and trap installation.
Step 6 Applying thread sealant or pipe dope appropriate for gas lines
Prepare to apply thread sealant or pipe dope suitable for gas fittings, as this step guarantees a reliable, leak-free joint between threaded connections.
Using a brush or applicator, coat male threads evenly with gas-rated compound or wrap approved PTFE tape in the direction of threading.
Avoid excess sealant that can contaminate lines.
Reassemble fittings tightly per manufacturer torque recommendations and wipe away residue.
Step 7 Pressure testing the new line and checking for leaks
With fittings reassembled and excess sealant wiped away, the installer moves on to pressure testing the new gas line to confirm airtightness.
They isolate the segment, attach a calibrated gauge, and apply test pressure per code (commonly 10–30 psi for a short-duration test).
After stabilizing, soap solution or approved leak detector is applied to joints; any bubble formation mandates repair and retest until no leaks remain.
Step 8 Hooking up the dryer, purging air (if propane), and performing a final leak test
The installer positions the dryer close to the gas stub, connects the approved flex connector to the appliance inlet using thread sealant or tape rated for gas, and tightens fittings to manufacturer torque specifications.
If the system uses propane, they then purge trapped air from the line by briefly opening the supply at low pressure until a steady flow of pure fuel is observed at a test port or appliance inlet.
They close valves, restore full supply, and perform a soap-solution or electronic leak check across all joints, operating the dryer’s burner to confirm proper combustion and final integrity.
Visual Guide and Installation Examples
The section presents clear visuals showing typical gas line routing through walls and floors, with attention to penetrations and supports.
It compares common dryer connections—flexible connectors versus hard pipe—outlining pros, clearances, and installation points.
Example layouts for single-family homes and apartments illustrate routing choices, shutoff locations, and code-driven differences.
Typical dryer gas line routing inside walls and through floors
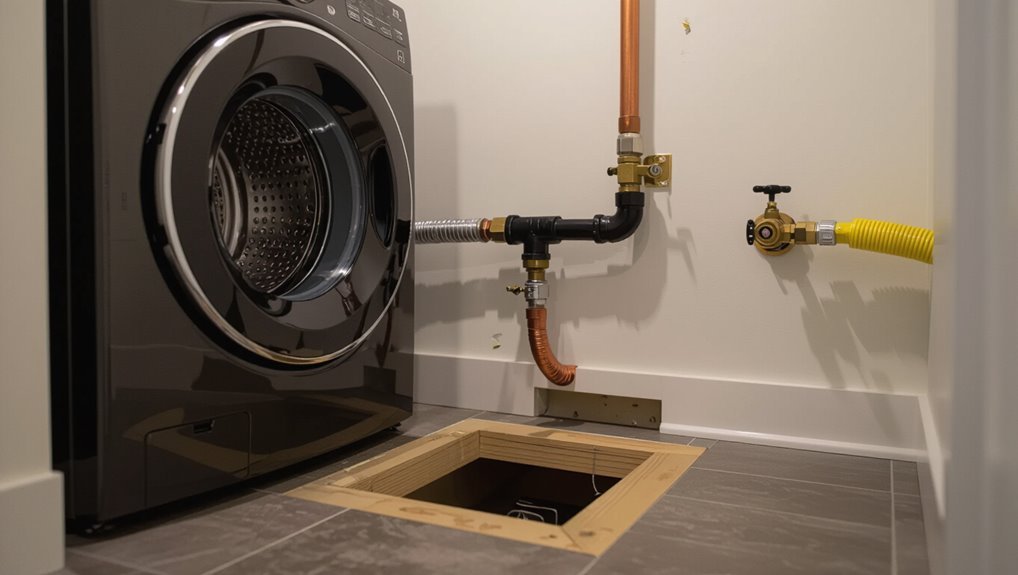
When planning dryer gas line routes inside walls and through floors, professionals prioritize straight runs, minimal fittings, and clear access to shutoff valves to reduce leak risks and simplify future maintenance.
Typical routing follows studs or joist bays, uses protected holes or sleeves at floor plates, keeps lines above potential flood zones, and locates shutoffs near the dryer opening for straightforward inspection and emergency access.
Common connection types at the dryer (flex connector vs. hard pipe)
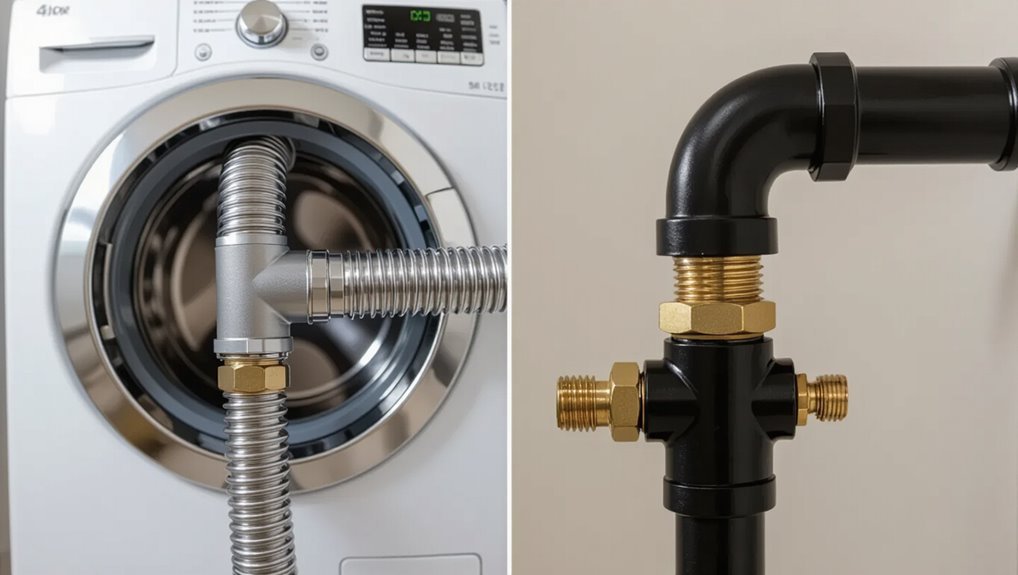
Choose between a flexible connector and a rigid hard-pipe stub depending on accessibility, movement allowance, and local code: flex connectors (corrugated stainless or braided) accommodate slight dryer movement and easier hookup, while hard pipe with a short threaded or flared stub offers a permanent, low-profile connection with fewer leak points but requires precise alignment and may transmit vibration.
Visual examples show fittings, shutoff placement, and seal methods.
Example layouts for single-family homes and apartments
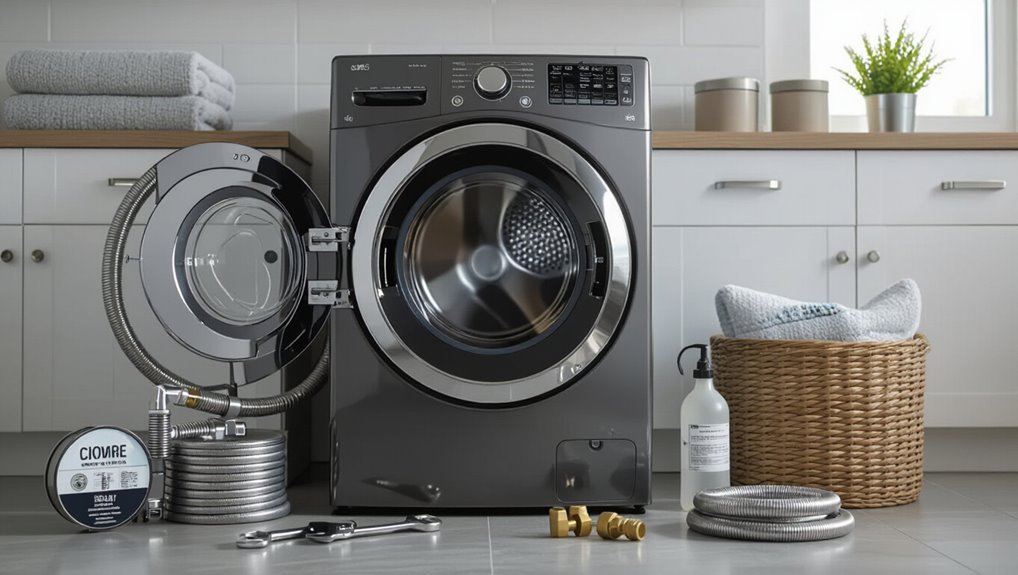
After comparing flexible connectors and rigid stubs for dryer hookups, practical layout examples clarify how those choices fit into real installations in single-family homes and apartments.
Diagrams show typical routes: basement or utility room runs with shutoff valves, garage-through-wall stub locations, and stacked-apartment chase layouts with accessible service panels.
Each example notes clearance, slope, vent coordination, and code-required isolation and testing points.
Safety Checks, Testing, and Post-Installation Tasks
After installation, a series of safety checks and tests confirms the line’s integrity and safe operation.
Technicians perform soap-bubble or electronic leak tests, observe the first ignition and burner behavior, and document results for inspections and the utility provider.
A clear maintenance schedule and periodic safety checks are established to guarantee long-term reliability.
How to perform a soap bubble leak test and use a gas leak detector
Conducting a soap bubble leak test and scanning with a gas detector confirms the integrity of the dryer gas line before use.
After pressuring the line per code, apply a detergent solution to all fittings; watch for steady bubbles indicating leaks. Repair any leak, repressurize, retest.
Then sweep the installation with a calibrated combustible gas detector, noting alarm thresholds and ventilating if readings exceed safe limits.
What to look for during the first ignition and operation
Begin operation only when all leak tests pass, fittings are tight, and ventilation is confirmed; the installer should then initiate the dryer’s first ignition following the manufacturer’s startup procedure while observing for proper flame characteristics, uninterrupted burner operation, and any unusual noises, odors, or vibrations.
Confirm steady flame color and size, stable thermostat cycling, correct exhaust flow, no gas smell, and secure connections during several heat cycles.
Required documentation, inspections, and notifying utility provider
Once the installation and initial operation checks are complete, the installer must compile required documentation, schedule any mandated inspections, and notify the utility provider to formalize the installation and guarantee ongoing safety and compliance.
Documentation should include permits, work summaries, test results, and component specifications. Inspectors verify adherence to codes; the utility confirms meter settings or service activation.
Retain records for warranty and future transfers.
Maintenance schedule and periodic safety checks
After documentation, inspections, and utility notification are complete, the installer should outline a maintenance schedule and periodic safety checks to preserve system integrity and safety.
Routine tasks, frequencies, and responsible parties must be specified.
Recommended checks include:
- Visual inspection of fittings, hoses, and venting every 6 months.
- Leak test and shutoff valve operation annually.
- Professional pressure test and combustion analysis every 3–5 years.
Common Problems and How to Fix Them
Common problems after installing a dryer gas line include leaks, low pressure or a weak flame, and incompatible fittings or materials.
Simple issues such as small leaks or loose connections can often be located with a soap solution and tightened or resealed.
Low pressure and improper fittings may require regulator adjustment or component replacement.
Any suspected major leak, gas smell, or inability to restore proper pressure should prompt an immediate call to a licensed professional emergency repair service.
Detecting and repairing leaks
Inspecting for gas leaks is a critical step in dryer gas-line maintenance because even small leaks pose fire and health risks.
Use approved soap solution or an electronic leak detector along joints and fittings. If bubbles or readings indicate a leak, shut off gas, ventilate, and tighten or replace faulty components.
Confirm repair with a recheck before restoring service.
Addressing low gas pressure or weak dryer flame
When a dryer shows a weak flame or inconsistent heat, low gas pressure is often the culprit and should be evaluated before replacing controls or burners.
Check supply pressure at the shutoff with a manometer, inspect regulator and pilot or ignition assembly for blockages, verify adequate pipe sizing and valve position, and confirm service line capacity.
If uncertain, engage a licensed technician for pressure testing and repairs.
Resolving incompatible fittings or materials
Identify and replace mismatched fittings and incompatible materials promptly to prevent leaks, corrosion, or unsafe connections.
Inspect threads, pipe types, and sealants; never mix NPT with BSP or use PVC on gas lines.
Swap improper brass, aluminum, or galvanized parts for approved black iron or flexible stainless gas connectors.
Use correct thread sealant rated for gas and retest with a leak detector after replacement.
When to call a professional emergency repair
How urgent is the situation?
Immediate professional emergency repair is required for gas odor, visible leaks, hissing sounds, damaged flexible connectors, or pilot/light failures.
If a homeowner detects multiple symptoms, feels lightheaded, or suspects a CO risk, evacuate, shut off the gas at the meter if safe, and call emergency services and a licensed gas technician.
Do not attempt DIY fixes.
Mistakes to Avoid and Best Practices
The guide warns against unsafe shortcuts that increase leak and fire risk, emphasizing that proper mounting, support, and protection from physical damage are nonnegotiable.
It stresses strict compatibility—correct connectors, approved flexible hoses, and adherence to appliance-specific requirements—to prevent failures.
Practical tips for efficient, code-compliant installations round out the recommendations.
Unsafe shortcuts that increase risk
Many installers cut corners—using damaged flex lines, skipping leak tests, or relying on improper fittings—which directly increases the likelihood of gas leaks, fires, and carbon monoxide exposure.
Other risky shortcuts include omitting approved shutoff valves, using non-code connectors, failing to purge lines, and bypassing pressure checks.
These practices compromise safety and void warranties; adherence to codes and thorough testing prevents hazardous outcomes.
Proper mounting, support, and protection from physical damage
Properly mounted and supported gas lines resist movement, abrasion, and accidental impact, reducing the risk of fittings loosening or pipes rupturing.
Install supports at manufacturer or code spacing, secure with approved straps, and avoid sharp bends or tension.
Protect lines where exposed with conduit, plates, or guards near studs and floors.
Inspect fastenings and clearances; correct any rubbing, sagging, or unsecured sections promptly.
Compatibility rules: connectors, flexible hoses, and appliance requirements
Several clear compatibility rules govern connectors, flexible hoses, and appliance requirements to guarantee safe, code-compliant dryer gas installations.
Installers must match materials, pressure ratings, and approved lengths. Avoid improvised fittings. Observe appliance inlet type and manufacturer instructions.
- Use listed connectors compatible with natural gas or LP.
- Select flexible hose rated for dryer appliances.
- Never modify or force mismatched thread types.
Tips for efficient, code-compliant installations
Plan each step to guarantee the dryer gas line is installed efficiently and in full compliance with code: verify supply type (natural gas or LP), confirm connector and hose ratings, measure run lengths to avoid excess flex, and locate shutoff valves and unions where accessible.
Inspect fittings for correct thread type, use approved sealant, support piping, maintain required clearances, and test for leaks.
Hire licensed inspectors when uncertain.
Cost Estimates and Timeframe
Typical DIY and professional installation costs are outlined, with DIY generally lower but professional work often required for safety and code compliance.
Key factors that affect price and duration—pipe material, distance from the gas line, permitting, and required upgrades—are summarized to set realistic expectations.
Guidance on obtaining reliable contractor quotes, including written estimates, references, and permit verification, is provided.
Typical DIY vs. professional installation costs
When weighing DIY and professional dryer gas line installations, cost and time commitments diverge markedly: DIY often saves labor costs but risks mistakes and longer completion; professionals add expense for expertise, permits, and warranties with faster, code-compliant results. Homeowners should compare upfront material-only DIY estimates versus full-service quotes to decide.
| Option | Typical Cost Range | Typical Time |
|---|---|---|
| DIY | $50–$300 | 2–6 hours |
| Professional | $200–$800+ | 1–3 hours |
| Hybrid | $100–$500 | 1–4 hours |
Factors that affect cost and duration
Cost and time estimates for installing a dryer gas line vary widely based on several objective factors: line length and routing, material type (flexible stainless vs. black iron), required fittings and valves, local permit and inspection fees, accessibility through walls or floors, need for adapter connectors at the appliance, and whether existing gas service must be upgraded.
Additional determinants include labor rates, scope of testing, complexity of shutoff placement, and travel time.
How to get reliable quotes from contractors
Gather multiple bids to compare scope, materials, timelines, and guarantees rather than accepting the first estimate offered.
Homeowners should request itemized proposals, verify licenses and insurance, and ask for written timelines and warranty terms.
Check references and recent work photos, confirm permit responsibilities, and get a clear change-order policy.
Use consistent questions across contractors to make apples-to-apples comparisons before deciding.
Additional Resources and References
The article provides links to relevant building codes, manufacturer installation guides, and applicable safety standards to guarantee compliance and safe operation.
It also lists recommended tools and specific product specifications suited for typical homeowner installations.
Readers are directed to verify local code variations and consult manufacturers or licensed professionals for any uncertainties.
Links to relevant building codes, manufacturer instructions, and safety standards
Consult official sources to guarantee compliance: installers should reference local and national building codes (such as the International Fuel Gas Code and applicable state or municipal amendments), the gas appliance manufacturer’s installation manual, and recognized safety standards from organizations like NFPA (e.g., NFPA 54/NFPA 58) and ANSI to verify materials, clearances, fittings, testing procedures, and permit requirements before proceeding.
- Link to local building department and code amendments.
- Manufacturer installation and warranty documents.
- NFPA, ANSI, and other consensus safety standards.
Recommended tools and product specifications for homeowners
Homeowners should assemble a concise set of tools and approved materials matched to local code and the dryer’s manufacturer specifications to guarantee a safe, compliant installation.
Essential items include leak detectors, approved flexible connector, pipe sealant, and proper shutoff valve. Confirm materials meet ANSI, CSA, or local listings and pipe size recommendations before purchase.
- Gas leak detector or soapy water
- Approved flexible gas connector (stainless/CSA)
- Thread sealant rated for gas
Conclusion
To sum up, installing a dryer gas line demands respect for modern codes and practical skill, much like a Tudor craftsman who prized precision. Homeowners should prioritize permits, proper materials, leak testing, and professional inspection rather than improvising. When precautions and stepwise checks are followed, risks shrink and appliances function safely. If uncertainty arises, engaging a licensed plumber or gas technician prevents costly mistakes and protects household safety and property.