How to Fix Sink Problems Fast: Step-by-Step DIY Guide for Leaks, Clogs & Drips
To quickly fix common sink problems like leaks, drips, and clogs, homeowners should first identify the issue by checking for pooling water, slow drainage, or consistent drops. Immediate actions include shutting off local valves, containing any water with towels or a bucket, tightening fittings, and replacing worn washers or O-rings. For clogs, use a plunger or drain snake, and remove the P-trap if necessary. For more complex repairs, a follow-up guide on parts, tools, and step-by-step instructions will help you effectively resolve the issue.
Fast Diagnosis: Identify the Type and Urgency of Your Sink Problem
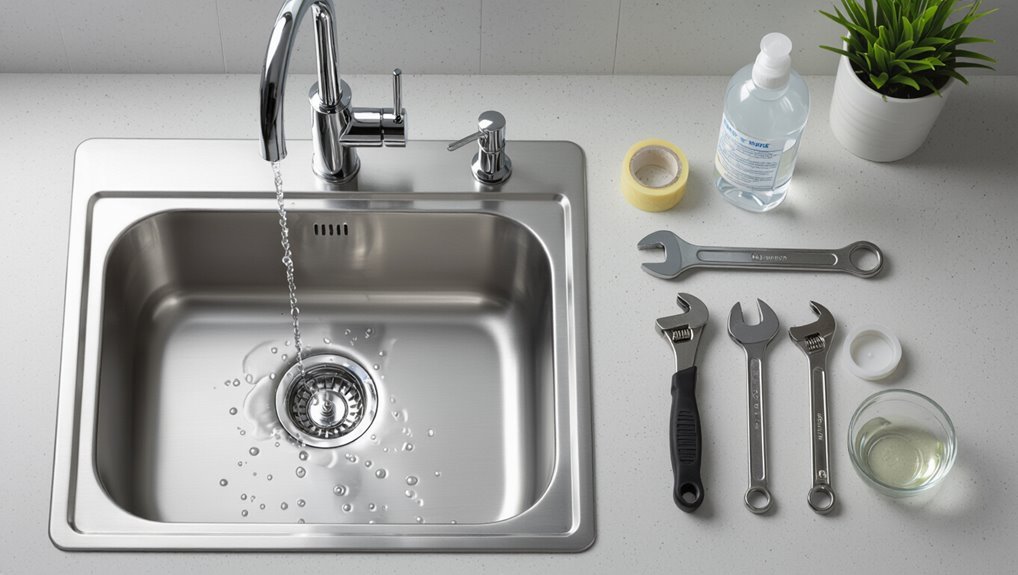
The homeowner should first distinguish between a leak (visible water, stains, or pooling), a clog (slow or backed-up drains), and a drip (steady single drops from a faucet).
They must then assess safety by checking for electrical hazards, shutoff valve accessibility, and whether to stop the water immediately.
If flooding, contaminated backups, or structural damage is present, a professional plumber should be called at once.
Signs That Indicate a Leak vs. a Clog vs. a Drip
How can one quickly tell whether a sink issue is a leak, a clog, or a drip?
Visual pooling, water stains, or damp cabinet floors point to a leak; slow draining, gurgling, or standing water indicate a clog; rhythmic droplets, steady small wet spots, or mineral buildup signal a drip.
Recognizing these signs directs appropriate how to fix sink steps and urgency without unnecessary tools.
How to Quickly Assess Safety and Water Shutoff Needs
When a sink problem appears, prompt assessment of safety and whether to shut off water prevents escalation; assess flooding risk, electrical proximity, and visible contamination.
Check valves and access to the local shutoff under the sink and main house valve. If leak is small and contained, monitor; if uncontrolled or poses slip/electrical hazards, close shutoff and isolate power.
When to Call a Professional Immediately
Many sink issues call for immediate professional attention: persistent leaks that soak cabinets or floors, sewage backups, gas- or electrical-related water contact, visible mold growth after recurring moisture, rapidly spreading corrosion, and failures of main shutoff or structural supports.
A professional should also be summoned for hidden pipe bursts, unclear leak sources, compromised wall or floor framing, recurrent backups despite remedies, or when repairs exceed the homeowner’s skill or tools.
Quick Fixes to Stop Leaks and Drips Right Now
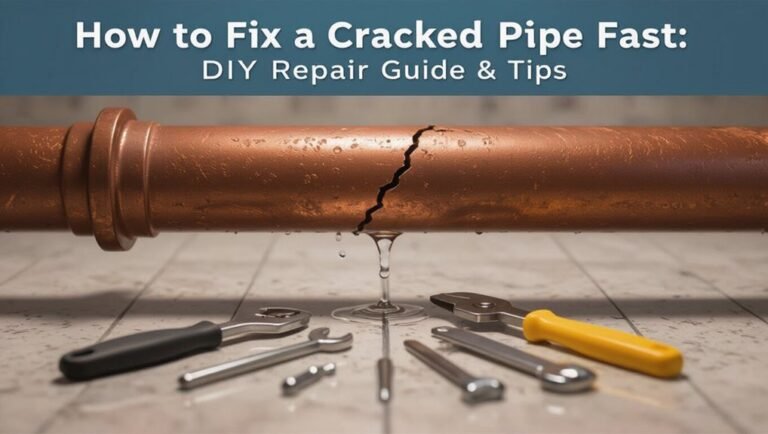
When a leak or drip appears, immediate containment with a bucket, towels, or seal tape prevents further water damage while a solution is prepared.
A few simple steps—tightening the faucet components or wrapping a worn joint—can stop a faucet drip in minutes.
Quick checks of the P-trap and supply line for loose fittings often reveal and resolve common leaks without specialized tools.
Temporary Measures to Contain a Leak (bucket, towels, seal tape)
Quick containment keeps household damage to a minimum while a permanent repair is arranged. A bucket catches drips beneath plumbing; towels absorb spills and protect flooring.
Apply seal tape or plumber’s putty around slow leaks for temporary pressure resistance. Shut off the water supply if leakage worsens.
Monitor the patch, replace saturated towels, and schedule a proper repair to prevent recurrence and hidden damage.
Stopping a Drip from the Faucet in Minutes
Turn the water off at the faucet or supply valve, then replace or tighten the worn part causing the drip—often a loose handle, cartridge, O-ring, or washer—to stop the leak within minutes.
Inspect the faucet type, remove the appropriate trim, swap the faulty component, reassemble, and test. Use matching replacement parts and simple tools; most drips resolve quickly without plumbing help.
P-Trap and Supply Line Quick Checks and Tightening
A few simple checks at the P-trap and supply lines can stop most sink leaks in minutes: inspect for hand-tightened slip nuts, corroded washers, or loose compression fittings, then tighten or replace the faulty part.
Turn off water, place a bucket, gently tighten fittings with a wrench, and swap damaged washers or flex lines.
Recheck for drips and test under pressure.
Step-by-Step Repair for Common Faucet Drips
The section lists the basic tools and replacement parts needed, then explains how to shut off the water and remove the faucet handle without causing damage.
It proceeds through cartridge, stem, and O‑ring replacement, followed by clear reassembly steps.
Finally, it covers testing the repair and simple leak‑proofing checks to guarantee the drip is resolved.
Tools and Parts You’ll Need
Several basic tools and a few common replacement parts are usually sufficient to stop most faucet drips.
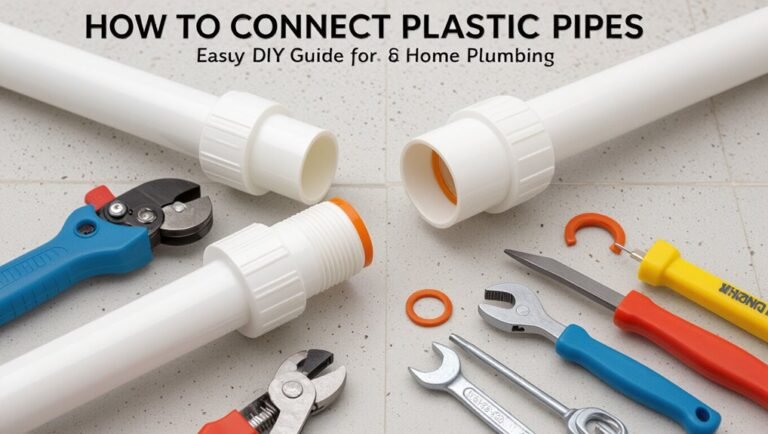
Recommended items include an adjustable wrench, screwdriver set (flat and Phillips), needle-nose pliers, hex/Allen keys, plumber’s grease, replacement O-rings, cartridges or valve seats, and faucet-specific washers.
A small flashlight, rag, and container for small parts help keep work organized and prevent loss.
How to Turn Off Water and Remove Faucet Handle Safely
With tools and parts gathered, shutoff steps come next to prevent flooding and make handle removal safe.
First locate and close the cold and hot supply valves under the sink; if absent, shut the home’s main valve. Open the faucet to drain residual water.
Pry off decorative caps, remove handle screws, and lift the handle. Keep fasteners organized and note orientation for reassembly.
Cartridge/Stem/O-Ring Replacement Procedure
Begin by inspecting the faucet assembly to determine whether it uses a cartridge, stem, or separate O-rings, since each requires a different removal and replacement sequence. Identifying the type saves time and prevents damage during disassembly.
Remove retaining clips or nuts, extract the cartridge or stem, and note orientation. Replace worn O-rings and seals with matching sizes, lubricate with plumber’s grease, and install new parts carefully.
Reassembly, Testing, and Leak-Proofing
Reassemble the faucet components in reverse order of disassembly, ensuring each part seats correctly and fasteners are torqued to manufacturer specifications; proper alignment of cartridges or stems and a thin film of plumber’s grease on O-rings prevent pinching and premature wear.
Restore water supply slowly, check for leaks at joints and connections, operate handles to purge air, tighten minor seepage, and retest until fully dry.
Step-by-Step Unclogging for Kitchen and Bathroom Sinks
The section outlines the essential tools and materials for safe unclogging.
Then it describes step-by-step techniques for plungers, drain snakes/augers, and P-trap removal and cleaning.
It also explains when to evaluate chemical or enzymatic cleaners and how to use them safely.
Practical precautions and a concise sequence of actions are emphasized to minimize damage and health risks.
Tools and Materials for Safe Unclogging
Several basic tools and materials are essential for safely unclogging kitchen and bathroom sinks: a plunger, plumber’s snake (or auger), adjustable wrench, bucket, rubber gloves, and a flashlight.
Additional useful items include a basin wrench, pipe brush, replacement washers or slip nuts, plumber’s tape, and a small mirror.
Keep a mild enzyme cleaner and protective eyewear on hand.
Plunger Technique for Sink Clogs
Start by selecting a cup plunger sized for sink drains and guarantee the sink has enough water to cover the plunger’s cup by about an inch; this creates the seal needed for effective pressure.
Position the plunger over the drain, pump firmly with consistent strokes, then sharply pull to break the blockage.
Repeat as necessary, clearing surrounding overflow openings and rinsing with hot water once flow returns.
Using a Drain Snake/Auger Properly
Feed the drain snake into the sink drain while turning the handle steadily, allowing the flexible auger to navigate bends and reach the clog; when resistance is felt, rotate and push gently to break or hook the obstruction.
Then withdraw slowly to bring debris out. Inspect the removed material, repeat if needed, flush with hot water, and sanitize the tool and work area before replacing any fittings.
Removing and Cleaning the P-Trap
If the auger fails to clear the clog or only partially improves flow, attention should turn to the P-trap beneath the sink, where hair, grease, and debris commonly accumulate.
Place a bucket, loosen slip nuts by hand or with pliers, remove trap, empty contents into bucket, inspect for blockages, clean with brush and water, reassemble ensuring washers align and tighten to prevent leaks.
Safe Chemical and Enzymatic Options: When and How to Use
When mechanical methods fail to clear a sink, carefully chosen chemical or enzymatic cleaners can dissolve grease, hair, and organic residue without dismantling plumbing.
Users should select products labeled for sink drains, follow manufacturer instructions exactly, and limit use to what the pipe material and local regulations permit.
Use enzymes for organic buildup and repeated maintenance; reserve caustics for severe clogs.
Avoid mixing types, ventilate, and wear protection.
Repairing Leaks Under the Sink (Pipes, Joints, and Connections)
A quick inspection under the sink will determine whether the leak originates from a supply line, a compression fitting, a slip-joint connection, or the P-trap.
Instructions should cover how to tighten or replace compression fittings, step-by-step replacement of a damaged P-trap, and sealing leaky slip-joint connections properly.
Clear identification and the correct repair technique prevent recurring leaks and water damage.
Identifying the Source: Supply Line, Compression Fitting, or Trap
Start by visually and tactilely inspecting the area under the sink to determine whether the leak originates from the supply lines, compression fittings, or the trap; each source has distinct signs—supply line failures often show wetness near the shutoff valve or hose, compression fitting leaks present drips at the nut connection, and trap leaks reveal pooled water or steady dripping from the curved assembly.
Then note timing, odor, and pattern.
How to Tighten or Replace Compression Fittings
Loosen the compression nut only enough to inspect the ferrule and seat for damage or misalignment. Then determine whether a simple retightening will stop the drip or if the nut, ferrule, or tailpiece requires replacement.
Correct tightening should be firm but not excessive to avoid deforming the ferrule, and replacement parts must match the pipe material and fitting size.
If replacing, remove nut and ferrule, slide new ferrule and nut onto pipe, seat properly, hand-tighten, then finish with wrench quarter-turn.
Replacing a Damaged P-Trap Step-by-Step
Begin by shutting off the water supply or placing a bucket beneath the trap to catch any residual water.
Then inspect the P-trap for visible cracks, corrosion, or loose slip nuts that indicate replacement is required.
Remove slip nuts, detach trap, clean tailpiece and wall arm, measure and purchase correct replacement.
Assemble with new trap and washers, hand-tighten nuts, test for leaks and adjust alignment.
Fixing Leaky Slip-Joint Connections with Proper Seals
Several common sink leaks occur at slip-joint connections where worn or misaligned seals fail to stop water seepage.
Inspect nuts, washers, and ferrules for cracks or deformation. Tighten hand-tight plus quarter turn; replace nylon or rubber washers and add plumber’s grease for proper seating.
Use correctly sized compression rings and reassemble, testing for drips. Replace corroded parts if leaks persist.
Fixing Leaks in Wall-Mounted or Built-In Sink Plumbing
Wall-mounted and built-in sink leaks often require accessing concealed shutoffs and piping through access panels or by removing trim.
Technicians assess common wall pipe issues—corroded fittings, loose unions, or damaged supply lines—and determine when sectional replacement is more reliable than patching.
Temporary waterproofing like sealants or sleeves can limit damage until a long-term repair or replacement is completed.
Accessing Hidden Pipes and Shuts: Access Panel Tips
Access panels provide the simplest route to the concealed shutoffs and drain connections behind wall-mounted or built-in sinks, allowing quick isolation and inspection of leaks without cutting into finished surfaces.
Locate panels near the sink, remove fasteners carefully, and keep screws.
Use a flashlight and small mirror to view fittings.
Seal and reattach panels after work; label panel locations for future access.
Common Wall Pipe Repairs and When to Replace Sections
After locating and opening the access panel, the next step is evaluating which wall pipe repairs are likely and whether sections must be replaced.
Inspect for corrosion, pinhole leaks, loose fittings, and damaged joints. Small pinhole leaks may be patched temporarily; extensive corrosion, multiple leaks, crushed pipes, or failing fittings indicate section replacement.
Document pipe material and shutoff locations before removal and replacement.
Temporary Waterproofing and Long-Term Repair Options
Begin by isolating the leak and stopping water flow to create a dry workspace.
Then assess whether a temporary waterproofing measure or a permanent repair is appropriate.
Apply epoxy putty, silicone tape, or plumber’s repair clamps for short-term containment.
For lasting fixes, replace corroded sections, repack joints, or reroute plumbing behind access panels.
Always test under pressure and consult a professional for structural or concealed damage.
Replacing or Upgrading Sink Components for Long-Term Reliability
The decision to repair or replace a faucet or sink should be based on the extent of damage, age, and long-term cost-effectiveness rather than short-term fixes.
Selecting durable parts requires attention to materials (brass, stainless, ceramic) and compatibility with existing sink holes and plumbing connections.
Clear, step-by-step guidance for single- and double-hole faucet replacement will follow to guarantee a reliable installation.
When to Replace vs. Repair a Faucet or Sink
When is it better to replace a faucet or sink rather than repair it?
Replacement is recommended for persistent leaks after multiple repairs, widespread corrosion, cracked basins, obsolete parts unavailable, recurring clogs from design flaws, or major water damage to cabinets or flooring.
Repair suits isolated failures, inexpensive parts, or cosmetic issues.
Prioritize long-term reliability, cost-effectiveness, and safety when deciding.
Choosing Durable Parts: Materials and Compatibility
After deciding whether repair or replacement is more cost-effective, attention turns to selecting parts that will last and fit correctly.
Choose corrosion-resistant materials—stainless steel, brass, or high-grade plastics—for drains, supply lines, and valve components.
Verify thread types, measurements, and mounting styles for compatibility.
Prioritize certified parts and matched finishes to guarantee longevity, leak resistance, and straightforward installation without unnecessary modification.
Step-by-Step Faucet Replacement for Single/Double Holes
Ready to replace a faucet? The guide outlines tools, shutoff, and safe removal of old fixtures for single- and double-hole sinks.
It details mounting new faucets, aligning gaskets, tightening nuts, and reconnecting supply lines.
Tests for leaks, proper water flow, and secure deck mounting are included.
Tips cover using plumber’s tape, silicone sealant, and verifying hot/cold orientation.
Preventative Maintenance to Avoid Future Leaks, Clogs, and Drips
Consistent preventative maintenance greatly reduces the risk of leaks, clogs, and drips.
Routine actions include regular cleaning and safe disposal practices, seasonal checks with tightening of connections, and attention to water quality and aerator care to mitigate hard water effects.
These simple steps extend component life and minimize emergency repairs.
Regular Cleaning and Safe Disposal Practices
Regular cleaning and mindful disposal greatly reduce the risk of sink leaks, clogs, and drips by preventing buildup and strain on plumbing components.
Routine rinsing, weekly basin scrubbing, and periodic safe flushing with hot water remove grease and residue.
Dispose of food scraps, oils, and chemicals in trash or designated containers, use strainers, and avoid pouring solids down drains to maintain flow and protect seals.
Seasonal Checks and Tightening Routine
A seasonal inspection and tightening routine helps prevent leaks, clogs, and drips by catching loose fittings and early wear before they escalate.
Each season, examine supply lines, shutoff valves, faucet connections, and P-trap joints.
Tighten slip nuts and compression fittings just enough to stop movement.
Replace worn washers or tape.
Note corrosion or soft hoses and schedule timely replacements to avoid emergency repairs.
Water Quality, Aerators, and Hard Water Prevention Tips
Many homeowners underestimate how water quality affects faucets and drains. Mineral buildup from hard water can restrict flow, damage aerators, and accelerate valve wear. Routine checks, aerator cleaning, and water-softening options reduce failure risk and maintain pressure. Simple filtration prevents sediment and prolongs seals.
- Clean aerators monthly; soak in vinegar to dissolve scale.
- Install a water softener or point-of-use filter.
- Flush lines seasonally and inspect valve packing.
Cost, Time, and Difficulty: What to Expect for Each Repair
Typical DIY sink repairs often take from a few minutes to a couple of hours depending on the task.
Parts usually range from a few dollars for seals and washers to a couple hundred for replacement fixtures.
Hiring a professional becomes cost-effective for complex leaks, major clogs, or when diagnostic time exceeds simple repair time.
Skill level and safety considerations should guide the decision to attempt a repair versus calling a pro, especially when plumbing, gas lines, or structural access are involved.
Typical Time Estimates for DIY Fixes
Homeowners can usually gauge whether a sink issue is a short weekend job or a task requiring professional help by considering time, cost, and required skill.
Typical DIY fixes:
- unclogging with a plunger or auger, 15–60 minutes;
- replacing a faucet cartridge, 30–90 minutes;
- tightening or resealing drain connections, 20–60 minutes;
- swapping a P-trap, 20–45 minutes.
More complex tasks may exceed these estimates.
Cost Ranges for Parts and When Professional Service Is Worth It
A range of part costs and repair complexities helps determine whether a DIY approach or a professional call is appropriate. Typical part costs: O-rings $2–10, cartridges $20–80, trap assemblies $15–60. Simple parts suit DIY; complex diagnostics, persistent leaks, or suspected pipe damage justify a plumber. Consider labor rates, warranty, and time savings when deciding.
| Part | Typical Cost | When to Replace |
|---|---|---|
| O-ring | $2–10 | Minor leak |
| Cartridge | $20–80 | Persistent drip |
| Trap | $15–60 | Clog or damage |
Skill Level Guidance and Safety Considerations
Assess repairs by matching required skills, time, and tools to the individual’s experience and comfort with basic plumbing tasks.
Provide clear difficulty labels: easy (clogs, aerator cleaning), moderate (seal replacements, P-trap clearing), and advanced (pipe soldering, major leak repair).
Include estimated time and cost ranges, essential tools, and explicit safety warnings—shut off water, disconnect power, ventilate, and wear eye and hand protection.
Tools, Materials, and Replacement Parts Checklist
Before starting any sink repair, a concise checklist of essential hand tools and safety gear helps prevent delays and injuries.
It should also list common replacement parts to keep on hand, such as O-rings, cartridges, and supply lines.
Finally, clear guidance on reading part numbers and matching faucet models guarantees replacements fit and function correctly.
Essential Hand Tools and Safety Gear
Several basic hand tools and a few pieces of safety gear are required to handle most common sink repairs efficiently and safely. A concise kit improves speed and reduces risk.
Include adjustable wrenches, slip-joint pliers, basin wrench, gloves, safety glasses, and a flashlight. Select durable, well-sized tools for confined spaces and wet conditions.
- Adjustable wrench, slip-joint pliers, basin wrench
- Protective gloves and safety glasses
- Flashlight and utility knife
Common Replacement Parts to Keep on Hand
A compact stockpile of common replacement parts keeps routine sink repairs quick and minimizes downtime.
A basic kit should cover seals, connections, and wear items so minor leaks and malfunctions are resolved without delays. Items are chosen for universality and durability, stored clearly labeled for fast access during repairs.
- O-rings, gaskets, and cartridge seals
- Compression and slip nuts with washers
- Pop-up assemblies and tailpieces
How to Read Part Numbers and Match Faucet Models
How can one decode part numbers and confidently match replacement pieces to a faucet model?
Technicians compare stamped or printed codes to manufacturer catalogs or online databases, noting series, finish, and size.
Cross-reference OEM numbers with aftermarket equivalents, verify dimensions and cartridge type, and confirm compatibility via diagrams or customer support.
Label spares and record model numbers for future repairs.
Troubleshooting Guide: What to Do If a Repair Fails
If a repair does not hold, the first step is to re-check common missed steps after reassembly, such as loose fittings, misaligned seals, or forgotten washers.
Next, the source of persistent clogs or intermittent leaks should be diagnosed systematically, using simple tests like trap removal or dye checks to isolate the problem.
If those measures fail, follow escalation steps—document what was tried, shut off water if needed, and prepare clear information before calling a plumber.
Re-checking Common Missed Steps After Reassembly
When a repair does not hold, the most likely cause is a missed step during reassembly. Technicians should methodically revisit each action in sequence to identify omissions or mistakes.
Check fasteners for proper torque, confirm gasket orientation and seating, verify alignment of seals and hoses, guarantee valves are fully engaged, and inspect for leftover debris.
Test under normal pressure and observe for immediate leaks.
Diagnosing Persistent Clogs or Intermittent Leaks
Having verified assembly steps and basic fittings, attention should shift to diagnosing persistent clogs or intermittent leaks that survived initial repairs.
Inspect trap and venting for partial blockages, test flow with controlled water volume, and observe for slow-drip patterns.
Check supply valve seating and hose integrity.
Use dye or tissue to localize leaks.
Document findings before repeating fixes or seeking professional assessment.
Escalation Steps Before Calling a Plumber
Before contacting a plumber, owners should run a concise escalation checklist to rule out overlooked causes and to gather useful information for a professional visit.
Inspect supply valves, shutoff functionality, and appliance connections. Recheck trap, P-trap seals, and venting.
Document symptoms, sequence, photos, and attempted fixes. Test water pressure and record noises.
If unresolved, schedule a plumber with this dossier.
Quick Reference Flowcharts and Repair Sequences
The section presents compact flowcharts that guide immediate actions for emergency leaks, prioritizing shutoff procedures and temporary containment.
It also outlines a clear stepwise flowchart for clog resolution, moving from simple tools to trap and drain disassembly.
These quick-reference sequences aim to shorten response time and reduce unnecessary tool use.
Immediate Actions for Emergency Leaks
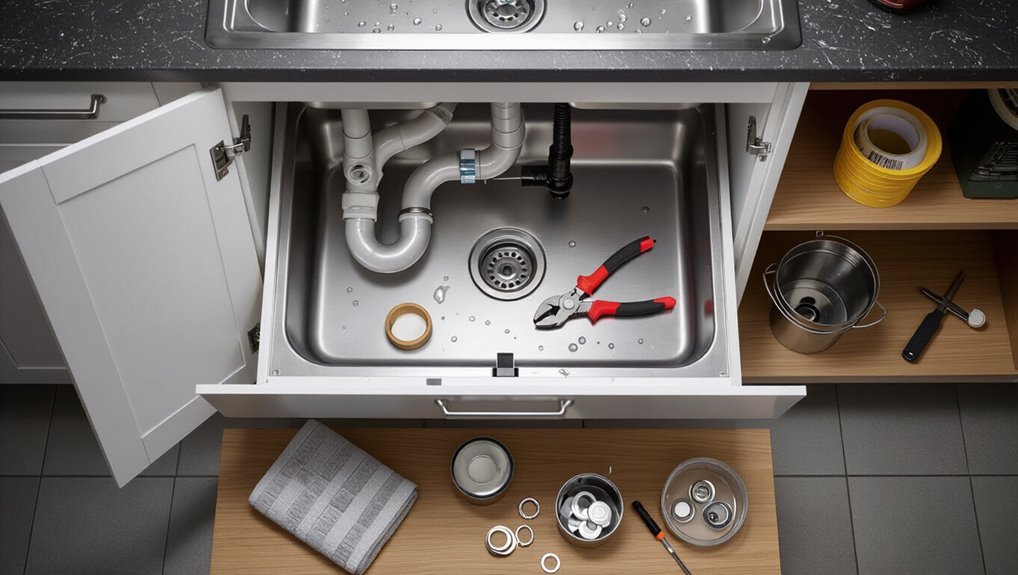
Shut off the water supply, assess the leak source, and follow a clear stepwise plan to limit damage and enable rapid repair.
Next, contain water with towels and a bucket, document the leak, isolate affected fixtures, and decide temporary versus permanent fixes.
Use compression fittings, plumber’s tape, or a clamp for short-term stops.
Schedule permanent replacement or professional service promptly.
Stepwise Flowchart for Clog Resolution
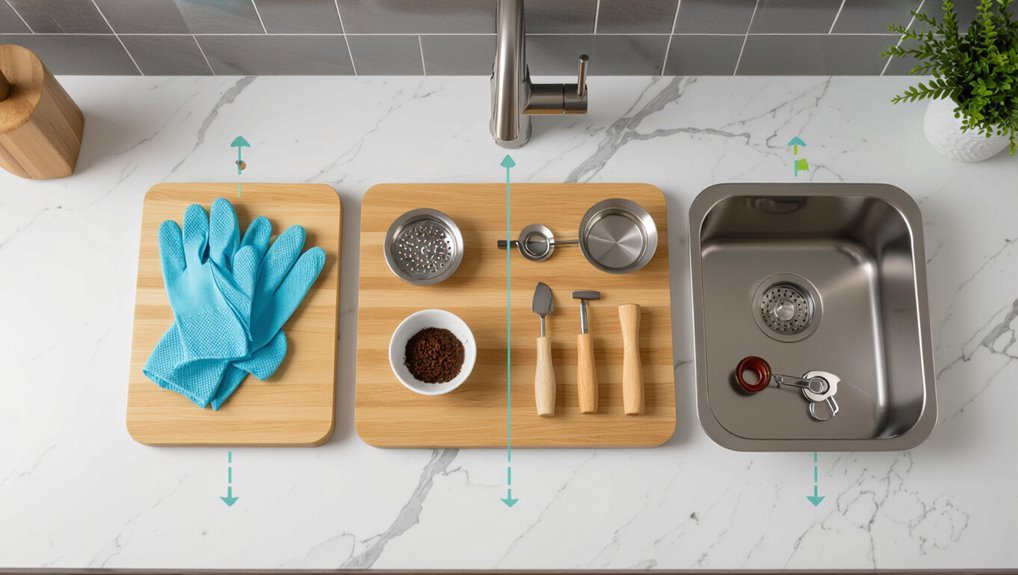
Begin by identifying the symptom—slow drain, gurgling, or standing water—and follow a concise decision path that narrows causes and matches appropriate remedies.
First check visible traps, then test downstream flow. If trap clears, finish; if not, escalate to snake or auger.
For persistent blockages, inspect venting and main line; if unresolved, recommend professional service.
Document steps and outcomes.
Conclusion
After a heroic, slightly wet encounter with pipes and plungers, the homeowner emerges victorious — or at least less waterlogged. Armed with a wrench, patience, and possibly newfound contempt for plumber puns, the sink either obeys or conspires to teach humility. If it concedes, order (and dry socks) return. If not, one more heroic call to a professional will restore peace — and provide excellent material for dread-inspiring DIY war stories.