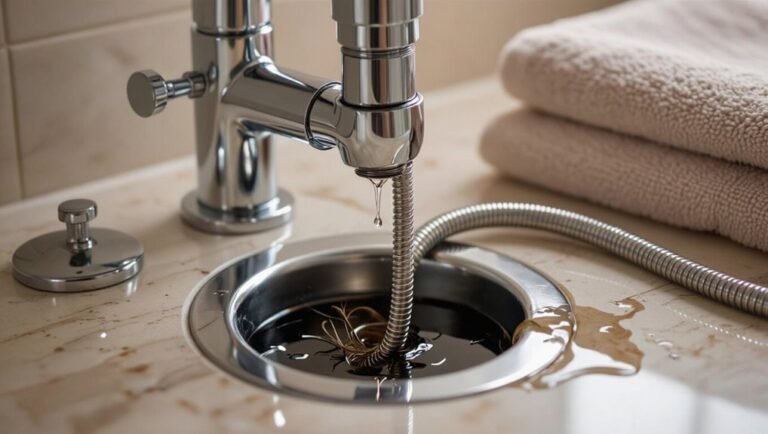
How to Clean Moen Kitchen Faucet Spray Head Fast: Step-by-Step Guide
To quickly clean your Moen kitchen faucet spray head, start by turning off the water and removing the spray head by twisting it off or using the quick-release feature. Rinse it under warm water, then soak the nozzle and aerator in white vinegar for 10–15 minutes to eliminate mineral buildup. After soaking, gently scrub with a toothbrush, use a toothpick to clear any blocked holes, and rinse thoroughly. Reattach the spray head, then run the water to check for proper spray and leaks. If necessary, tighten or replace the O-rings. For additional tips and troubleshooting, continue reading.
How to Clean a Moen Kitchen Faucet Spray Head Quickly and Safely

This section outlines a concise procedure to restore a Moen kitchen faucet spray head to proper function and hygiene.
It includes an estimated time (typically 10–20 minutes), a straightforward difficulty level, and a short list of common tools and supplies.
Clear safety notes and step priorities are provided to keep the task quick and risk-free.
Quick overview: What this guide will help you achieve
When mineral buildup or reduced water flow affects performance, the guide provides clear, step-by-step methods to clean a Moen kitchen faucet spray head quickly and safely.
It outlines safe disassembly, targeted descaling, nozzle cleaning, reassembly checks, and simple maintenance tips.
Readers will learn how to clean Moen kitchen faucet spray head effectively to restore spray pattern, prevent leaks, and prolong fixture lifespan.
Estimated time, difficulty, and tools needed
A typical cleaning of a Moen kitchen faucet spray head takes about 20–45 minutes depending on buildup severity and whether parts require soaking or replacement; a novice should allow up to an hour.
Difficulty is low–moderate. Basic tools and supplies suffice; specialized parts rarely needed.
- Tools: adjustable pliers, soft brush, cloth.
- Supplies: white vinegar, mild dish soap.
- Extras: replacement aerator, Teflon tape.
Identify Your Moen Spray Head Model and Parts
Before cleaning, the reader should identify which Moen spray head type is installed—pull-down, pull-out, or traditional—to determine specific care steps.
Key components to recognize include the spray head, removable aerator, flexible hose, and diverter, each of which may appear in slightly different shapes or positions.
Simple labeled diagrams can help match the faucet on hand to these parts for accurate disassembly and reassembly.
Common Moen spray head types and how to recognize them
Although Moen spray heads share basic function, they come in distinct styles—pulldown, pullout, and three-piece spray heads—that have different shapes, mounting methods, and button or switch placements.
Users identify models by form, hose length, and control location. Common cues help determine cleaning approach and required parts.
- Pulldown: high-arc head, retracting hose.
- Pullout: shorter, handheld grip.
- Three-piece: separate sprayer beside faucet.
Components you’ll encounter (head, aerator, hose, diverter) with simple diagrams
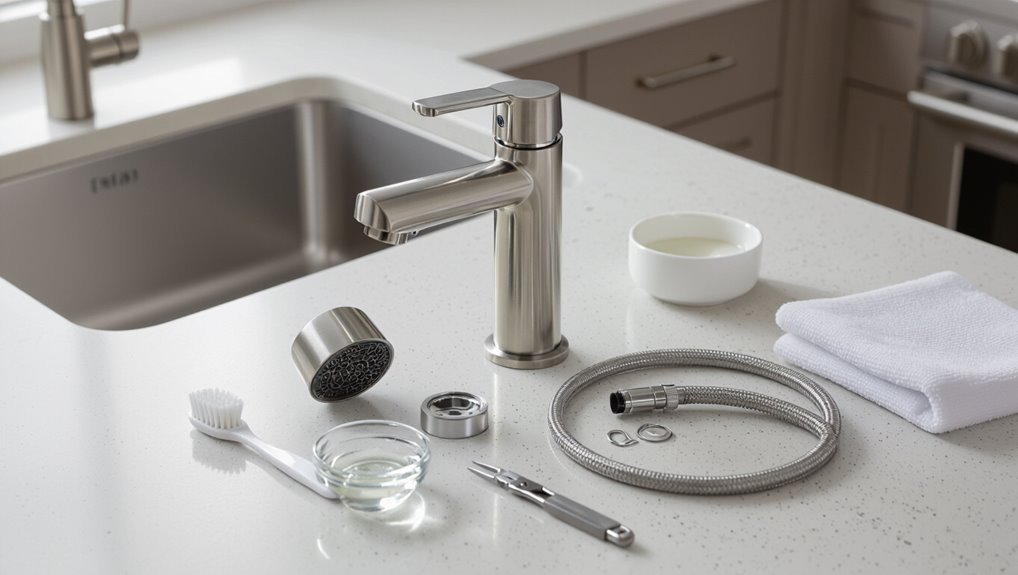
Understanding the main components of a Moen spray assembly helps diagnose issues and choose the right cleaning steps.
The spray head contains the nozzle and internal valve; the aerator meshes debris and alters flow; the hose supplies water and can kink; the diverter directs flow between spout and spray.
Simple line diagrams show labeled head, removable aerator, flexible hose, and diverter placement.
Safety Precautions and Preparation
Before cleaning, the water supply should be shut off and any electrical power to nearby disposal or instant-heating units disconnected if applicable.
Surfaces around the sink ought to be protected with towels or plastic to prevent scratches and chemical damage.
Gather necessary supplies—bucket, towels, soft brush, vinegar or mild cleaner, and replacement parts—so the task proceeds smoothly.
Turn-off steps: water supply and power (if applicable)
One clear first step is to shut off the water supply to the faucet—either the individual shutoff valves under the sink or the home’s main water supply—to prevent accidental spraying or leaks during cleaning.
Next, relieve residual pressure by running the faucet briefly.
If the faucet has an electronic or touch-activated feature, disconnect power or batteries to avoid unintended activation while cleaning.
Protect surrounding surfaces and gather supplies
A few protective coverings and the right tools should be laid out before work begins: towels or drop cloths to catch drips, painter’s tape to shield countertops and cabinetry, and a small bucket or tray for removed parts.
The operator then gathers basic supplies, verifies lighting, and positions towels to protect finishes.
Recommended items include:
- Screwdriver, Allen wrench, and pliers
- Vinegar, mild cleaner, and brushes
- Gloves, safety glasses, and rags
Fast Step-by-Step Cleaning Method (Under 20 Minutes)
The fast method outlines five clear actions to restore a Moen spray head in under 20 minutes.
First, the spray head is detached and rinsed to remove loose debris.
Then, it is briefly soaked in vinegar to loosen mineral buildup.
Finally, it is scrubbed, rinsed, reassembled, and the water is run to confirm spray performance and check for leaks.
Step 1 Detach the spray head safely
Begin by turning off the faucet and locating the spray head where it connects to the hose; this prevents water flow and makes removal safe.
Grip the spray head firmly, support the hose, and twist counterclockwise if threaded. If it’s a quick-release, depress the release collar and pull straight down.
Inspect the connection for clips or O-rings, noting orientation for reassembly.
Step 2 Immediate rinse and debris removal
Flush the spray head under warm running water to dislodge loose grit and soap residue.
Inspect the nozzle and spray holes, using a soft brush or old toothbrush to sweep away trapped particles.
Run water again while manipulating the spray button to clear internal pathways.
Wipe the exterior with a microfiber cloth and check the hose inlet for remaining debris before reattaching.
Step 3 Vinegar soak for mineral deposits (quick technique)
With loose grit removed and external surfaces wiped, attention shifts to dissolving mineral buildup inside the spray head.
The spray head is submerged in a small bowl of white vinegar or a 1:1 vinegar-water mix, allowed to soak for 10–15 minutes.
Agitation by gentle shaking helps loosen deposits.
After soaking, air is blown through nozzles to dislodge softened mineral residue.
Step 4 Scrub, rinse, and reassemble
They scrub the spray head components with a soft-bristled brush and a mild dish soap solution, focusing on nozzle openings and crevices to remove loosened mineral and grit; each part is then thoroughly rinsed under warm running water to wash away residues before reassembling the unit in reverse order and testing for proper spray and leak-free operation.
Tighten fittings by hand, inspect O-rings, and replace damaged seals.
Step 5 Run water and test for proper spray and leaks
Turn on the water and observe the spray head at normal and high-flow settings to confirm even coverage and steady pressure; watch for sputtering, weak streams, or misting that indicate remaining mineral buildup.
Check all connections and the hose for drips while cycling modes. Tighten fittings if needed, rerun briefly to verify improvements, and note any persistent issues requiring deeper cleaning or replacement.
Deep Cleaning for Stubborn Buildup (30 to 60 Minutes)
For persistent mineral buildup, the aerator and any internal screens should be removed and inspected before cleaning to guarantee proper water flow.
Small tools—toothbrushes, toothpicks, and soft‑bristle brushes—are recommended for dislodging deposits without damaging components.
If deposits resist household solutions, a commercial descaler may be used at manufacturer‑recommended concentrations and exposure times to avoid corrosion.
Removing and cleaning the aerator and internal screens
Begin by shutting off the water supply to the faucet and placing a towel or small container beneath the spray head to catch any drips.
Unscrew the spray head or aerator housing per model instructions, remove internal screens and flow restrictors, and inspect for mineral deposits.
Soak components in vinegar solution, rinse thoroughly, and reassemble in reverse order, ensuring proper seating and leak-free operation before restoring water.
Using tools: toothbrushes, toothpicks, and soft-bristle brushes
Using a soft-bristle brush, a toothbrush, and toothpicks, the technician tackles mineral buildup and trapped debris in crevices the aerator soak couldn’t clear.
Gentle scrubbing dislodges loosened scale; toothpicks probe narrow ports and gasket seams without scratching. Rinse frequently to flush particles.
Inspect passages under light, repeating targeted brushing until water flows freely and no residue remains, then reassemble carefully.
When to use commercial descalers and safe concentrations
If brushing and probing fail to restore full flow or heavy white or brown scale remains, a commercial descaler may be warranted to complete the deep clean.
Choose mild citric- or acetic-acid formulas labeled for faucets. Use diluted solutions per manufacturer instructions (commonly 5–10% active acid).
Rinse thoroughly and test seals.
- Select compatible descaler
- Dilute per label
- Rinse and inspect
Troubleshooting Common Problems After Cleaning
After cleaning, common issues may still appear and require quick troubleshooting to restore proper function.
Low water pressure or a weak spray often indicates trapped debris in the aerator, a kinked hose, or a misaligned valve and can usually be fixed by rechecking connections and flushing the line.
Leaks from the spray head or hose may need tightened fittings or a replaced O‑ring, while persistent clogging after cleaning is a sign parts like the spray head or cartridge should be replaced.
Low water pressure or weak spray and how to fix it
Check the spray head for mineral buildup, clogged aerator screens, or debris lodged in the nozzle, since these common obstructions are the primary causes of low water pressure or a weak spray after cleaning.
Remove and soak the head in vinegar, scrub screens with a soft brush, rinse thoroughly, and reassemble.
Inspect the hose and cartridge for kinks or blockages; replace worn parts as needed.
Leaks from the spray head or hose: quick checks and fixes
Resolving low pressure often uncovers another common issue: leaks at the spray head or along the hose.
Inspect connections, tighten the hose nut and swivel fitting, and reseat or replace the O-rings.
Check the spray head for hairline cracks and worn seals.
Test operation slowly to confirm repairs.
If leaks persist, stop use and consult replacement parts or a professional.
Persistent clogging: when to replace parts
When persistent clogging returns despite thorough cleaning, it indicates that internal components may be failing or irreversibly blocked and require replacement.
Inspect the spray head, aerator, check valve, and hose for mineral buildup, corrosion, or damage.
Replace worn cartridges, seals, or screens with Moen-compatible parts.
Test flow after reinstalling; persistent issues warrant professional diagnosis or full assembly replacement.
Maintenance Schedule and Preventive Steps
A clear maintenance schedule helps keep a Moen kitchen faucet spray head functioning and prevents mineral buildup.
Weekly, monthly, and annual tasks are outlined along with simple habits—like wiping the nozzle and running warm water—to reduce deposits.
Recommended wear parts and suggested replacement intervals are also noted to maintain performance.
Weekly, monthly, and yearly maintenance tasks
Regular upkeep of a Moen kitchen faucet spray head prevents buildup and prolongs function; simple weekly, monthly, and yearly tasks target scale, debris, and wear to keep performance consistent.
- Weekly: Wipe exterior, run spray to flush debris, check for leaks.
- Monthly: Remove and soak aerator or nozzle tips, inspect hose for kinks.
- Yearly: Deep clean internal components, replace worn seals and check mounting hardware.
Simple habits to reduce mineral buildup
Several small daily habits greatly cut mineral buildup on a Moen kitchen faucet spray head: wiping the nozzle after use to remove water droplets, running the spray briefly to flush fresh water through the outlet, and avoiding leaving acidic cleaners on the finish.
Periodic gentle descaling with diluted vinegar, using a soft brush on aerator screens, and promptly drying visible deposits prevent clogs and extend component life.
Recommended replacement parts and how often to change them
Building on daily care habits that minimize mineral buildup, a simple maintenance schedule identifies which spray head parts wear fastest and when to replace them.
- O-rings and seals — inspect yearly; replace every 1–2 years or when leaks appear.
- Aerator and filter screen — clean quarterly; replace every 2–3 years if flow declines.
- Spray hose and cartridge — inspect annually; replace cartridge every 3–5 years, hose as needed.
When to Call a Professional or Replace the Spray Head
If mineral buildup persists after thorough cleaning or components show physical damage such as worn seals or a cracked housing, cleaning alone is unlikely to restore proper function.
In those cases, replacing the spray head or hiring a technician may be more reliable than repeated DIY attempts.
Cost considerations—parts and time for a self-repair versus professional labor and warranty—should guide the decision.
Signs cleaning won’t resolve (worn seals, cracked housing)
When mineral removal and routine maintenance fail to restore proper function, physical damage or wear is often the cause.
Indicators include persistent leaks from the spray head or hose, visible cracks in plastic or metal housing, floppy or misaligned trigger action, and water seeping around seals despite new O-rings.
These signs indicate replacement or professional repair is required rather than further cleaning.
Cost considerations: DIY vs professional service
After confirming that wear or damage is the source of a malfunctioning spray head, cost becomes the primary factor in deciding whether to attempt a DIY repair, hire a plumber, or replace the component. DIY saves on labor but risks mistakes; professional service costs more but guarantees reliability. Replacement cost depends on model and warranty.
| Option | Typical cost |
|---|---|
| DIY | Low |
| Pro | Moderate–High |
Quick Tools and Products That Make Cleaning Easier
A concise set of household solutions and a few safe commercial cleaners can remove mineral buildup from a Moen spray head without damaging finishes.
Keeping a small maintenance kit with targeted tools streamlines routine cleaning and minor repairs. The following items cover the essentials for most kitchen faucet maintenance needs.
- White vinegar, mild dish soap, and a non-abrasive commercial descaler
- Soft-bristled toothbrush, microfiber cloth, and a small pick or toothpick
- Adjustable wrench, silicone grease, and replacement aerator screens
Recommended household solutions and safe commercial cleaners
Several simple household solutions and a handful of safe commercial cleaners effectively dissolve mineral buildup and sanitize Moen kitchen faucet spray heads.
White vinegar diluted 1:1 with water, baking soda paste, and lemon juice remove limescale.
For tougher deposits, nonabrasive, phosphate-free commercial descalers and mild antibacterial sprays labeled safe for plated fixtures work well.
Rinse thoroughly after treatment to protect finishes.
Tools to keep in a kitchen maintenance kit
Keeping a small set of dedicated tools and supplies on hand makes routine cleaning and occasional deeper work on a Moen kitchen faucet spray head faster and less messy.
Include microfiber cloths, soft-bristled brush, small Phillips and flat screwdrivers, needle-nose pliers with padded jaws, toothbrush, pipe cleaners, white vinegar, a plastic bowl, plumber’s tape, and a nonabrasive cleaner for quick, safe maintenance.
Step-by-Step Visual Checklist for Fast Reference
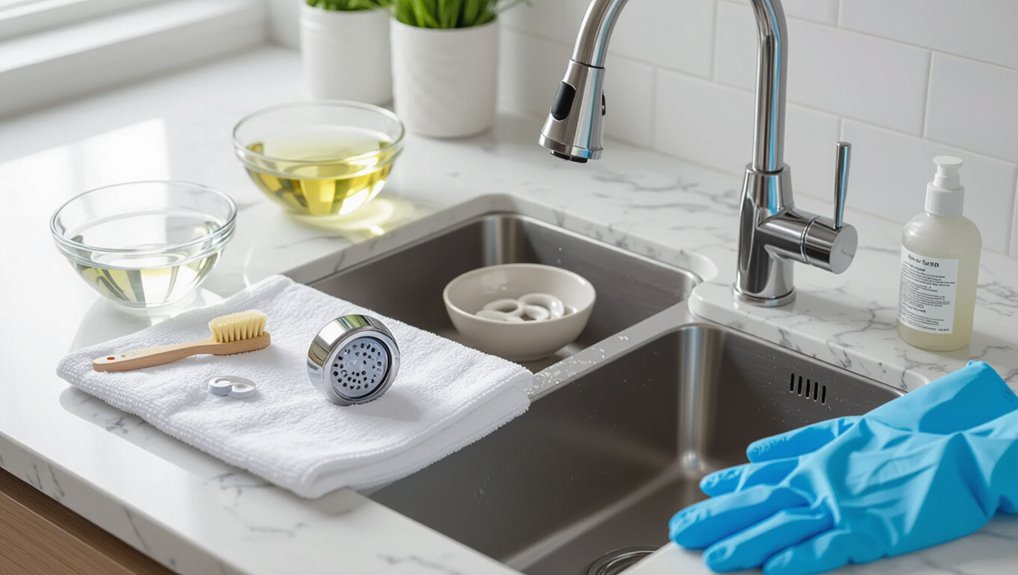
Begin by reviewing the checklist to confirm tools, materials, and safety steps are in place before starting work on the Moen kitchen faucet spray head.
Display numbered visuals:
1) Gather tools and replacement parts.
2) Shut off water and protect sink.
3) Detach spray head.
4) Soak and scrub components.
5) Reassemble, test for leaks.
6) Document maintenance date.
Conclusion
Keeping the Moen spray head clean preserves function and prevents surprise leaks, so one should tackle buildup before it gets out of hand. With quick weekly rinses and monthly vinegar soaks, maintenance becomes a breeze rather than an uphill battle. When mineral deposits resist, follow the deep-clean steps or consult a pro to avoid damage. Small, regular efforts pay off—clean faucet heads save time and money, and keep the kitchen running like clockwork.