How to Fix a Toilet That Rocks: Simple DIY Steps to Stabilize and Prevent Wobbling
To fix a rocking toilet, first check for loose bolts, a compressed wax ring, or an uneven flange or floor. Start by shutting off the water supply and testing for movement. Tighten the closet bolts evenly and use plastic shims to level the toilet bowl. If the wobble or leaks continue, you’ll need to lift the toilet to replace the wax ring and inspect or repair the flange and subfloor. Finally, secure everything with stainless steel bolts and apply a bead of silicone around the base. For step-by-step instructions, tools needed, cost estimates, and advice on when to call a professional, continue reading.
Why a Toilet Rocks and Why It’s Important to Fix
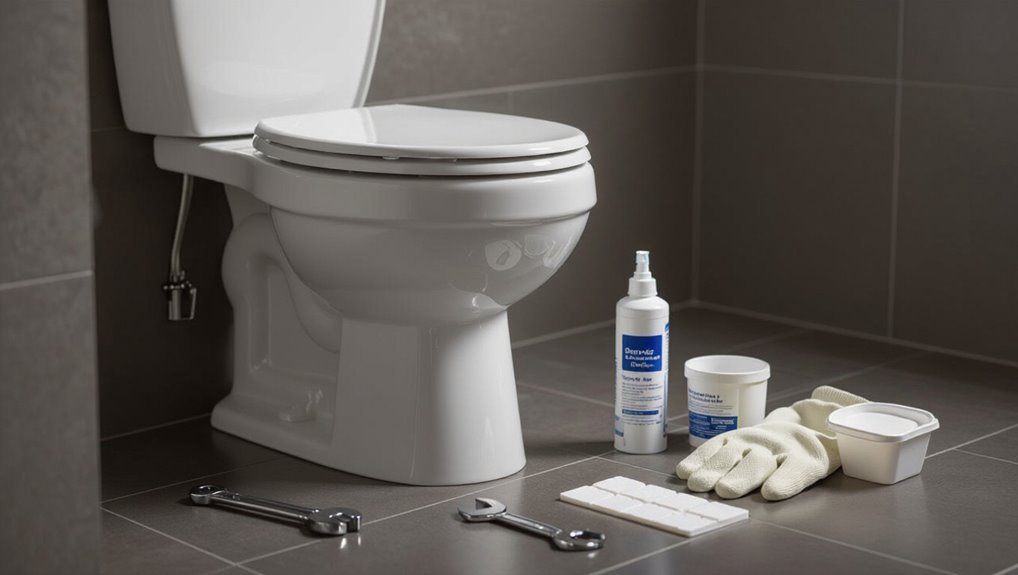
A rocking toilet usually results from loose bolts, a degraded wax ring, or an uneven floor.
Left unaddressed, movement can break seals, cause leaks, and accelerate flange or tank damage.
The instability also creates a safety hazard and can lead to more costly repairs if ignored.
Common causes of a wobbly toilet
Several common issues can cause a toilet to rock, each posing risks to both functionality and bathroom structure.
Faulty flange alignment, deteriorated wax ring, loose or corroded bolts, uneven subflooring, and warped or water-damaged flooring are frequent causes.
Identifying these enables appropriate repairs and informs steps for how to fix a toilet that rocks, ensuring a stable, long-lasting installation.
Risks of leaving a toilet unstable (leaks, damage, safety)
Neglect of a rocking toilet invites a cascade of problems that extend beyond mere annoyance.
Persistent movement stresses the wax seal, causing slow or sudden leaks that damage subflooring, promote mold, and rot framing.
Bolts and flange can fail, increasing collapse risk and injury.
Plumbing misalignment and repeated repairs raise costs; prompt stabilization preserves structural integrity, sanitation, and safety.
Quick Diagnosis: How to Check What’s Causing the Rocking
A quick inspection begins at the bowl-to-floor interface to see where gaps or movement occur.
The flange should be examined for cracks, alignment issues, and secure attachment, while bolts and tank connections are tested for looseness.
Finally, the floor and subfloor beneath the toilet are checked for unevenness or rot that could allow rocking.
Inspect the toilet bowl-to-floor interface
Begin by examining the junction where the toilet bowl meets the floor to determine whether movement stems from loose fasteners, an uneven subfloor, or a deteriorated wax ring.
Check for visible gaps, tilted seating, and moisture stains. Gently rock the bowl to locate play and listen for creaks.
Note any wobble direction and surrounding floor soft spots for targeted repair.
Check the flange condition and alignment
After confirming where the bowl moves against the floor, attention shifts to the flange—the ringed fitting that secures the toilet to the drain.
The flange should sit flush, level, and undamaged. Check for cracks, corrosion, or broken tabs and for misalignment or gaps exposing the flange to lateral stress.
Note any needed replacement or repositioning before proceeding with shims or new hardware.
Test for loose bolts and tank connections
Inspect the toilet’s floor bolts and tank-to-bowl connections for looseness, since movement at these points often transmits as rocking.
Gently shake the bowl and tank separately to localize play.
Tighten corroded or loose nuts with appropriate tools, replacing stripped washers or bolts.
Recheck for movement after adjustments.
If wobble persists with secure hardware, investigate other structural causes.
Look for uneven flooring or subfloor damage
Uneven flooring or a compromised subfloor is a common hidden cause of a rocking toilet and should be checked when hardware adjustments don’t stop the movement.
Inspect surrounding floor for soft spots, stains, or sagging. Remove trim and lift the toilet if needed to view the flange and subfloor.
Replace rotted plywood, sister joists, or install a plywood patch to restore a solid, level surface.
Tools and Materials You’ll Need
A concise set of basic tools—wrench, screwdriver, level, and putty knife—will handle most rocking-toilet repairs.
Essential materials include a replacement wax ring, flange repair kit, shims, closet bolts, caulk, and epoxy.
If the flange is severely damaged, the toilet repeatedly rocks, or the user lacks confidence, a professional plumber should be called.
Basic tool list (wrench, screwdriver, level, putty knife)
Basic hand tools make a rocking toilet repair straightforward: a wrench for loosening and tightening nuts, a flathead or Phillips screwdriver for seat and tank fasteners, a small level to check bowl alignment, and a putty knife to remove old wax or caulk.
Additional useful items include adjustable pliers for gripping, a flashlight for visibility, and work gloves to protect hands during inspection and adjustment.
Repair materials (wax ring, flange repair kit, shims, closet bolts, caulk, epoxy)
Gathering the right repair materials guarantees the rocking toilet can be stabilized and sealed correctly. Necessary items include a new wax ring (or wax-free alternative), flange repair kit for damaged flanges, corrosion-resistant closet bolts and caps, thin plastic or composite shims, waterproof caulk for base sealing, and marine-grade epoxy for minor flange or porcelain repairs.
Choose sizes and types to match existing fittings.
When to call a professional
Having the right parts on hand helps determine whether a homeowner can reasonably proceed or should call in a professional.
If flange damage is extensive, sewage leaks occur, floor rot or hidden structural issues exist, or odor and persistent wobble remain after basic fixes, secure a plumber.
Complex drain alignment, cracked toilet bases, or uncertain diagnosis also warrant professional assessment and repair.
Step-by-Step Repair: Stabilize a Rocking Toilet
The repair process begins with basic preparation and safety steps, including shutting off water and protecting the floor.
Careful tightening of closet bolts and insertion of plastic or composite shims can often stabilize the bowl without cracking it, while inspection of the flange determines whether repair or replacement is required.
If the flange or wax ring is damaged, the toilet should be lifted, the old ring replaced, and the fixture reseated and tested for stability.
Preparation and safety steps
Before any tools are touched, the area around the toilet should be cleared and the water supply shut off to prevent spills; then the tank should be flushed and refilled to a low level or drained entirely.
Protective gloves and eye protection are recommended. Floor surfaces should be dry and well-lit.
Gather a wrench, screwdriver, shims, replacement gasket, bucket, and towels before beginning.
Tightening bolts without cracking the bowl
A single careful approach prevents cracking when tightening toilet bolts: work gradually, alternate sides, and stop at the first sign of resistance.
Using a wrench with padded jaws, tighten nuts in small increments, switching between bolts to distribute pressure evenly.
Inspect the bowl for hairline stress, replace corroded fasteners, and use washers to spread load.
Test stability frequently; do not overtighten.
Using plastic or composite shims to level the toilet
Choose thin plastic or composite shims to raise the low side of the toilet where gaps appear between the base and the floor; these materials resist moisture, compress less over time than wood, and can be trimmed for a precise fit.
Insert shims until the bowl sits flat, check level, then tighten nuts incrementally.
Trim flush with a utility knife and seal edges with silicone for cleanliness.
Replacing or repairing a damaged flange
Begin by inspecting the toilet flange for cracks, breaks, or corrosion that allow movement or prevent a secure connection to the closet bolts.
If damaged, remove the toilet, assess flange type (cast, PVC, or offset) and either replace with matching flange or repair using a flange repair kit or stainless steel ring.
Secure to floor, align bolts, and guarantee flange sits flush to flooring.
Replacing the wax ring and reseating the toilet (when necessary)
If the flange is secure but the toilet still rocks or leaks at the base, replacing the wax ring and reseating the bowl often restores a watertight, stable connection;
drain tank, disconnect supply, unbolt and lift the toilet, remove old wax, inspect flange and bolts, position new wax ring, lower toilet evenly onto flange, tighten bolts gradually, reconnect supply, test for wobble and leaks.
Using repair rings, flange extenders, or epoxy for minor gaps
When small gaps or a slightly uneven flange prevent a secure seal after reseating, a repair ring, flange extender, or a carefully applied epoxy can correct the fit without removing the toilet.
The person assesses gap size, selects a molded repair ring or rubber extender matching flange height, or uses plumber-grade epoxy to fill minor voids.
Allow full cure before testing for wobble.
Securing the toilet with new closet bolts and caps
Remove the tank lid and lower any water level so access is clear.
Then lift the bowl slightly to expose the old closet bolts and check their condition.
Remove corroded bolts, clean flange area, insert new stainless steel or brass closet bolts with nylon sleeves, tighten nuts incrementally while rocking gently to center the bowl.
Then snap on decorative caps to protect hardware.
Final shaving of shims and applying caulk for a finished look
Trim the shim ends flush with a sharp utility knife so they sit just below the bowl skirt.
Then wipe away dust and debris to prepare for caulking.
Carefully apply a thin bead of silicone caulk along the base where ceramic meets floor, smoothing with a wet finger or tool for a neat line.
Allow full cure per manufacturer instructions before use.
Solutions for Specific Scenarios
Different causes of a rocking toilet call for tailored fixes, from soft subfloors that allow movement only under weight to flaws in flange work after replacement.
The piece will cover when a crack in the porcelain warrants replacing the fixture rather than attempting repairs.
It will also contrast approaches for tiled floors versus vinyl or wood floors to guarantee a stable, long-lasting result.
Toilet rocks only when you sit (soft-floor/subfloor issue)
When a toilet rocks only under the weight of a seated user, the problem is usually a soft or compromised subfloor rather than loose bolts or an uneven flange.
The bowl compresses the floor around the mounting area, allowing movement that can break the wax seal or damage the flange over time.
Inspect subfloor via access or removing the toilet, cut out rotten plywood, reinforce with new plywood and blocking, then reinstall with proper seal and flange support.
Rocking after flange replacement
Addressing a toilet that still rocks after a flange replacement requires checking for issues beyond the flange itself: the new flange may be poorly seated, the flange-to-floor connection inadequate, the wax seal compressed unevenly, or the closet bolts misaligned.
Inspect bolt alignment, tighten or replace bolts, verify flange sits flat on solid substrate, and confirm the wax ring is properly centered; shim or refasten as needed.
Rocking due to cracked porcelain (when to replace the toilet)
If rocking persists after confirming flange, bolts, and seal are correct, the porcelain itself should be inspected for hairline cracks or fractures around the base and bowl that can allow movement or worsen under load.
Visible cracks, leaks, or structural compromise indicate replacement is necessary.
Temporary epoxy fixes are unreliable for load-bearing damage; prioritize full toilet replacement to guarantee safety and prevent further damage.
Rocking on tiled floors versus vinyl/wood floors
Although the underlying cause—an uneven subfloor, a misaligned flange, or loose bolts—is often the same, the repair approach differs between tiled and vinyl/wood floors because of material rigidity and surface tolerances.
On tile, shim carefully using thin plastic or rubber to avoid cracking and level to grout lines.
On vinyl/wood, use thicker shims or a plywood patch under the flange and seal edges to prevent moisture damage.
Preventive Measures to Keep a Toilet Stable
Preventive measures focus on correct initial installation, including level flange alignment and properly torqued bolts, to guarantee long-term stability.
Regular inspections and a simple maintenance schedule—checking bolt tightness, caulk condition, and flange integrity—help catch issues before rocking develops.
Selecting durable materials and upgrades, such as stainless steel bolts, reinforced flanges, or a wax-free seal, reduces the likelihood of future movement.
Proper installation tips for long-term stability
Start by ensuring the flange sits level with the finished floor and is free of cracks or corrosion; a properly seated flange and a new wax or rubber seal form the foundation of long-term stability.
Use stainless steel bolts, torque evenly, and set the bowl squarely.
Shim with noncompressible plastic shims if needed, trim flush, and tighten incrementally to avoid cracking the porcelain.
Routine checks and maintenance schedule
When maintained on a simple schedule, a toilet will remain stable and problems can be caught before they worsen.
Inspect fasteners, caulk, and floor seal every three months. Check for wobble after cleaning and note any movement or leaks.
Tighten loose bolts, replace deteriorated wax or seals promptly, and document actions.
Annual deeper inspection of flange and subfloor prevents surprises.
Materials and upgrades that reduce future rocking
Select durable materials and targeted upgrades to minimize future rocking and extend toilet stability.
Use stainless steel bolts, reinforced flange repair kits, and polymer shims resistant to compression and moisture.
Consider a wax-free seal with integrated flange support or a flange extender for uneven floors.
Upgrade to a one-piece or heavier-base toilet if instability persists; guarantee proper torque and periodic inspection.
Common Repair Mistakes to Avoid
Careless repairs can cause more harm than the original wobble. Over-tightening bolts risks cracking the porcelain. Improvised shims can compress or rot, and failing to address a damaged flange or subfloor leaves the problem unresolved.
Each of these mistakes should be identified and avoided before proceeding.
Over-tightening bolts and cracking the bowl
Over-tightening the closet bolts can split the porcelain bowl, a fragile outcome that transforms a simple stabilizing task into an expensive replacement.
Technicians advise gradual, even tightening and using washers or torque-limited tools to prevent cracking. Inspect bolt threads and flange alignment before final tightening.
If resistance or hairline fractures appear, stop immediately and consult a professional to avoid worsening damage and costly repairs.
Using inappropriate materials for shimming
Using cardboard, rocks, or random scraps as shims often seems like a quick fix, but these materials compress, rot, or shift under load and can leave the toilet unstable or leaking.
Proper shims are rigid, waterproof, and sized to distribute weight evenly.
Temporary or uneven padding causes movement, seal failure, and wasted effort; use purpose-made plastic or stainless shims and secure them before tightening.
Ignoring flange or subfloor damage
After addressing improper shimming, attention must turn to the flange and subfloor beneath the toilet—areas that often hide structural problems.
Neglecting warped, rotted, or cracked flange and subfloor can allow leaks, instability, and failed repairs.
Proper inspection, replacement of a damaged flange, and subfloor repair or reinforcement are essential before reinstalling the toilet to guarantee long-term stability and prevent recurring wobble.
Cost and Time Estimates
Typical DIY parts for stabilizing a rocking toilet—wax ring, flange repair kit, and closet bolts—usually cost between $10 and $50.
Simple bolt tightening or shimming can take 15–30 minutes, while replacing a wax ring or repairing a flange may require 1–3 hours.
More extensive flange or floor repairs can raise both material costs and time, and may justify hiring a professional.
Typical DIY costs for common fixes
Most common DIY repairs for a rocking toilet—tightening or replacing flange bolts, swapping out a wax ring, or shimming and securing the base—range from about $10 to $60 in parts and can usually be completed in 30 minutes to two hours by a homeowner with basic tools. Typical costs vary by part and severity; labor is usually homeowner time.
| Fix | Typical parts cost |
|---|---|
| Bolts | $5–$15 |
| Wax ring | $5–$20 |
| Shims | $2–$10 |
| Flange repair | $10–$40 |
| New seat | $10–$30 |
Time required for each repair scenario
Repair times for a rocking toilet depend on the underlying cause and the homeowner’s familiarity with basic plumbing tasks.
Simple solutions—adding shims, tightening bolts, or replacing wax rings—typically take 15–60 minutes.
Replacing a flange or adjusting floor framing can require 1–4 hours or more, possibly needing curing time.
Allow extra time for parts sourcing, cleanup, and testing to guarantee stability.
When to Replace the Toilet or Hire a Pro
If the wobble is accompanied by cracks in the porcelain, recurrent flange damage, or persistent leaks despite repeated repairs, replacement should be considered.
Homeowners should also weigh age, frequent repairs, and inefficient flushing as signs that repair isn’t enough.
Before hiring a plumber, they should ask about diagnostic fees, estimated total costs and timelines, warranty coverage, and whether the contractor is licensed and insured.
Signs that repair isn’t enough
Several clear signs indicate that simple tightening or seal replacement won’t suffice and a professional or full toilet replacement is required.
Persistent wobble after shimming, repeated flange or floor damage, cracked bowl or tank, chronic leaks staining subfloor, sewage odors, or shifting foundation signal structural failure.
In such cases, replacing the fixture or hiring a licensed plumber prevents recurrent damage and health risks.
Questions to ask a plumber before hiring
Who should be called when wobble, leaks, or structural damage suggest more than a DIY fix? A licensed plumber with experience in fixtures and drain integrity.
Ask about licensing, insurance, written estimates, expected timeline, warranty on labor and parts, cause diagnosis versus band-aid fixes, experience replacing toilets and repairing flanges, and references or reviews.
Request clear pricing and a written scope before hiring.
Visual Guide and Reference Images
The visual guide presents clear photos of common flange and bolt types so readers can quickly identify their setup.
It also shows correct shim placement beneath the toilet base and demonstrates precise trimming techniques for a flush finish.
Captions and arrows highlight critical contact points and measurement cues for safe, lasting repairs.
How to identify flange and bolt types
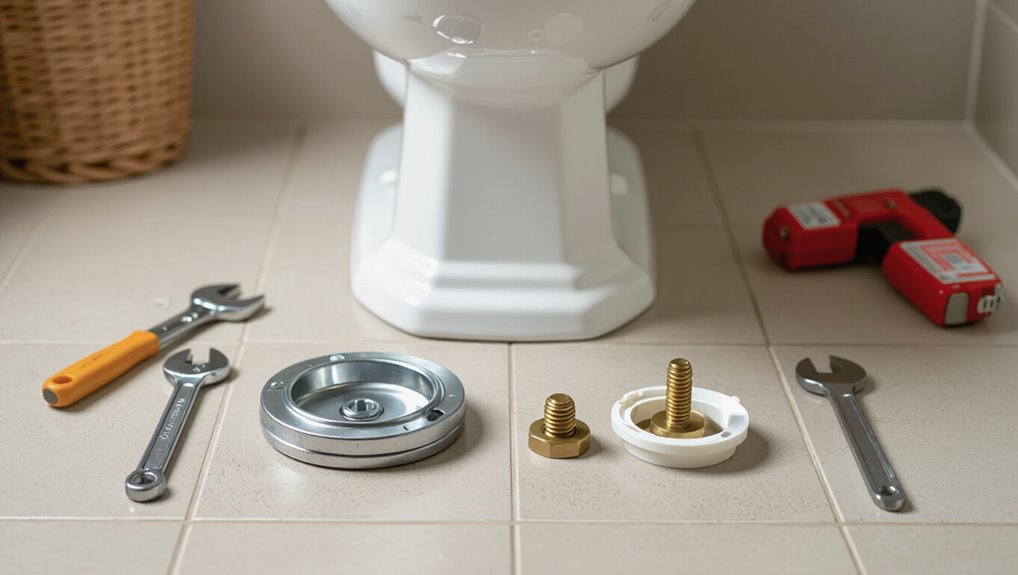
How can one quickly tell which flange and bolt types are present under a toilet?
Inspect visible flange material—PVC, ABS, cast iron, or brass—note flange height relative to finished floor.
Identify bolt style: exposed closet bolts, recessed T-bolts, or wing-nut studs.
Measure bolt length and flange hole spacing.
Photograph components for reference before removal or replacement.
Proper shim placement and trimming
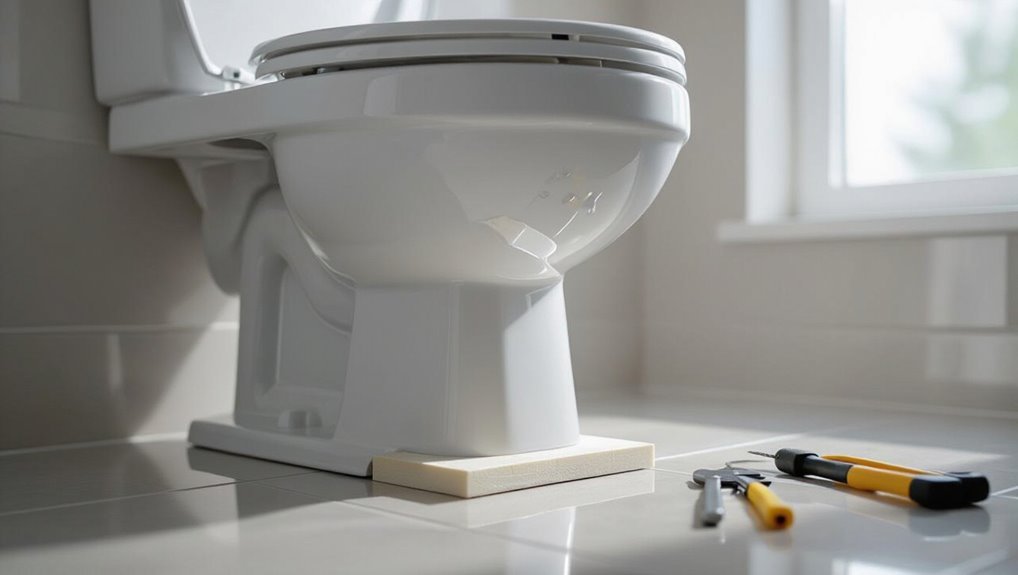
Begin by placing thin, non-compressible shims between the toilet base and finished floor at the locations where rocking occurs—typically at the back or sides—so the bowl sits level without forcing the flange.
Trim shims flush with a utility knife for a discreet fit.
Test stability, add or remove shims as needed, then secure with caulk or silicone to lock position and prevent moisture intrusion.
Quick Troubleshooting Checklist
A short checklist helps isolate common causes before disassembly: check flange condition, inspect bolts and caps, feel for movement at the base, confirm the wax ring seal, and verify floor flatness.
The technician then follows focused steps to identify whether hardware, seal, or subfloor issues cause rocking and prepares appropriate repairs.
- Tighten or replace bolts
- Assess flange integrity
- Inspect wax ring
- Check and level subfloor
Conclusion
A rocking toilet, once a minor annoyance, signals unseen structural or seal failures that warrant attention. The reader is urged to visualize probing the base, feeling hidden gaps close under firm shims, and imagining a wobble stilled as wax ring returns to its full seal. By diagnosing fasteners, flange level, and floor integrity, the simple repairs described restore steadiness and prevent leaks—transforming a shaky fixture into a reliably anchored, quietly functional part of the home.