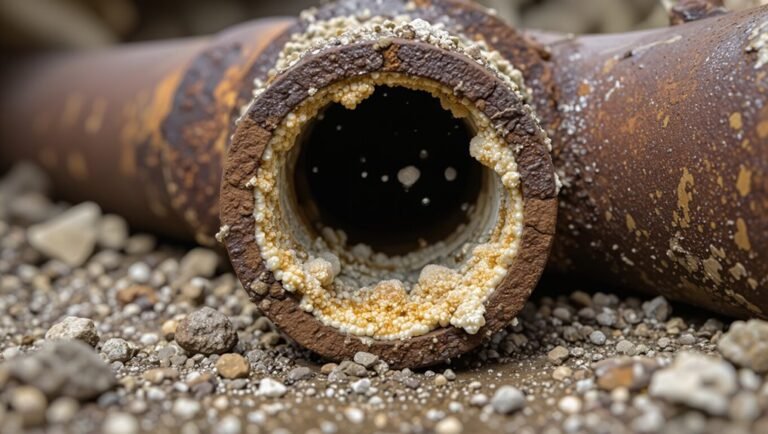
How to Unclog a Utility Sink Fast: Simple DIY Fixes That Work
If your utility sink is clogged, you can often clear it quickly using simple methods. Start by removing any standing water and wearing gloves and eye protection. Pour hot water mixed with dish soap down the drain to break down grease. If that doesn’t work, use a plunger or a wet/dry vacuum to create suction. If the clog persists, remove and clean the drain cover and P-trap, or try using a plumber’s snake to dislodge the blockage. For organic buildup, baking soda and vinegar or enzyme cleaners can be effective. Follow these steps for tougher clogs and tips on prevention.
How to Unclog a Utility Sink Quickly and Safely
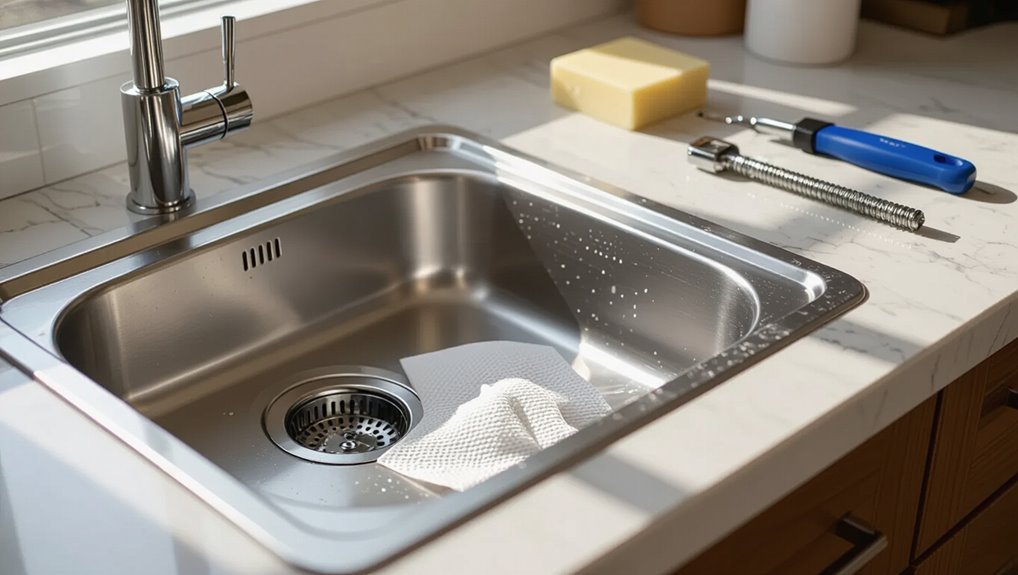
Before beginning work, one should clear the area, wear appropriate protective gear, and remove standing water to prevent slips and contamination.
Essential tools and materials—plunger, plumber’s snake, bucket, adjustable wrench, gloves, and basic cleaners—should be gathered and staged for easy access.
The water supply and any nearby electrical sources should be shut off when disassembling fixtures or if flooding risk exists.
Immediate steps to take before starting work
Gather essential safety gear and clear the area around the utility sink before any work begins.
One should shut off nearby water valves, disconnect electricity if outlets are close, and place towels or buckets to catch spills.
Inspect visible pipes for leaks and note odor or chemical residues.
Review basic steps for how to unclog utility sink and confirm ventilation before proceeding.
Tools and materials to have on hand
With the area secured and initial checks completed, assembling the right tools and materials streamlines unclogging and reduces risk.
Essential items include rubber gloves, safety glasses, bucket, adjustable wrench, pliers, plumber’s snake or auger, flange plunger, plumber’s tape, plumber’s putty, small scrub brush, and a flashlight.
Optional: drain cleaner (enzyme-based), replacement washers and PVC fittings.
When to shut off water and power
At key moments during a clog-clearing job, shutting off water and power prevents spills, electrical hazards, and further damage.
Water should be cut at the sink valve when removing traps or using chemicals; main shutoff if leaks worsen.
Electricity must be switched off for nearby outlets, disposal motors, or when working under sinks.
Confirm both supplies before proceeding and use a tester for safety.
Fast DIY Methods to Unclog a Utility Sink
The following methods offer quick, do-it-yourself options for clearing a utility sink, ranging from manual tools to mild, noncaustic cleaners.
Clear instructions cover proper plunger technique, using a drain snake or auger, a baking soda-and-vinegar routine, hot water with dish soap, and guidance on enzyme-based drain cleaners.
Each approach notes when it is appropriate and how to perform it safely.
Plunger technique step-by-step
Start by selecting a firm, cup-style plunger sized to the sink and guarantee the sink basin contains enough water to cover the rubber lip.
Position the plunger over the drain, seal edges, then push down firmly and pull up sharply without breaking the seal.
Repeat 10–15 times, increasing force gradually.
Finish by running hot water to clear loosened debris and confirm flow.
Using a drain snake or auger effectively
Choose a drain snake or hand auger sized appropriately for the utility sink and feed the cable into the drain until resistance is felt; then crank the handle clockwise to break, hook, or push the clog through, retracting periodically to clear debris and inspect the tip.
Work steadily, avoid forcing the cable to prevent pipe damage, use gloves and eye protection, and flush the drain with hot water after clearing.
Homemade chemical-free mixture (baking soda + vinegar) method
After using a drain snake, a simple chemical-free option is a baking soda and vinegar mixture to dislodge or loosen remaining residue.
Pour half a cup baking soda into the drain, then follow with one cup white vinegar. Seal or cover briefly to concentrate fizzing, wait 15–30 minutes, then flush with warm water.
Repeat once if needed before other methods.
Hot water and dish soap flush technique
Pouring hot water with a little dish soap helps dissolve grease and soap scum that commonly clog utility sinks.
The person pours a kettle of near-boiling water down the drain, follows immediately with a generous squirt of dish soap, waits 10–15 minutes, then flushes with another hot-water rinse.
Repeat once if flow improves but remains slow.
Enzyme-based drain cleaner: how and when to use
When is an enzyme-based drain cleaner the right choice?
Enzyme cleaners suit organic clogs—hair, grease, soap—when mechanical methods fail or chemical drain cleaners are undesirable.
Follow label directions: apply to dry or standing-water-free drain, allow required dwell time (often overnight), then flush with hot water.
They’re safe for pipes and septic systems but act slower; repeat if necessary.
How to Remove and Clean the P-Trap
Before removing the P-trap, the person should follow basic safety precautions and set up a bucket and protective gloves to catch spills and avoid contact with debris.
They then loosen the slip nuts, remove the trap, and clear blockages and buildup with a brush and water.
After cleaning, the trap is reassembled, tightened hand-tight, and checked for leaks by running water.
Safety precautions and setup
Although removing a P‑trap is a straightforward task for many homeowners, proper safety precautions and setup greatly reduce the risk of injury, spills, and damage.
Wear gloves and eye protection, shut off nearby water sources, and clear the area of obstructions.
Place a bucket and towels beneath the trap, have adjustable pliers and replacement washers ready, and guarantee adequate lighting and ventilation.
Step-by-step P-trap removal and cleaning
Loosen the slip nuts on the trap with adjustable pliers and lower it carefully into the bucket to catch trapped water and debris.
Inspect the curved trap for hair, grease, and sediment. Remove buildup with a brush or cloth, and flush parts with warm soapy water.
Check washers and threads for damage, replacing corroded components before proceeding to reassembly.
Reassembly and leak testing
With the trap cleaned and inspected, reassembly begins by aligning the curved section with the tailpiece and wall stub-out, ensuring replacement washers seat correctly and threads are free of debris.
Hand-tighten slip nuts evenly, then snug with a wrench without over-torquing.
Run water, observe joints for drips, place paper towel to detect slow leaks, and retighten slightly if any seepage appears.
Dealing with Stubborn Clogs Deeper in the Drain
If the clog persists after cleaning the P‑trap, the next step is to contemplate tools and risks further down the line.
The choice between a hand auger and a power auger depends on clog location and pipe condition, while chemical cleaners should be used sparingly and with proper protective gear.
Persistent backups, multiple fixtures clogging at once, or sewage odors may indicate a main sewer line problem requiring professional service.
Using a hand auger vs power auger: which to choose
When a clog sits past the trap or resists plunging and chemical treatments, choosing between a hand auger and a power auger depends on clog location, pipe material, and the user’s skill level.
A hand auger suits short runs, delicate pipes, and novices—offering control and minimal damage.
A power auger handles long, dense blockages quickly but risks harming older or PVC lines and demands experience.
When to use chemical drain cleaners and safety tips
Consider chemical drain cleaners only as a last resort for stubborn clogs located deep in the drain that resist mechanical methods. They can dissolve organic blockages but come with corrosive properties and limited effectiveness against solid obstructions.
Wear chemical-resistant gloves and eye protection, ventilate the area, follow label instructions precisely, avoid mixing products, and rinse thoroughly.
Prefer neutralizing and seek professional help if unsure or if drains are old.
Signs the clog is in the main sewer line
After exhausting mechanical methods and reserving chemical cleaners for truly stubborn blockages, it is important to recognize signs that the problem lies beyond the fixture and in the main sewer line.
Indicators include multiple drains backing up simultaneously, foul sewage odors from floor drains, gurgling sounds when fixtures run, slow draining throughout the house, and sewage or water pooling near the foundation or cleanout access.
Preventing Future Clogs in Utility Sinks
Preventing future clogs begins with clear rules about what not to pour down a utility sink, such as grease, paint, and fibrous debris.
Regular simple maintenance—flushing the drain with hot water and checking for trapped hair or sediment weekly—helps keep lines flowing.
Installing strainers and, where water hardness contributes to buildup, a water softener further reduces the chance of recurring blockages.
Best practices for what not to pour down the sink
A clear list of substances to avoid pouring down a utility sink helps reduce blockages and protect plumbing and septic systems.
Avoid grease, oil, food scraps, coffee grounds, hair, paint, solvents, motor oil, pesticides, and caustic drain cleaners.
Dispose of wipes, diapers, and fibrous materials in trash.
Collect hazardous liquids for proper disposal at local facilities to prevent pipe damage and environmental harm.
Simple weekly maintenance routines
Regularly scheduled weekly checks keep a utility sink running smoothly and greatly reduce the chance of clogs.
Visual inspection of drains, traps and hoses reveals buildup or leaks. Flushing with hot water clears light grease and sediment.
Remove and clean the strainer or stopper, wipe surrounding surfaces, and test drainage speed.
Record issues for prompt repair to prevent escalation.
Installing strainers and water softeners to reduce buildup
Weekly checks highlight recurring sources of buildup, and installing simple hardware like strainers and water softeners offers a practical next step to reduce deposits and hair or grit accumulation.
Strainers trap debris at drains, easy to remove and clean. Point-of-entry or under-sink water softeners cut mineral scaling, extending pipe and trap life.
Both measures reduce clog frequency and simplify maintenance.
Troubleshooting Common Problems
If slow drainage persists after an attempted unclogging, checking for partial blockages in the trap or vent issues is recommended.
Reassembled fittings that leak often indicate a misaligned seal or improperly tightened connection and should be inspected and corrected.
If foul odors return after cleaning, remaining biofilm or a dry trap are common causes that merit targeted cleaning and water sealing.
Sink still draining slowly after unclogging
One common sign that a utility sink hasn’t been fully cleared is slow drainage even after the visible clog has been removed.
Remaining debris, partial blockages in the trap or trap arm, biological buildup, or venting issues can restrict flow.
Inspect and clean the P-trap, snake the trap arm, flush with hot water and enzyme cleaner, and verify proper vent function before declaring the line clear.
Leaks after reassembly of fittings
Reassemble the drain fittings carefully and inspect for leaks immediately afterward: loose connections, misaligned washers, or damaged threads commonly cause drips where the tailpiece, slip nuts, or trap join.
Tighten slip nuts by hand then a quarter turn with pliers, replace flattened or torn washers, and apply plumber’s tape to threaded joints.
Test with water and re-tighten if necessary until dry.
Foul odors returning after cleaning
Persisting foul odors after cleaning usually indicate that the source wasn’t fully reached or that organic buildup remains in hidden areas.
Inspect P-trap, tailpiece, and overflow for trapped debris; remove and scrub with brush and enzyme cleaner.
Flush with hot water and baking soda plus vinegar, then rinse.
If odor persists, check venting and sewer connection; consult a plumber for persistent sewer gas intrusion.
When to Call a Professional Plumber
If a utility sink repeatedly clogs, emits foul odors, leaks, or shows signs of sewer backup, professional assistance is recommended.
When contacting a plumber, the homeowner should describe the symptoms, any troubleshooting already attempted, the sink’s age and piping material, and provide photos if possible.
Typical service costs vary by region but expect inspection fees plus charges for common fixes—snaking, trap replacement, or pipe repair—which generally range from modest to several hundred dollars.
Clear signs you need professional help
When should a homeowner call a professional plumber?
Persistent backups after multiple DIY attempts, foul odors indicating deeper buildup, slow drainage tied to multiple fixtures, visible leaks or water damage beneath the sink, recurring clogs within weeks, or suspected sewer-line issues all warrant professional intervention.
Complex tool needs, inaccessible blockages, or concerns about code compliance also justify hiring a licensed plumber.
What information to provide when hiring a plumber
After recognizing signs that professional help is needed, homeowners should gather specific details to streamline the service call.
Provide sink location, description of the clog, actions already taken, visible leaks or odors, appliance connections, water flow behavior, and any access restrictions.
Note model numbers for nearby fixtures and preferred contact times.
Clear information speeds diagnosis and guarantees the plumber arrives prepared.
Estimated costs for common professional fixes
Cost estimates help homeowners decide whether to call a professional and what to expect on the invoice. Typical ranges: simple snake service $75–$150, clog removal with trap replacement $150–$350, main line issues $300–$1,000+. Estimates vary by region and complexity; always request written quotes and warranty details.
| Service | Typical Cost | Notes |
|---|---|---|
| Snake/clear | $75–$150 | Quick fix |
| Trap replace | $150–$350 | Moderate |
| Main line | $300–$1000+ | Major repairs |
Quick Safety Tips and Environmental Considerations
Before starting, the worker should wear gloves, eye protection, and appropriate clothing to avoid chemical splashes and sharp debris.
Removed solids and used chemical containers must be collected in sealed bags or containers and disposed of according to local hazardous-waste rules.
When possible, the worker should choose mechanical methods or biodegradable cleaners instead of harsh drain chemicals to reduce environmental harm.
Personal protective equipment to use
When working on a utility sink, appropriate personal protective equipment (PPE) reduces the risk of chemical exposure, cuts, and eye injuries: gloves resistant to solvents and detergents, splash-proof safety goggles, and durable closed-toe shoes are essential.
Additionally, a chemical-resistant apron, a dust mask for dry debris, and knee pads for prolonged crouching improve safety.
Replace damaged PPE and ventilate the area.
Safe disposal of removed debris and chemicals
After removing clogs, the work area and collected waste require careful handling to protect people and the environment.
Solid debris should be bagged in sturdy, sealed containers and placed with regular trash only if local rules permit.
Contaminated rags and gloves must be sealed and labeled.
Small quantities of common drain cleaners can be diluted and flushed per label; larger amounts require hazardous-waste disposal.
Eco-friendly alternatives to harsh drain chemicals
How can a clog be cleared without resorting to corrosive chemicals? A few safe, eco-friendly methods protect plumbing and waterways while remaining effective.
- Use a plunger or plumber’s snake to dislodge blockages.
- Flush with hot water and biodegradable dish soap.
- Pour baking soda followed by vinegar, then hot water.
- Install a hair catcher and maintain regular mechanical cleaning.
Conclusion
A concise approach helps most utility sink clogs: start with simple plunging or a plumber’s snake, clean the P-trap, and escalate safely if needed. For example, a homeowner in Boise cleared years of detergent buildup by removing the P-trap, soaking it in vinegar, and snaking the line—saving time and money while preventing chemical misuse. With routine maintenance and cautious escalation, minor obstructions become manageable and costly repairs are often avoided.