
How Do I Turn On the Shower Head: Quick Steps to Get Water Flowing Fast
To turn on your shower head quickly, locate the shower controls and identify if you have a single-lever, dual-handle, or thermostatic system. If you have a single lever, lift and rotate it to start the water flow. For dual handles, open the hot and cold taps slowly to achieve your desired temperature. If you’re using a handheld shower, switch the diverter and ensure the hose is properly connected. If no water flows, check local shutoff valves, inspect the water heater, and clean the shower head for any clogs. Follow these steps for efficient troubleshooting and maintenance tips.
How to Turn On a Shower Head Quickly
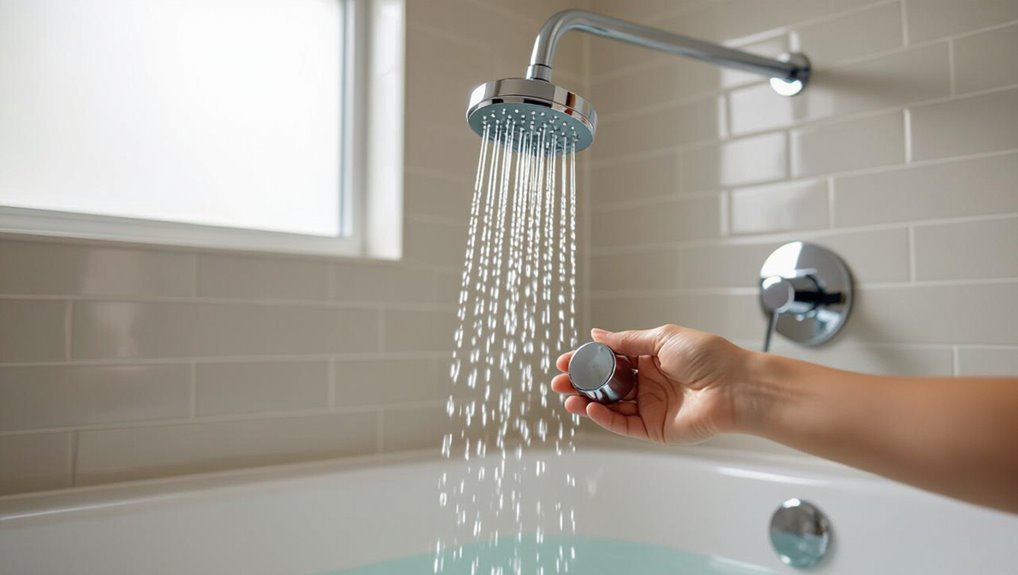
A quick approach begins with locating the water controls and identifying the handle type—single-lever, dual-handle, or thermostatic/digital.
For a single-lever, a simple lift and rotate will start flow and adjust temperature; for dual handles, open hot and cold handles incrementally until desired mix is reached.
Thermostatic or digital valves require setting the temperature control or activating the digital interface before engaging the flow.
Locate the water controls and identify handle types (single-lever, dual-handle, thermostatic)
Begin by standing at the shower control panel and visually noting the number and style of handles present.
The observer asks mentally how do I turn on the shower head, then distinguishes single-lever (one control for flow/temperature), dual-handle (separate hot and cold), and thermostatic valves (temperature-locked cartridge).
Identifying type guides the correct control movements and safety precautions before operating water.
Step-by-step: Turning on a basic single-handle shower
Turn the single lever gently toward the shower symbol to start water flow and then adjust its angle to reach the desired temperature.
Observe spray pattern, then fine-tune lever position for comfortable warmth.
Lift or pull only if the model requires diverter action.
Confirm stable pressure and temperature before stepping in.
Return lever to off when finished to stop flow and conserve water.
Step-by-step: Turning on a dual-handle shower
For a dual-handle shower, start by identifying the hot and cold controls—usually marked or positioned with hot on the left and cold on the right.
Then open each handle slowly to establish flow and balance temperature. Adjust the cold handle if water is too warm or the hot handle if too cool.
Stop when desired temperature and pressure are steady, then step into the shower.
Step-by-step: Turning on a thermostatic or digital valve
Activate the control panel or dial on a thermostatic or digital shower valve to initiate water flow and set the temperature precisely.
Confirm power or battery status for digital units.
Select desired temperature or use presets, then press start or turn the dial to allow water through.
Monitor temperature briefly; adjust fine settings as needed.
Close or stop using the same control when finished.
Immediate troubleshooting if no water flows
If no water flows, first verify the main supply and any local shut-off valves to rule out a simple cutoff.
Next, inspect the shower valve and diverter for visible blockages or stuck components, and check the water heater if only cold or hot water is absent.
If needed, suggest quick temporary fixes—reopening valves, clearing debris, or diverting hot water—to restore flow until permanent repairs can be made.
Check the main water supply and local shut-off valves
Begin by confirming whether water reaches the home at all: check the main shut-off valve near the water meter and any localized shut-off valves for the bathroom or shower.
Verify valves are fully open and inspect for visible leaks or corrosion.
If valves are closed, open slowly.
If they’re damaged or stuck, contact the utility provider or a licensed plumber before attempting forceful repairs.
Inspect the shower valve and diverter for blockages
Check the shower valve and diverter for blockages by removing the handle and trim to expose the cartridge or stem.
Then visually inspect for mineral deposits, debris, or damaged seals that could prevent water flow.
Operate the valve stem and diverter mechanism manually to detect stiffness or obstruction.
Flush any visible buildup with a vinegar solution or by briefly turning the water on (with a bucket below) to clear trapped debris.
Inspect seals, replace worn O-rings, and reassemble, testing operation.
How to test for hot-water issues (water heater checks)
Confirm whether the lack of hot water stems from the shower or the home’s water-heating system by quickly testing other hot fixtures (kitchen sink, bathroom tub) and noting whether they produce hot water, sputter, or nothing at all;
if no fixtures deliver hot water, proceed to inspect the water heater for power/gas supply, pilot/burner status, thermostat settings, and signs of leaks or recent maintenance shutdowns before attempting further repairs.
Check breaker, gas valve, and indicator lights.
Temporary fixes to get water flowing now
When water fails to flow from the shower, attempt simple, temporary remedies that restore service without major tools or repairs:
- check the main shutoff and local valves,
- open other faucets to purge air,
- remove and clean the showerhead or spray plate,
- inspect and reset pressure-balancing cartridges, and
- try a bucket-fed trickle from a nearby tap.
If flow returns, schedule a permanent fix.
How to turn on detachable shower heads and handhelds
Detachable and handheld shower heads often include pause buttons, flow restrictors, or are controlled by diverter levers. Understanding those controls is vital to restore proper flow.
If water is weak or stops, inspect and operate the pause/flow controls and check the diverter position.
Reattaching the handheld correctly and aligning its nozzle in the holder guarantees a secure seal and proper spray direction.
Using pause buttons, flow restrictors, and diverter levers
To operate detachable shower heads and handhelds, users should locate and understand the pause button, flow restrictor, and diverter lever—each controls water delivery differently:
The pause button temporarily reduces or stops flow at the head for rinsing or lathering.
The flow restrictor limits maximum gallons per minute to conserve water.
The diverter lever redirects water between fixed heads, handhelds, or tub spouts.
Reattaching and aligning a handheld shower head correctly
Reconnect the handheld by aligning its spray head with the wall bracket or hose fitting, then secure the connection by turning the collar or clicking it into place.
Check for a rubber washer in the hose and replace if worn.
Verify the head points straight and rests firmly in the cradle.
Test for leaks, tighten slightly if needed, and confirm smooth swivel and water flow.
Preventive checks to avoid no-flow situations
Regular preventive checks can reduce the risk of a no-flow shower by keeping valves and aerators cleaned on a schedule and monitoring for mineral buildup.
Inspectors should watch for signs of pipe corrosion, persistent low pressure, or visible scale that indicate deeper issues.
When cartridges, seals, or diverters show wear or fail to restore proper flow, timely replacement is recommended.
Routine valve and aerator cleaning schedule
Establishing a routine cleaning schedule for shower valves and aerators prevents mineral buildup and reduces the risk of sudden no-flow situations.
Inspections every 3–6 months, quick aerator rinses, and occasional valve lubrication keep components functioning. Record dates and actions to track wear.
Replace parts when performance declines to avoid emergency repairs.
- Inspect valves and aerators
- Rinse and soak aerators
- Lubricate and document
Signs of pipe corrosion, mineral buildup, or low water pressure
Following routine valve and aerator maintenance, homeowners should watch for clear signs that pipes or fixtures are degrading: visible rust or flaky deposits on exposed plumbing, persistent low flow at multiple outlets, and discolored or metallic-tasting water.
Additional indicators include sputtering flow, staining around fittings, and mineral crusts on showerheads.
Document occurrences, test pressure at main and branch lines, and consult a plumber if issues persist.
When to replace shower cartridges, seals, or diverters
Maintenance of internal valve components prevents sudden loss of flow and prolongs fixture life.
Regular inspection finds worn cartridges, cracked seals, or sticky diverters before failure. Replace cartridges when temperature control or flow falters, seals if leaks or drips occur, and diverters when water misroutes or resists movement.
Follow manufacturer guidelines, use compatible parts, and schedule checks annually in hard-water areas.
Tools and parts commonly needed for repairs
A compact toolkit streamlines most quick shower repairs and typically includes an adjustable wrench, screwdriver set, pliers, hex keys, and plumber’s tape.
Common replacement parts to keep on hand are faucet cartridges (matching the fixture type), rubber washers and O-rings, and a diverter or replacement valve for tub/shower systems.
Having these tools and parts available reduces downtime and simplifies straightforward fixes.
Basic tool kit for quick shower fixes
Gathering a compact set of tools and common replacement parts prepares one to handle most quick shower repairs without a service call.
A minimal kit speeds diagnosis and fixes: basic tools, sealing supplies, and simple spare parts. Pack tools for tightening, cutting, and measuring, plus cleaners and lubricants for smooth operation.
- Adjustable wrench, pliers, screwdriver set
- Teflon tape, silicone grease
- Utility knife, tape measure, cloth
Replacement parts to keep on hand (cartridge types, washers, diverters)
After assembling a compact tool kit, homeowners should stock a few common replacement parts so small repairs can be completed in a single visit.
Essential items match common faucet types and prevent service calls. Keep correct cartridges, rubber washers, and diverter components on hand to restore flow and stop leaks promptly.
- Ceramic and ball cartridges
- Assorted rubber and neoprene washers
- Tub/shower diverter assemblies
Safety and best practices while working on the shower
Before beginning any work, the water supply should be shut off and residual pressure relieved by opening a faucet.
If the repair involves complex valve work, hidden leaks, or uncertain pipe conditions, a licensed plumber should be contacted.
Following these precautions reduces the risk of water damage and personal injury.
Turning off water and relieving pressure before repairs
Shut off the shower’s water supply and relieve remaining pressure to prevent accidental sprays and reduce the risk of injury or component damage.
Close the local shutoff or main valve, open the shower handle to drain residual water, and operate a nearby faucet to clear lines.
Wear eye protection, use towels to catch drips, and confirm no flow before disassembling fixtures.
When to call a professional plumber
Recognize when a repair exceeds basic DIY skills and call a professional plumber to avoid damage, injury, or code violations.
A plumber should handle persistent leaks, corroded or fractured pipes, gas-related issues, complex valve replacements, low water pressure from municipal lines, hidden mold or water damage, and when permits or code compliance are required.
Prioritize safety, proper diagnosis, and long-term reliability.
Quick comparison of shower control systems and ease of use
A concise comparison of control types helps readers choose the simplest and safest option for their needs. Manual valves offer direct tactile control, thermostatic mixing valves maintain stable temperature, and digital controls provide precision and presets. The following table summarizes key trade-offs.
| Feature | Notes |
|---|---|
| Manual valves | Simple, low cost, requires manual adjustment |
| Thermostatic mixing | Consistent temperature, safer for scald prevention |
| Digital controls | Precise settings, programmable, higher cost |
| Ease of use | Varies by user preference and familiarity |
Manual valves vs. thermostatic mixing valves vs. digital controls
Compare three common shower control systems—manual valves, thermostatic mixing valves, and digital controls—by how they regulate temperature, flow, and user interaction.
Manual valves require tactile adjustment of hot and cold, offering simplicity but less precision.
Thermostatic mixing valves maintain set temperature automatically, improving safety.
Digital controls provide precise presets, remote activation, and flow management, but cost and complexity are higher.
Common mistakes that prevent water flow and how to avoid them
Many flow problems trace to simple user errors and deferred upkeep. Over-tightening or misaligning valves can strip seals or block passages, while mineral buildup from hard water gradually chokes jets and valves.
Regularly checking valve alignment, using appropriate torque, and scheduling descaling or filter maintenance prevents most stoppages.
Over-tightening or misaligning valves
Over-tightening or misaligning valves often stops water flow before other issues are considered: tightened packing nuts, cross-threaded connections, or valves closed too far can restrict or block passages and stress fittings.
Inspect alignment and hand-tighten first, then use the correct wrench size with gentle turns.
Re-seat or realign valve stems and connections; avoid forcing fittings to prevent leaks or broken seals.
Ignoring mineral buildup and neglecting maintenance
Neglecting routine maintenance lets mineral deposits accumulate in showerheads, cartridges, and supply lines, gradually narrowing passages and reducing water flow.
Regular descaling and inspections prevent clogging, maintain pressure, and extend fixture life.
- Soak removable heads in vinegar monthly to dissolve buildup.
- Replace worn cartridges or aerators when flow falters.
- Flush supply lines and check filters to catch sediment early.
Conclusion
A homeowner recalls turning a stubborn knob like a stuck key, finally coaxing water like a long-awaited applause—this small win sums up the guide. With one clear sequence, basic tools, and a quick check for valves, blockages, or cartridge issues, most showers resume in minutes. Regular inspection and simple preventive steps cut emergency calls by nearly half, so routine care keeps water flowing and saves time, stress, and service fees.
