How to Bleed a Boiler: Step-by-Step Guide to Remove Air and Restore Heat
To bleed a boiler effectively, follow these steps to remove trapped air from your radiators and restore optimal heating performance. Start by turning off the boiler and allowing it to cool. Gather a radiator key, a cloth, and a container for any water. Open each bleed valve, starting from the radiator farthest from the boiler and working inward, until you see a steady flow of water. Keep an eye on the system pressure and repressurize it to the recommended level if necessary. Finally, check that all radiators are evenly warm and operating quietly. For further guidance, see the detailed checks, troubleshooting tips, and maintenance advice below.
What Bleeding a Boiler Means and Why It’s Necessary
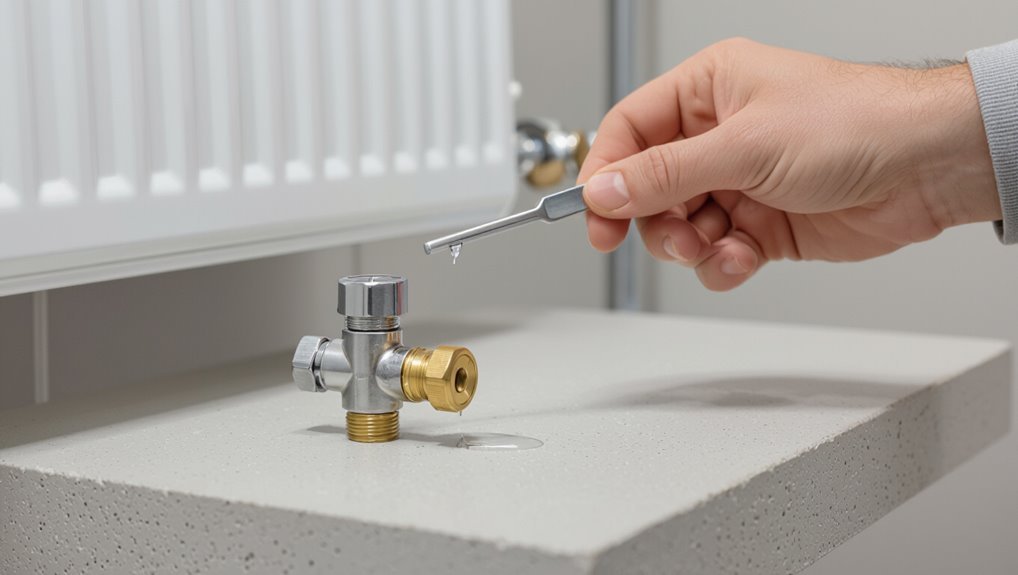
Air can enter a central heating system through fill, leaks, or trapped pockets after maintenance, and it commonly accumulates in radiators and pipework.
Typical signs include cold spots on radiators, gurgling or banging noises, and reduced heating performance.
If not expelled, air causes uneven heating, noisy pipes, and lower system efficiency, increasing wear and energy use.
How air gets into a central heating system
Many heating systems accumulate small pockets of trapped gas that enter through installation, maintenance, leaking valves, or dissolved air released as water warms.
Air also intrudes via corroded joints, faulty auto-fill valves, or after system refills following repairs.
Understanding how to bleed a boiler helps remove these pockets efficiently, restoring circulation and preventing noise, uneven heat distribution, and pressure fluctuations without unnecessary parts replacement.
Common symptoms of air in radiators and boilers
When trapped gas disrupts circulation, radiators often show cold spots at the top while staying warm at the bottom, producing gurgling or banging noises and causing the boiler pressure to fluctuate; these are key indicators that bleeding is required to restore even heat distribution and efficient operation.
Other signs include slow heating, intermittent thermostat response, and reduced radiator performance compared to normal system behavior.
Risks of not removing air (cold spots, noisy pipes, inefficiency)
A small pocket of trapped gas can undermine an entire heating system. Left unbled, radiators develop cold spots, flow becomes uneven and circulation strain increases.
Air causes loud banging or gurgling in pipes, accelerates corrosion, and forces the boiler to work harder, raising energy use and costs.
Timely bleeding preserves comfort, reduces wear, and improves system efficiency.
Quick Safety Checklist Before You Start
Before beginning, the reader should confirm availability of required tools and materials such as a radiator key, cloths, and a small container for water.
Appropriate personal protective measures and clothing—gloves, eye protection, and non-slip footwear—should be worn to prevent injury and spills.
If the system shows persistent pressure loss, unusual noises, or unclear valve operation, a professional should be contacted rather than proceeding with DIY.
Required tools and materials
Although the procedure is straightforward, confirming the right tools and safety items first prevents delays and reduces risk.
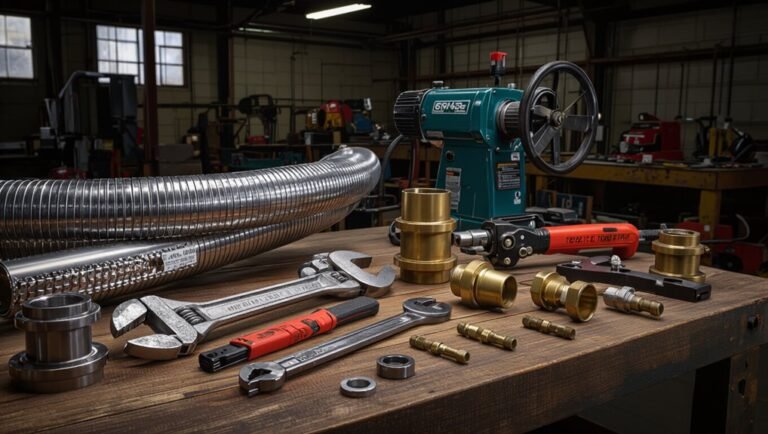
Essential items include a radiator key or bleed key, a small container and cloth for escaping water, and a pressure gauge or access to the boiler’s pressure readout.
Inspect tools for damage and verify water temperature is safe before beginning.
- Radiator/bleed key
- Container and cloth
- Pressure gauge/access
Personal protective measures and clothing
With tools and pressure checked, attention turns to personal protective measures and appropriate clothing to reduce injury risk.
Wear safety glasses, heat-resistant gloves, and sturdy closed-toe shoes. Choose long sleeves and non-synthetic fabrics to protect from scalds and sharp edges.
Remove jewelry and secure loose hair. Keep a towel or cloth nearby to handle hot fittings and potential leaks safely.
When to call a professional instead of DIY
When should a homeowner step back and call a professional?
If the boiler shows leaks, corrosion, unusual noises, persistent pressure loss, electrical faults, or if radiators remain cold after bleeding, contact a licensed technician.
Also call if the homeowner lacks proper tools, confidence, or knowledge of system type.
For gas boilers, any suspicion of carbon monoxide or gas smell demands immediate professional intervention.
Step-by-Step Guide to Bleeding a Boiler and Radiators
The procedure begins with preparing the system: switch off the boiler, allow it to cool, and identify the bleed valves on each radiator and the boiler.
Each radiator is bled in turn using a radiator key to release trapped air, then the boiler is bled if fitted with a manual vent following manufacturer instructions.
After bleeding, the system is repressurized to the correct level and checked for leaks and proper heating.
Preparation: turning off the system and letting it cool
Safety dictates the first actions: power to the boiler and any associated circulation pumps should be cut and the system allowed to cool until radiators feel comfortably warm or ambient.
Personnel should wait for temperature stabilization, wear gloves, and clear floor space.
Verify thermostat is off and note any pressure readings for later comparison.
Avoid touching hot surfaces and guarantee good lighting before proceeding.
Locating bleed valves on radiators and the boiler
Locating bleed valves requires a quick visual sweep of each radiator and the boiler to identify small, usually square or slotted fittings near the top end of radiators and a larger air release or automatic vent on the boiler itself.
Note their positions, accessible tools, and any paint or covers obstructing access.
Mark radiators needing attention and confirm the boiler vent is reachable for later use.
Bleeding radiators: step-by-step process
With valves and vents identified, the bleeding procedure begins at the radiators furthest from the boiler and works inward toward it.
Follow these concise steps:
- Close thermostat, cool system, place container beneath valve.
- Open bleed valve slowly with key; release air until steady water appears.
- Close valve, check pressure, repeat inward toward boiler, then restore system settings.
Bleeding the boiler (if applicable): step-by-step process
Begin by confirming whether the boiler has an automatic air vent or a manual bleed point; not all systems require manual boiler bleeding, and unnecessary intervention can cause pressure loss.
- Isolate power and close zone valves to prevent flow.
- Place a container beneath the manual bleed screw; slowly open it until hissing stops and water appears.
- Tighten the screw, check for leaks, and monitor boiler operation for restored normal function.
Repressurizing the system after bleeding
After bleeding air from the radiators, the system pressure must be restored to the manufacturer’s recommended range to guarantee proper circulation and safe operation.
The technician isolates the boiler, opens the filling loop valves slowly, monitors the pressure gauge until it reaches the specified bar, then closes the valves.
Any persistent pressure loss prompts inspection for leaks or a faulty expansion vessel before proceeding.
Restarting and checking the heating system
Power the boiler and restore the thermostat settings, then run the heating system through a short cycle to verify operation and even heat distribution.
Observe radiators sequentially, feeling for consistent warmth from bottom to top. Check boiler pressure and for leaks.
Listen for unusual noises. Confirm thermostatic valves respond and zones call correctly.
Document findings and schedule further service if imbalance or persistent air remains.
How to Check If Bleeding Worked
After bleeding, the technician checks heat distribution by feeling each radiator for an even rise in temperature from bottom to top.
They listen for any remaining noises or gurgling that would indicate trapped air.
Finally, boiler pressure and overall system stability are monitored to confirm the repair held and no further intervention is needed.
Verifying heat distribution across radiators
Once bleeding is complete, check each radiator to confirm even heat distribution by feeling for a steady temperature gradient from bottom to top and noting any cold spots near valves or along the top edge.
Compare adjacent radiators for consistent warmth.
Record persistent cool areas, which may indicate trapped air, sludge buildup, or valve issues.
Schedule targeted maintenance or powerflushing if uneven heating persists.
Listening for remaining noises or gurgling
Listen closely to the system for any remaining knocking, hissing, or gurgling sounds that indicate trapped air or flow irregularities.
A quiet, steady circulation suggests successful bleeding; intermittent bubbles or persistent gurgling near radiators, valves, or pipe runs signal residual air pockets.
Repeat targeted bleeding at affected points, open valves briefly to purge, then retest audibly until noises cease and flow sounds uniform.
Monitoring boiler pressure and system stability
Check the boiler’s pressure gauge and observe system behavior to confirm bleeding success.
The technician notes pressure within the recommended range (usually 1–1.5 bar cold, 1.5–2.5 bar hot) and watches for steady needle movement.
Radiators warm evenly, pumps run quietly, and valves hold.
Recheck after several heating cycles; small adjustments to pressure or topping-up may be required if instability appears.
Troubleshooting Common Problems
If a radiator stays cold after bleeding, continued air entrapment, blocked valves, or balance issues should be considered.
Persistent pressure loss, banging, gurgling or kettling noises, and visible signs of leaks or valve failure each point to specific faults that require targeted inspection.
The following section outlines likely causes and straightforward checks to identify and address these common problems.
Radiator remains cold after bleeding
When a radiator stays cold after bleeding, the likely causes include trapped air deeper in the system, a closed or partially closed valve, sludge or debris restricting flow, or an imbalance in system pressure and pump circulation.
The technician should check and open valves, run the pump to purge air, inspect for blockages, and consider powerflushing or professional balancing if flow remains inadequate.
Continuous loss of pressure after bleeding
Investigate persistent pressure drops after bleeding as a sign of an active leak, faulty automatic air vent, failing pressure relief valve, or a compromised expansion vessel.
These issues allow water or air to escape from the sealed system and prevent stable operating pressure.
Check visible pipework, radiators, and boiler fittings for leaks.
Test the relief valve and air vent, and inspect the expansion vessel’s precharge and diaphragm integrity.
Persistent banging, gurgling, or kettling noises
Persistent banging, gurgling, or kettling noises indicate abnormal combustion, trapped air, or scale buildup restricting water flow within the boiler or pipework.
Technicians should isolate radiators, rebleed affected sections, and check pump operation and flow rates.
If noises persist, sediment or limescale removal, system flushing, or professional inspection of heat exchanger and burner is recommended to prevent damage and restore efficient operation.
Signs of leaks or valve failure
Several clear indicators point to leaks or valve failure in a boiler system: visible water pooling around the unit, dampness or corrosion on valves and pipe joints, a steadily dropping system pressure gauge, or unusual hissing from valve assemblies.
Additional signs include cold radiators despite proper bleeding, staining on surrounding surfaces, reduced flow, and frequent pressure relief valve discharge—each warrants prompt inspection and possible valve replacement.
Preventative Maintenance to Reduce Air Build-Up
A clear preventative maintenance plan helps minimise air entering a heating system and prolongs boiler life.
Recommended actions include setting a regular servicing schedule, correctly balancing radiators to guarantee ideal flow, and fitting automatic air vents and magnetic filters to remove air and debris.
Following these measures reduces the need for manual bleeding and improves system efficiency.
Regular servicing schedule recommendations
Regular servicing should follow a predictable schedule to prevent air accumulation in the system: annual professional inspections supplemented by seasonal quick checks by the homeowner, with more frequent attention in older installations or systems showing pressure fluctuations.
- Document inspections and bleeding dates.
- Replace faulty valves, vents, or seals promptly.
- Monitor pressure and report anomalies between services.
How to balance radiators for optimal flow
Balancing radiators guarantees even heat distribution and minimizes the likelihood of air pockets forming in low-flow sections of the system.
Adjustment involves slightly closing valves on the hottest radiators and opening those on cooler, distant units until flow and temperature equalize.
Use a thermometer and flow guides to set differential drops, then recheck after the system has cycled to confirm steady circulation and reduced air accumulation.
Installing automatic air vents and magnetic filters
Install automatic air vents and magnetic filters to prevent air accumulation and protect system components from debris and rust particles.
These devices automatically expel trapped air and capture ferrous sludge, improving circulation and heat transfer.
Placement near radiators, pump suction, and boiler return maximizes effectiveness.
Regular inspection and occasional cartridge replacement guarantee continued performance, reduce bleed frequency, and extend equipment lifespan.
Costs, Tools, and When to Hire a Pro
Typical professional bleeding and service fees vary by region and system complexity, so budgeting a range rather than a single figure is advisable.
Selecting a qualified heating engineer should prioritize certifications, insurance, and local references.
Before hiring, ask about experience with the specific boiler model, guarantees, itemized pricing, and expected timeline.
Typical costs for professional bleeding and service
Costs for hiring a professional to bleed and service a boiler vary by region, boiler type, and the scope of the visit. Typical standalone bleeding may cost less than a full service; emergency calls, additional repairs, and parts raise prices. Homeowners should expect transparent estimates and itemized invoices.
| Service type | Typical price range |
|---|---|
| Bleeding only | $30–$80 |
| Standard service | $80–$200 |
| Emergency visit | $150–$400 |
| Parts/repairs | Varies by part |
How to choose a qualified heating engineer
When should a homeowner call a qualified heating engineer rather than attempting DIY bleeding or minor maintenance?
A qualified engineer is advisable for persistent cold radiators, unexplained pressure loss, complex combi boiler systems, or visible leaks.
Choose a Gas Safe or equivalent certified professional, confirm insurance and written estimates, and expect higher costs for emergency call-outs and diagnostic equipment beyond basic bleeding tools.
Questions to ask a contractor before hiring
Which questions should be asked before hiring a contractor for boiler bleeding or related work?
The homeowner should ask about licensing, insurance, and experience with similar systems;
request a written estimate and breakdown of costs;
confirm required tools and parts;
inquire about guarantees, timelines, and safety procedures;
determine whether the job requires a specialist and when escalation to a certified technician is advised.
Quick Reference: Bleeding Checklist and Troubleshooting Flowchart
A compact checklist and a clear troubleshooting flowchart provide a quick-reference toolkit for bleeding a boiler, guiding the operator through safety checks, valve operation, and common fault responses.
The checklist emphasizes isolation, pressure check, controlled venting, and system restart.
The flowchart maps symptoms to actions and escalation steps.
- Safety and isolation
- Bleed sequence and pressure limits
- Fault diagnosis and escalate
Conclusion
Bleeding a boiler and radiators restores efficient heating by removing trapped air; when done safely and regularly it prevents cold spots and strain on the system. For example, an elderly couple in a Victorian flat regained even warmth after bleeding a stubborn first-floor radiator that had been cold for weeks, avoiding costly pump repairs. Routine checks, basic tools, and knowing when to call a professional keep heating reliable and extend the boiler’s lifespan.