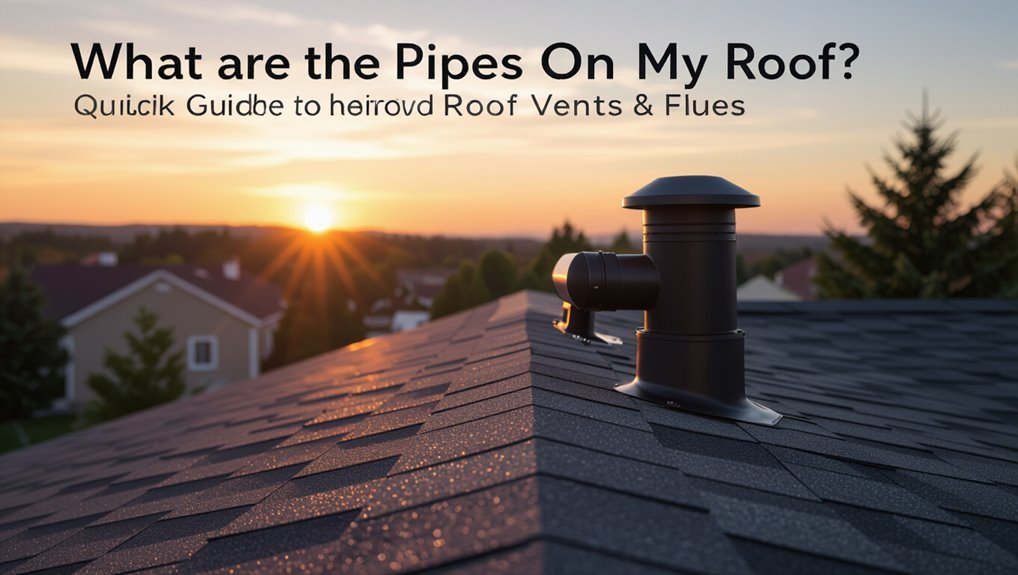
What Are the Pipes on My Roof? Quick Guide to Roof Vents & Flues
Roof pipes and vents are essential components of your roofing system, serving various functions such as plumbing ventilation, exhaust for appliances, and attic ventilation. Typically, thin PVC or metal stacks near bathrooms indicate plumbing vents, while larger insulated metal chimneys with caps are used for exhaust from combustion appliances. Additionally, short capped pipes with mesh are designed to ventilate attics. It’s important to watch for signs of damage or malfunction, such as cracked flashing, missing caps, strong odors, or heavy soot, which may indicate urgent issues. While basic repairs like collar or seal fixes can often be handled DIY, more complex problems should be addressed by professionals. This guide will help you identify the types of pipes on your roof, recognize potential hazards, and understand necessary fixes.
Quick ID: Tell Which Roof Pipe or Vent You’re Seeing
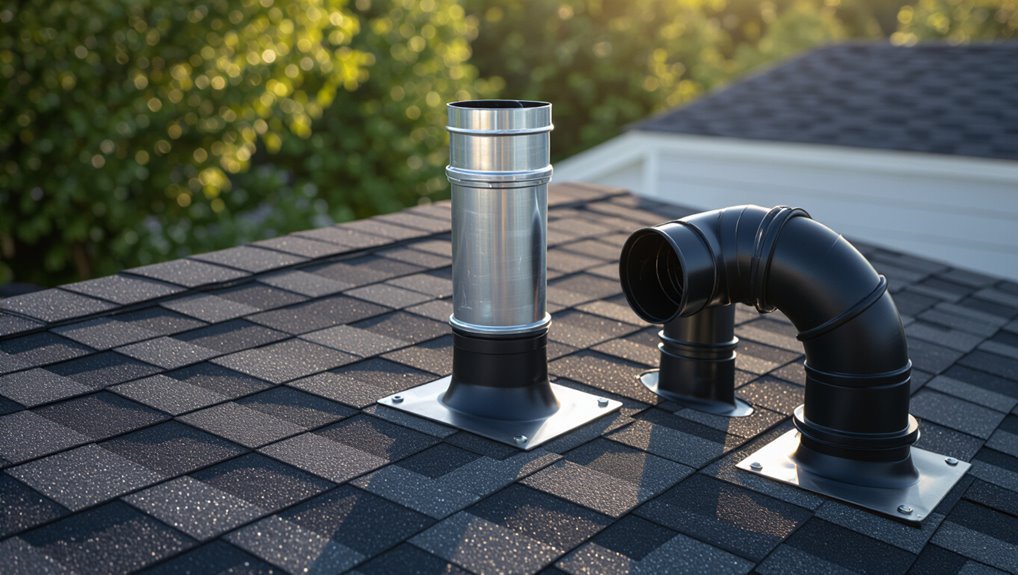
Which roof pipe is that peeking above the shingles? Observation begins with shape, size, and location. A thin metal or PVC pipe near a bathroom cluster often signals a plumbing vent. Short, capped pipes with mesh suggest attic or crawlspace vents. Larger, insulated chimneys and flues, sometimes with rain caps, typically serve heating appliances. Flat, low-profile vents are exhausts for bathrooms or kitchens; turbine or louvered vents aid attic ventilation. Note material, proximity to appliances, and presence of flashing. Photographs and measurements help confirm identity; when uncertain, consult a contractor before altering or sealing any penetration.
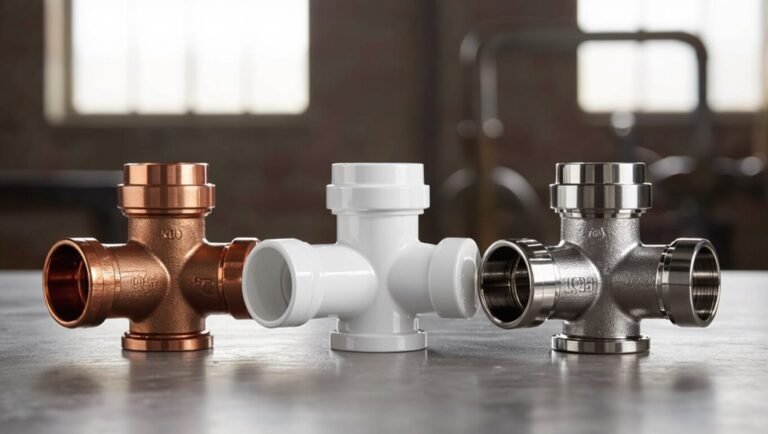
Types and How They Work: Plumbing Vents vs. Appliance Flues
How do plumbing vents and appliance flues differ in purpose and construction? Plumbing vents equalize drain pressure and expel sewer gases via thin PVC or cast‑iron stacks; appliance flues channel combustion fumes from furnaces, water heaters, or boilers using metal chimneys with caps. Vents are passive, relying on stack effect; flues require proper draft and often insulation or double‑wall construction. Appearance, diameter, and termination differ.
| Feature | Plumbing Vent | Appliance Flue |
|---|---|---|
| Material | PVC/cast‑iron | Stainless/galvanized |
| Purpose | Air balance | Combustion exhaust |
| Cap/Terminus | Simple | Draft cap or chimney |
Is It Dangerous? Emergency Signs and Quick On-Roof Checks
Any visible signs of damage or unusual odors on the roof should be treated as potential emergencies because vents and flues can quickly create hazardous conditions.
A brief visual check from a safe distance identifies cracked flashing, missing caps, heavy soot, or visible gaps.
If gas smells, dense soot, or water pooling near vents appear, occupants should evacuate and contact professionals immediately.
On-roof quick checks focus on obvious structural breaches, loose pipe collars, and blocked terminations; avoid disturbing suspected gas or electrical issues.
Document findings with photos and notes for responders.
- Cracked flashing or missing caps
- Strong gas or exhaust odors
- Water pooling near vents
DIY Fixes and When a Simple Repair Will Do
A handful of vent and flue issues can be safely handled by a competent homeowner with basic tools and materials: replacing a torn pipe collar, resealing cracked flashing with approved roof sealant, clearing a blocked termination cap, or tightening loose chimney bands.
Small shingle damage around vents can be patched; vent pipe boots are replaceable without roof-wide work.
Inspections should confirm no structural rot or active leaks. Use manufacturer parts and follow safety practices: stable ladder, fall protection, and dry conditions.
Document repairs and monitor performance. If symptoms persist or access is unsafe, cease DIY efforts and seek an experienced technician.
Professional Repair, Replacement Options, and Typical Costs
Engage a licensed roofing or chimney professional when vent and flue problems exceed simple DIY fixes or when safety, code compliance, or warranty concerns arise. A professional inspects flashing, pipe collars, vent caps, and chimney liners, diagnosing corrosion, blockages, or structural issues.
Repair options include sealant replacement, flashing repair, cap or collar swap, or partial re-flashing; replacements cover new pipe sections, insulated liners, or full chimney reconstruction. Typical costs vary: minor repairs often run $150–$500, mid-range replacements $500–$2,000, major chimney or roof work $2,000–$7,000+. Obtain multiple estimates and verify licenses, insurance, and references.
- Inspect
- Repair
- Replace
Conclusion
To summarize, recognizing roof pipes—plumbing vents or appliance flues—helps homeowners prioritize safety and maintenance. One notable statistic: plumbing-vent problems contribute to roughly 20% of residential water-damage insurance claims, underscoring their outsized impact. Regular visual checks can catch worn rubber boots or cracked flashing early; simple DIY fixes often suffice, but persistent leaks, corrosion, or combustion-gas concerns warrant prompt professional repair or replacement to prevent costly damage and health risks.