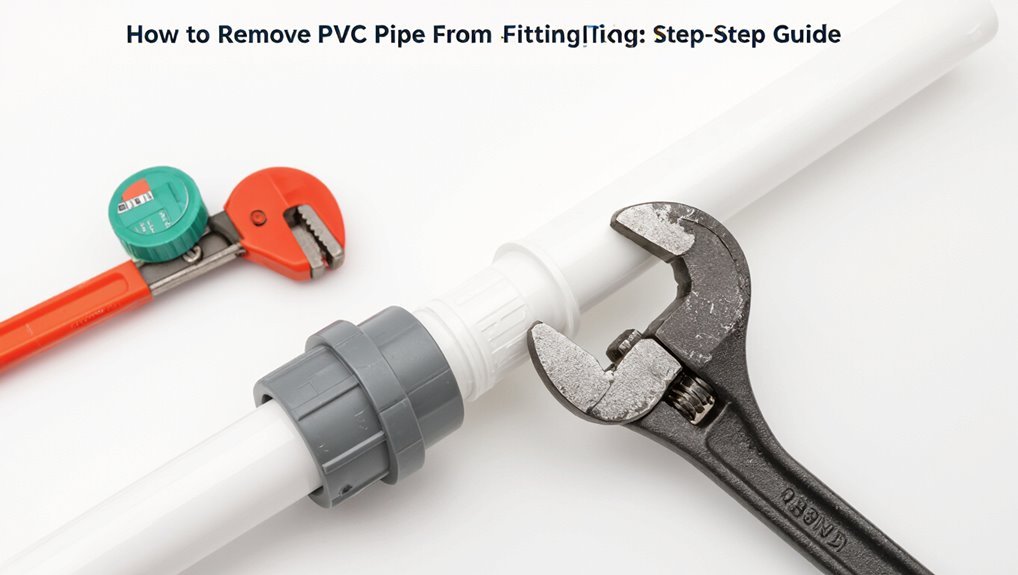
How to Remove PVC Pipe From a Fitting: Step-by-Step Guide
To remove a PVC pipe from a fitting, first score the solvent-weld joint with a utility knife or fine saw. Then, twist and pull the pipe free. For longer runs, cut the pipe into sections for easier extraction. If you encounter stubborn joints, apply a targeted solvent or carefully use a heat gun to soften the joint while protecting surrounding areas. Use a strap wrench or pliers to rotate the pipe. After removal, clear any debris and inspect the fittings for damage, replacing them if necessary. For more detailed methods, safety steps, and finishing tips, continue reading.
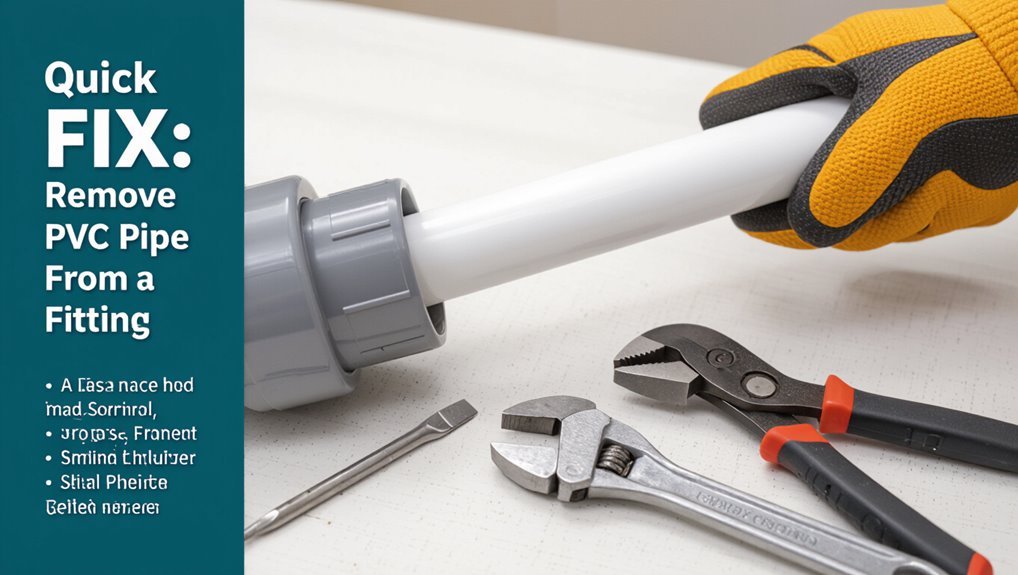
Quick Fix: Remove PVC Pipe From a Fitting
Cut the joint with a utility knife or saw if the pipe is bonded into the fitting and cannot be pulled free by hand. The technician scores around the circumference to break the solvent-weld bond, then twists and pulls the pipe from the fitting. If the fitting remains, heat may soften adhesive but is addressed elsewhere.
For split or long runs, section the pipe into manageable lengths and extract progressively. Debris inside the fitting is cleared with a pick or brush to guarantee a clean mating surface for replacement. Evaluate the fitting for cracks or deformation; replace if compromised to secure a reliable connection.
Tools & Safety: Cutters, Heat, Gloves, Eye Protection
When working with PVC fittings, the technician selects appropriate cutters, heat sources, and personal protective equipment to minimize injury and protect the workpiece.
Straight cuts use a PVC cutter or fine-tooth saw; ratcheting cutters reduce effort on smaller diameters.
Heat guns (not open flames) soften fittings for removal; use controlled, even heating to avoid melting or toxic fumes.
Safety gloves resistant to heat and cuts protect hands; eye protection shields against flying debris and hot plastic.
A respirator is advisable if fumes are present.
Tools should be inspected for damage and used per manufacturer instructions to guarantee safe operation.
Soften Glued/Solvent‑Welded PVC: Chemicals and Techniques
Using targeted solvents and controlled heat, technicians can weaken the solvent-weld bond between PVC pipe and fittings to allow disassembly without excessive force. A cautious approach uses chemical swabs that soften softened cement at the joint; ventilation and gloves are essential. Apply solvent briefly, let dwell, then attempt rotation. Milder solvents reduce darkening or crazing. Avoid aggressive chemicals that can embrittle pipe. Observe the fitting for movement; repeat applications sparingly. If solvent alone fails, a brief, localized warming can complement chemicals but should be limited to prevent distortion. Record chemical used and dispose of residues per local regulations.
- Swab solvent application
- Dwell time observation
- Gentle rotation
- Reapply sparingly
Free Stubborn Pipe: Mechanical Tricks and Safe Heat Methods
Often, stubborn PVC can be freed with a combination of mechanical leverage and carefully applied, localized heat that softens the joint without deforming the pipe.
Use strap or chain wrenches to grip pipe evenly, applying steady rotational force while supporting the fitting to prevent cracking. Threaded taps, pipe extractors, or a block-and-wedge setup can provide controlled prying.
Apply a heat gun at low setting, moving continuously and testing flexibility; avoid torch flames. Cooling with ice or water concentrates stress away from softened areas.
Work incrementally: alternate heat, mechanical force, and pauses to prevent splitting or over‑softening.
Protect, Repair, or Replace Fittings and Finish Up
After removing the pipe, attention turns to protecting, repairing, or replacing the fitting to restore a reliable seal and prevent future failures.
Inspect the fitting for cracks, gouges, or softened areas; small scratches can be smoothed and solvent-welded, while larger damage mandates replacement.
Clean and dry surfaces; apply primer and appropriate cement for solvent joints, or thread sealant for threaded connections.
Confirm alignment and proper cure time before pressurizing.
Protect exposed joints with insulation or tape where needed.
Visualize steps:
- Inspect damage closely.
- Clean and prime surfaces.
- Apply cement or sealant correctly.
- Allow full cure, then test.
Conclusion
In brief, the methodical approach restores control: assess the joint, gather proper cutters, gloves and eye protection, then choose chemical softening, careful heat, or mechanical extraction based on the bond. Work slowly to avoid damage, replacing or repairing fittings when necessary. If one technique fails, try another—various tools often separate pipe and fitting. With patience and safety first, a secure, functional connection is achieved and future leaks are prevented.