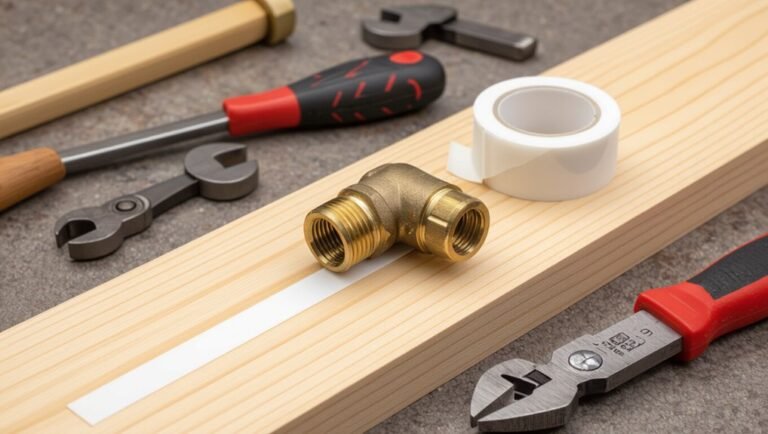
How to Take the Plug Out of a Bathroom Sink: Quick Fixes for Stuck and Pop-Up Drains
To remove a stuck bathroom sink plug, first identify the type of stopper you have. Gather basic tools such as pliers, a flathead screwdriver, gloves, and a towel. For lift-and-turn or push-pull stoppers, gently twist or pull while protecting the finish with a cloth. For pop-up stoppers, loosen the pivot rod and clip under the sink, then lift the stopper out. If you encounter mineral buildup, apply penetrating oil or a mild cleaner. If any parts are corroded, consider replacing them. Follow these steps for a quick and effective fix.
What to do when a bathroom sink plug is stuck quick overview
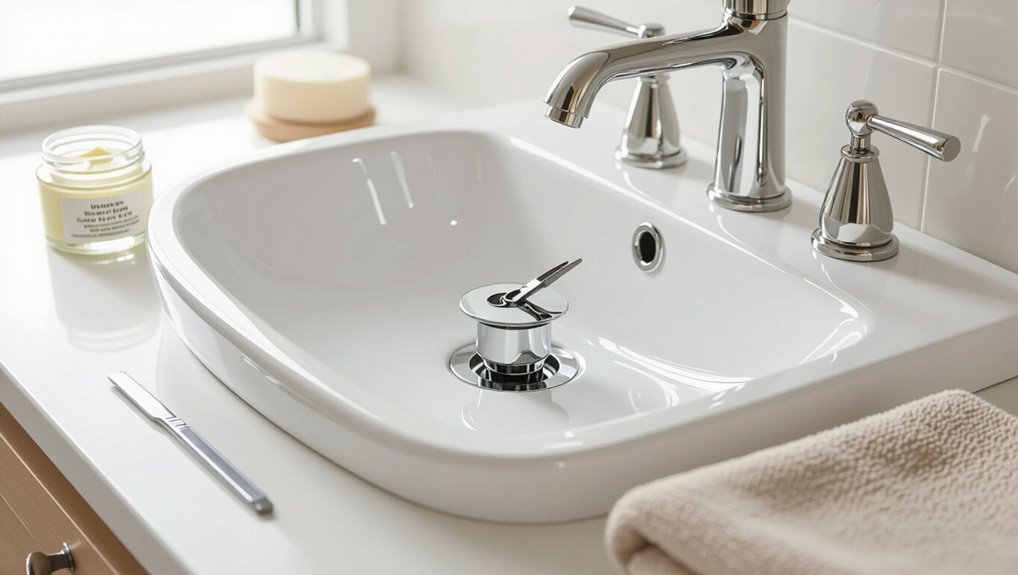
Before attempting removal, the area should be cleared, hands protected with gloves, and water supply turned off to avoid hazards.
A quick visual and manual check helps determine whether the problem is a stuck lift-and-turn or a pop-up assembly, or simply debris caught in the drain.
Identifying the drain type guides the appropriate tools and next steps for safe extraction.
Immediate safety and preparation steps
A few quick checks and simple precautions can prevent injury and limit damage when dealing with a stuck bathroom sink plug.
Before attempting how to take plug out of bathroom sink, turn off water supply, clear the area, and wear gloves and eye protection.
Place towels to catch spills, have a flashlight and basic tools ready, and avoid chemical drain cleaners.
Quick check: identify your drain type (stuck stopper vs pop-up)
How can the sink plug be freed if it won’t budge?
The reader should first distinguish between a simple lift-and-pull stopper, a threaded pop-up, or a lever-operated pop-up beneath the sink.
Inspect for visible pivot rod, retaining nut, or a screw on the stopper.
Knowing the type directs the next steps: pull, unscrew, or disconnect the pivot assembly to release the plug.
Tools and materials you’ll need
A concise list of items helps determine whether the stuck plug can be freed with things already on hand, such as rubber gloves, a plunger, and a jar of penetrating oil.
If those fail, basic plumbing tools like adjustable pliers, a basin wrench, and a screwdriver may be required to access or remove the stopper assembly.
If attempts with household items and basic tools are unsuccessful or if the plumbing looks corroded or complex, a professional plumber should be called.
Common household items to try first
Before reaching for specialized tools, gather a few common household items that can often free a stuck sink plug: rubber gloves, a flathead screwdriver, a pair of pliers, a cloth or rag, and a small container for catching debris or water.
These items enable safe, simple interventions before calling a plumber.
- Lubricant or oil
- Wire hanger
- Toothbrush
Basic plumbing tools for stubborn plugs
If the household items listed fail to budge a stuck sink plug, basic plumbing tools provide more leverage and control for safe removal.
Essential items include a basin wrench for tight nuts, needle-nose pliers for linkages, and a plumber’s snake for deeper obstructions.
Use gloves and eye protection. Work methodically to avoid damaging finishes or seals.
- Basin wrench
- Needle-nose pliers
- Plumber’s snake
When to call a professional
When a sink plug resists all reasonable DIY attempts or the problem involves corroded fittings, damaged pop-up mechanisms, or hidden blockages in the trap or drain line, professional help should be sought.
A licensed plumber brings diagnostic tools (inspection camera, adjustable basin wrenches, torque-safe ratchets) and replacement parts (sealed pop-up assemblies, new trap sections, gaskets) that are often unavailable to the average homeowner.
A plumber prevents further damage, safely replaces worn components, verifies water-tight seals, and addresses downstream issues that ordinary tools and parts cannot resolve.
How to remove a simple lift-and-turn or push-pull stopper
First, the sink is cleared and any visible debris is removed to expose the stopper mechanism.
Next, the stopper is tested with a gentle twist-and-lift or push-pull motion, using care to avoid scratching the finish or bending linkages.
If it resists, pliers or an adjustable wrench can be used carefully, followed by reassembly and a leak/function test.
Step 1: Clear the sink and remove visible debris
Clear the sink area and remove any soaps, bottles, or towels so the stopper and its surrounding parts are fully accessible.
Inspect the stopper and basin for hair, soap scum, or visible gunk.
Use disposable gloves and tweezers or needle-nose pliers to extract debris.
Wipe the area with a damp cloth and place a small container nearby for removed material before attempting mechanical removal.
Step 2: Twist and lift method with tips to avoid damage
Grip the stopper firmly and test whether it twists or pulls straight up, since lift-and-turn and push-pull designs respond differently.
Lift-and-turn models usually rotate 90 degrees to release, while push-pull stoppers disengage with a steady upward pull.
If resistance remains, apply steady controlled force while supporting surrounding porcelain.
Inspect the shaft for a visible screw or clip, and keep movements aligned to prevent bending.
Step 3: Using pliers or a wrench safely
When gentle pulling or twisting fails, using pliers or an adjustable wrench can provide the extra leverage needed to loosen a stuck lift-and-turn or push-pull stopper.
Protect the stopper and sink finish by wrapping the tool jaws with a cloth or tape.
Apply steady, controlled pressure aligned with the shaft, and avoid sudden jerks that could bend the rod or crack the porcelain.
Grip near the exposed nut, turn slowly, and release if resistance spikes.
Reassembly and testing
Reassemble the stopper components in the reverse order of disassembly, ensuring the pivot rod, retaining nut, and lift mechanism align correctly and thread smoothly without cross-threading.
Tighten hand‑snug, then test operation by moving the lift or push knob, observing smooth travel and proper seal.
Adjust pivot rod position or nut tension if leaking or sticking.
Run water to confirm drainage and no leaks.
How to remove a pop-up stopper (hidden pivot rod)
First, the pivot rod and its retaining clip under the sink are identified to prepare for removal.
Next, the clip is released, the pivot rod is disconnected, and the stopper is withdrawn for inspection.
After cleaning the stopper and seat, the pivot assembly is reinstalled and adjusted to restore proper operation.
Locate the pivot rod and release clip
Locate the pivot rod and release clip by crouching under the sink and tracing the pop-up linkage from the drain tailpiece toward the wall: the pivot rod is a horizontal metal shaft inserted into the tailpiece with a spring clip or C-shaped retainer holding it in place.
Note the clip orientation, any corrosion, and the connecting clevis or lift rod linkage above for proper reassembly.
Steps to disconnect and extract the stopper
Begin by preparing the area: place a towel or shallow pan beneath the tailpiece to catch water.
Then reach up through the sink opening and lift the stopper slightly while an assistant or one hand under the sink releases the spring clip on the pivot rod.
Pull the pivot rod back through the tailpiece, slide the stopper up and out, inspect linkage, and set parts aside for reassembly.
Cleaning the stopper and seat
With the stopper removed, inspect both the plug and the seat for mineral buildup, grime, and trapped debris that impede sealing and drainage.
Use a soft brush and vinegar or a mild descaler to loosen deposits.
Rinse thoroughly, clearing hair and gunk from the drain opening.
Replace damaged rubber seals or corks; make sure all surfaces are dry and free of residue before reassembly.
Reinstalling and adjusting the pivot assembly
Carefully guide the cleaned stopper back into the sink while positioning the pivot rod assembly beneath the tailpiece so the ball on the stopper engages the rod’s clevis.
Reinsert the pivot rod through the tailpiece, secure the retaining nut finger-tight, and test the lift rod action.
Adjust clevis position for smooth travel and correct height, then tighten the nut and check for leaks.
How to remove a completely stuck or corroded stopper
When a stopper is fused by mineral deposits or corrosion, begin by softening the buildup with a suitable cleaner and allowing time to soak.
If that fails, apply a penetrating oil, use careful scraping to break surface bonds, and consider removing the drain flange to access the assembly from below with pliers or a basin wrench.
Severely corroded parts should be handled cautiously and replaced as needed to restore function and prevent leaks.
Soften buildup with cleaning solutions and soak time
Soften mineral scale and grime that bind a stuck or corroded stopper by applying a targeted cleaning solution and allowing adequate soak time, which loosens deposits and reduces mechanical resistance.
Choose a mild acid or enzymatic cleaner appropriate for the sink material, apply around the stopper, cover to retain moisture, wait per product instructions, then flush and test free movement before attempting removal.
Use of penetrating oil and safe scraping techniques
Apply a penetrating oil to the exposed metal parts of a seized or corroded stopper, allowing it to work into threads and hard-to-reach crevices for the recommended dwell time before attempting any mechanical loosening.
Afterward, use a plastic or brass scraper to gently remove corrosion and mineral deposits, avoiding steel that scratches.
Wipe residues, reapply if needed, then test for movement.
When to remove the drain flange and use tools from below
If the stopper remains immobile after penetrating oil and surface scraping, proceed to remove the drain flange and work from below; this is appropriate whenever visible corrosion, stripped threads, or fused components prevent upward movement or when the linkage beneath the sink is unreachable or damaged.
Support the sink, disconnect the trap, unthread the locknut, extract the flange and use long pliers or a basin wrench to free the stuck stopper.
Handling corroded parts and replacing components
When a stopper is seized by corrosion or its components have deteriorated, the safest course is to remove and replace the affected parts rather than force a repair; this typically involves cutting away rusted linkages, unscrewing a corroded locknut with penetrating oil and the correct wrench, and extracting the flange from below the sink while supporting the basin to prevent stress on the countertop.
Then replace with matching parts, clean seals, test operation.
Techniques for unclogging while removing the plug
When removing a plug, the author outlines mechanical options such as a drain snake or a straightened wire hanger to reach and extract blockages.
Safe chemical and homemade cleaners are presented as alternatives for dissolving organic buildup before or after plug removal.
Guidance is given on when to combine plug removal with snaking or higher-pressure hydro methods for more persistent clogs.
Mechanical options: drain snake and wire hanger
Reach for a drain snake or a straightened wire hanger to tackle clogs directly as the plug is being removed.
The sink’s trap and tailpiece are inspected while debris is coaxed free. Gentle, controlled motions prevent pushing blockages deeper; retrieve hair, gunk, and small objects.
Disposable gloves and good lighting improve results.
- Probe debris
- Extract gradually
- Reinspect flow
Safe chemical and homemade drain cleaners
Consider using safe chemical and homemade drain cleaners to dissolve soft clogs while the plug is removed, but prioritize products and mixtures that minimize pipe damage and fumes.
- Use enzyme or bacterial cleaners per label, allowing long soak times.
- Flush gently with hot (not boiling) water to avoid PVC damage.
- Avoid mixing bleach and acids; ventilate and wear gloves and eye protection.
When to combine removal with snaking or hydro methods
Combine mechanical methods with plug removal when a visual or tactile inspection suggests a deeper obstruction that chemical cleaners alone cannot reach.
The technician removes the stopper, then uses a hand auger or compact hydro jet to target blockages in the tailpiece or trap.
This combined approach improves access, reduces chemical reliance, and prevents repeated clogs by clearing hair, mineral buildup, and small debris.
Preventing future stuck plugs
Preventing future stuck plugs begins with a simple routine cleaning schedule using mild, non-abrasive cleaners and a soft brush to remove hair and soap scum before buildup sets in.
Occasional lubrication of moving parts with a plumber-approved silicone grease and attention to corrosion-prone areas will keep mechanisms operating smoothly.
When problems persist, upgrading to readily serviceable or corrosion-resistant drain hardware can reduce maintenance and make future removal easier.
Routine cleaning schedule and recommended products
A simple weekly routine and a few targeted products considerably reduce the risk of a sink plug becoming stuck.
A brief schedule: flush with hot water, remove visible debris, and treat buildup.
Recommended products focus on mild enzymatic cleaners, non-corrosive drain gel, and a soft brush to clear the stopper and seat without damage.
- Enzymatic cleaner
- Non-corrosive drain gel
- Soft brush
Lubrication and anti-corrosion tips
Apply a thin film of lubricant to the stopper shaft and linkage points and treat exposed metal with a light corrosion inhibitor to keep mechanisms moving smoothly and resist rust.
Monthly inspections catch buildup early; wipe away residue before reapplying.
Use silicone-based grease for rubber parts and light oil for metal pivots. Avoid petroleum on seals.
Store spare fittings dry and inspect for corrosion periodically.
Upgrading to easier-to-maintain drain hardware
After lubricating and protecting existing linkages, homeowners can further reduce the chance of a stuck plug by choosing drain hardware designed for easy maintenance.
Replace corroded pop-up assemblies with modular units featuring accessible pivot rods, removable stoppers, and stainless or brass construction.
Select models with tool-free disassembly or clear instructions.
Routine inspection and quick part swaps prevent future jams and simplify repairs.
Common mistakes to avoid
Common mistakes can turn a simple plug removal into a costly repair. Excessive force may damage fittings. Harsh chemicals can ruin finishes or gaskets, and neglecting worn seals often leads to leaks.
The following points explain how to avoid these errors.
Forcing parts and causing damage
Force should never be the default when removing sink components; instead, patience and the correct tools prevent stripped threads, cracked fittings, and warped seals.
Applying excessive torque or prying with inappropriate implements often converts a minor repair into a costly replacement. Components should be loosened gradually, inspected for corrosion, and supported to avoid bending.
If resistance persists, reassess fasteners and seek suitable fittings or professional help.
Using harsh chemicals on the wrong materials
Avoid pouring strong chemical cleaners onto unfamiliar sink materials because they can pit metal, discolor finishes, and degrade plastics or rubber seals.
Using bleach, drain gels, or acid-based cleaners without verifying compatibility often damages trim, strip coatings, and embrittles gaskets.
Instead, test cleaners on inconspicuous areas, consult manufacturer guidance, or choose mild, material-safe alternatives to prevent irreversible cosmetic or functional harm.
Ignoring worn seals and allowing leaks
Neglecting worn seals around the drain and pop-up assembly often leads to slow, persistent leaks that worsen over time.
Small drips can damage cabinetry, promote mold, and complicate future repairs. Inspecting and replacing deteriorated gaskets, O-rings, and plumber’s putty during plug removal prevents water damage.
Prompt attention reduces costs and avoids having to dismantle more extensive plumbing later.
Estimated time, difficulty, and cost for each method
Estimating time, difficulty, and cost for each method helps a reader choose the most appropriate approach for removing a bathroom sink plug. Methods vary: simple pull or push takes minutes, moderate disassembly may take 20–40 minutes, and full trap removal requires basic tools and about an hour. Costs range from free to modest parts or replacement components.
| Method | Time | Cost |
|---|---|---|
| Manual pull | 5–10 min | Free |
| Pop-up disassembly | 20–40 min | Low |
| Trap removal | ~60 min | Low–Moderate |
Signs you should call a plumber immediately
If plunging, snaking, and basic cleaning fail to clear the blockage, professional help should be sought.
Visible leaks, damaged pipes, or significant corrosion require immediate attention to prevent water damage.
A plumber is also advised for complex assemblies or unfamiliar fixtures that could be harmed by DIY attempts.
Persistent blockage after multiple attempts
When a bathroom sink remains clogged after plunging, snaking, and chemical or enzymatic treatments, it signals a problem beyond routine DIY fixes and warrants professional assessment.
Persistent slow drainage, recurrent backups, foul odors despite cleaning, gurgling sounds from nearby drains, or sewage appearing in the sink are clear signs to call a plumber immediately.
Continued blockage may indicate deep sewer line issues, collapsed pipes, or trapped foreign objects requiring specialized tools and inspection.
Leaks, damaged pipes, or visible corrosion
Persistent blockages can be accompanied by, or mask, physical damage to the sink’s plumbing; visible leaks, cracks, or corroded fittings indicate a different class of hazard that requires prompt professional attention.
A plumber should be called when water stains, persistent dripping, rusty discoloration, brittle tubing, or warped joints appear.
DIY stops may worsen hidden structural failure or cause flooding; inspect, document, then phone a professional.
Complex assemblies or unfamiliar fixtures
Encountering a sink with unfamiliar mechanisms—such as pop-up drains with horizontal rods, remote-operated stoppers, multiple trap assemblies, or integrated overflow systems—signals the need for a professional assessment.
A plumber can identify model-specific disassembly, prevent damage to seals or finish, and address hidden valves or venting.
Attempting repair without expertise risks costly mistakes, persistent clogs, or compromised drainage function.
Quick reference checklist for removing a stuck bathroom sink plug
Begin with a quick visual check of the plug and surrounding fittings to identify whether it is a pop-up, lift-and-turn, or stopper linked to a pivot rod; this determines which tools and steps will be required.
A concise checklist follows, concise and ordered for efficient action:
- Gather tools: pliers, screwdriver, flashlight, cloth.
- Isolate link: remove pivot clip or unscrew lift knob.
- Apply lubricant, work gently, extract debris and clean.
Conclusion
In conclusion, the homeowner follows clear steps to free a stuck bathroom sink plug, from inspecting the stopper type to using basic tools, lubricants, or gentle force, and escalating to disassembly or professional help if needed. Patience and care prevent damage; wear gloves and protect finishes. If corrosion, broken parts, or persistent blockage remain, contact a plumber. Like a medieval locksmith with a smartphone, one can often restore proper drainage with steady hands and common sense.