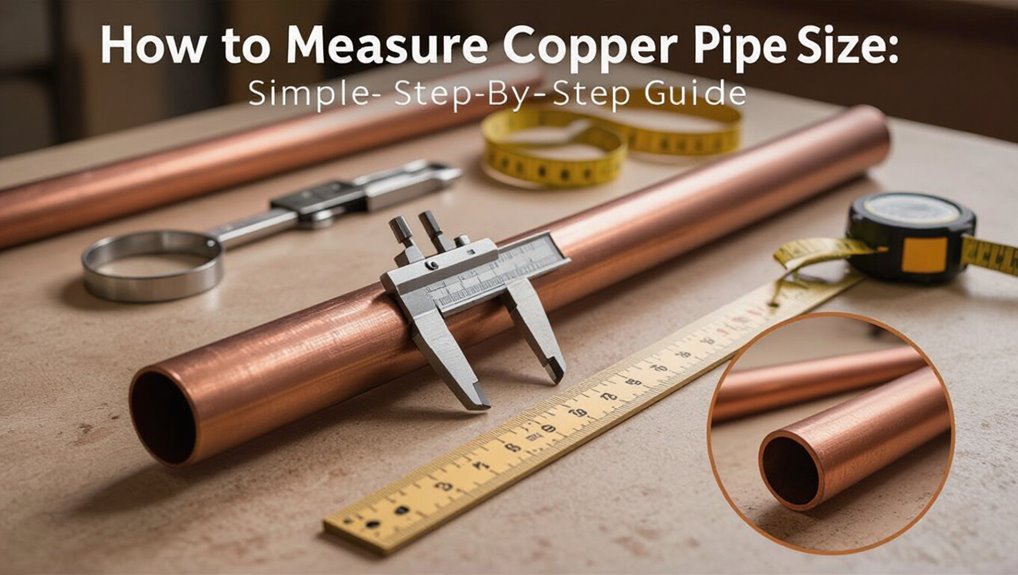
How to Measure Copper Pipe Size: Simple Step-by-Step Guide
To accurately measure the size of copper pipe, start by cleaning the pipe’s surface and checking for any K/L/M/DWV markings. Use calipers or a micrometer to measure the outside diameter (OD) at various points to check for ovality. Identify the wall type based on the markings or by comparing the measured wall thickness to standard tables. Then, convert the OD to the nominal pipe size using an OD-to-nominal chart. If you need to assess fittings or flow calculations, measure the inside diameter (ID) as well. Follow these steps carefully, and refer to the next section for guidance on conversions, tools, and avoiding common mistakes.
How to Measure Copper Pipe : 3 Quick Steps
Begin by gathering a tape measure, calipers or a ruler, and a cloth to clean the pipe; accurate measurements depend on a clean surface. Wipe the pipe and remove paint or corrosion at the measurement point.
Step one: measure outside diameter (OD) across the widest point with calipers or a tape, record in inches or millimeters.
Step two: measure wall thickness with calipers or derive from OD and nominal size tables when possible.
Step three: measure inside diameter (ID) by subtracting twice the wall thickness from the OD, or use a bore gauge for direct ID measurement.
Verify readings.
Identify Copper Pipe Type: Read Type K, L, M, DWV Markings
With accurate OD, ID, and wall-thickness measurements in hand, identifying the pipe type requires checking the factory markings stamped or printed along the length of the tube.
The markings indicate Type K, L, M, or DWV and often include size, temper, and manufacturer. Match the marking to the measurement set: Type K has the thickest wall, L is medium, M is thinner, and DWV is sized for drainage with different tolerances. If markings are worn, consult color bands or compare measured wall thickness to standard tables. Always record markings and measurements together for correct replacement or specification.
- Look for K, L, M, DWV letters
- Note size and temper codes
- Check manufacturer stamp/date
- Compare wall thickness to standards
- Photograph markings for records
Measure Pipe OD Correctly (Tools & Technique)
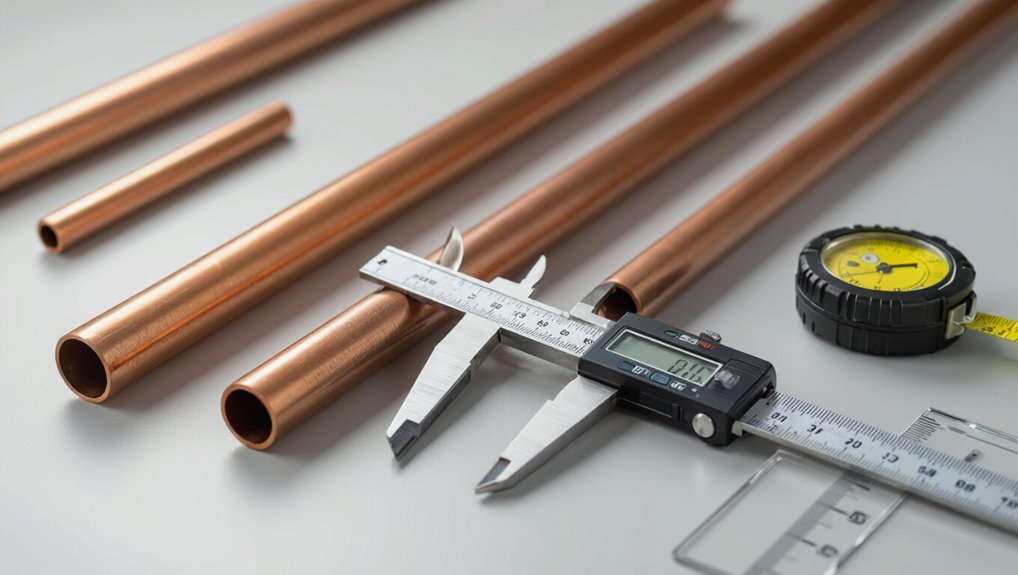
For accurate outside-diameter (OD) measurement, the technician selects the correct tool and positions it squarely across the pipe’s widest external points; common instruments are digital calipers for precision, vernier calipers for durability, and an outside micrometer when tolerances demand the highest accuracy. The technician cleans the pipe, zeroes the instrument, and measures at multiple points to detect ovality. Readings are recorded to the tool’s resolution, and any damaged or corroded section is avoided. Repeat measurements validate consistency; average only if variance is minimal.
| Tool | Resolution | Best use |
|---|---|---|
| Digital caliper | 0.01 mm | Quick, precise |
| Vernier caliper | 0.02 mm | Rugged jobs |
| Micrometer | 0.001 mm | Laboratory accuracy |
Convert OD to Nominal Pipe Size : Chart & Example
The next step converts a measured outside diameter (OD) into the corresponding nominal pipe size using a standard conversion chart. The chart provides the common OD-to-nominal mappings for copper tubing types, allowing quick identification. A brief example walkthrough will show how to read the chart and match a sample OD measurement to its nominal size.
Outside Diameter To Nominal
When converting a measured outside diameter (OD) of copper pipe to its nominal size, a concise reference between OD and nominal designation is essential because copper tubing uses different sizing standards than threaded iron pipe.
The process requires recognizing system type (K, L, M, DWV), measuring OD accurately with calipers, and matching that OD to the nominal label used in plumbing specifications.
Accuracy prevents misfit fittings and pressure issues.
Practitioners should verify wall thickness and application.
Use standardized tables or manufacturer data when available.
- Measure OD with calipers
- Identify tubing type
- Compare OD to nominal listings
- Confirm wall thickness
- Verify application suitability
Reference Conversion Chart
Using a clear conversion chart, technicians can quickly match a measured outside diameter (OD) of copper tubing to its nominal pipe size and corresponding wall thickness class (K, L, M, DWV).
The chart lists common ODs alongside nominal sizes (e.g., 5/8″ OD = 1/2″ nominal for Type L/M), wall thicknesses for each class, and metric equivalents.
It includes both soft (annealed) and rigid tube values where they differ.
Quick-reference rows reduce calculation errors and speed selection of fittings and adapters.
Technicians should keep a laminated chart or digital image for field use to make certain consistent, repeatable sizing.
Example Measurement Walkthrough
In a step-by-step example, a technician measures the outside diameter of a copper tube, locates that OD on the conversion chart, and reads across to determine the nominal pipe size and applicable wall thickness class; this demonstration shows how a 5/8″ OD corresponds to a 1/2″ nominal for Type L/M and which wall thickness to expect for K, L, M, or DWV variants.
The technician notes measurement method, selects matching OD entry, verifies manufacturing tolerances, and confirms planned use.
The walkthrough clarifies reading chart columns, comparing OD to nominal, and choosing replacement or fitting.
- Measure OD accurately with calipers
- Find OD on chart
- Read nominal size
- Check wall class (K/L/M/DWV)
- Confirm fitting compatibility
Measure Pipe ID for Fittings and Flow
The technician measures the pipe’s inside diameter (ID) with calipers or a gauge to determine the true bore.
That ID is then converted to the appropriate nominal pipe size to select compatible fittings.
Finally, the measured ID is used to calculate or verify flow rate for system performance.
Measure Inside Diameter
When preparing fittings or calculating flow rates, measuring the inside diameter (ID) of a copper pipe provides the definitive size needed for proper connections and hydraulic calculations.
The practitioner uses calipers or an inside micrometer to record ID at multiple points, averaging to account for ovality or corrosion.
Clean the pipe end, measure straight across the bore, and avoid compressing soft deposits.
Record measurements in millimeters or inches, note wall condition, and compare to fitting specifications.
Accurate ID guarantees leak-free joints and correct flow calculations for system design or repair.
- Use vernier or digital calipers
- Measure at several depths
- Average multiple readings
- Note corrosion or buildup
- Record units and tolerances
Convert To Nominal
For practical work, matching a measured inside diameter to a nominal copper pipe size requires referencing standard tables that relate ID to nominal designations and pressure classes. The technician compares the measured ID to charted values for Type K, L, and M tubing; each type has different wall thickness and consequently different IDs for the same nominal size.
Select the nominal size whose standard ID most closely matches the measurement, considering manufacturing tolerances. Record both the nominal designation and tubing type for ordering fittings, verifying compatibility with compression, sweat, or press connectors.
Confirm units (inches or mm) and document the source table used.
Check For Flow Rate
Measure the internal diameter accurately and use it to estimate maximum flow and choose compatible fittings. The technician measures the pipe ID with calipers, then calculates cross-sectional area to estimate theoretical flow.
Practical flow considers pressure, length, and fittings; use charts or hydraulic calculators for realistic values. Select fittings matching ID to avoid turbulence and pressure loss. Verify system requirements against estimated capacity before finalizing component choices.
- Measure ID with calibrated calipers
- Compute area: π*(ID/2)^2
- Adjust for pressure, length, and roughness
- Consult flow charts or software
- Match fittings to measured ID
Avoid These Common Measuring Mistakes
Often overlooked, a few simple measuring mistakes can cause incorrect copper pipe selection, wasted materials, and costly rework.
Measurements taken with worn or inappropriate tools yield inaccurate diameters; calipers or proper tape measures guarantee precision.
Failing to account for wall thickness (type L, M, K) or fittings’ internal dimensions leads to mismatched connections.
Measuring only outside diameter without noting nominal size confuses ordering.
Neglecting temperature-induced expansion or flexible tubing stretch produces misleading lengths.
Rushing in tight spaces invites parallax errors.
Double-checking measurements, recording units, and verifying against manufacturer specs prevents these common errors and supports reliable installations.
Conclusion
Measuring copper pipe becomes a straightforward routine when approached methodically: identify the pipe type by its markings, measure the outside diameter accurately, and convert that measurement to the nominal size while checking the inside diameter for fittings and flow. Like a navigator using a reliable chart, these steps guide accurate decisions and prevent costly errors. Consistent technique and the right tools guarantee proper replacement, fitting selection, and trustworthy plumbing performance.