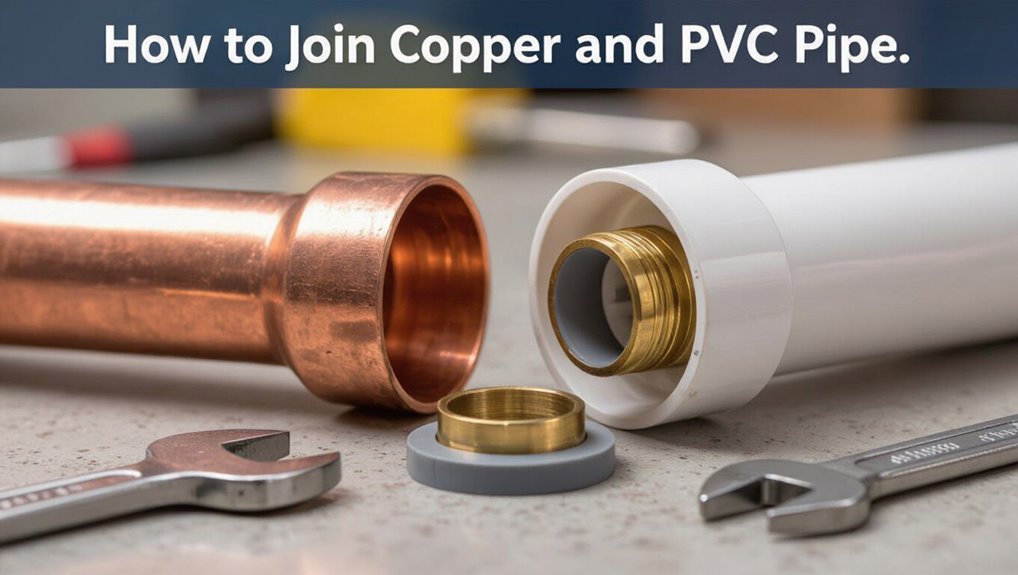
How to Join Copper and PVC Pipe: Easy Guide for DIY Plumbing
To join copper and PVC pipe effectively, you can use a suitable adapter such as a push-fit adapter for quick repairs, a threaded PVC-to-copper fitting with PTFE sealant for removable joints, or a conversion fitting for permanent connections. Ensure to deburr, clean, and support the pipes, and use dielectric unions to prevent corrosion. Always adhere to pressure and temperature limits for a reliable connection.
Quick Decision: Mechanical Adapter or Transition Fitting?
Deciding between a mechanical adapter and a conversion fitting hinges on the specific requirements of the installation: mechanical adapters offer a faster, tool-light connection and are ideal for repairs or temporary joins, while conversion fittings (such as solvent-welded or brazed reducers) provide a more permanent, code-compliant bond for buried or pressurized systems.
The installer evaluates pressure, exposure, code, and permanence. Mechanical adapters suit exposed, accessible lines needing quick restoration. Conversion fittings fit long-term mains, concealed runs, or systems requiring tested joints.
Compatibility with pipe sizes and materials, expected movement, and inspection requirements determine the appropriate choice.
Tools and Materials You’ll Need for Copper-to-PVC Pipe
A clear inventory of tools and materials streamlines any copper-to-PVC conversion project.
Essential hand tools — cutters, reamers, and adjustable wrenches — should be paired with the correct adhesives and primers for PVC-to-metal conversions.
Appropriate safety gear and consumable supplies, such as gloves, goggles, flux, tape, and cleaning cloths, complete the required kit.
Essential Hand Tools
Gathering the right hand tools streamlines a copper-to-PVC piping job and reduces the chance of mistakes.
Essential tools include a tubing cutter for clean copper cuts, PVC pipe cutter or fine-tooth saw for PVC, and deburring tool or file to remove burrs.
Adjustable wrench and slip-joint pliers secure fittings without marring surfaces.
A tape measure and permanent marker guarantee accurate lengths and alignment.
A torque-limited basin wrench aids tight spaces.
A level checks runs.
Utility knife and emery cloth prepare surfaces.
Safety items—gloves and eye protection—protect the user during cutting and fitting operations.
Adhesives And Primers
With the basic hand tools in place, attention turns to the adhesives and primers that make a reliable joint between dissimilar materials.
A PVC primer cleans and softens PVC pipe ends to guarantee solvent cement welds fuse properly; choose a primer labeled for pressure plumbing and compatible with the pipe schedule. Use a medium-bodied PVC solvent cement for schedule 40/80 connections.
For coupling copper to PVC, a specially formulated coupling adhesive or epoxy rated for potable water and chemical resistance is required. Select products certified to applicable plumbing standards, check cure times and temperature ranges, and follow manufacturer instructions for surface preparation and application.
Safety Gear And Supplies
Equipped for safety and efficiency, the installer assembles personal protective equipment and consumables tailored to copper-to-PVC work: chemical-resistant gloves, eye protection, and a respirator rated for solvent vapors; heat-resistant gloves and a flame shield if using a torch on copper; and durable work gloves for handling pipe and fittings.
Additional essentials include a fire extinguisher, heat-resistant mat, and a spark arrestor. Consumables comprise flux, solder, PVC primer, and solvent cement, plus clean rags and emery cloth.
Tools require adjustable wrenches, pipe cutters, deburring tools, and a tubing brush. A first-aid kit completes the safety kit.
Prep Copper & PVC: Deburr, Clean, Primer, and Measure
Before assembly begins, both copper and PVC ends must be deburred, cleaned, and measured to guarantee tight, leak-free joints.
Remove burrs with a reamer or file; bevel copper slightly and round PVC edges to prevent seal damage.
Clean copper with emery cloth or abrasive pad; wipe solvent on PVC to remove dust and oils.
Apply PVC primer where required, ensuring full coverage; allow to flash briefly.
Measure twice, mark cut lines, and allow for insertion depth and fittings’ socket length.
Verify alignment before bonding.
- Deburr and bevel
- Clean and prime
- Measure insertion depth
Install a Push-Fit (SharkBite) Copper-to-PVC Connection
When connecting copper to PVC using a push-fit (SharkBite) fitting, guarantee both pipe ends are square, deburred, and clean so the O-ring seals correctly and the retaining teeth engage fully.
Mark insertion depth on each pipe, then apply light primer to PVC if recommended by the manufacturer.
Push each pipe straight into the fitting until it reaches the depth mark; feel for a firm stop.
Verify alignment and support pipes to prevent stress on the joint.
Test the connection by pressurizing the system and inspecting for leaks.
If removal is required, use the fitting’s release collar tool per instructions.
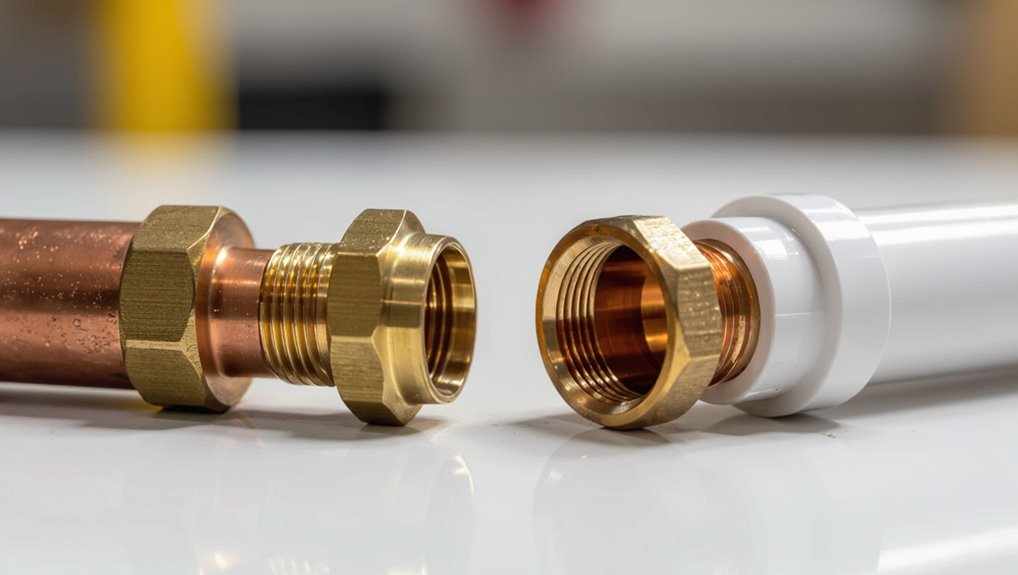
Install a Threaded PVC-to-Copper Adapter Connection
For a threaded PVC-to-copper adapter connection, the installer first selects an adapter with compatible thread type and pressure rating for the system.
Pipe ends must be cut square, deburred, and cleaned so threads seat evenly and sealants adhere properly.
Proper sealing—using approved PTFE tape or pipe dope—and correct torquing prevent leaks without overstressing the plastic threads.
Choosing Adapter Type
Selecting the correct adapter type determines the connection’s reliability and ease of installation.
The installer assesses pressure rating, thread type (NPT or BSP), and material compatibility. Brass adapters resist corrosion and soldering heat; stainless steel offers higher strength; PVC-bodied adapters reduce galvanic risk but require proper sealing.
Match thread standards to existing fittings and confirm pressure ratings meet system requirements. For potable systems, choose certified materials. Consider union-style adapters for future service access.
Proper selection minimizes leaks and maintenance while ensuring code compliance.
- Match thread standard and pressure rating
- Choose material for corrosion resistance
- Prefer serviceable union designs
Preparing Pipe Ends
After choosing the appropriate adapter type, preparing the pipe ends sets the foundation for a leak-free threaded PVC-to-copper connection.
Cut both pipes squarely with proper tools: a tubing cutter for copper and a fine-tooth saw or PVC cutter for PVC.
Deburr and chamfer the copper inside and out to remove sharp edges and prevent thread damage.
For PVC, remove burrs and wipe away plastic shavings.
Clean mating surfaces: wipe copper with a cloth and use a plastic cleaner recommended for PVC.
Dry both surfaces thoroughly.
Threaded adapter threads should be inspected and cleaned before assembly to guarantee proper fit.
Sealing And Tightening
Begin by applying the correct thread sealant to guarantee a watertight joint between the PVC adapter and the copper fitting.
Use PTFE tape or pipe dope rated for plastics and metals, wrapping tape clockwise three to five turns or applying an even coat of compound. Hand-thread the adapter until snug, then tighten with a wrench one quarter to one half turn more; avoid over-tightening which can crack PVC.
After assembly, pressurize the system and inspect for leaks. If a leak appears, slightly tighten or disassemble, reapply sealant, and retest. Follow manufacturer torque guidance for best results.
- Choose compatible sealant
- Tighten carefully
- Test and adjust
Solder Copper and Protect PVC at the Transition
At the copper‑to‑PVC joint, proper soldering on the copper side and a reliable barrier at the junction are both essential to prevent leaks and chemical attack on the plastic.
Flux and solder are applied to clean, annealed copper, heated until solder flows smoothly, forming a full fillet without excess that could contact PVC.
After cooling, a non‑conductive, fuel‑resistant sleeve or adhesive‑lined heat shield is fitted over the copper end where it meets the PVC.
Joint adhesives for PVC must not touch soldered surfaces.
Final inspection verifies solder integrity and barrier placement before system pressurization.
Use Dielectric Unions and Prevent Galvanic Corrosion
Preventing galvanic corrosion between dissimilar metals requires using dielectric unions and isolating materials to interrupt electrical continuity at the joint. A dielectric union contains a nonconductive gasket or sleeve that separates copper and threaded metal, stopping electrochemical reaction. Proper installation guarantees seals and orientation match flow direction; thread sealant must not bridge the dielectric barrier. Regular inspection for leaks and corrosion at fittings helps detect problems early.
When dielectric unions are impractical, insulating fittings, plastic adaptors, or protective coatings can reduce galvanic activity. Select components rated for potable water and match pipe sizes to avoid stress.
- Install dielectric union correctly
- Inspect periodically
- Use insulators or coatings
Compatibility Limits: Pressure, CPVC, Hot Water, and Fittings
Joining copper to PVC or CPVC requires attention to the operating limits of each material—pressure ratings, maximum service temperature, and the compatibility of joining methods and fittings—because mismatched capacities or inappropriate connectors can create leaks or premature failure. The installer checks system pressure and temperature against pipe and fitting ratings, uses CPVC for higher heat, and selects approved adaptor fittings or dielectric unions. Threaded adapters and solvent welds must match material specs. Avoid using PVC in hot-water lines unless rated. Manufacturer instructions and local codes determine allowable combinations and maximums.
| Material | Max Temp | Typical Pressure |
|---|---|---|
| PVC | 140°F | 150 psi |
| CPVC | 200°F | 100–400 psi |
| Copper | 400°F | 700+ psi |
| Fittings | See spec | See spec |
Troubleshooting Leaks and When to Call a Pro
When a joint between copper and PVC/CPVC starts to drip, the installer first isolates the section and assesses the leak’s source and severity.
The technician inspects soldered seams, solvent-welded fittings, and connector adapters for corrosion, improper bonding, stress cracks, or degraded seals.
Temporary measures include tightening clamps, applying epoxy putty, or shutting valves until repair.
Permanent fixes require correct joint replacement, re-soldering, or re-solventing with compatible materials.
Call a professional if water damage spreads, joints are inaccessible, corrosion is extensive, or gas lines are present.
- Diagnose exact leak origin.
- Apply safe temporary containment.
- Replace or hire a pro.
Conclusion
Connecting copper to PVC is straightforward when you pick the right method and prep carefully. Whether using a push‑fit, threaded adapter, or soldered copper with protection, proper cleaning, measuring, and corrosion prevention keeps the joint durable. Think of the changeover as a bridge that must be built with clean cuts, correct fittings, and attention to materials’ limits; done right, it carries water reliably, but persistent leaks or complex layouts still warrant a professional eye.