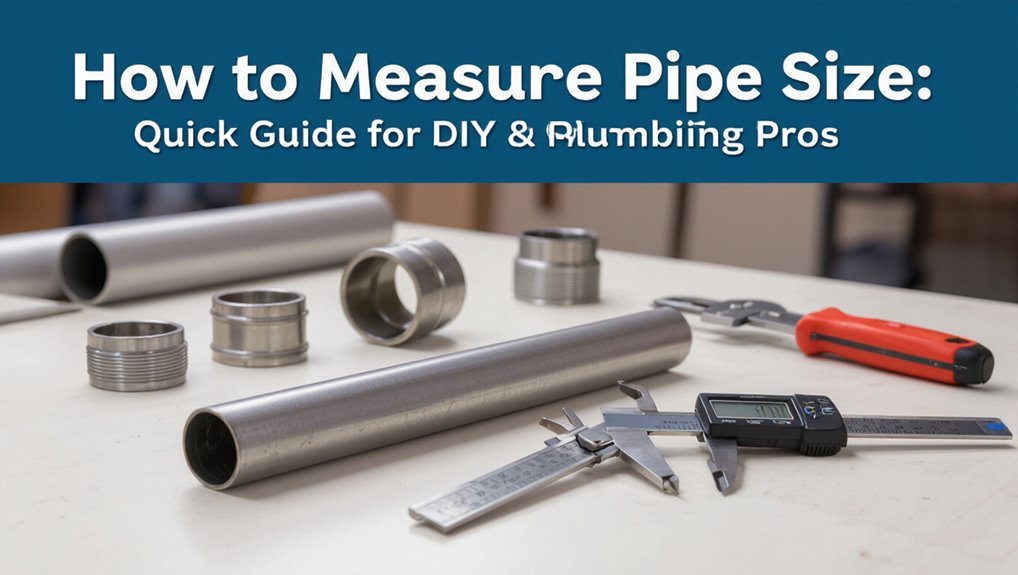
How to Measure Pipe Size: Quick Guide for DIY & Plumbing Pros
To measure pipe size accurately, first identify whether you need the outside diameter (OD) or inside diameter (ID).
Key Takeaways:
- For Outside Diameter (OD): Use calipers; measure at the widest point if using a tape measure.
- For Inside Diameter (ID): Use bore gauges or calipers. If wall thickness is known, subtract twice the wall thickness from the OD.
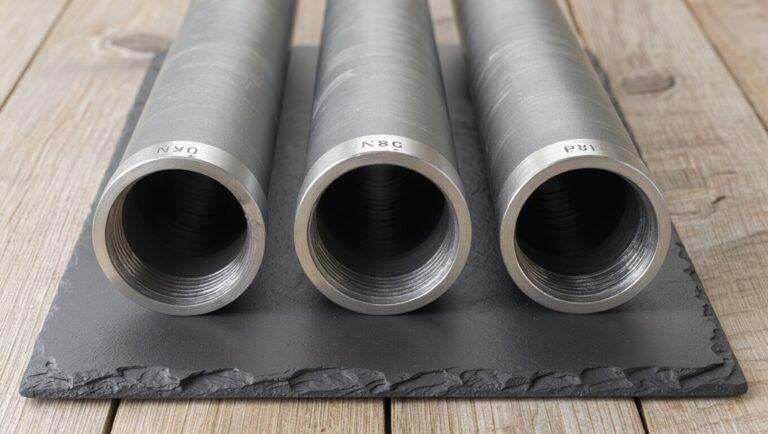
- For Threaded Pipes: Record the OD and thread pitch using a gauge.
- For PVC Pipes: Check the markings against schedule charts.
These steps will help you determine the correct pipe size for your project. Continue exploring step-by-step techniques, conversions, and troubleshooting tips for comprehensive guidance.
Quick Steps: Measure Pipe Diameter (OD & ID) Now
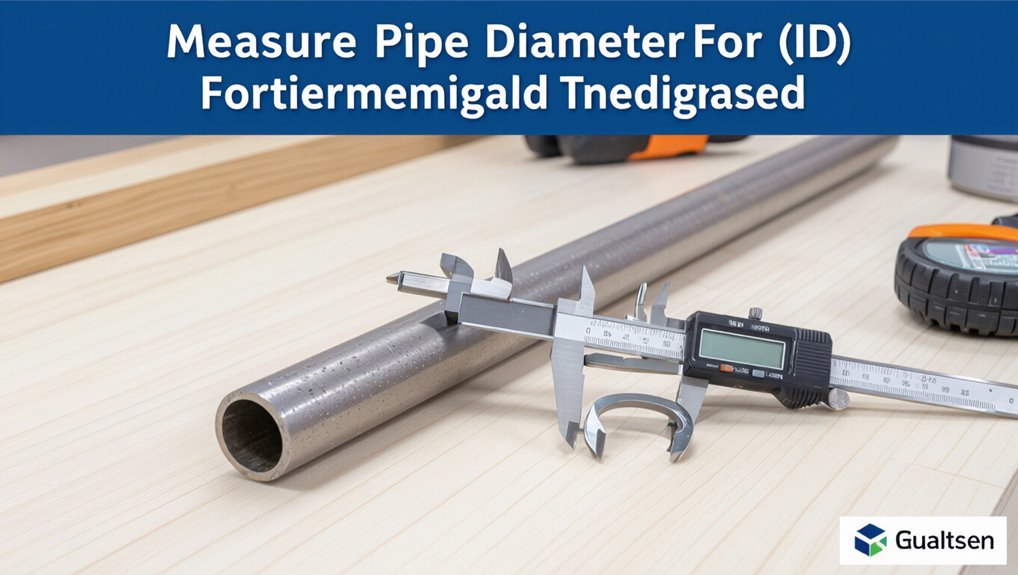
Measure the pipe diameter by identifying whether the required value is outside diameter (OD) or inside diameter (ID).
Then use the appropriate tool—calipers for OD and calipers or an inside micrometer for ID—to take a single, perpendicular measurement across the pipe.
Record the measurement and, if the pipe has a wall thickness specification instead of ID, subtract twice the wall thickness from the OD to compute ID.
The technician notes material, scale, and access.
Verify tools are zeroed and read at eye level to avoid parallax.
Repeat once to confirm; if readings differ, inspect edges for burrs or deformation before remeasuring.
Inside vs. Outside Diameter : What to Measure and Why
The article contrasts inside diameter (ID) and outside diameter (OD) to clarify which dimension matters for flow, fittings, and wall thickness.
It explains why ID is critical for flow capacity and OD is essential for selecting couplings and measuring wall thickness.
Guidance is offered on when to measure each dimension and which tools or methods provide reliable results.
Inside Diameter Importance
Inside diameter determines the flow capacity and compatibility of a pipe with fittings and internal components, making it the primary dimension for hydraulic and pneumatic applications. The inside measurement governs volumetric flow, velocity, pressure loss, and fits for inserts or liners. Selecting pipes by ID guarantees system performance and proper sealing. Accurate ID measurement supports pump sizing, filter selection, and compliance with flow specifications.
| Parameter | Why it matters |
|---|---|
| Flow rate | Directly proportional to ID^2 |
| Pressure drop | Inversely related to ID |
| Component fit | Determines internal clearances |
| Material choice | Affects wall thickness and ID |
| Maintenance | Influences clogging and cleaning |
Outside Diameter Measurements
Outside diameter (OD) is the primary external dimension used for specifying pipe fittings, mounting hardware, and compatibility with clamps or sleeves.
Technicians often rely on it when selecting connectors or aligning assemblies. OD determines which couplings, flanges, and supports fit without altering internal flow. It is consistent across materials and schedules, making parts interchangeable when OD matches.
Measuring OD with calipers yields rapid, repeatable results; measuring tapes suit larger pipes. Specified OD combined with wall thickness gives nominal pipe size and inner diameter.
Clear OD knowledge prevents mismatched fittings, leaks, and mechanical stress in assemblies.
Choosing Measurement Method
When selecting which dimension to measure, technicians should consider the component purpose—flow capacity and pressure calculations require inner diameter (ID), while fittings, supports, and external clearances depend on outside diameter (OD). The choice affects tools, accuracy, and specification matching: calipers or OD tape for outside, calipers or bore gauges for inside, and nominal pipe size conventions that may not match measured values. For repairs, confirm which dimension the replacement part references. For system design, use ID for hydraulic calculations and OD for routing and clamps. Consistent documentation prevents mismatches and costly rework.
| Measure | Tool | Use case |
|---|---|---|
| ID | Bore gauge | Flow/pressure |
| OD | Caliper/tape | Fittings/routing |
| Nominal | Specs | Ordering parts |
Measure Outside Diameter (OD) With a Tape Measure
To measure a pipe’s outside diameter with a tape measure, the tape should be placed straight across the pipe’s exterior at its widest point.
The tape must be aligned with the pipe’s center to guarantee the reading spans the full diameter.
Record the exact measurement where the tape meets the starting point.
Place Tape Across Exterior
Place the tape measure across the pipe’s widest point and read the number where the tape meets the opposite edge to determine the outside diameter (OD). The technician notes the tape lies flat against the exterior, perpendicular to the axis, avoiding bends or gaps. Multiple measurements at different points confirm roundness; any variance indicates deformation or ovality. Record the largest consistent reading. If the pipe has fittings or coatings, measure past them only when relevant. Use this external OD for matching fittings or referencing sizing charts.
| View | Impression |
|---|---|
| Flat tape | Accurate contact |
| Edge read | Clear value |
| Multiple spots | Consistency |
| Largest OD | Final value |
Align Tape With Center
Having verified the tape lies flat and measurements were taken around the circumference, the technician aligns the tape’s zero mark with the pipe’s centerline before sweeping it across to the opposite edge to obtain the outside diameter (OD).
The motion is steady, perpendicular to the pipe axis, and avoids twisting that skews the reading. Visual confirmation guarantees the tape crosses the true widest point.
If the pipe is curved or tapered, multiple passes at standardized positions reduce error. Consistent hand pressure prevents indenting soft materials.
- Guarantee zero mark sits exactly on centerline.
- Sweep perpendicular to axis for true OD.
- Repeat at fixed intervals for consistency.
Record Exact Measurement
Record the outside diameter exactly as observed on the tape at the point where the zero mark crosses the opposite edge, ensuring the reading is taken at eye level to avoid parallax error. The technician notes the nearest fraction or millimeter, confirms tape tension is consistent, and repeats measurement at two orthogonal orientations to account for ovality. Average those readings if slight variation appears. Record units and any fittings or coatings that affect OD. Label the measurement with date and instrument used for future reference.
| Item | Note |
|---|---|
| Measurement | ____ |
| Units | ____ |
| Orientation 1 | ____ |
| Orientation 2 | ____ |
Measure Inside Diameter (ID) of Open Pipes and Fittings
Measuring the inside diameter (ID) of open pipes and fittings guarantees correct fit and flow capacity for replacements or installations. A caliper or tape measure records the clear bore at several points to detect ovality; measure across the interior, avoiding threads and buildup.
For threaded fittings, measure just inside the thread roots. Round to the nearest practical fraction or millimeter, noting units. Document measurements alongside material and visible wear. When uncertain, measure multiple times and average.
Use the ID, not nominal size, when selecting inserts, couplings, or calculating flow.
- Use calipers for precision.
- Measure multiple points.
- Record units and condition.
Measure Wall Thickness and Calculate Pipe Schedule (NPS)
Accurate wall thickness measurement is essential to determine a pipe’s schedule and guarantee it meets pressure, strength, and fabrication requirements.
The procedure uses calipers or ultrasonic thickness gauges to measure from outer to inner surface, or from outside diameter minus twice wall thickness to confirm ID.
With measured OD and wall thickness, consult NPS/ANSI schedules to identify the schedule number (e.g., 40, 80) corresponding to standard wall thicknesses for the nominal pipe size.
Record units and tolerances, and verify material specifications since schedules differ by material and manufacturing method.
Proper documentation assures correct selection for pressure and application.
Measure Threaded Pipes: Identify Thread Size and Pitch
After wall thickness and schedule have been established, identifying threaded pipe dimensions requires attention to both diameter and thread pitch to guarantee proper mating and seal.
The process begins by measuring the male or female outside/inside diameter with calipers, noting NPT, BSP, or metric standards.
Next, determine threads per inch (TPI) or pitch using a thread gauge; record whether threads are tapered or straight.
Finally, compare measurements to standard charts to select compatible fittings and sealing methods. Proper identification prevents leaks and cross-threading, ensuring reliable connections in metal threaded piping systems.
- Measure OD/ID with calipers
- Use a thread gauge for TPI/pitch
- Match to standard charts and taper type
Measure Plastic & PVC Pipe Sizes (Metric vs. Schedule Systems)
When working with plastic and PVC piping, distinguishing between metric nominal sizes and schedule-based (IPS/NPS) systems is essential because the same nominal diameter can correspond to different actual outside and inside dimensions depending on material and standard.
Metric PVC often uses nominal diameter in millimetres with consistent outer diameters per standard, simplified for fittings. Schedule systems (e.g., Schedule 40, 80) specify wall thickness for a nominal size, affecting internal diameter and pressure rating.
Identifying markings on the pipe, measuring outside diameter, and consulting the correct standard or manufacturer chart guarantees proper fitting selection and avoids mismatches between metric and schedule parts.
Convert OD, ID, and Nominal Sizes (Handy Table Tips)
A few simple conversions make it far easier to match outside diameter (OD), inside diameter (ID), and nominal pipe sizes across different standards.
A compact reference table saves time: list OD, wall thickness, ID, and nominal designation side by side. Include common materials (steel, copper, PVC) and note whether sizes use IPS, NPS, or metric labeling.
Use consistent units and round to two decimal places for clarity. Keep a column for equivalent nominal sizes to avoid misidentification. Update the table when working with specialty tubing or fittings.
- Cross-reference OD to nominal
- Calculate ID from OD minus twice wall
- Note standard/system used
Avoid Common Measurement Mistakes : Troubleshooting & When to Call a Plumber
Why did the measurement yield the wrong fitting?
Errors often stem from measuring OD instead of nominal size, neglecting wall thickness, or using worn calipers. Corrosion, paint, or scale can add false thickness; fittings and adapters alter internal diameter.
Troubleshoot by re-measuring clean, using appropriate tools, and checking standards or manufacturer charts. For tight tolerances, test-fit with a small section or coupling.
Call a plumber when measurements remain unclear, threads or joints are damaged, pressure ratings matter, or complex materials (cast iron, lead, multi-layer) are involved.
Professional assessment prevents leaks, code violations, and costly rework.
Conclusion
Accurate pipe measurement prevents costly mistakes: a 1/8-inch error can cause fittings to leak or fail. For DIYers and pros alike, measuring both outside and inside diameters, and noting wall thickness, guarantees correct parts and safe installations. Remember that PVC often uses nominal sizes that don’t match actual OD. When measurements are unclear or threads are damaged, consult a professional plumber to avoid plumbing failures and costly water damage.