How to Flush a Toilet When the Handle Is Broken: 7 Quick Fixes You Can Do Now
If your toilet handle is broken, you can still flush the toilet using a few quick methods. First, put on gloves and close the shut-off valve if necessary to prevent overflow. Then, you can manually flush by scooping or pouring a bucket of water into the bowl. Alternatively, lift the flapper, pull the lift chain inside the tank, or pour water into the overflow tube. For a temporary solution, create a handle using wire or a hanger, or use a long tool to operate the trip lever. Follow these steps for effective fixes and further instructions.
What to do right now when the toilet handle is broken
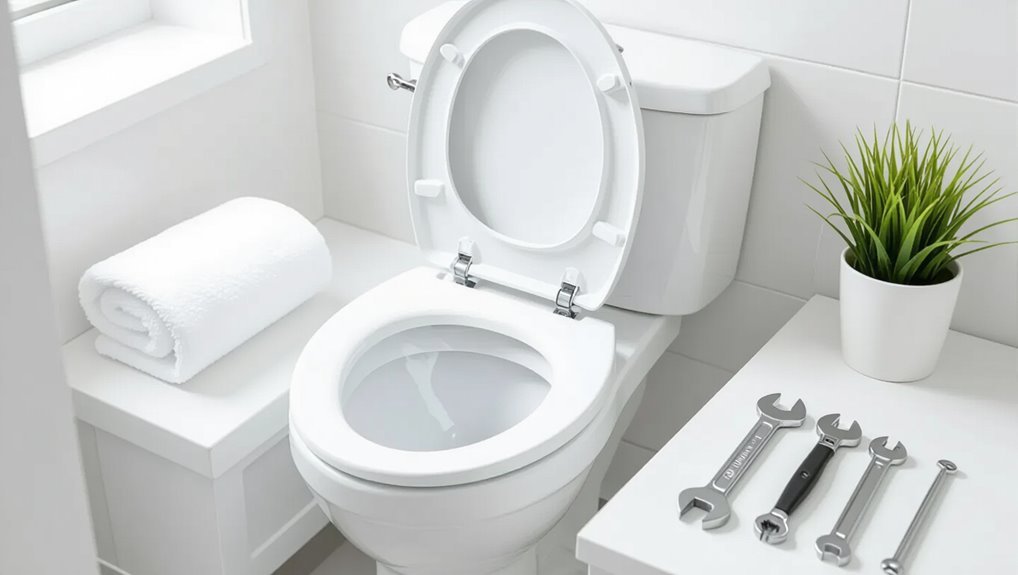
When the toilet handle breaks, the first priority is basic safety and hygiene: avoid contact with contaminated surfaces, put on disposable gloves if available, and ventilate the bathroom.
Next, assess whether the bowl will overflow or if it can wait until a temporary flushing method is prepared. If an immediate flush is needed, consider quick temporary options such as pouring a bucket of water into the bowl or using the shutoff valve to stop water flow while arranging a fix.
Quick safety and hygiene steps before attempting a fix
Before touching any parts, the person should stop water flow to prevent accidental flushing and exposure: close the toilet’s shut-off valve (usually at the base) or, if unknown, turn off the home’s main water supply.
They should don gloves, wear eye protection, place absorbent towels around the bowl, ventilate the room, and have disinfectant ready.
These steps reduce contamination when addressing how to flush a toilet when the handle is broken.
How to determine if you need an immediate temporary flush
How urgently the toilet must be flushed depends on the current bowl level and whether it is actively filling or overflowing.
Observe water height: normal, high (near rim), or overflowing. If high or rising, act immediately.
Shut off the shutoff valve if available. If not, scoop water into a bucket and pour steadily into the bowl to simulate a flush, preventing spillage.
Seven quick fixes to flush a toilet when the handle is broken
When the handle fails, there are several quick, low‑effort methods to get the toilet to flush and prevent overflow.
The following simple options allow someone to release water without a functioning exterior lever:
- Use the tank overflow tube for a manual flush
- Push the flapper down directly to release water
- Pour water from a bucket into the bowl for a gravity flush
- Pull the lift chain or wire manually from inside the tank
If hands are used inside the tank, a rubber glove or tool can operate the trip lever safely.
Use the toilet tank overflow tube for a manual flush
Lift the tank lid and locate the tall, open-topped overflow tube centered near the fill valve; pulling up the flapper chain or pouring water directly into this tube forces water into the bowl for a manual flush.
The method clears the bowl without the handle, uses existing plumbing, and prevents overfilling when done carefully.
Stop pouring when the bowl empties.
Push the flapper down directly to release water
A person can manually push the flapper down to release the tank’s water into the bowl, creating an immediate flush without using the broken handle.
Lift the tank lid carefully, reach in, depress the rubber flapper until water flows, then let it reseat.
Verify hands are clean or wear gloves, avoid disturbing chain connections, and replace the lid promptly after flushing.
Use a bucket to pour water into the bowl for a gravity flush
If pushing the flapper isn’t possible or the tank can’t be opened, using a bucket of water offers a simple gravity-based flush.
Fill a sturdy bucket with about 1.5 to 2 gallons of water and pour it swiftly into the bowl aimed at the rim. The surge forces waste down the trap.
Repeat if needed; avoid splashing and use warm water in cold climates.
Pull the lift chain or wire manually from inside the tank
Reach into the tank and pull the lift chain or wire directly to release the flapper when the handle fails; this restores the normal flush mechanism without replacing parts.
Use caution to avoid touching water or damaging components. Grasp the chain near the flapper, give a firm upward tug, then let go so the flapper reseals.
Repeat until the bowl clears, monitoring for proper reseal.
Use a rubber gloved hand or tool to operate the trip lever
Donning a rubber glove or using a long-handled tool allows one to operate the trip lever from above the tank without contacting water or internal parts directly.
The gloved hand or tool depresses or lifts the lever arm to trigger the flapper, restoring a flush. Move slowly to avoid damaging components; if resistance or leaks appear, stop and consider safer alternatives or professional repair.
Temporarily replace or rig the handle with household items
After using a gloved hand or tool to actuate the trip lever, one can also fashion temporary replacements from common household items to restore flushing without immediate repairs.
Threaded wire, a sturdy coat hanger, zip ties, or a rigid plastic strip can be bent or looped to reattach the flapper chain to the trip lever.
Confirm secure attachments and avoid sharp edges to prevent tank damage.
Trigger a flush using the fill valve mechanism
Use the fill valve mechanism to initiate a flush by briefly lowering the float or momentarily interrupting the water flow into the tank; this causes the refill cycle to trigger the flush valve without relying on the broken handle.
One may depress the float arm gently or pinch the supply line briefly (with care).
Observe tank operation and release once siphon or overflow movement begins to complete flushing.
Step-by-step instructions for each quick fix
The following steps outline clear, practical procedures for each quick fix, covering use of the overflow tube, safe access to and pressing of the flapper, the correct volume and angle for pouring water, methods for retrieving and pulling the lift chain without tools, and simple ways to rig a temporary handle with wire, zip ties, or a coat hanger.
Each technique includes concise warnings and expected results so readers can choose the safest effective option.
Instructions assume basic household tools and caution around close contact with toilet components and water.
How to use the overflow tube detailed steps and warnings
Reach into the tank and direct water down the overflow tube to trigger a flush when the handle or chain fails.
Use a cup or jug, pour steadily to avoid splashing. Aim for the tube opening, not the rim.
Stop when water level drops into the bowl.
Warn of potential dirty water, avoid chemical contact, and wash hands afterward.
How to access and press the flapper safely
Locate the tank lid carefully and set it aside on a flat surface.
Then identify the rubber flapper at the bottom of the tank and the chain or arm connected to it; these are the parts to access and press to restore a flush when the handle or linkage fails.
Wear gloves, clear debris, detach snagging chain, press flapper firmly to lift, release to reseal, and replace lid.
Pouring water method volume, angle, and expected results
Pour water into the bowl with a steady, forceful pour to simulate a normal flush; using about 1.5 to 2 gallons (6–8 liters) from waist height and aiming toward the back rim creates the quickest, most reliable siphon effect, producing a full bowl flush in one to three seconds when successful.
Smaller pours may only partially clear the bowl; repeat once if needed.
Retrieving and pulling the lift chain without tools
If the flush handle is broken, a person can access the lift chain from the tank opening and pull it by hand to trigger a flush.
This section outlines simple, tool-free methods for retrieving and manipulating the chain quickly and safely.
Reach carefully into the tank, locate the chain connected to the flapper, pinch or loop it between fingers, and tug downward in a smooth motion to lift the flapper.
Safe ways to rig a temporary handle with wire, zip ties, or coat hangers
Create a temporary handle using common household items to restore flushing without waiting for repairs.
Using stiff wire: bend a loop, hook it around the trip lever, twist tight, and form a grip.
With zip ties: fasten two ties through the lever hole, trim, and interlock for a pull tab.
For a coat hanger: straighten, hook the lever, bend a handle, and secure.
Operating the trip lever or fill valve for a controlled flush
After fastening a temporary pull using wire, zip ties, or a coat hanger, attention turns to operating the trip lever and fill valve to achieve a controlled flush.
Lift the temporary pull gently to raise the flapper; hold until sufficient water flows, then release.
If available, adjust the fill valve screw or float to limit refill height.
Test and repeat briefly to avoid overflow.
Tools and household items you may need
A brief set of basic tools and a few spare parts can make a broken-handle situation manageable until a proper repair is done.
Common household items and small replacement parts to keep on hand are listed below for quick reference. Having these ready can speed temporary fixes and prevent water waste.
- Adjustable wrench or pliers
- Flathead screwdriver and utility knife
- Spare chain, flapper, and lift clip
- Towels or small bucket for drips
Common tools found at home
Several common household items can be used to flush a toilet when the handle is broken. A bucket or large pitcher supplies water for a manual flush.
A sturdy stick or coat hanger can temporarily lift the flapper chain. Rubber gloves protect hands. Towels absorb spills. A flashlight aids visibility.
A pair of pliers helps adjust or reattach disconnected components if needed.
Small parts and replacement items to carry for emergencies
Keeping a small kit of replacement parts and fasteners complements the household items already mentioned by enabling quick fixes rather than improvised workarounds.
Include a spare toilet handle, chain links, adjustable-length lift wire, rubber flapper, flapper seat washers, screws, nuts, and stainless steel split rings.
Add a compact roll of plumber’s tape, a small silicone sealant tube, and a pair of disposable gloves for sanitary handling.
Diagnosing the underlying cause of a broken handle
A quick inspection separates true handle failures from related tank issues by checking the handle assembly, chain and flapper, and signs of corrosion.
Look for stripped threads, a broken lever, or a loose nut at the handle, then test whether the chain is slack, caught, or misaligned so the flapper cannot lift.
Finally, note mineral buildup or rust on metal parts that can prevent smooth movement.
Handle assembly problems: stripped threads, broken lever, loose nut
Inspecting the handle assembly begins with a clear look at the connection points inside the tank: the exterior handle, the spindle, the retaining nut, and the lever or arm that connects to the flapper chain.
Stripped threads prevent secure fastening; a fractured lever won’t transmit motion; a loose retaining nut allows play.
Identify the failed component, note material and orientation, and determine if replacement or tightening restores function.
Chain and flapper issues that mimic a broken handle
Check the chain and flapper for misalignment, slack, tangles, or deterioration, since these issues often mimic a broken handle by preventing the flapper from lifting when the handle moves.
Inspect chain length and attachment clip, verify it lifts the flapper fully without binding, replace a brittle or warped flapper, and swap a corroded or stretched chain for a new one sized to allow a full, unobstructed seal and lift.
Corrosion and mineral buildup affecting operation
When chain and flapper problems have been ruled out, attention should turn to corrosion and mineral buildup on the handle, lever, and mounting hardware, which can seize joints or prevent smooth movement.
Inspect metal parts for white, green, or brown deposits and stiff pivots.
Remove visible scale with vinegar or a descaler, lubricate moving parts, and replace heavily corroded components to restore function.
When to repair vs. replace the handle
When evaluating whether to repair or replace a broken toilet handle, observable signs such as persistent wobbling, corrosion, or repeated failures suggest a quick fix will be temporary and a professional repair or replacement is warranted.
Homeowners should weigh the cost and time of a simple DIY fix versus paying for a professional service or buying a new handle, including potential savings from a more durable replacement.
Selecting a compatible replacement requires checking the toilet’s tank mounting style, lever length, and finish to guarantee proper fit and function.
Signs a quick fix is temporary and professional repair is needed
Evaluating whether a temporary fix will suffice or a professional repair is required depends on the failure’s cause, frequency, and potential for collateral damage.
Visible cracks, stripped splines, repeated handle slippage after adjustments, persistent leaks from the tank or base, or inability to engage the flush lever reliably indicate that a DIY patch is only short-term.
A qualified plumber should be called to replace the handle or associated internal components. Continued malfunction risks water damage.
Cost and time comparison of repair options
After recognizing indicators that a temporary fix may not hold—like stripped splines, recurrent leaks, or cracked components—the next consideration is whether to repair the existing handle or replace it outright.
Repair often costs less and takes 15–45 minutes; replacement can cost more but gives longer life and may take 20–60 minutes.
| Option | Typical cost/time |
|---|---|
| Repair | $5–$25, 15–45 min |
| Replace | $10–$60, 20–60 min |
How to choose a compatible replacement handle
Selecting a compatible replacement handle starts with identifying the toilet’s handle type, mounting style, and actuator connection so the new part fits and operates smoothly.
Assess wear, thread size, lever length, and finish. Check universal-fit options and manufacturer part numbers.
Repair when internal parts or linkage are intact; replace the handle if corrosion, stripped threads, or mismatched actuator prevent reliable operation.
How to install a new toilet handle (basic guide)
The process begins with removing the old handle safely, loosening the retaining nut and lifting out any corroded parts.
Next, the new handle is installed and adjusted step-by-step, ensuring the lever and chain are aligned for a smooth flush.
Finally, the repair is tested and any troubleshooting performed to confirm reliable operation.
Removing the old handle safely
Begin by shutting off the toilet’s water supply and flushing to drain the tank so the handle mechanism can be accessed without risk of leakage or unexpected movement.
Remove any decorative caps, then use a screwdriver or adjustable wrench to loosen the nut securing the handle shaft from inside the tank.
Withdraw the shaft and lift out the old handle assembly, inspecting for corrosion or broken components.
Installing and adjusting a new handle step-by-step
With the old handle removed and components inspected for damage, installing a replacement is straightforward: insert the new handle shaft through the tank hole from the outside, position the lever so it sits comfortably for operation, and thread the retaining nut onto the shaft from inside the tank without overtightening.
Attach the lift chain or cable to the lever at an adjustable link, set chain slack to allow full flapper movement, and resecure any trim.
Testing and troubleshooting after installation
Operate the new handle several times to confirm smooth movement and a full flapper lift.
Observe the flush for consistent water flow and complete tank drain.
Check for leaks around the tank, handle base, and chain connection.
If the flush is weak, adjust chain length or flapper seating.
Tighten mounting nut if wobble persists.
Re-test until reliable, leak-free operation is achieved.
Common mistakes and safety precautions
Care should be taken to avoid common errors such as forcing parts, overtightening fittings, or using inappropriate tools that can crack the tank or damage the flapper.
Proper hygiene and protective measures—gloves, eye protection, and handwashing—help prevent contamination when handling internal components or standing water.
Clear, cautious steps reduce repair risks and maintain sanitary conditions.
Mistakes that can damage the tank or flapper
When attempting improvised fixes or brute-force flushing, users can accidentally crack the porcelain tank, overstretch the flapper chain, or dislodge internal parts—each mistake can cause leaks, continuous running, or costly replacements.
Other risks include using excessive force on the lid, wedging tools under the rim, or tying knots that deform the flapper.
Recommend gentle manipulation, correct tool use, and inspecting seals before testing.
Hygiene and protective measures to avoid contamination
Although a broken handle often prompts quick fixes, failing to prioritize hygiene can spread germs or contaminate surfaces. Gloves, eye protection, and disposable towels reduce direct contact with waste and contaminated water.
Hands should be washed with soap and hot water after any repair. Disinfect tools and surfaces, seal and discard soiled materials, ventilate the room, and avoid touching the face until hands are cleaned.
Preventive maintenance to avoid future handle failures
A brief preventive maintenance routine can reduce the risk of future handle failures by catching wear early.
A simple inspection checklist should include checking the handle lever, mounting nut, arm connection, and chain or lift wire for looseness or corrosion.
Routine tasks like tightening fittings, lubricating pivot points, and replacing worn chains extend handle life with minimal effort.
Regular inspection checklist
To prevent sudden handle failures, establish a concise regular inspection checklist that covers visual, mechanical, and environmental factors affecting the flush lever and linkage.
Inspect for corrosion, cracks, loose nuts, and worn splines; verify smooth lever travel and secure chain connection; check tank moisture, mineral buildup, and ventilation.
Record findings and schedule follow-ups, prioritizing immediate repair for any compromised components.
Simple maintenance tasks to extend handle life
Perform routine simple maintenance tasks to keep a toilet handle functioning reliably and reduce the risk of sudden failure.
Periodically clean the handle and lever pivot to remove grime, check and tighten the mounting nut, lubricate moving parts with silicone grease, and inspect the chain or lift wire for wear.
Replace worn parts promptly and test the flush action after adjustments to confirm smooth operation.
Quick troubleshooting checklist to follow during an emergency
A brief emergency checklist helps decide whether a temporary workaround will suffice or if immediate repair is required.
The list below highlights the priorities and the key information to have ready if a plumber is needed. Follow these steps quickly to minimize overflow risk and speed up any professional call.
- Check if a simple push/pull on the lift chain or flapper can trigger a flush.
- Try a temporary external flush (bucket of water) to clear the bowl.
- Note visible damage and whether water keeps running for plumber briefing.
- Record toilet model and recent maintenance to share with the technician.
Fast decision flow: temporary fix vs. repair now
Assess the situation quickly: determine whether a temporary workaround will restore flushing immediately or if the broken handle requires prompt repair to prevent repeated failures.
Check water level, visible damage, and whether internal parts move. Choose a temporary pull-chain, tank-fill cup, or direct lift if immediate use is critical.
If parts are cracked, loose, or multiple failures likely, opt for repair now to avoid recurrence.
What to tell a plumber if you call for help
When calling a plumber, provide concise details about the problem and recent observations so the technician can arrive prepared:
state toilet model or age, describe broken handle and any internal noise, note continuous running or leaks, report water level and recent clogs, mention attempted fixes and available access to the tank.
Ask estimated arrival, tools needed, and expected cost range.
Visual aid references
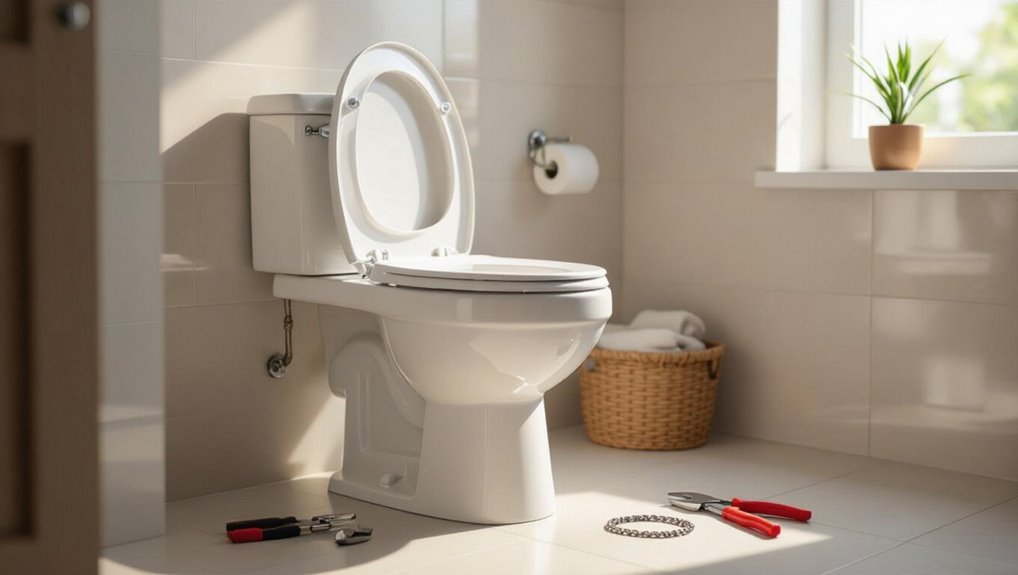
A clear diagram of the inside of the toilet tank with labeled parts helps users identify the flapper, lift chain, and arm.
Photographs showing common handle damage and simple temporary rigs illustrate likely failures and quick fixes.
These visual aids should be referenced alongside the troubleshooting checklist for faster diagnosis.
Diagram: inside toilet tank parts labeled
The labeled diagram of the toilet tank presents each component and its relation to the flush mechanism, including the handle lever, lift chain, flapper, refill tube, float (ball or cup), overflow tube, and fill valve.
It clarifies how the lever lifts the chain, the flapper seals the bowl, the fill valve restores water, the float controls shutoff, and the overflow prevents flooding.
Photos: common handle damage types and temporary rigs
Photographs show the most common handle failures—corroded splines, stripped threads, cracked lever arms, and detached linkage—alongside simple temporary rigs like wire loops, zip-tie replaces, and hooked coat-hanger levers that restore flushing function.
Captions identify cause, tool needed, and safety notes.
Close-ups contrast repairable damage with parts requiring replacement.
Visual step-sequences clarify temporary rig installation and removal.
Conclusion
When the handle fails, practicality wins: one homeowner once tied a shoelace to the flapper, restoring function in minutes—like using a paperclip to reboot a phone, small fixes can avert big headaches. The guide’s seven quick remedies, clear tools list, and troubleshooting checklist offer immediate relief and long-term prevention. With cautious, informed action, a broken handle becomes a brief interruption rather than a household crisis, preserving comfort and preventing costly repairs.