
How to Fix Heat Tape: Step-by-Step Troubleshooting and Repair Guide
How to Fix Heat Tape: A Quick Guide
To effectively fix heat tape, start by shutting off the power. Inspect the tape for cracks, exposed conductors, and moisture. Use a multimeter and infrared thermometer to identify any faults. For minor cuts, splice them using approved repair kits and reseal any damaged seals with heat-shrink end caps. Ensure all faulty connections are tightened or replaced. After completing repairs, test the insulation resistance and system operation. This guide also includes detailed procedures, necessary tools, and suggestions for preventative upgrades.
What Heat Tape Is and When It Needs Repair
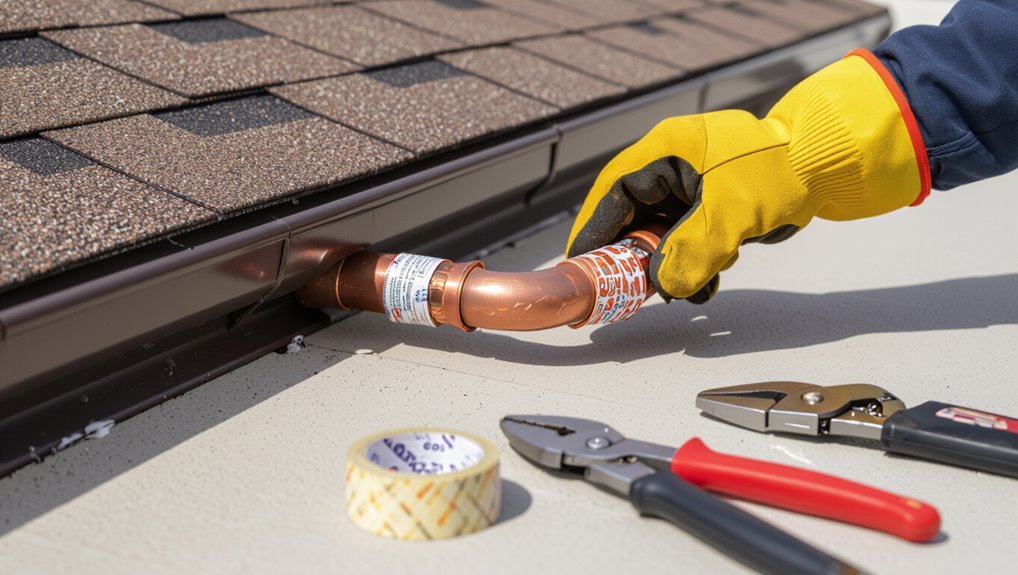
Heat tape is an electrical heating element applied to pipes or roofs to prevent freezing and comes in two main varieties: self-regulating, which adjusts output with temperature, and constant-wattage, which delivers a steady heat level.
Common failure signs include brittle or cracked insulation, exposed conductors, inconsistent heating, and tripped breakers, all of which create burn and fire risks.
Repair is appropriate for isolated damage to outer jackets or connectors, while widespread degradation, internal breaks, or repeated failures warrant full replacement.
How heat tape works and common types (self-regulating vs. constant-wattage)
Although often installed for the same purpose—preventing pipes from freezing—heat tape comes in two main designs with distinct operating principles: self-regulating and constant-wattage.
Self-regulating tape varies output with temperature, reducing risk of overheating and easing maintenance. Constant-wattage provides steady heat and may require thermostatic control.
Understanding these types is essential for diagnosing issues and knowing how to fix heat tape effectively.
Typical failure signs and safety risks
Any pipe-heating system will show clear warning signs before it fails outright, and recognizing them promptly reduces both risk and repair cost.
Common failure signs include cold spots, blistering or melted insulation, exposed conductors, discolored or burned tape, intermittent operation, and tripped breakers.
Safety risks include electrical shock, fire from overloaded or damaged tape, and frozen pipe damage if heating stops unexpectedly.
When to repair vs. replace heat tape
When should a homeowner attempt a repair rather than replace the entire system?
A repair is reasonable for localized damage, minor insulation wear, or a single faulty section with accessible wiring and intact thermostat.
Replacement is advised for extensive aging, multiple failures, embedded damage, or uncertain internal faults.
Safety, cost of parts versus new tape, and warranty status guide the decision.
Quick Safety Checklist Before You Start
Before beginning any repair, the power to the heat tape circuit should be shut off and confirmed with a tester.
The worker should use appropriate personal protective equipment and follow safe working practices to prevent shocks and burns.
A brief check that the required tools and replacement materials are on hand will reduce delays and limit unsafe improvisation.
Power shutoff and verification
One clear step before touching heat tape is to shut off its power source and verify the circuit is de-energized.
Confirm breaker labeling, switch off the appropriate breaker or disconnect, and lock/tag it if available.
Use a properly rated voltage tester to confirm zero volts at the tape connection and grounding points.
Repeat testing after waiting a moment to guarantee no residual power.
Personal protective equipment and safe working practices
After power has been confirmed off and the circuit verified de-energized, personnel should don appropriate personal protective equipment and follow simple, consistent safe-work practices.
Wear insulated gloves, eye protection, and nonconductive footwear.
Use lockout/tagout procedures, maintain clear workspace and good lighting, and avoid wet conditions.
Verify grounding and avoid improvised tools.
Communicate status with coworkers and document safety steps before proceeding.
Tools and materials you should have on hand
A concise kit of tools and materials guarantees the job proceeds safely and efficiently: insulated hand tools (screwdrivers, pliers, wire strippers), a multimeter or voltage tester, replacement heat tape and appropriate splice or connector kits, electrical tape and heat-shrink tubing, a grounding strap and cable ties, a utility knife, nonconductive ladder or platform, and a portable work light with sufficient illumination.
- Verify power isolation before work.
- Inspect replacement components.
- Keep dry, insulated workspace.
Diagnosing the Problem: Step-by-Step Inspection
A systematic inspection begins with a careful visual check for cuts, crushes, corrosion, and signs of moisture.
Next, electrical testing with a multimeter verifies continuity and resistance, followed by controlled methods to detect overheating or cold spots while powered.
Finally, connections, thermostats, and controllers are examined to identify loose terminals, failed sensors, or misconfigured controls.
Visual inspection: cuts, crushes, corrosion, and moisture damage
Careful visual inspection reveals cuts, crushes, corrosion, and moisture damage that often explain heat tape failures.
The inspector notes damaged insulation, exposed conductors, rusted terminations, and water intrusion without performing electrical tests.
Repairs are prioritized by severity; damaged sections are marked, connections cleaned or replaced, and protective coverings restored to prevent recurrence.
- Exposed conductors or cuts
- Corroded terminals
- Moisture penetration and crushed areas
Electrical testing with a multimeter: continuity and resistance checks
Begin by powering down and isolating the heat tape circuit.
Then use a digital multimeter to perform continuity and resistance measurements to confirm conductor integrity and detect faults.
Probe end-to-end and between conductors, noting open circuits or short indications.
Compare measured resistance against manufacturer specifications or similar tape length.
Record anomalous values, mark defective sections, and plan repairs or replacement accordingly.
Testing for overheating or cold spots while powered (safe methods)
How can overheating or cold spots be identified on live heat tape without risking safety?
Use an infrared thermometer or non-contact thermal camera from a safe distance, scanning slowly along the tape for abrupt temperature changes.
Compare readings against expected profile.
Look for hotspots (significantly higher) or cold zones (lower).
Avoid touching live tape, and follow PPE and clearance guidelines while observing.
Inspecting connections, thermostats, and controllers
After identifying temperature irregularities with a thermal scan, the next step is a methodical inspection of the system’s electrical connections, thermostats, and controllers to pinpoint causes that won’t show on a surface check.
Check terminal tightness, corrosion, and insulation integrity. Verify thermostat settings, calibration, and sensor placement.
Test controller outputs, fuses, and wiring continuity. Document findings and replace faulty components promptly.
Common Failures and How to Fix Them
Common failures include physical damage to the outer jacket or insulation, compromised end seals, and faulty connection points that require tightening, cleaning, or terminal replacement.
Self-regulating tape may suffer cuts or nicks in the conductor that can sometimes be repaired, but severely damaged sections should be replaced when repairs are unsafe or impractical.
The following steps describe repair methods for jackets and seals, techniques for conductor and terminal fixes, and criteria for when replacement is necessary.
Damaged outer jacket or insulation repair methods
Inspectors and technicians routinely encounter heat tape whose outer jacket or insulation has been cut, worn thin, or chemically degraded, exposing the heating element and increasing risk of short circuits or shock.
Assessment requires power disconnection and visual inspection; small abrasions may be repaired with rated self-fusing silicone tape or heat-shrink tubing rated for the tape’s temperature.
Severely damaged runs should be replaced to restore safety and performance.
Broken or corroded end seals and how to reseal
Many heat-trace failures trace back to broken or corroded end seals, where moisture ingress and mechanical damage compromise the electrical termination and create shock or short-circuit hazards.
Inspect seals for cracks, corrosion, or salt buildup. Clean surfaces with appropriate solvent, dry thoroughly, and apply manufacturer-approved heat-shrink end caps with adhesive or epoxy potting where specified.
Test insulation resistance before restoring service.
Faulty connection points: tightening, cleaning, and replacing terminals
Check connection points for looseness, corrosion, or discoloration, since faulty terminals are a leading cause of heat-trace failures.
Tighten screws to manufacturer torque, clean corrosion with a wire brush and contact cleaner, and replace damaged lugs or terminal blocks.
Re-seat and properly insulate connections with heat-shrink and appropriate sealant.
After repair, test continuity and insulation resistance before returning the system to service.
Repairing cuts or nicks in the conductor for self-regulating tape
When self-regulating heat tape sustains cuts or nicks in its conductive element, localized overheating, open circuits, or erratic temperature control can quickly follow.
Inspect damage, de-energize the circuit, and expose the conductors per manufacturer guidance.
Clean, splice using approved conductive repair kits or solderless connectors rated for self-regulating tape, insulate with manufacturer-specified heat-shrink or silicone repair sleeves, then test continuity and insulation before returning to service.
Replacing damaged sections when repairs are not feasible
Replace damaged sections of heat tape when cuts, crushes, or thermal degradation extend beyond what approved splice kits or sleeves can reliably restore.
De-energize the circuit, remove the damaged segment, and match replacement tape type, voltage, and length to the original.
Use manufacturer-approved connectors, maintain proper overlap and weatherproofing, and test continuity and insulation resistance before restoring power.
Document the repair and disposal of scrap.
Step-by-Step Repair Procedures
The following procedures outline the practical steps for repairing heat tape, beginning with preparing the damaged section and making a clean cutback.
It then covers safe splicing techniques and required materials, reinstalling and waterproofing end caps and joints, and replacing and wiring new tape to existing power and controls.
The sequence concludes with post-repair testing and verification to confirm proper operation and safety.
Preparing the damaged area and making a clean cutback
Begin by shutting off power to the heat tape circuit and verifying de-energization with a reliable tester; safety checks must precede any physical work.
Inspect the damaged section, remove surrounding debris, and mark a conservative cutback point into intact tape.
Use appropriate tools to make a straight, clean cut, preserving conductor integrity.
Deburr edges, clean insulation, and prepare for termination or splice.
Splicing two pieces of heat tape safely (materials and techniques)
Cut two matching lengths of heat tape back to clean conductor and insulation, then align their cores and outer jackets for a low-resistance, weatherproof splice.
Use crimp or soldered butt connectors rated for the tape’s gauge; insulate each conductor with heat-shrink tubing, then add overlapping adhesive-lined heat-shrink over the entire joint.
Secure with UV-resistant tape and let any solder cool before testing.
Reinstalling and resealing end caps and waterproof joints
Reinstalling and resealing end caps and waterproof joints requires careful alignment, clean surfaces, and the correct sealing materials to prevent moisture intrusion and restore full heat-tape functionality.
Inspect components for damage, replace cracked caps, slide caps fully over ends, and apply manufacturer-recommended sealant or heat-shrink boots.
Allow proper cure time, test for continuity and insulation resistance, and secure assemblies against strain and movement.
Replacing and wiring new heat tape to existing power and controls
After resealing end caps and confirming watertight joints, attention shifts to removing the old heat tape and integrating the new assembly with the existing power and control circuits.
Disconnect power, label conductor connections, and note thermostat or sensor placements.
Route new tape along original path, secure with approved fasteners, splice using weatherproof connectors, and restore grounded, code-compliant wiring before closing enclosures.
Post-repair testing and verification process
Begin the post-repair testing and verification by restoring power and observing system behavior under controlled conditions to confirm the new heat tape and associated controls function as expected.
Check for correct thermostat activation, consistent heating along the tape, secure electrical connections, and absence of overheating or sparking.
Record voltage, current, and surface temperature readings.
Reinspect after several operational cycles and document results for warranty and safety compliance.
Special Scenarios and Materials
The guide next distinguishes repairs for pipe-mounted heat tape from those used on roofs and in gutters, noting installation and fastening differences.
It then addresses challenges posed by insulated pipes, buried lines, and enclosed spaces where heat distribution and moisture control affect repair choices.
Finally, cold-climate factors and the need to start tape under load are introduced as critical considerations for safe, effective restoration.
Repairing heat tape on pipes vs. roof/gutter applications
Repairing heat tape requires different techniques and materials depending on whether it is installed around pipes or along roofs and gutters, because each application faces distinct thermal loads, exposure to weather, and mounting constraints.
For pipes, prioritize waterproof splice kits, secure clamps, and proper overlap to maintain heat transfer.
Roof/gutter repairs need UV-resistant adhesive tapes, corrosion-resistant fasteners, and careful sealing against wind and runoff.
Working with insulated pipes, buried lines, or enclosed spaces
When moving from open-air repairs on roofs or exposed pipe runs to insulated, buried, or enclosed installations, different inspection and connection practices are required.
Technicians should verify heat tape compatibility with insulation and soil, use moisture-resistant splices, and route leads to accessible junctions.
Probe for hotspots with thermal imaging, avoid compressing or displacing insulation, and follow manufacturer burial depth and conduit guidelines for safe, long-term performance.
Cold-climate considerations and starting under load
In many cold-climate deployments, installers must account for extreme ambient temperatures, wind chill, and intermittent power that can affect heat tape performance and longevity.
Recommendations include selecting rated self-regulating or constant-wattage tape, adding thermal insulation and vapor barriers, using properly sized GFCI-protected circuits, and staging loads to prevent inrush trips.
Guarantee gradual warm-up under load and verify continuity and thermostat calibration before finalizing.
When to Call a Professional
If a heat tape problem involves hardwired connections, circuit modifications, or HVAC components, a licensed electrician or HVAC technician should be engaged.
Local electrical codes, product warranties, and potential liability for improper repairs can require professional intervention.
Homeowners should prioritize safety and regulatory compliance when deciding to escalate repairs.
Situations requiring licensed electricians or HVAC technicians
Because improper installation or damaged heat tape can create fire and shock hazards, certain situations should be handled by licensed electricians or HVAC technicians rather than a homeowner.
Professionals are needed for exposed wiring, circuit breaker trips, burned insulation, unknown wiring configurations, improper grounding, damage to heating elements, integration with building electrical systems, and when local ordinances require permits or inspections.
Code, warranty, and liability considerations
Beyond safety and technical limits that warrant a licensed electrician or HVAC technician, homeowners should also consider legal, warranty, and liability implications before attempting heat tape work.
Local electrical codes, permit requirements, and insurance exclusions can void coverage if installations are noncompliant.
Manufacturer warranties often require professional installation.
When uncertainty exists about code interpretation, liability, or claims, hiring a licensed professional is advised.
Preventive Maintenance and Longevity Tips
A regular inspection schedule helps identify worn sections, loose connections, and damaged insulation before they cause failures.
Proper installation practices—secure attachment, correct overlap spacing, and appropriate power protection—reduce stress that shortens heat tape life.
Careful storage, gentle handling, and winterization steps extend durability and simplify seasonal reuse.
Routine inspection schedule and what to look for
When winter approaches, a consistent inspection schedule preserves heat tape effectiveness and prevents failures. Inspections should occur at least twice before freezing conditions—once during installation or system startup and once after prolonged cold exposure—with additional checks after storms or mechanical work.
Inspectors should note insulation gaps, exposed or cracked cord, loose connections, and overheating signs; document dates and findings.
- Visual damage or wear
- Secure mounting and contacts
- Thermal irregularities and moisture
Proper installation practices to avoid future failures
Install heat tape following manufacturer guidelines, correct electrical codes, and site-specific requirements to minimize failures and extend service life.
Position tape with proper spacing and securement, avoid overlapping or crossing, and maintain recommended contact with substrates.
Use correct voltage, appropriately rated controllers and GFCIs, guarantee proper terminations and weatherproofing, and route cables away from sharp edges, moving parts, and excessive heat sources.
Storage, handling, and seasonal preparation tips
Proper installation reduces many failure modes, but storage, handling, and seasonal preparation further protect heat tape from damage and degradation over time.
Store rolls coiled loosely in dry, temperature-controlled areas away from chemicals and UV. Handle with gloves to prevent cuts and oils.
Before winter, inspect for wear, test continuity, replace damaged sections, and secure fastenings.
Disconnect and drain when not needed.
Product Selection and Upgrades
Selection of heat tape should match the application’s required wattage, exposure conditions, and substrate to guarantee proper freeze protection without overloading circuits.
Recommended accessories such as thermostats, controllers, and monitoring devices can improve control, energy use, and safety.
When systems are aged or underperforming, upgrading to modern, energy-efficient tape and smart controls reduces risk and operating cost.
Choosing the right heat tape type and wattage for your application
When determining the appropriate heat tape for a job, consider both the tape type—self-regulating versus constant-wattage—and the required wattage per foot relative to the pipe material, diameter, insulation, and ambient conditions. Selection favors self-regulating for variable temperatures; constant-wattage suits consistent heat needs. Match wattage to freeze risk and insulation R-value.
| Factor | Recommendation |
|---|---|
| Pipe material | Adjust wattage |
| Diameter | Increase for larger |
| Insulation | Reduce with high R |
| Ambient | Raise in colder sites |
Recommended accessories: thermostats, controllers, and monitoring devices
Consider adding thermostats, controllers, and monitoring devices to improve heat tape efficiency, safety, and lifespan.
Select thermostats with appropriate temperature ranges and pipe sensors. Use programmable controllers for zone management and energy savings.
Remote monitoring units provide alerts for failures or overheating. Choose devices rated for outdoor use and compatible with existing power loads.
Prioritize UL/ETL-listed components and proper installation.
Upgrading old systems for efficiency and safety
After adding thermostats and monitoring devices, attention should turn to upgrading aged heat tape systems for improved efficiency and safety.
Inspectors recommend replacing brittle or cloth-insulated tapes with modern self-regulating or parallel-constant wattage models, ensuring proper voltage and GFCI protection.
Select UL/ETL-listed products, match length and heat output to application, and hire qualified electricians for complex retrofits to meet code and reduce hazards.
Troubleshooting Quick Reference
The troubleshooting quick reference lists common symptoms—such as uneven heating, tripped breakers, and visible damage—and pairs each with likely causes like loose connections, degraded elements, or improper installation.
It separates immediate, simple fixes (tightening connections, replacing a fuse) from long-term solutions (replacing the tape, upgrading to a safer model).
This concise guide helps prioritize actions based on severity and recurrence.
Common symptoms and likely causes
Identify common symptoms of heat tape failure and match each to likely causes to speed diagnosis and repair.
Observed signs guide whether wiring, element damage, or installation issues are responsible. Note environmental factors and age.
- No heat despite power: broken element, open circuit, or bad connection.
- Hot spots or burning: insulation damage or shorting.
- Intermittent operation: thermostat, moisture intrusion, or loose wiring.
Quick fixes vs. long-term solutions
Distinguish quick fixes from long-term solutions by matching symptom severity and safety risk to the appropriate response: temporary measures like tightening connections, replacing a fuse, or applying waterproof tape can restore function immediately but should be followed by scheduled reinspection, whereas permanent repairs—rewiring, replacing damaged heat tape, or correcting installation errors—address root causes and restore safe, reliable operation.
| Quick Fix | Long-Term |
|---|---|
| Tighten connections | Rewire damaged sections |
| Replace fuse | Replace heat tape |
| Apply waterproof tape | Correct installation errors |
Visual Guide and Diagrams
The article presents concise visuals showing a typical heat tape installation diagram, highlighting proper routing, attachment points, and power connections.
It also includes a clear repair splice illustration that outlines component placement, waterproofing steps, and safety clearances.
These diagrams aim to make troubleshooting and repairs straightforward for readers following the guide.
Typical heat tape installation diagram
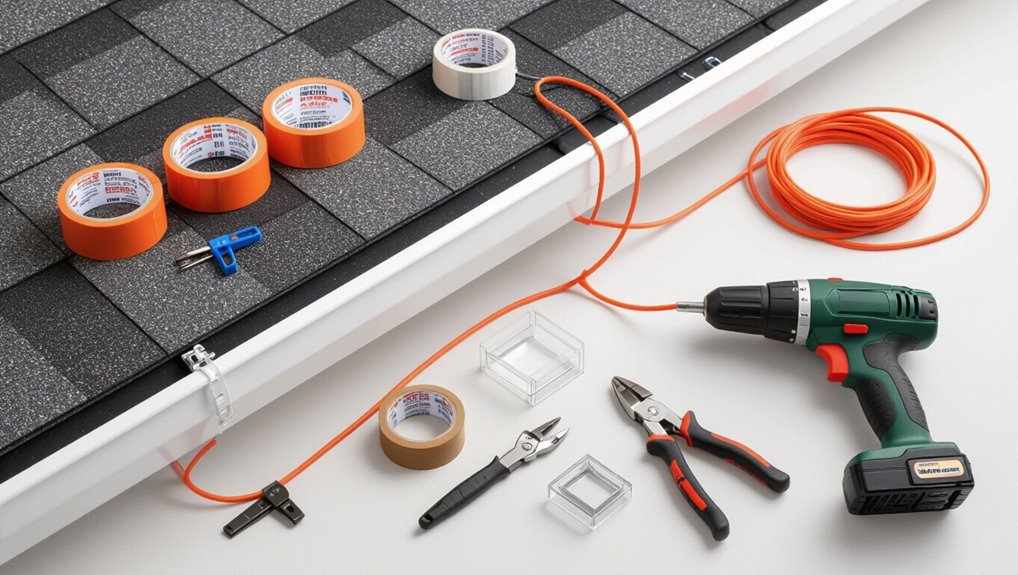
A clear, labeled diagram helps illustrate the typical layout for heat tape installations, showing the relationship between the heater, power source, pipe runs, and protective components.
The diagram typically shows tape running along pipe length, overlap restrictions, power connection location with GFCI, junction box placement, conduit or conduit-less routing, insulation layers, mounting clips, and clearances to valves and fittings for safe, code-compliant installation.
Common repair splice illustration
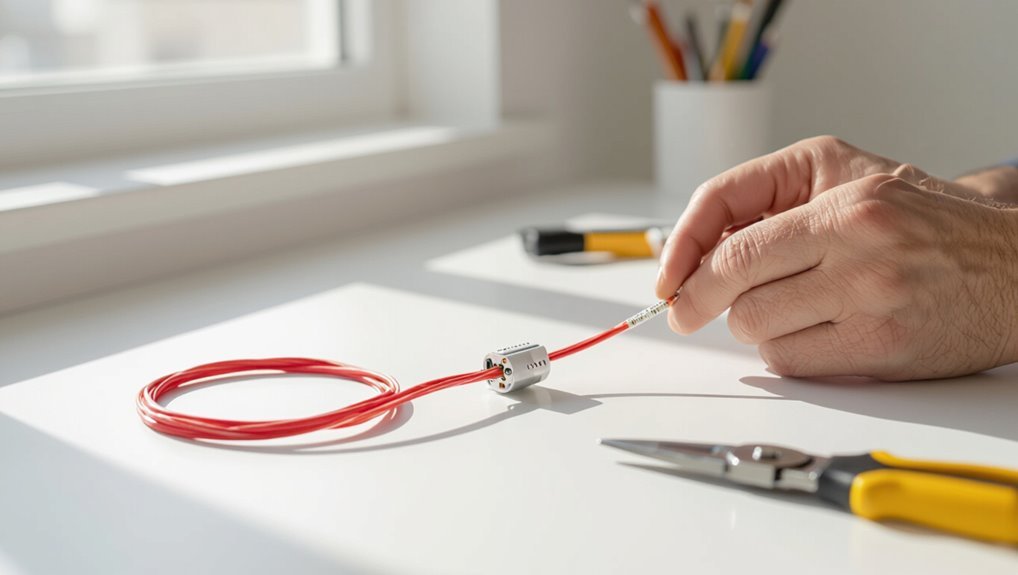
Begin by showing a clear, scaled diagram of a typical repair splice that identifies the damaged tape section, the cutback points, the splice connector or butt joint, heat-shrink sleeve, sealing compound, and grounding or bonding details.
Include labeled steps:
- remove damaged area,
- strip insulation to specified length,
- insert connector,
- crimp or solder per spec,
- slide heat-shrink,
- apply sealant,
- test continuity and insulation before reinstallation.
Conclusion
In the dim certainty of winter mornings, the thin braid of heat tape hums between frozen pipes and the patient hands that mend it. Practical tools and careful inspection restore warmth where brittle insulation once surrendered. Yet each repaired circuit sits beside the quiet memory of failure—fragile, instructive—reminding the reader that vigilance pairs with competence. The contrast of broken cold and renewed flow leaves a clear charge: repair promptly, maintain diligently, and respect the small, essential lines that keep frost at bay.
