How to Strap an Angle Valve Securely: Step-by-Step Guide for Plumbers and DIYers
To securely strap an angle valve, follow these essential steps to ensure proper support and prevent leaks. Start by measuring and marking strap locations, then shut off and drain the line. Position the valve to minimize torque and use corrosion-resistant straps with suitable anchors for the substrate. Apply the correct torque without over-tightening, allowing for thermal movement. Finally, pressure-test the system and inspect for leaks and any strap deformation. Continue reading for detailed methods, special scenarios, and testing guidance to ensure a successful installation.
What an Angle Valve Is and Why Proper Strapping Matters
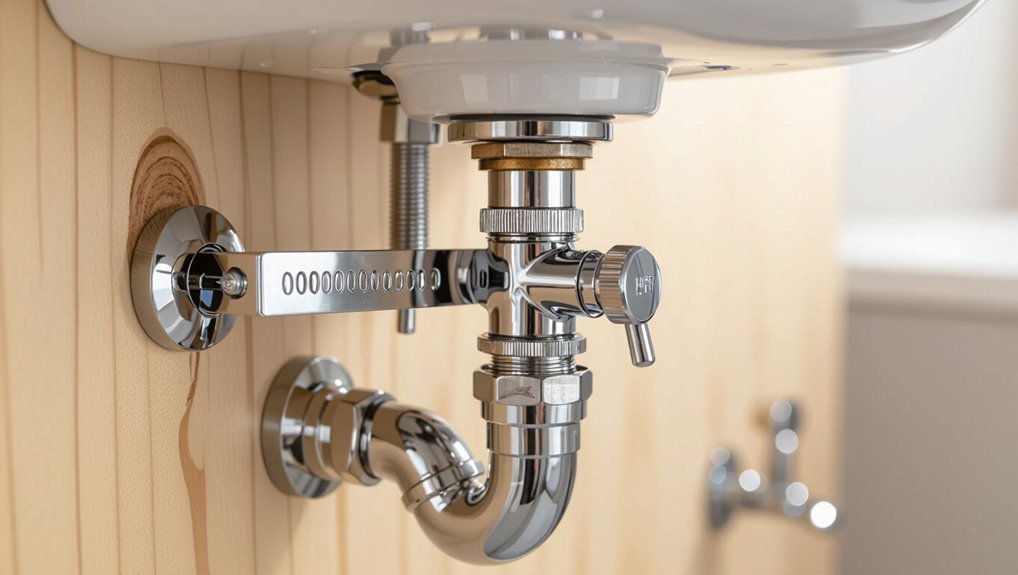
An angle valve is a compact plumbing fitting that redirects flow at a 90-degree angle and is commonly used for fixture shutoffs and appliance connections.
Improper strapping can cause leaks, pipe or valve stress, and vibration-related noise, compromising system integrity.
Proper securing should follow applicable standards and local codes to guarantee safety and maintain warranty and inspection compliance.
Definition and common uses of angle valves
Angle valves are compact plumbing fittings that change flow direction by 90 degrees, typically installed where a water line meets fixtures like sinks, toilets, or appliances.
They isolate supply lines for maintenance, allow fixture-specific shutoff, and fit tight spaces.
Professionals and DIYers learn how to strap an angle valve to secure positioning and reduce movement, ensuring reliable operation and simplified servicing.
Risks of improper strapping (leaks, stress, noise)
Failing to strap an angle valve securely can quickly lead to several avoidable problems that compromise performance and increase repair costs.
Improper strapping allows movement that stresses joints and connections, promoting leaks and accelerated wear. Vibration and pipe whip generate noise, fatigue fittings, and may loosen seals.
Left unaddressed, these issues cause water damage, unexpected failures, and higher maintenance frequency.
Applicable standards and local code considerations
Compliance with standards assures safety, reliability, and legal adherence when installing and strapping an angle valve.
Installers must follow manufacturer instructions, ASME, IPC/UPC plumbing codes, and local amendments covering support spacing, seismic bracing, and accessible shutoffs.
Inspections validate compliance; deviations require approved engineering.
Documentation and permits reduce liability and guarantee proper materials, fasteners, and installation techniques meet jurisdictional requirements.
Tools and Materials Needed
A concise list of tools—adjustable wrench, screwdriver, tape measure, and tubing cutter—sets the foundation for proper strap installation.
Materials and fasteners should be corrosion-resistant and rated for plumbing use, such as stainless steel straps and brass or stainless anchors.
The chosen strap type must match the valve size and pipe material to guarantee secure mounting and avoid galvanic corrosion.
Tools list
Several basic tools and materials are required to install or replace an angle valve.
Essential hand tools and measuring gear guarantee proper alignment and secure fastening. Typical items include:
- Adjustable wrench, pliers, and screwdriver set.
- Tape measure, level, and marker.
- Utility knife, plumber’s tape, and cleaning cloths.
Materials and fasteners suitable for plumbing straps
Many common plumbing straps are made from stainless steel, galvanized steel, or durable plastic, chosen for their corrosion resistance and load capacity.
Fasteners must match strap material and environment to prevent galvanic corrosion and loosening.
- Stainless bolts or machine screws for wet areas.
- Galvanized lag screws for wood framing.
- Nylon anchors and plastic straps for non-corrosive, light loads.
Choosing the right strap type for valve size and pipe material
Selecting the correct strap requires matching strap width, thickness, and material to both the valve’s body size and the pipe composition to guarantee secure support and avoid damage.
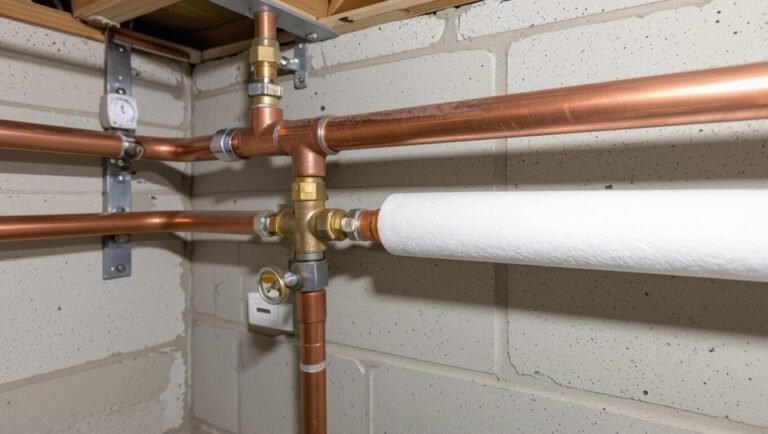
Stainless steel straps suit copper or steel pipes; plastic-coated metal or cushioned straps protect PVC or CPVC.
Narrow straps work for small angle valves; wider, thicker straps are needed for larger valves and higher loads.
Proper clamps prevent slippage.
Pre-Installation Checklist
Before any strapping begins, the installer inspects the angle valve and adjacent piping for damage, corrosion, and alignment.
Next, strap positions are measured and marked to guarantee secure, evenly spaced support without impeding valve operation.
Finally, the water supply is shut off and the line drained or bled according to safety procedures to prevent leaks during installation.
Inspecting the valve and surrounding piping
A careful inspection of the angle valve and adjacent piping guarantees a trouble-free installation: examine the valve body for cracks, corrosion, or deformities; check threads and compression fittings for wear or contamination; verify that nearby pipes are straight, free of excessive scale or rust, and properly supported; and confirm that shutoff and supply lines align with the valve inlet to avoid stress during connection.
Inspect seals and test for leaks.
Measuring and marking strap positions
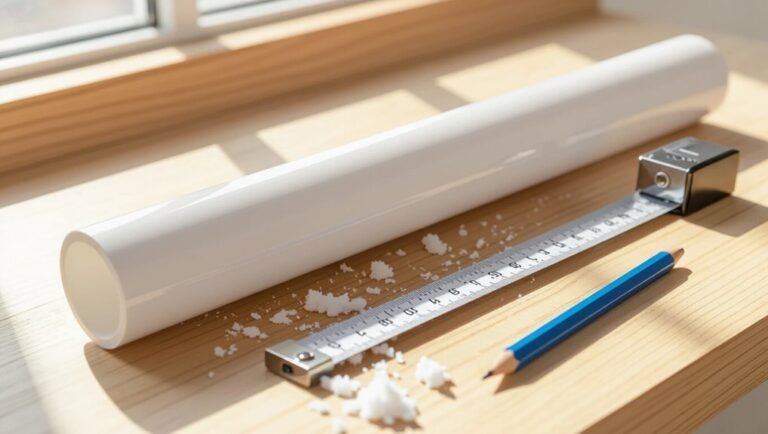
Measure the spacing and orientation of straps against the valve and adjoining pipe, using a tape measure and straightedge to guarantee alignment with the valve inlet and mounting points.
Mark strap centers with a pencil or marker, noting distance from valve body and any offsets for insulation or brackets.
Verify marks are level and symmetric, allowing secure, unobstructed fastening and future access for servicing.
Shutting off water and draining the line safely
Having marked and leveled the strap positions, attention shifts to isolating the water supply and depressurizing the line.
The technician closes the appropriate shutoff—main or localized—and opens a downstream faucet to relieve pressure.
After confirming flow cessation, they drain remaining water from the segment using a drain valve or bucket.
A pressure gauge or hand check verifies the line is safe for installation.
Step-by-Step Procedure to Strap an Angle Valve Securely
The procedure begins with positioning the valve for ideal support and identifying strap locations that reduce stress on fittings.
The technician then attaches the primary strap using recommended torque and technique, followed by secondary straps to control vibration and shear.
Methods for securing straps are adapted to mounting surfaces such as wood, metal, and masonry.
Positioning the valve for optimal support
Before securing straps, the installer should orient the angle valve so its body sits square to the pipe and the outlet aligns with the fixture inlet, ensuring the valve rests on a stable surface or bedding.
The installer then verifies clearance for nearby fittings, confirms the valve stem is accessible, and adjusts depth so the valve bears evenly without twisting, providing a solid, neutral starting position for strapping.
Selecting strap placement to minimize stress
With the valve properly oriented and resting evenly, attention turns to where straps will be placed to limit bending and torsion.
Straps should lie close to the valve body and on firm framing members, distributing load across two points when possible.
Avoid clamping directly on the compression nut or fragile fittings.
Maintain clearance for pipe expansion and access for future maintenance.
Attaching the first strap: technique and torque guidance
Position the first strap so it seats squarely against the valve body and a solid framing member, ensuring the strap aligns perpendicular to the pipe axis and clear of the compression nut or nearby fittings.
Center the clamp, hand-start fasteners, then tighten progressively with a torque wrench to manufacturer recommendations—typically moderate torque to secure without deforming the valve.
Verify immobility and no pipe distortion.
Installing secondary straps for vibration and shear control
Install secondary straps to control vibration and resist shear forces by placing them at strategic points along the branch and near the valve body.
Ensure each strap bears on solid framing and does not contact the compression nut or adjacent fittings.
Space straps to limit unsupported run length, use snug but non‑deforming tension, and orient straps to transfer loads into structure without inducing pipe creep or binding the valve.
Securing straps on different mounting surfaces (wood, metal, masonry)
After placing secondary straps to control vibration and shear, attention turns to securing those straps to the mounting surface: wood, metal, or masonry each require specific fasteners, anchor patterns, and preparation to guarantee load transfer without damaging the valve or pipe.
For wood use wood screws into studs; for metal use self-tapping or rivets into structural members; for masonry use sleeve or epoxy anchors sized to strap load.
Final adjustments and verifying valve operation
Begin final adjustments by loosening the strap fasteners just enough to allow minor movement of the valve and connected piping.
Then cycle the valve through its full range of motion while observing alignment, clearance, and the integrity of seals and joints.
Tighten straps incrementally, recheck motion and leak points, confirm smooth operation under normal pressure, and document torque settings and final positions for future maintenance.
Special Scenarios and Variations
The guide next addresses special scenarios that affect strapping technique and hardware selection.
It contrasts approaches for tight or confined spaces and for different pipe materials such as copper, PEX, and PVC.
It also covers under-sink and behind-fixture installations as well as requirements for seismic or high-vibration environments.
Strapping in tight or confined spaces
Working in tight or confined spaces requires modified strapping techniques that prioritize access, leverage, and safety. Installers should assess clearance around the angle valve, determine reachable strap angles, and choose tools and strap lengths that minimize twisting or undue force.
Use low-profile straps, angled or offset wrenches, and short ratcheting tools. Stabilize the pipe, work incrementally, and verify secure engagement without over-torquing.
Working with copper, PEX, and PVC pipe connections
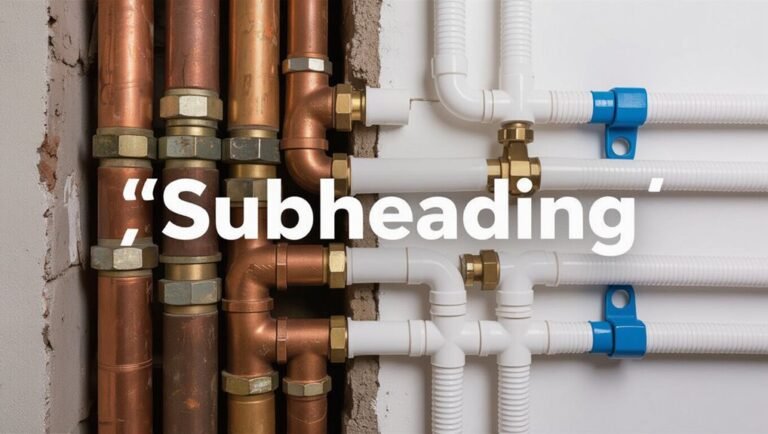
Different pipe materials demand tailored strapping approaches: copper requires care to avoid kinking or heat damage near sweat connections. PEX needs attention to fittings and expansion, and PVC calls for secure support without stressing solvent-weld joints.
Use appropriate straps, spacing, and cushioning: avoid overtightening copper, allow PEX movement with sliding or spring clips, and locate supports on PVC away from glued joints.
Strapping angle stop valves under sinks and behind fixtures
When pipe material and support choice have been considered for runs to fixtures, attention shifts to the confined spaces directly under sinks and behind toilets where angle stop valves sit.
Install straps to nearby studs, cabinet framing, or solid blocking, avoiding strain on supply lines and trap assemblies.
Use low-profile clamps, rubber pads to dampen movement, and secure fasteners accessible for future service, keeping clearances for shutoff operation.
Seismic or high-vibration environments
In seismic or high-vibration environments, strapping angle stop valves requires stronger anchorage, vibration-isolating materials, and routing that minimizes transfer of motion to fittings and supply lines.
Use reinforced straps, seismic-rated clamps, and flexible connectors with stainless braided hoses or approved isolation bends.
Anchor straps to structure, avoid rigid line spans, and inspect fasteners periodically for loosening or fatigue to guarantee long-term integrity.
Common Mistakes and How to Avoid Them
Common errors when strapping an angle valve include over-tightening that deforms pipes or valves, and positioning straps too close to joints or fittings.
Use of improper fasteners or strap materials can lead to corrosion, slippage, or damage.
Additionally, failing to allow for thermal movement and expansion can stress connections and cause leaks.
Over-tightening and deforming pipes or valves
Excessive torque on an angle valve risks cracking fittings, distorting threads, and collapsing soft copper or plastic pipes, often causing leaks or full failure.
Installers should use torque-limited tools, follow manufacturer torque specs, snug fittings by hand first, and inspect seals for deformation.
Replace damaged components immediately; do not rely on clamps or straps to compensate for compromised pipe integrity.
Placing straps too close to joints or fittings
Positioning straps too close to an angle valve can transfer stress to the joint, pinch soft tubing, or block access for maintenance, increasing the likelihood of leaks or premature failure.
Install straps at a recommended distance—typically one to two pipe diameters from fittings—to distribute load, preserve alignment, and allow wrench clearance.
Recheck placement after pressurization to confirm no movement or binding has occurred.
Using improper fasteners or strap materials
After confirming straps are placed at an appropriate distance from fittings, attention must turn to the fasteners and strap materials themselves; using the wrong type can undermine proper support and cause corrosion, slippage, or damage to the valve and piping.
Use stainless steel or brass hardware compatible with pipe material, avoid soft or brittle straps, match fastener size to strap slots, and torque to manufacturer specs.
Ignoring thermal movement and expansion needs
When installers neglect to account for thermal expansion and contraction, straps that are too tight or too rigid can transmit stress to angle valves and adjacent piping, leading to leaks, warping, or premature joint failure.
Installers should allow controlled movement using flexible straps, cushioned clips, or slip joints, maintain appropriate strap spacing, and follow manufacturer clearances to prevent stress accumulation and extend system longevity.
Testing and Quality Assurance
After strapping, pressure-testing confirms joint integrity and detects leaks before service.
A concise visual and tactile inspection checklist—covering strap tension, pad placement, corrosion, and movement—guides verification.
Supports should be re-strapped or replaced when inspections show slippage, deformation, persistent leaks, or compromised materials.
Pressure-testing after strapping
Begin pressure-testing with a clear procedure and calibrated equipment to verify that the strapped angle valve maintains seal integrity and mounting stability under expected system pressures.
Apply gradual pressure increments, hold at target pressure for a specified duration, monitor gauges and test points for drops, and note any audible or measurable leaks.
Record results, compare to acceptance criteria, and release pressure safely following protocol.
Visual and tactile inspection checklist
A structured visual and tactile inspection checklist guarantees that each strapped angle valve is evaluated consistently for surface defects, proper fastener torque, secure bedding of straps, and correct alignment with pipework.
- Confirm no cracks, corrosion, or paint flaking; feel for loose edges.
- Verify fastener torque to specification and that straps sit flush without deformation.
- Check valve alignment, pipe support contact, and absence of movement under gentle manual load.
When to re-strapped or replace supports
When testing and auditing strapped angle valve supports, objective criteria and recorded performance metrics determine whether re-strapping suffices or full replacement is required.
Inspection records, corrosion extent, load-bearing tests, leak history, and strap condition guide decisions.
Minor deformation, surface rust, or loose fittings favor re-strapping; structural compromise, threaded damage, or repeated failures mandate replacement to restore safety and code compliance.
Maintenance and Long-Term Considerations
A regular inspection schedule helps identify signs of wear such as loosening, cracking, or deformation before they cause leaks or failures.
Attention to corrosion prevention and material compatibility will extend service life, especially in wet or chemically aggressive environments.
When renovating, consideration should be given to upgrading straps and fasteners to modern standards and materials to guarantee continued reliability.
Periodic inspection schedule and signs of wear
Regular inspections every six months, with additional checks after any system disturbance, help detect early signs of wear on an angle valve and its straps.
Inspect for leaks, loosened fasteners, strap deformation, and movement. Note minor corrosion, cracking rubber or insulation, and handle stiffness.
Record findings, tighten or replace components as needed, and schedule immediate repairs for persistent leaks or structural compromise.
Corrosion prevention and material compatibility
Inspection findings often indicate areas where corrosion control and material compatibility require attention; identifying early rust, galvanic discoloration, or incompatible sealants guides selection of preventive measures.
Use corrosion-resistant straps (stainless steel or brass), compatible fasteners, and dielectric fittings where dissimilar metals meet.
Apply suitable sealants and protective coatings, guarantee dry mount locations, and document materials to prevent future chemical or electrochemical reactions.
Upgrading straps during renovations
During renovations, upgrading angle valve straps offers an efficient opportunity to improve durability and serviceability without extensive plumbing disruption.
Professionals or skilled DIYers should replace worn straps with stainless steel or brass, add adjustable or cushioned models for vibration isolation, and verify fasteners and mounting surfaces.
Upgrades simplify future maintenance, reduce leak risk, and align with updated codes and fixture changes for long-term reliability.
Quick Reference: Step Summary and Best Practices
Prepare the work area and shut off water supply. A concise checklist follows for secure angle valve strapping, emphasizing safety, fit, and testing.
- Inspect valve, select correct strap, position and tighten without over-compression.
- Seal joints, support adjoining pipe, verify alignment.
- Restore water, check for leaks, retighten if needed; document work and advise homeowner on maintenance.
Comparison of Common Strap Types and Their Uses
A concise overview of common strap types helps select the right hardware for securing an angle valve. The text compares stainless steel, copper, and nylon straps by strength, corrosion resistance, and typical use. Choose based on environment, load, and code.
| Type | Strength | Typical Use |
|---|---|---|
| Stainless steel | High | Wet/industrial |
| Copper | Medium | Plumbing systems |
| Nylon | Low | Temporary/light-duty |
Conclusion
Proper strapping of an angle valve prevents movement, leaks, and premature wear. A well-strapped installation follows manufacturer torque limits, uses appropriate materials, and accounts for thermal and structural forces. For example, a municipal housing project reduced call-backs by 40% after crews standardized on stainless-steel cushioned straps and clip spacing per code, eliminating stress on valve fittings. Regular inspection and corrective tightening guarantee longevity and reliable performance.