Quick & Easy Ways to Unclog Drain Pipe Fast (No Chemicals!)
If you’re looking for quick and effective ways to unclog a drain without using chemicals, homeowners can use simple mechanical methods. Start by using a cup or flange plunger, making sure it seals well and that water covers the lip; then pump vigorously. If that doesn’t work, consider removing the P-trap to clear out debris or use a hand auger/zip tool to break or snag the clog. Additionally, a wet/dry vacuum sealed over the drain can help extract obstructions. For more detailed step-by-step options and safety tips, continue reading.
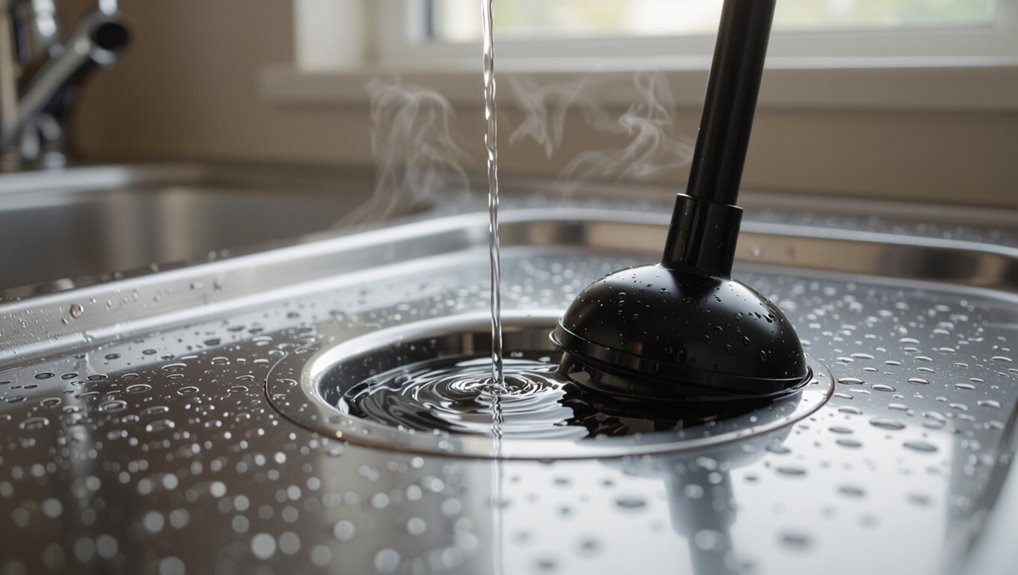
Fastest Fix: Use a Plunger to Unclog Drains
A plunger provides the quickest solution for most clogged drains by creating suction and pressure to dislodge blockages.
The user selects a flange or cup plunger matching the fixture, seals around the drain, and maintains a steady, forceful rhythm of pushes and pulls.
Water depth should cover the plunger lip to maximize seal; add water if necessary.
After several strokes, a sudden release or improved drainage indicates success.
If partial clearing occurs, repeat and flush with hot water to remove residue.
Persistent clogs may require alternative mechanical methods or professional help; avoid chemical cleaners.
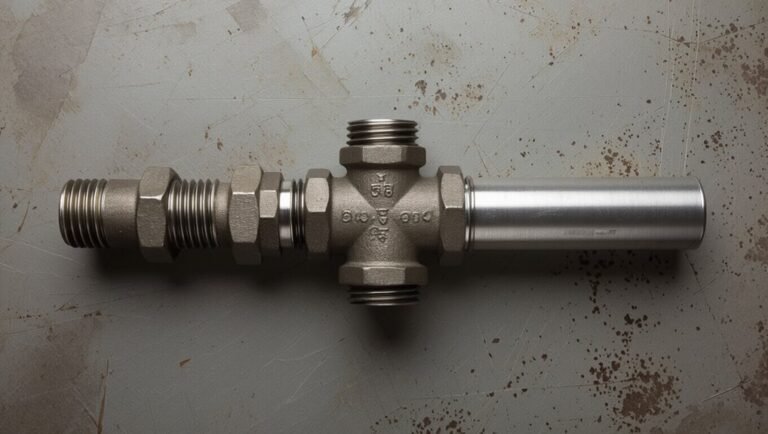
Remove and Clean the P‑Trap Quickly
Start by shutting off the water supply and placing a bucket beneath the P‑trap to catch spills; this prevents mess and makes removal safer.
Wear gloves, loosen slip nuts with channel pliers or by hand, and lower the trap straight down.
Inspect for hair, grease, and debris; remove buildup with a brush or cloth.
Rinse the trap and check seals and washers for wear; replace worn washers to prevent leaks.
Reassemble snugly without overtightening, restore water, and run the faucet to confirm flow and check for leaks.
Dispose of debris properly and sanitize the area afterward.
Clear Clogs With a Drain Snake or Auger
Next, the article covers using a drain snake or auger to dislodge stubborn blockages.
It explains how to choose the right auger type and length for the pipe size and clog location.
It then outlines proper snake technique to feed, rotate, and withdraw the tool without damaging the line.
Choosing The Right Auger
Selecting the appropriate auger depends on the drain type, clog severity, and available access.
For sinks and tubs, a small handheld drum or flat-head snake provides maneuverability in tight P-traps and pop-up assemblies.
For toilets, a toilet auger with a protective sleeve prevents porcelain damage and reaches the trap curve.
For longer blockages in main lines, a heavy-duty cable or motorized auger offers greater reach and torque. Cable thickness and length should match blockage depth and pipe diameter.
Material quality, flexible shaft construction, and easy-to-clean heads improve durability and reduce the chance of pipe harm.
Using A Drain Snake
After choosing an auger suited to the pipe and clog, the operator prepares to use the drain snake by assembling the tool, protecting surrounding fixtures, and locating the access point.
The snake is fed slowly into the drain while turning the handle clockwise to advance the coil. Resistance indicates contact with the obstruction; gentle push-and-pull motions coupled with continued rotation break or entangle the clog.
Once movement resumes, retract the cable carefully, catching debris on a rag to prevent mess. Repeat feeding and withdrawal until the cable advances smoothly.
Finish by flushing the line with hot water to confirm full flow restoration.
When to Rent a Zip Tool or Hand Auger
A homeowner should consider renting a zip tool or hand auger when persistent clogs resist plunging and chemical cleaners.
Selection depends on pipe diameter, clog location, and tool reach—zip tools for hair and shallow buildups, hand augers for deeper or tougher blockages.
Cost, comfort using the tool, and access to the pipe also influence the decision.
When To Rent
When a clog resists plunging and chemical cleaners, renting a zip tool or hand auger becomes a practical next step; these tools are suited to different situations—zip tools for shallow, pop-up-stopped sink clogs and hand augers for deeper blockages in longer runs or bathroom drains.
Rent when basic methods fail, when access is limited, or when recurring clogs suggest a stubborn obstruction. Short-term rental avoids buying costly specialty gear for one job.
Inspect tool condition and rental terms, estimate needed cable length, and confirm portability. Prioritize safety gear and clear workspace.
If uncertainty about scope or pipe condition exists, consider professional assessment instead.
Choosing The Right Auger
In choosing between a zip tool and a hand auger, match the tool to the clog’s location, severity, and the pipe layout: zip tools excel at clearing hair and small debris trapped near the drain opening or under pop-up stoppers, while hand augers reach deeper blockages in long runs, traps, and bathroom drains.
A zip tool rents cheaply and works quickly for shallow clogs in sinks and tubs; avoid forcing it into tight bends.
A hand auger (plumber’s snake) handles tougher obstructions and longer distances but requires care to avoid damaging finishes or PVC.
Consider access, pipe material, and frequency of use when renting.
Use a Wet/Dry Vacuum to Suck Clogs Out
Using a wet/dry vacuum offers a fast, mechanical method to remove stubborn clogs by creating strong suction that pulls debris free from the pipe.
The operator seals the hose over the drain, sets the vacuum to liquid mode if available, and uses towels or a rubber coupling to improve the seal.
Intermittent back-and-forth suction can dislodge hair, gunk, and small objects.
After extraction, the trap should be inspected and cleaned to prevent recurrence.
Safety precautions include wearing gloves and eye protection and ensuring electrical connections remain dry.
This technique minimizes mess and avoids chemical use.
Boiling Water + Salt: A Safe Method
A simple boiling-water technique involves slowly pouring near-boiling water down the drain in stages to soften and flush away grease and organic buildup.
Adding a few tablespoons of salt before or between pours increases the solution’s abrasive action and can help break up greasy residues.
This low-risk method is suited for routine maintenance and minor clogs without chemicals or special tools.
Boiling Technique Basics
Pouring a mixture of boiling water and salt down a slow sink creates a simple, chemical-free way to clear light clogs.
The technique requires cautious handling: heat water to a rolling boil, dissolve coarse salt, and pour slowly in stages to allow heat and agitation to work.
Repeat after a short pause if flow remains sluggish.
Use a kettle with a spout for control and protect hands with oven mitts.
Avoid porcelain or older PVC fixtures if thermal shock is a concern.
This method suits routine maintenance and minor blockages; it is not a substitute for professional plumbing on severe obstructions.
Why Salt Helps
After outlining the basic boiling-water routine, it helps to understand what the added salt does. Salt increases water’s abrasive and thermal transfer properties slightly, helping dislodge grease and soften organic buildup. It also reduces surface tension, allowing hot water to penetrate clogs more effectively. Salt is safe for pipes and septic systems when used modestly; it won’t introduce harsh chemicals. For best results, pour coarse salt down the drain before following immediately with boiling water. Repeat once if needed. The method complements mechanical clearing and minimizes chemical exposure.
| Component | Role | Benefit |
|---|---|---|
| Salt | Abrasive | Scrapes grease |
| Heat | Softens buildup | Breaks bonds |
| Water | Flushes debris | Carries away |
| Repeat | Improves effect | Clears further |
Baking Soda + Vinegar: How to Make It Work
Mixing baking soda and vinegar can produce fizzing that helps dislodge light clogs, but its effectiveness depends on proper proportions, timing, and follow-up rinsing.
For best results, pour about half a cup of baking soda into the dry drain, then slowly add one cup of white vinegar. Allow the reaction to work for 10–15 minutes; covering the drain can focus the fizz downward. After waiting, flush with a kettle of boiling water or several cups of hot tap water to carry loosened debris away. Repeat once if needed. This method suits organic build-up, not hard obstructions or damaged pipes.
What to Do If Those Methods Fail
If the baking soda‑and‑vinegar trick and basic plunging fail to clear the drain, escalate cautiously: try a hand auger to reach and break up deeper clogs, use a wet/dry vacuum on the drain opening to extract debris, or remove the P‑trap to inspect and clear trapped buildup.
Wear gloves and eye protection; have a bucket and towels ready. Feed the auger slowly, rotating to snag obstruction without damaging pipes. Flush with hot water after clearing.
If repeated attempts and mechanical methods don’t restore flow, avoid further DIY attempts that risk damage and consult a licensed plumber for diagnosis and safe repair.
Signs Your Main Sewer Line Is Clogged
When sink backups, slow drains, plunging, and short auger runs fail to fix recurring blockages, the problem may be in the main sewer line rather than a single fixture. Signs point beyond isolated clogs and indicate systemwide issues needing prompt attention.
- Multiple drains back up simultaneously, especially toilets, tubs, and sinks.
- Gurgling noises from drains when other fixtures run, indicating air trapped by obstruction.
- Foul sewage odors around the yard, basement, or drain cleanouts, suggesting leaks or overflow.
- Lush, soggy patches in the lawn or unexpected sinkholes over the sewer path, evidence of pipe failure.
Quick Maintenance to Prevent Clogged Drains
Alongside occasional professional inspections, simple routine actions keep household drains moving and reduce the risk of serious blockages.
Residents are advised to clear visible debris from strainers after each use, flush drains with hot water weekly, and run cold water while a garbage disposal operates to help solids pass.
Hair-catchers in showers and sink screens prevent accumulation; these should be emptied regularly.
Grease should never be poured down sinks; instead, collect and dispose of it in the trash.
Periodic slow-flow monitoring catches issues early, prompting prompt snaking or inspection before minor slowdowns become costly, disruptive backups.
Tools and Supplies Every Homeowner Should Keep on Hand
Stock a small kit of basic plumbing tools and supplies so minor drain problems can be addressed quickly before they worsen. Essential items save time and prevent escalation. Include commonly used, versatile pieces to handle hair, grease, and small blockages.
- Plunger — cup and flange types for sinks and toilets.
- Drain snake (hand auger) — clears deeper obstructions.
- Zip ties, gloves, and a small flashlight — for safety and access.
- Pipe wrench, adjustable wrench, and replacement washers — for quick disassembly and seals.
Keep items accessible, inspect periodically, and replace worn components to guarantee readiness.
Conclusion
Like a small boat finding its way through tangled marsh reeds, the homeowner moves patiently through plungers, traps, and snakes, steady hands untangling what clogs the path. Each simple tool becomes a loyal oar, each quick repair a breath of wind, and the sink, once stubborn, slips back to smooth current. With attentive care and light upkeep, the household’s waterways remain clear—quiet rivers restored, ready to carry life forward.