How to Unclog AC Unit Drain Pipe Fast: DIY Steps & Tips
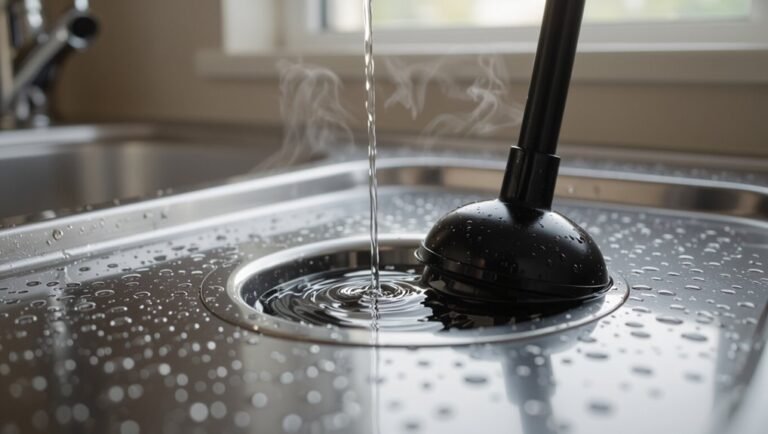
To quickly unclog your AC unit drain pipe, start by shutting off power to the air handler. Locate the condensate T-trap or PVC access, then use a wet/dry vacuum to remove sludge by sealing it to the drain end for 30-60 seconds. After that, gently probe the drain with a flexible nylon brush or a small snake, then flush it with water or a cup of vinegar. Remember to wear gloves and eye protection, avoid using harsh chemicals, and test the float/overflow afterward. More detailed steps and safety tips are available to guide you through the process.
Quick Fix: 3‑Minute Method to Unclog an AC Condensate Drain
Start by turning off the HVAC system and locating the condensate drain access—usually a PVC T‑trap near the indoor air handler.
A three‑minute method begins by removing the T‑trap cap and inspecting for visible debris.
Using a wet/dry vacuum on the drain line end, apply firm suction for 30–60 seconds to dislodge sludge.
If accessible, insert a flexible brush or pipe cleaner gently to break up residue, avoiding force that could damage piping.
Reinstall the cap, restore power, and run the system to confirm drainage.
If water drains freely, the quick fix succeeded; otherwise, further diagnostics are needed.
Is the Condensate Drain Clogged? 6 Quick Signs
How can one tell if the condensate drain is clogged? Visible water pooling near the indoor unit, unusually high humidity in the conditioned space, or water stains on ceilings/walls indicate restricted flow.
Reduced cooling efficiency, frequent short cycling, and unexplained increases in energy use can also signal drainage issues.
Check for musty odors suggesting standing water and listen for gurgling or bubbling when the system runs.
Prompt recognition prevents overflow and mold.
Simple observation of these six signs guides whether further inspection or cleaning is needed.
- Water pooling or stains
- Musty odors or high humidity
- Gurgling sounds and reduced performance
Access the Drain Line & Pan Quickly
After observing signs of a clogged condensate drain—water pooling, musty odors, gurgling noises—attention turns to accessing the drain line and the condensate pan to verify and correct the problem.
The technician locates the indoor air handler, removes the service panel, and inspects the pan for standing water and debris. The drain line’s access point, often a PVC stub or removable cap, is identified and cleared of visible blockages.
If necessary, the drain trap is gently removed for inspection. Visual checks determine whether a simple flush or deeper cleaning is required before proceeding to corrective steps.
Safety Checklist and Essential Tools Before You Start
Before beginning work on the AC drain pipe, the technician verifies appropriate protective gear and clothing to guard against contaminants and sharp edges.
Power isolation steps are confirmed to make certain the unit is de-energized and safe to work on.
A concise list of required tools and materials is assembled so the job proceeds efficiently and without unexpected trips for supplies.
Protective Gear And Clothing
Technicians should always wear appropriate protective gear and clothing when working on an AC drain pipe to prevent chemical exposure, cuts, and contamination from mold or standing water. Gloves should be chemical-resistant nitrile or neoprene; long sleeves and pants protect skin from splashes and sharp edges.
Eye protection is required to guard against cleaners and debris; a face shield is advised for pressurized flushing. Closed-toe, non-slip footwear prevents slips and punctures.
Disposable coveralls are useful for heavy mold or biofilm removal and allow safe removal after work.
- Nitrile gloves, long sleeves, pants
- Safety goggles or face shield
- Non-slip closed-toe shoes
Power Isolation Steps
Having donned appropriate protective gear, the technician must isolate all electrical power to the air conditioning unit to prevent shock or unintended activation of fans and pumps.
Next, locate and switch off the service disconnect at the outdoor condenser; if present, open and lock the disconnect.
Turn off the indoor circuit breaker dedicated to the unit at the main panel and verify its label matches the unit.
Use a non-contact voltage tester to confirm absence of live voltage at the condenser and control box.
Post a warning tag on the panel.
Only proceed after confirming zero voltage and secure isolation.
Tools And Materials Needed
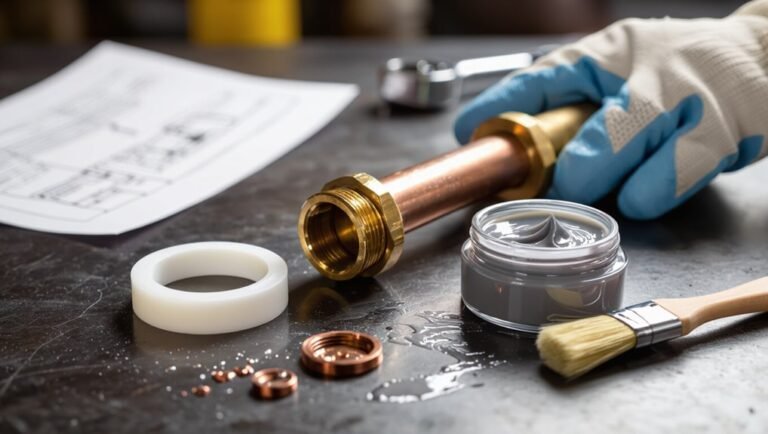
With power confirmed isolated and tagged, the technician assembles a concise safety checklist and the specific tools needed to clear the condensate drain: safety glasses, nitrile gloves, a pump sprayer or wet/dry vacuum, a stiff nylon brush or drain snake sized for the condensate line, a shop rag, a bucket, PVC or copper-compatible cleaning solution (or distilled white vinegar), pipe sealant or slip couplings for minor repairs, and a flashlight or inspection camera to verify flow.
The checklist notes lockout verification, ventilation, and first-aid readiness. Tools are inspected for damage, hoses and fittings matched to pipe size, and disposable items staged for disposal.
- Personal protective equipment
- Cleaning and suction tools
- Repair and inspection supplies
Use a Wet/Dry Vacuum: Step‑By‑Step Method
Begin by preparing the work area and gathering a wet/dry vacuum, appropriate adapters, and safety gear; this guarantees a focused, efficient procedure for clearing the condensate drain.
Attach the correct adapter to fit the drain outlet or condensate line, creating a tight seal.
Set the vacuum to liquid mode if available.
Place the hose over the drain opening and run the vacuum for 30–60 seconds, then inspect for suction and removed debris.
Repeat in short intervals, checking the vacuum collection canister.
After clearing, flush the line with a small amount of water to confirm flow and reassemble components.
If the Vacuum Fails: Next Steps to Try Immediately
If a wet/dry vacuum does not clear the clog, the technician should confirm the vacuum setup and try again with a longer hose or stronger suction.
If repeated vacuuming fails, attention should shift to locating an alternative access point, such as a secondary drain pan outlet or an upstream cleanout.
These immediate steps help determine whether the obstruction is reachable or requires professional inspection.
Try A Wet/Dry Vacuum
After attaching a wet/dry vacuum to the condensate drain, run it on high for several minutes to pull out sludge and debris that typical siphoning won’t clear.
The operator should seal the hose firmly at the access point, inspect the recovered water for particulates, and repeat until outflow appears clear.
If resistance persists, briefly reverse vacuum direction if the unit allows, then retry suction.
After successful clearing, flush the drain with a cup of vinegar and water to reduce future buildup.
Monitor the drain pan and resume normal system operation only when drainage is consistent.
- Seal hose and test suction
- Inspect and repeat
- Flush with vinegar and water
Check Alternative Drain Access
When the wet/dry vacuum fails to clear the condensate line, the technician should locate and access alternate drain points such as the secondary cleanout, a floor-level drain, or the condensate pump inlet.
Inspect accessible fittings and remove covers, noting gasket condition.
Use a flexible plumbing snake or small brush to dislodge blockages from these entry points, feeding gently to avoid pushing debris farther.
Flush with warm water to confirm flow, catching runoff.
If the pump inlet is clogged, clear float mechanism and check impeller.
Reassemble securely and test system operation.
If resistance persists, document findings and recommend professional service.
Flush the Condensate Line With Vinegar and Water
Flush the condensate line with a vinegar-and-water solution to dissolve mineral deposits and inhibit mold growth. The technician mixes a 1:1 white vinegar and warm water ratio, pours it into the condensate drain access or overflow pan, and allows 15–30 minutes for action.
After soaking, the line is flushed with clean water until clear runoff appears. Routine quarterly flushing reduces clogs and odor without harsh chemicals.
- Locate the drain access or service port and remove the cap.
- Pour the vinegar solution slowly; wait 15–30 minutes.
- Flush with clean water and replace the cap.
Use a Plumber’s Snake or Drain Auger Safely
Using a plumber’s snake or drain auger can dislodge stubborn blockages that vinegar and water cannot, but it requires careful technique to avoid damaging the condensate line.
The technician should feed the cable slowly into the access opening, rotating the handle gently to break up clogs while avoiding forceful pushes that may puncture PVC.
Retrieve debris incrementally, cleaning the tip between passes.
Use a snake sized for the line diameter and protect fittings with a rag or tape.
After clearing, flush the line with water to confirm flow.
If resistance persists or fittings loosen, stop and consult a professional.
When (and How) to Use Compressed Air or a Pressure Washer
Compressed air may be appropriate for clearing soft clogs near accessible drain openings, while a pressure washer can be effective only for heavy obstructions and sturdy, rigid piping.
Both methods require careful pressure control to avoid damaging PVC fittings, collapsing soft tubing, or forcing debris further into the system. Proper safety limits and gradual pressure increases should be emphasized before attempting either technique.
When To Use Compressed Air
A technician should consider compressed air or a pressure washer when a drain line is clogged with soft debris, sludge, or standing water that resists simple mechanical clearing.
Compressed air is appropriate when the line is accessible, fittings are secure, and pressure can dislodge buildup without risking joint failure. It clears organic matter and water pockets quickly; use short bursts and monitor for backflow into the unit. Avoid if the clog is hard scale or the line shows cracks. Follow tool instructions and isolate electrical components before applying pressure.
- Assess accessibility and line condition.
- Use short, controlled bursts.
- Watch for backflow and leaks.
Pressure Washer Safety Limits
After considering when compressed air is appropriate, attention turns to the safety limits specific to pressure washers: the technician must match pressure and nozzle selection to the pipe material and joint integrity to avoid ruptures or forced contaminants into the system.
Pressure washers exceed safe limits for plastic PVC at relatively low PSI; rigid copper tolerates more but joints and trap seals remain vulnerable.
Use low-pressure settings (under 500 PSI) and wide-angle nozzles, keep the wand steady, and avoid direct insertion into fittings.
Test incrementally, inspect for leaks, and stop immediately if seams bulge, water becomes discolored, or odors suggest disturbed biofilm.
Clean the Condensate Drain Pan and Test the Overflow Switch
With the drain pan exposed, inspect it for standing water, sludge, mold, or corrosion that can impede drainage and promote microbial growth.
Remove debris, wipe surfaces with a mild detergent or diluted bleach solution, and rinse thoroughly.
Confirm the pan drains to the condensate line unobstructed.
Locate the overflow switch and test it by gently lifting the float or adding water until the switch trips; the system should shut off. If the switch fails, replace it.
Reassemble components, confirm secure connections, and run a short cooling cycle to verify normal drainage and switch operation.
- Clean pan surfaces
- Test overflow switch
- Verify operation
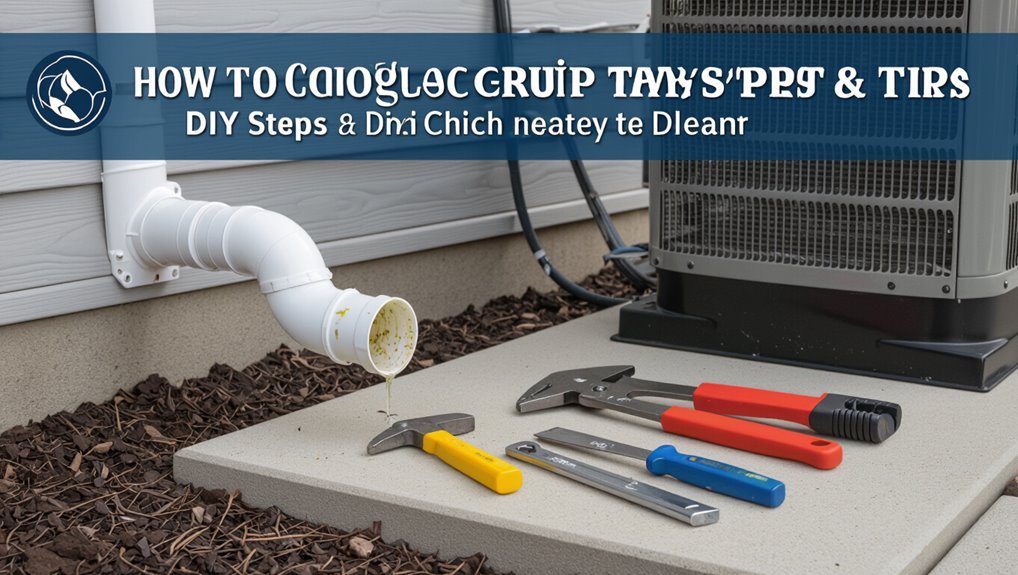
Clearing Roof or Exterior Condensate Line Blockages Fast
On rooftops or at exterior outlets, condensate lines can clog from debris, algae, or bird nests, causing backups and water damage; prompt isolation and targeted clearing restore flow quickly.
A technician or capable homeowner first shuts off power and locates the external condensate termination. Remove visible obstructions and wear gloves and eye protection.
Use a wet/dry vacuum at the outlet to draw blockages back from the roof; if vacuuming fails, gently snake the line with a flexible auger sized for the pipe.
Flush with low-pressure water or a 50/50 water-vinegar rinse to clear residue, then verify steady drainage.
Temporary Fixes When You Can’t Reach the Clog (Risks)
When the condensate line cannot be accessed, technicians may use a temporary drain pan bypass or add a condensate pump to prevent overflow. Both methods reduce immediate water damage risk but do not remove the underlying clog.
Each temporary fix carries risks—improper pump installation, overflow if power fails, and delayed proper repair—so they should be followed by a permanent solution.
Temporary Drain Pan Bypass
As a short-term workaround for an inaccessible clog, a temporary drain pan bypass redirects condensate away from the overflow switch to prevent immediate water damage.
It is a stopgap measure that reroutes flow into a safe container or alternate drain, reducing spill risk while a proper repair is scheduled.
Risks include overflow if the temporary route is not monitored, potential mold growth, and voiding warranties if components are removed or altered.
- Make sure power is off and place a clean container beneath the bypass outlet.
- Use a secure, non-kinking hose and clamp connections.
- Check frequently and arrange permanent repair promptly.
Condensate Pump Installation
By installing a condensate pump, the system can actively move collected water to a distant drain or safe discharge point when gravity drainage is blocked or inaccessible. A condensate pump serves as a temporary workaround when the primary drain is clogged and unreachable.
Installation requires secure placement, correct tubing routing, and an electrical connection or plug-in; improper setup risks leaks, electrical hazards, or pump failure. Regularly inspect the pump, test float switches, and empty or service the reservoir per manufacturer guidance.
This measure is meant as a short-term fix; prompt professional cleaning or replacement of the blocked drain remains the recommended permanent solution.
Preventive Maintenance Routine to Stop Clogs
Regularly inspecting and maintaining the AC drain line prevents buildup and costly clogs. A simple, consistent routine keeps condensate flowing and detects issues early.
Monthly visual checks, clearing accessible debris, and confirming proper slope reduce risk. Seasonal tasks before heavy use guarantee reliable operation.
- Inspect: Look for sagging, leaks, mold, or standing water; tighten fittings and restore slope.
- Flush: Run water through the drain pan and line to remove loose deposits; verify outflow.
- Replace/filter: Change HVAC filters regularly and clean the pan; consider installing a float switch for backup shutdown.
Best Drain Line Cleaners and Tools to Buy (DIY Kit)
For homeowners assembling a DIY kit, selecting the right drain line cleaners and tools guarantees effective, safe maintenance without calling a technician.
Recommended items include a wet/dry vacuum for suctioning blockages, a flexible nylon drain brush for scrubbing inside PVC, and a condensate drain cleaning kit with tubing for flushing.
Use enzyme-based drain cleaners to break organic buildup safely; avoid harsh acids.
Include a flashlight, safety gloves, and eye protection.
A small mirror aids inspection.
Optional: a clear PVC inspection trap to monitor flow.
Quality, compatibility with the unit, and noncorrosive formulations assure reliable, low-risk results.
Common Mistakes That Make Clogs Worse (And How to Avoid Them)
Moving from selecting proper tools and cleaners to performing the work, homeowners can inadvertently worsen clogs through common missteps. Errors include using excessive force, combining incompatible chemicals, and ignoring proper drainage angles. Each mistake can push blockages deeper, damage pipes, or create hazardous reactions. To prevent escalation, follow equipment guidance, choose safe cleaners, and verify pipe slope before flushing.
- Forcing drain snakes or brushes — stops, punctures, or dislodges debris into traps.
- Mixing bleach with acids or ammonia — produces toxic fumes and corrodes fittings.
- Flushing without checking slope — causes pooling and recurring backups.
Typical Costs & Time: DIY vs Professional Unclogging
How long will it take, and what will it cost? A homeowner can clear a simple drain in 30–60 minutes using a wet/dry vacuum, brush, and bleach; material cost typically $0–$30. A professional visit often runs $100–$250 and takes 1–2 hours, including diagnosis and warranty. Complex blockages, mold, or access issues increase time and price.
| Service Type | Typical Time | Typical Cost |
|---|---|---|
| DIY basic clean | 30–60 minutes | $0–$30 |
| DIY with tools | 1–2 hours | $20–$80 |
| Professional service | 1–2 hours | $100–$250 |
Final Troubleshooting Checklist If the Drain Still Backs Up
What else can be checked when an AC drain still backs up? A concise final checklist isolates overlooked causes before calling a pro. It guides a systematic recheck of airflow, drain integrity, and safety devices to prevent recurring clogs or water damage.
- Inspect the condensate pan and nearby pipes for cracks, rust, or slow leaks; replace or patch as needed.
- Verify the condensate pump (if present) runs, its float switch moves freely, and its discharge line is clear.
- Confirm HVAC filter condition and blower operation; restricted airflow can create excess condensation that overwhelms the drain.
Conclusion
When the condensate drain clogs, a swift DIY approach can save a summer — or feel like rescuing an entire city from a downpour. The homeowner follows safety steps, inspects the pan and line, tries a wet/dry vacuum and approved cleaners, then avoids common pitfalls. If problems persist, professional service is the sensible fallback. Persistent attention and routine maintenance keep the system draining smoothly and prevent costly water damage.