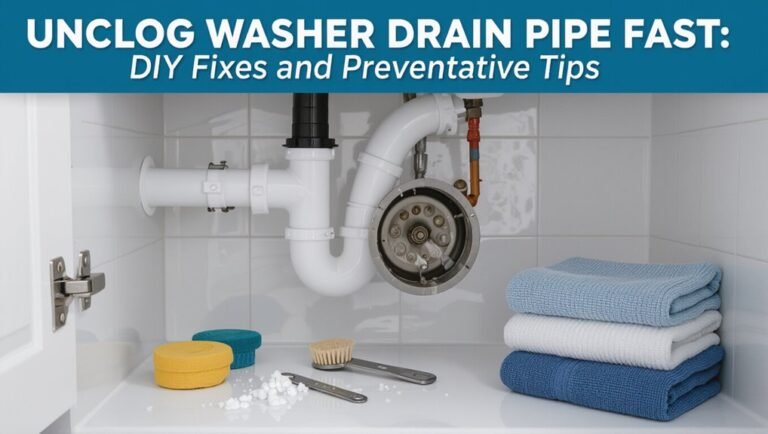
How to Install Pipe for a Wood Stove: Step-by-Step Guide
To properly install stovepipe for a wood stove, start by planning a short and straight route while ensuring clearances to combustibles are in accordance with the stove manual and local codes. Select the appropriate diameter and pipe type (single-wall, double-wall, or Class A), and prefit all sections, including adapters and elbows. Install approved thimbles or wall pass-throughs and firestops at all penetrations. Ensure all joints are securely fastened, sealed, and supported, then conduct a draft/smoke test to confirm proper installation. Follow the detailed steps for assembly, penetration specifics, and necessary safety checks to ensure a safe and effective installation.
Quick Stovepipe Installation Checklist
Before beginning stovepipe installation, gather necessary materials and verify site conditions: double-wall stovepipe sections sized to the stove flue, appropriate stove pipe adapters and elbows, chimney connector components, high-temperature sealant, screws or clamps, heat shields, a tape measure, level, drill, and safety gear.
Inspect stove flue outlet and chimney connection for damage or obstructions.
Confirm pipe lengths, elbow angles, and adapter types match planned layout.
Pre-fit sections to make certain snug connections and correct overlap.
Mark mounting and support locations.
Prepare sealant and fastening method per manufacturer instructions.
Keep clearances documented and maintain accessible joints for future inspection.
Map Pipe Route and Local Code Clearance Requirements
When planning the stovepipe route, the installer should lay out the straightest, shortest path from the stove flue to the chimney while avoiding obstructions and minimizing elbows; each bend increases creosote build-up and reduces draft.
The installer marks the route, noting ceiling, wall, joist, and roof penetrations.
Measure clearances to combustibles per local code and the stove manual, including distances for pipe, single-wall, and insulated sections.
Identify required firestops, thimbles, and chase construction.
Confirm roof flashing height and external clearances from eaves and nearby structures.
Record permit needs and arrange inspector review before final enclosure.
Choose Stovepipe Type and Correct Diameter for Home Stoves
Having mapped the route and confirmed clearances, attention turns to selecting the correct stovepipe type and diameter to match the stove and maintain safe, efficient draft.
The installer must choose between single-wall, double-wall, and insulated (class A) pipe based on proximity to combustibles and penetration type. Single-wall suits clearances within rooms; double-wall reduces clearances and radiant heat; class A handles chimney runs through attics and roofs, preventing creosote ignition.
Diameter must equal the stove’s flue collar size—typically 6 or 8 inches—to preserve draft. Avoid reducing diameter downstream; changes in size can impede flow and increase creosote buildup.
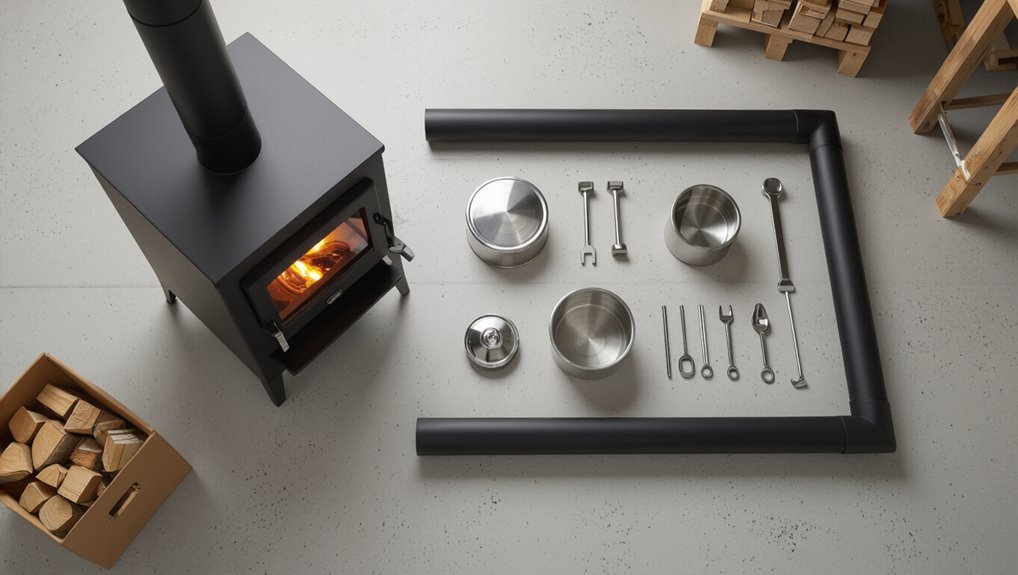
Tools, Materials, and PPE for Stovepipe Installation
A concise inventory of required tools, essential materials and components, and appropriate personal protective equipment frames the stovepipe installation discussion.
The tools list typically includes cutting and fastening tools along with measuring devices, while materials cover pipe sections, elbows, seals, and mounting hardware.
PPE priorities such as gloves, eye protection, and respiratory masks guarantee safety during cutting, fitting, and sealing tasks.
Required Tools List
What tools, materials, and protective equipment are essential for a safe and compliant stovepipe installation? A concise Required Tools List focuses on items used during cutting, joining, measuring, and securing stovepipe while minimizing risk. Protective gear such as gloves, eye protection, and a dust mask is stressed. Hand and power tools must be rated for metalwork and confined-space use. Fasteners and sealants appropriate for high temperatures are noted but detailed component choices appear in the next section.
- Tape measure, carpenter’s square, tin snips, metal file, drill, and screwdriver.
- Pipe cutter or abrasive saw with metal wheel and clamps.
- Heat-resistant gloves, safety goggles, and NIOSH-rated respirator.
Materials And Components
In addition to the hand and power tools listed previously, the stovepipe installation requires specific materials and personal protective equipment chosen for heat resistance, code compliance, and durability. Materials include double- or triple-wall stovepipe, chimney sections, storm collar, flashing, supports, and high-temp sealant. Fasteners and adapter pieces safeguard proper connections. Select components rated for the stove’s temperature and local codes.
| Item | Purpose | Notes |
|---|---|---|
| Stovepipe | Connects stove to chimney | Double/triple wall |
| Chimney sections | Venting to roof | Insulated |
| Flashing/collar | Roof/weather seal | Match pitch |
| Sealant/fasteners | Secure joints | High-temp rated |
Personal Protective Equipment
Why wear specialized gear when installing stovepipe? Proper PPE reduces burn, cut, inhalation, and eye risks during handling and fastening. The installer should assume hazards from sharp edges, hot surfaces, falling debris, and dust. Recommended items focus on protection, comfort, and visibility to maintain safe, efficient work.
- Heat-resistant gloves, long sleeves, and leather work gloves to prevent burns and cuts while assembling and adjusting pipe sections.
- Safety glasses or a face shield plus a NIOSH-rated particulate respirator when cutting pipe or working in dusty, creosote-prone conditions.
- Steel-toe boots and a hard hat for overhead work and dropped tools.
Measure and Mark Pipe Lengths and Required Clearances
Before cutting or fastening any stovepipe, the installer measures each section and marks lengths and clearances precisely to guarantee a safe, code-compliant run.
Measurements include total run length, individual pipe sections, offsets for elbows, and distance to combustibles per manufacturer and local codes.
The installer uses a tape measure, level, and pencil to mark cut lines and clearance boundaries on walls, ceilings, and framing.
Allowances for overlaps and male/female ends are noted.
Wherever a chimney pass-through or ceiling support occurs, the installer marks required shield locations and ventilation gaps.
All marks are double-checked before cutting or drilling.
Install the Stove Collar and First Stovepipe Section
With measurements and clearance marks confirmed, the installer prepares the stove collar and the first stovepipe section for attachment. The collar is centered on the stove outlet, fastened per manufacturer instructions, and sealed where required.
The initial stovepipe is checked for orientation, fit, and gasket placement before being seated into the collar. Alignment with wall or ceiling penetration is verified to maintain clearances.
- Verify collar seating, screw torque, and gasket integrity.
- Insert first pipe section fully, engage locking tabs or twist-lock, and confirm vertical alignment.
- Apply high-temperature sealant if specified and test fit before finalizing.
Add and Secure Successive Stovepipe Sections Correctly
Positioning each successive stovepipe section carefully, the installer lifts and aligns the next piece so its male end nests fully into the previous female end or collar, ensuring locking tabs engage or twist-locks seat without forcing. Each joint is checked for straightness, overlap, and secure fasteners; screws are placed where manufacturer permits and tabs are pinched closed. Seams face upward toward the stove to shed creosote. After three to four sections, a level check confirms plumb run and stove stability. Final connections are tested for gaps and rattles before continuing upward.
| Step | Action | Check |
|---|---|---|
| 1 | Align | Nesting depth |
| 2 | Lock | Tabs/threads |
| 3 | Fasten | Screws/seal |
Install Ceiling Thimble or Wall Pass-Through and Firestop
The installer next addresses the ceiling thimble or wall pass-through, ensuring the stove pipe passes safely through combustible structures.
Proper placement and secure fastening of the thimble or pass-through create the required clearance and support for the pipe.
A firestop is then installed at each floor or wall penetration to restore fire-resistive integrity and prevent draft paths.
Ceiling Thimble Installation
When passing stove pipe through a ceiling, install a listed ceiling thimble or approved wall pass-through and an appropriate firestop to maintain required clearances and prevent heat transfer to combustibles.
The installer measures ceiling thickness, locates framing, and cuts an opening sized to the thimble’s instructions.
The thimble inserts between ceiling material and attic space, centering pipe and preserving clearance. Secure the thimble per manufacturer guidelines, seal with high-temperature caulk where specified, and insulate attic floor with noncombustible material maintaining required airspace.
Inspect clearances, verify vertical alignment, and confirm compliance with local codes before completing the installation.
- Measure and cut opening
- Install and secure thimble
- Verify clearances and seal
Wall Pass-Through Firestop
In passing stove pipe through a combustible wall, a listed wall pass-through and an approved firestop must be installed to maintain required clearances and prevent heat transfer to surrounding materials. The installer measures wall thickness, centers the pass-through, cuts an accurately sized opening, and fits the listed assembly. Insulation and combustibles are removed from clearance zones; the firestop bracket or plate is secured and sealed per manufacturer instructions. Final inspection verifies clearance, support, and sealing. Proper installation preserves chimney performance and reduces fire risk.
| Item | Requirement |
|---|---|
| Pass-through | Listed assembly |
| Clearance | Manufacturer spec |
| Sealing | High-temp sealant |
| Support | Secure fasteners |
| Inspection | Local code approval |
Connect Stovepipe to Chimney or Flue Adapter
After fitting the stovepipe sections, attention turns to joining the pipe to the chimney or flue adapter to guarantee a secure, gas-tight changeover. The installer aligns male and female ends, ensuring the stovepipe’s crimped end faces toward the stove for proper overlap. Fasteners are used per manufacturer instructions, and clearances are checked visually against the adapter’s base and surrounding combustibles. Connection pieces are matched for diameter and wall thickness to avoid constrictions.
- Verify fit and orientation; slide components fully together.
- Secure with approved screws or clamps at specified intervals.
- Inspect alignment and allow access for future maintenance.
Seal Joints, Add Supports, and Test Draft Before First Fire
With the stovepipe securely joined to the chimney adapter, attention shifts to sealing joints, adding supports, and confirming draft before lighting the stove for the first time.
All seams receive high-temperature stove cement or approved foil tape; seams on double-wall pipe require manufacturer-specified gaskets or sealant.
Install wall or ceiling supports and pipe straps per clearances and weight-bearing specifications, spacing supports to prevent sagging.
Inspect for proper overlaps and secure fasteners.
Perform a smoke or draft test: light a small smokeless starter, observe smoke flow up the chimney, and check for leaks or backflow.
Fix deficiencies before the initial burn.
Common Stovepipe Problems and When to Hire a Pro
Recognize common stovepipe issues early to guarantee safety hazards and costly repairs.
Inspect for corrosion, loose joints, and obstructions; note smoke backflow or persistent odors.
Minor fixes—tightening connections, replacing short pipe sections, cleaning creosote—are DIY-friendly with proper precautions.
Major concerns require professional assessment: extensive corrosion, chimney liner damage, structural roof penetrations, or repeated draft failure indicate deeper problems.
Professionals diagnose flue integrity, repair or replace liners, and guarantee code-compliant clearances and flashing.
Timely hiring prevents fire risk and water intrusion, preserves warranty coverage, and guarantee the stove system operates safely and efficiently.
- Corrosion or holes
- Persistent smoke or odor
- Structural or liner damage
Conclusion
In sum, the guide arms the homeowner with clear steps to route, size, install, seal, and test stovepipe for a wood stove, stressing code clearances and safety gear. Follow measurements, supports, thimbles, and draft checks; know common problems and when to call a pro. Even a medieval scribe would nod at proper documentation and snug joints: careful installation prevents fires, improves efficiency, and guarantees reliable, long‑term heating peace of mind.