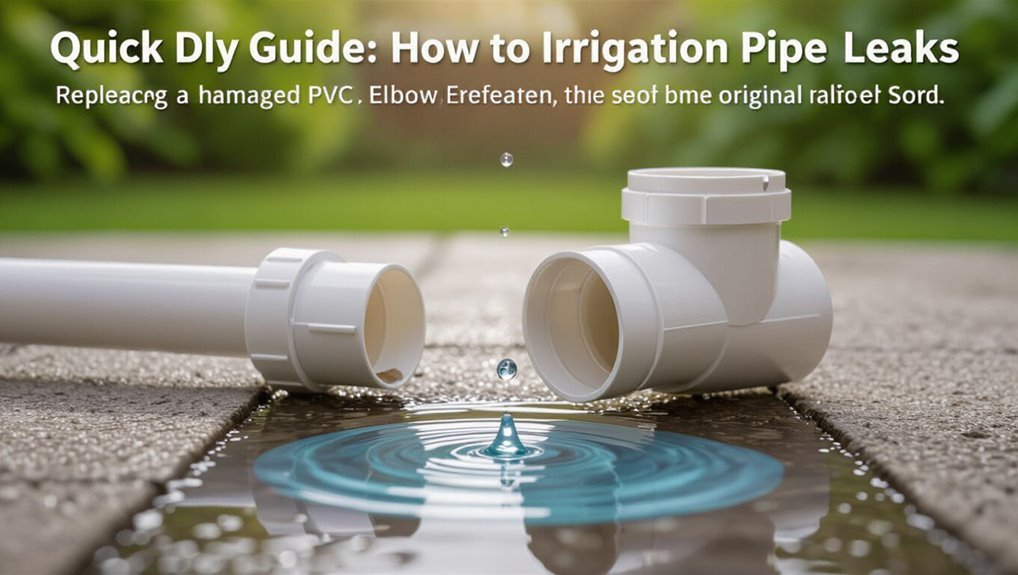
Quick DIY Guide: How to Fix Irrigation Pipe Leaks Fast
Quick DIY Guide: How to Fix Irrigation Pipe Leaks Fast
To quickly stop an irrigation leak, follow these three essential steps:
- Shut Off and Depressurize: Turn off the water supply to the affected zone and release any remaining pressure in the pipes.
- Examine and Clean the Area: Locate the damaged section of the pipe, then clean it thoroughly to ensure a good seal.
- Apply a Temporary Fix: Use a rubber patch secured with hose clamps or epoxy for a short-term solution.
Key Takeaway: Identify the type of pipe (PVC, PE, polybutylene, or metal) to choose the right repair parts and tools. For a more permanent fix, cut out the damaged section and replace it using solvent-weld, compression, or barbed couplers, then conduct a pressure test to ensure the repair holds. Detailed instructions follow below.
Quick 3-Step Fix to Stop an Irrigation Leak Now
Shut off the water supply, expose the damaged section, and apply a temporary patch—those three steps stop most irrigation leaks immediately.
The technician or homeowner locates the break area clear of fittings, clears soil and debris, and inspects pipe condition without performing pressure tests.
After drying, a rubber patch secured with hose clamps or plumber’s epoxy provides an interim seal.
For larger splits, a repair coupling or rigid sleeve replaces the compromised segment when feasible.
Temporary fixes restore function enough to resume irrigation briefly; a planned permanent repair or replacement follows to guarantee long-term reliability and prevent recurrence.
Find the Leak Fast (Visual Checks & Pressure Test)
How can a leak be located quickly and reliably? The technician begins with a systematic visual sweep: wet spots, pooling, soggy turf, sunken soil, or unusually lush patches indicate escape points. Follow lateral lines from the valve toward heads, inspecting fittings and joints.
Next, isolate zones and run a pressure test using a gauge or the system’s built-in monitor. Close zones sequentially to see pressure drops; a steady leak shows persistent loss.
For visible heads, remove caps to check flow. Mark suspected locations, recheck after system shutdown to confirm. Record findings before repairing or calling a specialist.
What Kind of Pipe Do You Have? (PVC, PE, Polybutylene, Metal)
When identifying irrigation pipe types, the technician looks for material, wall thickness, fittings, and markings that distinguish PVC, polyethylene (PE), polybutylene, and metal lines.
The technician notes rigid white or gray PVC with solvent-welded fittings and pressure ratings; flexible black PE with smooth walls and barbed or compression fittings; grayish polybutylene that bends easily and uses crimped or push-fit connectors; and galvanized or copper metal pipe with threaded joints or soldered seams.
Visual cues and stamps guide compatible repair methods and parts selection without yet gathering tools.
- PVC: rigid, marked PSI/class
- PE: flexible, black
- Polybutylene: gray, pliable
- Metal: threaded/soldered
- Look for stamps/printing on pipe
Gather Fast-Repair Tools & Materials by Pipe Type
Before touching the leak, the technician assembles a compact kit tailored to the pipe type so repairs can proceed quickly and correctly.
For PVC: primer, solvent cement, replacement couplings, PVC cutter, deburring tool, and clamps.
For polyethylene (PE): repair saddles, stainless clamps, hose clamps, insulated splice sleeves, tubing cutter, and heat-shrink sleeves.
For polybutylene: compatible barb fittings, compression couplings, stainless clamps, cutter, and rubber-lined repair clamps.
For metal: pipe threader or replacement nipples, PTFE tape, pipe dope, epoxy putty, pipe clamps, and a hacksaw.
A small flashlight, gloves, and towel complete each compact kit.
Before You Cut: Shut Off Water and Depressurize Safely
Before cutting into an irrigation line, the main supply valve should be turned off to stop flow to the system.
Any remaining pressure must be bled from the pipes by opening a downstream faucet or bleed port.
The technician should confirm all zone valves are closed to prevent accidental pressurization while working.
Turn Off Main Valve
One clear step is to locate and shut off the irrigation system’s main valve to stop water flow and depressurize the lines.
The operator should identify the valve type (gate, ball, or electric), turn it fully closed, and confirm water stoppage at a distant sprinkler head.
After closing, wait briefly for pressure to drop before cutting. If the valve is stuck, use gentle force or consult a professional to avoid damage.
Electric controllers should be powered down first.
Record the valve position for restart and keep tools handy for the repair.
- Identify valve type
- Turn valve fully closed
- Verify at a sprinkler
- Power off controllers
- Note valve position
Bleed Remaining Pressure
With the main valve closed and controllers powered down, the operator should release any remaining pressure in the lines to prevent spray or injury when cutting. They open the nearest manual drain or a downstream faucet slowly, allowing trapped water and air to escape until flow ceases and pressure gauges (if present) read zero.
For systems without drains, a sectional bleed can be performed by loosening a fitting at a low point and capturing runoff in a bucket. They wear eye protection and gloves, work from lowest elevation upward, and recheck for residual pressure before cutting or disassembling any pipe.
Verify Zone Valves Closed
To make certain no water reaches the work area, confirm each zone valve is fully closed and the controller is set to “off” or “rain mode.” The operator walks the valve manifold, visually checking position indicators or gently turning each manual shutoff until it stops, and verifies electrically operated valves are de-energized by observing the controller display or using a handheld multimeter.
After closure, the operator cycles the controller briefly to guarantee no valves respond, then inspects downstream lines for residual flow before cutting or repairing.
- Check visual valve indicators
- Turn manual shutoffs gently
- Read controller status
- Test coils with a multimeter
- Inspect downstream flow
Temporary Fixes: Clamps, Repair Tape, and Epoxy Putty
Frequently, quick, temporary repairs are the first line of defense when an irrigation pipe begins to leak; clamps, repair tape, and epoxy putty each offer different trade-offs in speed, durability, and required skill. A clamp grips and seals larger splits quickly but may need hose clamps or rubber padding; repair tape wraps tightly and works well on small pinholes; epoxy putty bonds and fills irregular breaks after drying. All are meant as interim measures until proper replacement. Proper surface prep and drying improve success. Monitor repaired sections for recurrence and replace or perform permanent repairs when convenient.
| Method | Best use |
|---|---|
| Clamp | Large splits |
| Repair tape | Pinholes |
| Epoxy putty | Irregular breaks |
| Notes | Temporary only |
Permanent Repairs for Irrigation Pipe Types
How do permanent repairs differ by pipe material and failure mode? A concise, material-specific approach guarantees longevity: select adhesives, couplers, or replacement fittings compatible with PVC, polyethylene, or metal, and match technique to cracks, pinholes, or joint failures. Consider corrosion, UV damage, and soil stress when choosing methods.
- PVC: solvent-weld fittings or threaded adapters for rigid joins
- Polyethylene: heat-fusion or electrofusion for seamless bonds
- Metal (galvanized/steel): welded patches or threaded couplings with corrosion protection
- Flexible drip tubing: barbed inserts and crimp clamps
- Joints: replace seals or use compatible compression fittings
Cut Out and Replace a Damaged Pipe Section (Step-by-Step)
Begin by isolating the damaged section: shut off the water, relieve pressure by opening a downstream valve or sprinkler, and mark the repair limits so the cut spans at least several inches of sound pipe on either side of the failure.
Cut the pipe squarely using a tubing cutter or fine-tooth saw, deburr and clean the ends.
Measure and prepare a replacement length matching outer diameter and material.
Dry-fit the new piece and appropriate connectors to confirm alignment and slope.
Reassemble using the chosen connection method, support the repaired run, restore water slowly, and inspect for leaks, making adjustments as needed.
Reconnect Joints: Solvent Welds, Compression & Barbed Couplers
The next step compares common joint reconnection methods for irrigation pipe repairs: solvent weld technique for PVC, compression ring fittings for quick mechanical seals, and barbed coupler installation for flexible tubing.
Each method has distinct preparation, application, and cure or tightening requirements that affect strength and leak resistance. Appropriate selection depends on pipe material, accessibility, and whether a permanent or removable joint is desired.
Solvent Weld Technique
When repairing PVC irrigation lines, the solvent weld technique creates a permanent, watertight bond by chemically fusing pipe and fitting surfaces. The operator measures and cuts squarely, deburrs, and dry-fits components to guarantee alignment. Primer softens the plastic, solvent cement dissolves surface layers, and insertion with twist motion seats the joint. Cure time varies with temperature and pipe size; the joint must remain undisturbed until set. Proper ventilation and gloves prevent exposure. Solvent welds suit rigid PVC runs and buried lines where movement is minimal.
- Cut square and deburr
- Use primer before cement
- Apply even coat to both surfaces
- Insert with twist motion
- Allow full cure time
Compression Ring Fittings
Compression-ring fittings combine a simple mechanical seal with quick installation, making them ideal for reconnecting irrigation lines where ease and flexibility matter.
They use a threaded body, compression nut, and ring (ferrule) to clamp onto pipe, forming a watertight joint without solvent or heat.
Installation requires clean-cut pipe, proper ferrule orientation, and firm, even tightening to avoid leaks or crushed tubing.
These fittings suit repairs where disassembly or future adjustments are likely, and they accommodate slight misalignment.
Pressure ratings and material compatibility (PVC, polyethylene, or polybutylene) should be verified to assure reliable, long-term service.
Barbed Coupler Installation
Install barbed couplers by sliding each hose end over the barbed shank and securing with a proper clamp to create a flexible, watertight joint.
The technician makes certain pipe ends are cut square, cleaned, and slightly heated or lubricated for easier insertion.
Clamps are tightened evenly, avoiding overcompression that distorts tubing.
For buried lines use corrosion-resistant clamps and consider heat-shrink or tape for extra protection.
Pressure-test the repair before final backfill.
- Cut tubing square and remove burrs
- Use hose lubricant or warm water
- Choose stainless or brass clamps
- Tighten clamps evenly, moderate torque
- Pressure-test repair before burying
Test the Repair and Troubleshoot Common Post-Repair Problems
After repairs are completed, the system should be pressurized and observed carefully to guarantee the fix and identify any secondary issues. The operator watches joints, couplers, and replacement sections for visible leaks, bubbles, or dripping.
If pressure drops, isolation tests locate the fault by shutting off zones sequentially. Minor seepage may require tightening clamps or reapplying sealant; persistent leaks suggest fitting misalignment or damaged pipe needing replacement. Air trapped in lines causes sputtering; purge lines to clear it.
Finally, verify scheduled irrigation cycles and monitor the repair over several days to guarantee durability and prevent vegetation damage.
Conclusion
He moves through the tidy chaos—tools scattered, sleeves damp—knowing the leak could be a single stubborn crack or a hidden split. Every clamp tightened, every coupling seated, brings a small, tense calm. The valve opens slowly; water whispers back into the line. For a moment nothing happens, then a faint, steady sound tells him whether the fix holds or the search must begin anew. The next minute will decide everything.