How to Drain Pipes Fast: DIY Guide for Winter & Repairs
Key Takeaway: How to Quickly Drain Pipes for Winter and Repairs
To drain your pipes fast, start by shutting off the main water supply and any branch valves. Open the highest and lowest taps, fixtures, and exterior hose bibs to allow gravity to assist in water flow. Introduce air through a faucet or cleanout to push out remaining water, or use a pump connected to a hose for quicker removal.
Next, loosen supply stops, drain toilets, and clear traps with a wet/dry vac. For any frozen or burst lines, ensure that water flow is stopped and thaw them safely. Follow further steps for necessary tools, winterizing methods, and tips on when to consult a professional.
Emergency: Quick Steps to Drain a Pipe Now
In an emergency, acting quickly can prevent extensive water damage; the first priority is to stop the water source, then relieve pressure and clear the line.
The responder assesses visible leaks, locates accessible drain points, and prepares containers and towels.
Air is introduced through a nearby faucet or bleed valve to push trapped water toward drains.
Gravity-assisted drainage is preferred: open highest and lowest accessible taps to create flow.
If available, attach a hose to a drain outlet to direct water away from structures.
Monitor flow and debris, then inspect for blockages; repeat until flow ceases and the pipe is clear.
What to Shut Off First (Water, Power, Valves)
Shut off the main water supply immediately to stop incoming flow and reduce pressure in the affected circuit.
Next, isolate branch or fixture valves to limit drained volume and prevent backflow into unaffected areas.
Turn off power to nearby electrical circuits if leaks approach outlets, appliances, or pump equipment; safety takes precedence.
If a boiler or water heater is involved, shut its fuel or power source before draining to avoid damage.
Note exterior irrigation and secondary sources like well pumps; disable them.
Finally, label closed valves and record their original positions to guarantee correct reopening after repairs.
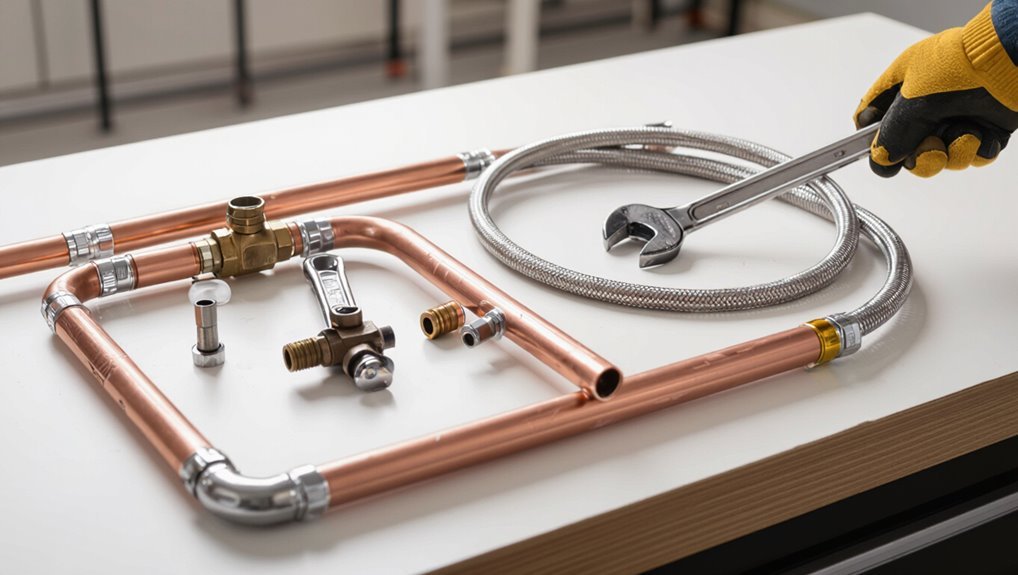
Tools & Supplies to Drain Pipes Quickly
The section outlines the essential drainage tools—wrenches, pump equipment, hoses, and hand tools—needed to clear and evacuate pipes quickly.
It also lists safety gear and materials such as gloves, eye protection, drain plugs, and absorbent pads to prevent injury and contain spills.
Practical notes on selecting durable supplies and checking compatibility with pipe materials conclude the introduction.
Essential Drainage Tools
Essential drainage tools form the backbone of any efficient pipe-clearing operation, combining hand tools and power equipment to address clogs, slow flow, and standing water. A basic kit includes plungers, hand augers, adjustable wrenches, and drain snakes; power augers and wet/dry vacuums speed larger jobs. Quick-access fittings, hose adapters, and bucket collection simplify fluid removal. Proper selection matches pipe size and blockage type to minimize damage and time.
| Tool Type | Typical Use | Advantage |
|---|---|---|
| Plunger | Small clogs | Fast, no tools |
| Auger | Deeper blockages | Reach bends |
| Wet/dry vac | Standing water | High extraction |
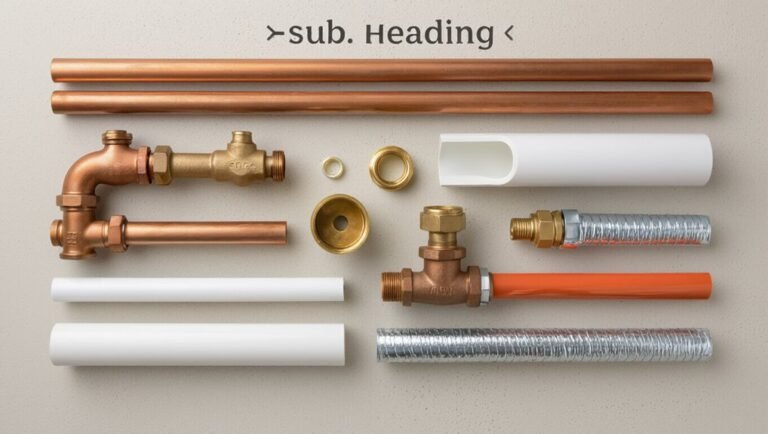
Safety & Materials
Prioritizing safe practices and the right materials minimizes injury and prevents pipe damage during rapid drainage tasks.
Protective gloves, goggles, and sturdy footwear reduce personal risk; thermal layers and a headlamp support cold-weather work.
Use brass or plastic fittings rather than thin-gauge metal to avoid cracking when draining frozen lines.
A proper drain hose, bucket, and adjustable wrench enable controlled flow and seal manipulation.
Pipe insulation, thread tape, and corrosion-inhibiting spray protect exposed surfaces.
Keep a pump with correct flow rating and a GFCI extension cord for electrical safety.
Have a first-aid kit and fire extinguisher accessible.
Drain Outdoor Hose Bibs & Sprinkler Lines
Before beginning, the water supply to the outdoor system should be shut off to prevent backflow.
Next, hose bibs are opened to release trapped water and equalize pressure.
Finally, sprinkler lines are blown out with compressed air to clear remaining moisture.
Shut Off Water Supply
Shut off the main outdoor water supply and isolate sprinkler zones to prevent residual water from freezing and bursting pipes.
The homeowner locates exterior shutoff valves—usually near the foundation, by the meter, or in a utility box—and turns each to the off position.
For automatic systems, the controller is powered down and zone valves are closed at the manifold or master valve.
After isolation, drain low points and bleed lines per manufacturer guidance.
Label closed valves for winter.
Verify isolation by checking that exterior taps remain dry when briefly opened at the house interior supply.
Record valve positions for spring reactivation.
Open Hose Bibs
Open each exterior hose bib and any inline drain valves to relieve trapped water from faucets and attached lines.
Close interior supply valves serving those bibs, then open the bib fully to allow gravity drainage.
Detach hoses, drain them separately, and store indoors.
Check for built-in vacuum breakers or frost-free configurations; operate handles to verify internal stems retract and water exits.
Inspect small drain ports and clear debris so water can escape freely.
For sprinkler lateral lines, open isolation valves at the manifold and low-point drains to evacuate residual water.
Cap or tag open drains and label controls for reassembly.
Blow Out Sprinkler Lines
Using a compressed-air blow out removes remaining water from sprinkler mains and laterals quickly and effectively, minimizing freeze damage to underground lines and aboveground components. The homeowner or technician isolates the system, connects an air compressor with pressure regulated to manufacturer limits (typically 40–80 psi), and cycles zones briefly until only mist exits. Protect valves, heads, and backflow devices; avoid overpressurizing PVC joints. Documented steps reduce risk and repeat annually before hard freezes. If unsure, hire a pro.
| Step | Note |
|---|---|
| Isolate system | Close main supply |
| Attach compressor | Use regulator |
| Cycle zones | Short bursts |
| Inspect | Check heads/backflow |
Drain Interior Supply Lines (Sinks, Tubs, Toilets)
Before winterizing a building’s interior, drain the supply lines for sinks, tubs, and toilets to prevent freeze damage and minimize standing water.
The detached technician closes the main shutoff, opens all fixtures (hot and cold), and empties inline valves and low points.
Toilet tanks and bowls are flushed and residual water removed; supply stops are loosened where accessible.
Drains are left open and small traps can be emptied with a wet/dry vacuum or sponge.
Cap or tag isolated sections to avoid accidental reactivation.
- Close main shutoff
- Open all fixtures
- Empty traps and valves
- Tag isolated lines
Safely Drain Your Water Heater or Boiler
After interior fixtures and supply lines have been emptied and tagged, attention turns to the water heater or boiler, which contains the largest volume of water and presents distinct risks if left full.
The device must be isolated: turn off power (electric breakers or gas pilot) and close the cold-water inlet. Attach a hose to the drain valve and route it to a safe discharge point. Open a hot tap to admit air and open the drain valve slowly to control flow.
For boilers, relieve pressure via the relief valve or drain cock first.
Verify complete drainage before maintenance or winterizing.
Use Air or Gravity to Speed Drainage
By introducing air into the system or positioning drains below the outlet, water can be expelled more quickly and completely.
The method relies on gravity and pressure balance: open high vent or air admittance points, open lower drain valves, and let gravity carry water out while trapped air prevents vacuum pockets.
Air injection via a compressor at low pressure can accelerate flow in long runs; make certain fittings and hoses are secure.
Monitor flow and stop when sputtering indicates air-only output. Close valves in reverse order to avoid trapping air.
- Open vents before drains
- Use downhill drainage
- Inject low-pressure air if needed
- Watch for sputter
Winterize Pipes After Draining to Prevent Freezing
During winter preparations, drained plumbing requires targeted steps to prevent residual water from freezing and damaging pipes. After draining, technicians recommend blowing lines with compressed air where practical, then applying non-toxic RV/marine antifreeze to low points and appliances to protect seals.
Insulate accessible pipes and fittings with foam sleeves or heat tape rated for the location, securing any exposed valves. Close and insulate exterior hose bibs; leave interior cabinet doors open to allow warmer air circulation.
Label shutoffs and document actions for reactivation. Regularly check protected areas during cold snaps and replace compromised insulation promptly to maintain freeze protection.
How to Find Remaining Water (Traps, High Spots)
To locate residual water left after draining, a technician systematically inspects fixtures, low points, and high spots where traps or pockets can retain liquid.
Visual checks, gentle tapping, and feeling for coolness reveal hidden moisture. Traps under sinks, shower bases, and appliance connections are priorities.
Vent and cleanouts are opened briefly to confirm flow and air pockets. Small sections are tilted or blown with low-pressure air to move remaining water toward drains.
Any collected water is removed with a wet/dry vac or towels, then rechecked to make sure pipes are dry before winterizing or repairs.
- Inspect U-bend traps
- Check shower pans
- Open cleanouts
- Use low-pressure air
Common Mistakes That Slow Draining : And Fixes
What causes a seemingly clear system to drain slowly? Common mistakes include partial blockages from scale, sediment, or biofilm; improperly pitched runs creating low spots; closed or partially closed isolation valves; trapped air pockets; and undersized vents slowing flow.
Fixes involve mechanical cleaning (snaking, flushing), descaling with appropriate solutions, re-pitching or adding drain fittings to eliminate sags, ensuring valves are fully open or replaced, and clearing vent obstructions.
Air admittance valves may need replacement with proper venting.
Routine maintenance—inspection, flushing after repairs, and corrective adjustments—prevents recurrence and restores expected drain speed.
Emergency Response: Frozen or Burst Pipe Fixes
When a pipe freezes or bursts, the first action recommended is to stop the water supply to prevent further damage.
Next steps include safely thawing frozen sections with controlled heat sources and monitoring for leaks. If a rupture is found, temporary patch options such as pipe clamps, rubber sleeves with hose clamps, or epoxy putty can limit flow until permanent repairs are made.
Stop Water Supply
Shut off the main water supply immediately to halt flow into a frozen or burst pipe and minimize flooding and further damage.
The homeowner locates the main valve—usually near the meter or where the service enters the building—and turns it clockwise until fully closed.
After shutting off, open nearby faucets to relieve pressure and drain residual water from the system.
If the valve is stuck or indoors, contact the water utility or a plumber for assistance.
Document the situation with photos for insurers and keep occupants clear of flooded areas until professional assessment.
- Locate main valve quickly
- Open faucets to drain pressure
- Contact utility if inaccessible
- Photograph damage for claims
Thaw Pipes Safely
Before attempting any thawing, the homeowner should confirm the main water supply is off and assess whether the pipe is frozen or has ruptured.
If intact, apply gentle heat: use a hair dryer, heat gun on low, or warm towels starting at the faucet and working toward the frozen section.
Never use open flame.
Insulate surrounding areas and monitor for leaks as ice melts.
For metal pipes, wrap heating tape per manufacturer instructions.
If warming fails within a short time or pressure appears, stop and call a licensed plumber.
Prioritize safety: ventilate, avoid electrical contact with wet areas, and wear protective gloves.
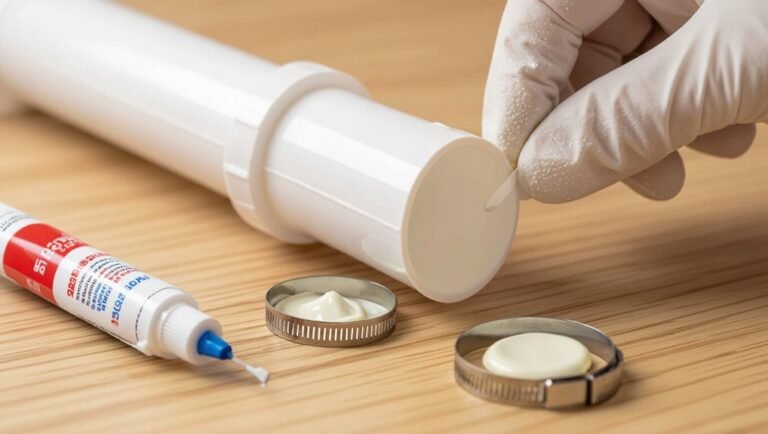
Temporary Patch Options
In an emergency, temporary patches can limit water loss and damage until a professional repair is available.
A quick, secure stopgap reduces flooding and preserves structural elements while awaiting proper service.
Choices depend on pipe material, location, and rupture size.
The goal is containment, not permanence; patches should be followed by full replacement.
Use tools and materials that are accessible, reliable, and rated for potable water if applicable.
Monitor the repair, shut water at the main when necessary, and document the damage for the plumber and insurance.
- Rubber patch and hose clamp
- Epoxy putty wrap
- Pipe repair tape (self-fusing silicon)
- Compression repair sleeve
When to Call a Plumber (And What to Tell Them)
Homeowners should call a plumber promptly when simple fixes fail or when signs indicate a more serious problem—recurring clogs, slow drains that resist plunging, backups, foul sewage odors, persistent leaks, water pressure loss, or unexplained spikes in the water bill.
The homeowner should describe recent actions (chemicals used, plunging, temporary patches), exact symptoms, locations, timing, and whether multiple fixtures are affected.
Note visible damage, water discoloration, and audible sounds.
Report known pipe materials, age of plumbing, and any recent work or freezes.
Clear, specific information speeds diagnosis and guarantees the technician brings proper tools and replacement parts.
Conclusion
In emergencies, speedy pipe-draining saves homes: acting within minutes can prevent costly damage. One intriguing statistic emphasizes urgency — plumbing failures cause an estimated $2,700 average home repair bill per incident in the U.S. — underscoring why quick shutoffs, draining hose bibs and supply lines, and checking traps matter. Homeowners who follow simple DIY steps reduce freeze and burst risks; when unsure, prompt professional help avoids larger expenses and disruption.