How to Cap a PVC Pipe: Easy DIY Guide for Leak-Proof Ends
To cap a PVC pipe effectively and ensure leak-proof ends, follow these steps:
- Select the Right Cap: Choose the correct type and size of the cap for your PVC pipe.
- Prepare the Pipe: Cut the pipe end square, deburr it, and clean it thoroughly.
- Permanent Seal: For a lasting seal, use PVC primer and solvent cement. Apply primer to both the pipe and cap, then brush cement on both surfaces. Insert the cap fully into the pipe while giving it a quarter turn, and hold it for 30 seconds. Wipe away any excess cement and allow it to fully cure before applying pressure.
- Temporary Seal: For a non-permanent solution, use a threaded cap. Wrap PTFE tape clockwise around the threads and tighten by hand, followed by a slight turn with a wrench.
- Testing and Durability: After sealing, conduct tests for leaks and troubleshoot any issues that arise.
By following these steps, you can effectively cap a PVC pipe to prevent leaks.
Quick: Cap PVC for a Leak‑Proof Finish
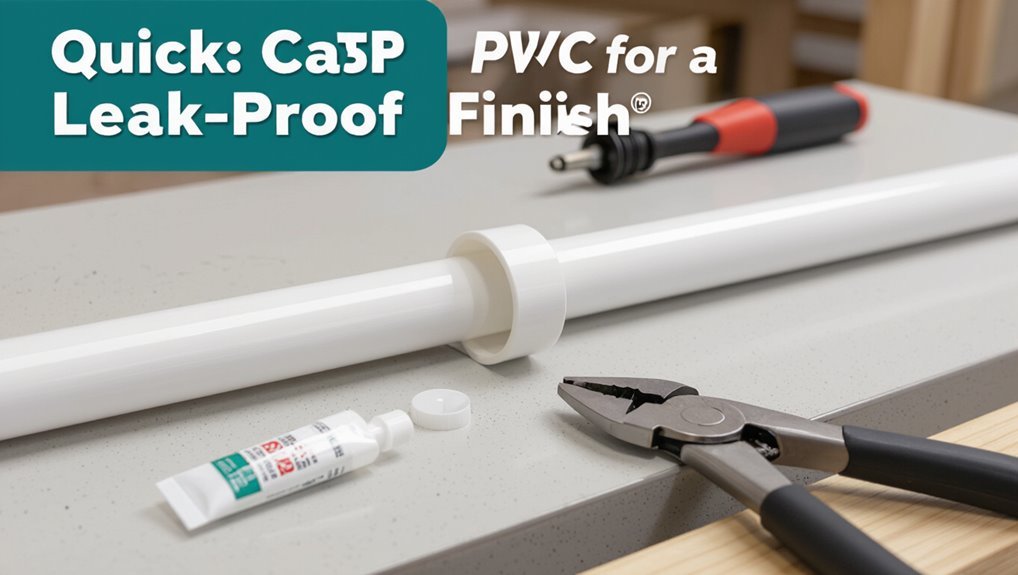
To cap a PVC pipe for a leak-proof finish, the installer selects the correct-size cap, cleans and dries the pipe end, applies primer if using solvent-weld fittings, and then joins the cap with even pressure to assure a full seal.
The worker measures insertion depth, marks the pipe, and applies solvent cement evenly to both surfaces when required.
For threaded caps, threads are wrapped with appropriate tape before tightening.
Excess adhesive is wiped away and joints are allowed to cure undisturbed per manufacturer time.
The finished cap is inspected for alignment and continuity to assure a durable, watertight termination.
Which PVC Cap Fits Your Pipe Size
After selecting and installing a cap for a leak‑proof finish, the next consideration is matching cap type and size to the pipe to guarantee a proper fit.
Measure the pipe outside diameter (OD) or nominal size stamped on the pipe. Slip (socket) caps fit corresponding nominal sizes and accept the pipe OD into the socket; confirm the internal socket diameter matches the pipe OD.
Threaded caps require matching male thread size and standard (NPT) designation. For repair or retrofit, use a threaded adapter or reducing cap sized to the existing OD.
When in doubt, bring the pipe or measurement to the supplier for verification.
Threaded vs. Solvent‑Weld Caps : When to Use Each
Selection between threaded and solvent‑weld PVC caps depends on the application: threaded caps suit temporary access or adjustments, while solvent‑weld caps provide a permanent, watertight seal.
Solvent‑weld joints are generally stronger and more leak‑resistant, but cannot be reused once set. Threaded caps offer easier removal and reuse at the cost of lower structural strength and potential for leaks without proper sealing tape or compound.
When To Use Threaded
Choose a threaded cap when access, adjustability, or frequent removal is required; threaded caps provide a reusable, mechanical seal that can be tightened, loosened, and replaced without solvent or heat.
They suit temporary installations, test ports, cleanouts, and systems needing periodic inspection or component swaps.
Threaded fittings minimize curing time and eliminate chemical fumes, useful in occupied spaces or when rapid turnaround is essential.
Selection favors matching thread type and ensuring proper tape or sealant for pressure integrity.
For buried or vibration-prone applications, periodic checks are advisable to confirm torque and prevent seepage from loosening threads.
When To Use Solvent‑Weld
When is a solvent‑weld cap the better option? A solvent‑weld cap is preferred when a permanent, watertight seal is required and disassembly is unlikely. It suits buried lines, irrigation runs, and final terminations where joint integrity matters more than future removal.
Solvent welding chemically fuses cap to pipe, eliminating threads and potential leak paths. It also works on glued fittings where pressure ratings must match. Use primer and solvent cement per manufacturer instructions and allow full cure before pressurizing. Consider accessibility and permanence before choosing this method.
- Permanent, buried, or hard‑to‑access terminations
- Irrigation and outdoor waterlines
- Situations requiring a fully sealed, chemical bond
Strength And Reusability
Having discussed situations that call for a permanent solvent‑weld cap, the comparison now shifts to the relative strength and reusability of threaded versus solvent‑weld caps.
Threaded caps offer convenient removal and reuse, suitable for temporary seals, test fittings, or systems requiring periodic access. Their mechanical seal depends on thread integrity and proper sealing tape or compound; under high pressure or torsion, they can loosen.
Solvent‑weld caps create a chemically bonded joint that matches pipe strength and resists internal pressure and vibration; they are permanent and not reusable without cutting. Choose threaded for serviceability, solvent‑weld for maximum strength and permanence.
Tools and Materials for a Leak‑Proof Cap
A concise kit for capping PVC includes basic hand tools—pipe cutter or saw, deburring tool, and adjustable wrench—selected to match the chosen cap type.
Appropriate sealants and adhesives, such as primer and PVC cement for solvent‑weld caps or thread seal tape and pipe dope for threaded caps, guarantee a reliable bond.
Personal protective equipment—gloves, eye protection, and adequate ventilation or a respirator when using solvents—protects the installer and preserves work quality.
Required Hand Tools
For installing a leak‑proof cap on PVC pipe, a compact set of hand tools and consumables is sufficient: a tape measure, pencil, PVC cutter or fine-toothed hacksaw, deburring tool or utility knife, medium-grit sandpaper, primer and solvent cement appropriate for the pipe size, a rag, and optional pipe clamps or a vise for stability.
The list that follows highlights essential hand tools and why each matters. Proper cutting, cleaning, and holding reduce gaps and misalignment that cause leaks. Safety gloves and eye protection are recommended but not included below to keep the focus on core tools.
- Cutting and deburring tools for square, burr-free ends
- Sandpaper and rag for surface prep
- Clamps or vise for steady alignment
Sealant And Adhesives
Select sealants and adhesives that match the PVC material, pipe size, and service conditions to guarantee a durable, leak‑proof cap.
Use solvent cement labeled for PVC for permanent joints; apply primer where required to make certain proper fusion.
For removable or interim caps, choose silicone or polyurethane sealants rated for PVC and the designed pressure and temperature.
Threaded connections benefit from PTFE tape or pipe dope compatible with plastic threads.
Ensure surfaces are clean, dry, and free of oils or debris before application.
Follow manufacturer cure times and ambient condition limits to achieve full strength and avoid premature stress on the joint.
Safety Gear Essentials
Often overlooked, proper personal protective equipment (PPE) and the right hand tools are essential to safely produce a leak‑proof PVC cap. The writer recommends eye protection, chemical‑resistant gloves, and a dust mask when cutting, sanding, or solvent‑welding.
A stable work surface and clamp reduce movement and risk. Use correct cutting tools and cleaners to prevent damage that causes leaks.
Inspect tools and replace worn blades or brushes. Proper ventilation and following product instructions minimize fume exposure.
Selecting materials rated for anticipated pressure and temperature completes a safe, durable installation.
- Safety glasses
- Nitrile or neoprene gloves
- Clamp and PVC cutter
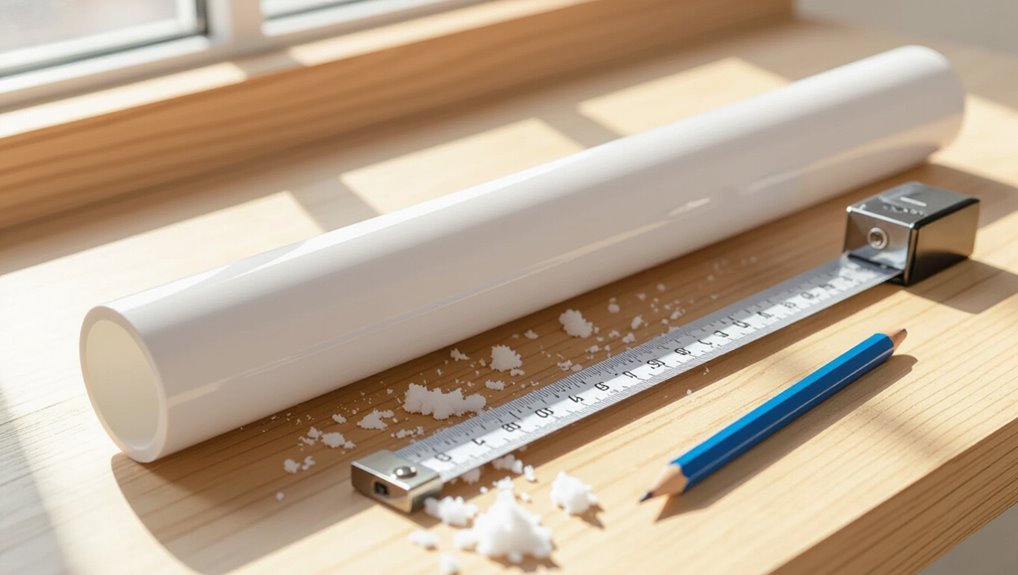
Measure, Square, and Deburr the Pipe End
Before cutting, confirm the required finished length and mark the pipe accordingly; accuracy here prevents fitting problems later. The installer measures twice, uses a square to mark a perpendicular line, and makes certain the pipe is supported to avoid blowout. After cutting, the edge is checked for squareness; uneven cuts cause gaps. A deburring tool or utility knife removes burrs and shaving prevents sealing interference. Cleaning the exterior and interior with a rag readies the end. Gentle sanding can smooth small irregularities. Final inspection verifies a flat, clean end for reliable capping.
| Step | Tool | Outcome |
|---|---|---|
| Measure & mark | Tape measure, pencil | Accurate length |
| Square & cut | Speed square, saw | Perpendicular end |
| Deburr & clean | Deburring tool, rag | Smooth, ready end |
Install a Solvent‑Weld (Glued) PVC Cap
With the pipe end prepared—square, clean, and free of burrs—the installer proceeds to bond a solvent‑weld PVC cap. The process requires proper primer and cement, quick alignment, and steady pressure.
Primer softens surfaces; apply to both pipe exterior and cap socket. Cement is brushed on next; work swiftly before solvent sets. Insert the pipe fully, twist a quarter turn to spread adhesive, and hold for 30 seconds to guarantee contact. Wipe excess and allow the joint to cure per manufacturer instructions before pressure testing.
- Use primer compatible with PVC material.
- Apply even cement coverage; avoid globs.
- Observe cure time strictly.
Install a Threaded PVC Cap (With Teflon/PTFE)
When sealing a threaded PVC pipe end, the installer wraps PTFE (Teflon) tape around the male threads and then screws on a threaded PVC cap, ensuring a tight, leak-resistant joint without solvents. The tape is applied clockwise, covering threads without overlapping the pipe face.
After several snug wraps, excess tape is trimmed. The cap is threaded by hand until firm, then tightened a quarter to half turn with a wrench using a padded jaw to avoid crushing plastic.
The joint should be inspected and tested at normal service pressure for leaks. Reapply tape and reseat the cap if seepage appears.
Temporarily Cap PVC for Pressure Testing
For pressure testing, a temporary test cap is secured to the PVC fitting to create a reliable seal.
The installer confirms the cap is rated for the test pressure and fastened according to manufacturer instructions.
Pressure readings are then monitored at intervals to detect any loss that would indicate a leak.
Secure Temporary Test Caps
Prior to pressure testing, a secure temporary test cap must be fitted to seal the PVC line and withstand the expected test pressure without slipping or leaking.
The installer selects caps rated for the system pressure, matches socket or threaded connections, and applies thread sealant or a snug solvent-weld for a leak-tight joint.
Clamping or strapping prevents axial movement during pressurization.
Visual inspection confirms full seating and proper adhesive cure.
Remove air pockets before testing to avoid false readings.
After the test, cure-appropriate permanent fittings replace temporary caps.
- Choose pressure-rated caps
- Use correct joining method
- Secure caps against movement
Monitor Pressure Readings
With the temporary test cap secured and the line bled of air, technicians begin monitoring pressure readings to verify system integrity.
They note baseline pressure, then pressurize to the specified test value, observing gauges for stable reading.
Readings are recorded at set intervals—commonly 15, 30, and 60 minutes—to detect any drop indicating leaks.
Consistent pressure confirms a successful cap and joint seals; any unexplained decline prompts inspection of fittings, joints, and the cap itself.
Technicians avoid overpressurization, compare results to standards, and document findings before depressurizing and removing the temporary cap for permanent capping.
Seal Caps for Buried or Outdoor Use
When exposed to soil pressure, moisture, and temperature swings, seal caps designed for buried or outdoor PVC installations provide a durable, watertight termination that prevents infiltration and resists corrosion.
These caps are typically made from UV-stable plastics or rubberized materials and use gasketed, threaded, or solvent-weld connections appropriate for the pipe diameter.
Proper bedding and backfill, plus selecting caps rated for expected loads, extend service life.
Installation should guarantee full seal contact and avoid sharp edges that can compromise gaskets.
Periodic inspection through access points verifies integrity without excavation.
- Choose material rated for burial conditions
- Match cap type to pipe end
- Compact backfill to support cap
Safely Cap Pressurized PVC Lines
Having addressed caps for buried or outdoor PVC where soil and weather resistance matter, attention turns to safely capping pressurized PVC lines, which presents different risks and methods.
For live systems, isolation and depressurization are mandatory before any work. Use fittings rated for operating pressure and match solvent-weld or threaded types to existing pipe. Apply primer and cement correctly for permanent caps; use pressure-rated threaded caps with PTFE tape for removable closures. Inspect for cracks, verify alignment, and allow full cure time per manufacturer.
After capping, perform a controlled pressure test and monitor for leaks before returning the line to service.
Common Mistakes That Cause Leaks (And Fixes)
Common mistakes that cause leaks most often stem from improper surface preparation, incorrect fitting selection, or inadequate curing and testing.
Careless sanding, dirt or moisture on joint surfaces, using the wrong solvent or adhesive, and mismatched cap types are primary culprits.
Proper cleaning, choosing compatible fittings, and allowing full cure time prevent failures.
Quick fixes and rework guidance follow.
- Clean and dry mating surfaces; remove burrs and old adhesive before gluing.
- Verify cap type and pipe schedule; use threaded caps only with proper thread tape or sealant.
- Allow manufacturer-specified cure time; retest visually for seepage before burying.
Test a Capped PVC Joint for Leaks and Pressure
Verify a capped PVC joint’s integrity by performing systematic leak and pressure checks before putting the line into service.
The inspector isolates the capped section, fills it with water or air per system requirements, and applies the recommended test pressure slowly.
For water tests, watch for visible drips at the cap and joints for several minutes; for air tests, use a soap solution to reveal bubbles.
Monitor pressure gauges for any drop over the specified hold period.
Release test pressure gradually and re-inspect the cap and surrounding fittings.
Document results and, if leakage appears, depressurize and repair or re-cement the joint.
Durable Cap Upgrades and Quick Troubleshooting
After confirming a cap’s seal and pressure-holding ability, attention shifts to upgrading to more durable caps and performing quick troubleshooting when problems arise.
Recommended upgrades include metal-threaded adapters, solvent-welded caps for permanence, and silicone-sealed test caps for temporary service.
Inspect for hairline leaks, misalignment, or degraded adhesive; replace or re-glue promptly.
Use appropriate torque on threaded caps to avoid cracking.
Document material compatibility with transported fluids and ambient conditions.
When sudden leaks occur, isolate the section, relieve pressure, and reseal or swap the cap.
Regular inspections extend service life and prevent unexpected failures.
- Metal-threaded adapters
- Solvent-welded caps
- Quick isolation steps
Conclusion
The guide closes like a well‑fitted cap sealing a secret: readers leave equipped, tools in hand and knowledge like mortar, ready to bind pipe to purpose. Whether threading or solvent‑welding, the steps become a steady heartbeat—measure, square, deburr, test—so leaks retire. Caution and patience are the compass; upgrades and troubleshooting stand by like loyal sentries. In this final breath, the ordinary PVC is transformed into dependable, quiet plumbing poetry.