How to Prime a Hot Tub Pump: Step-by-Step Guide to Get Your Pump Running Fast
To prime a hot tub pump, you need to fill the pump and suction lines with water to eliminate air, ensuring efficient motor operation and steady jet flow. Start by cutting power to the pump. Next, open the filter lid and air relief valves, then fill the skimmer or filter housing with water. Tighten all seals securely and briefly restart the pump to purge any remaining air. If priming fails, check for leaks, clogged baskets, or closed valves. For a detailed step-by-step guide and quick troubleshooting tips, refer to our full guide.
What priming a hot tub pump means and why it matters
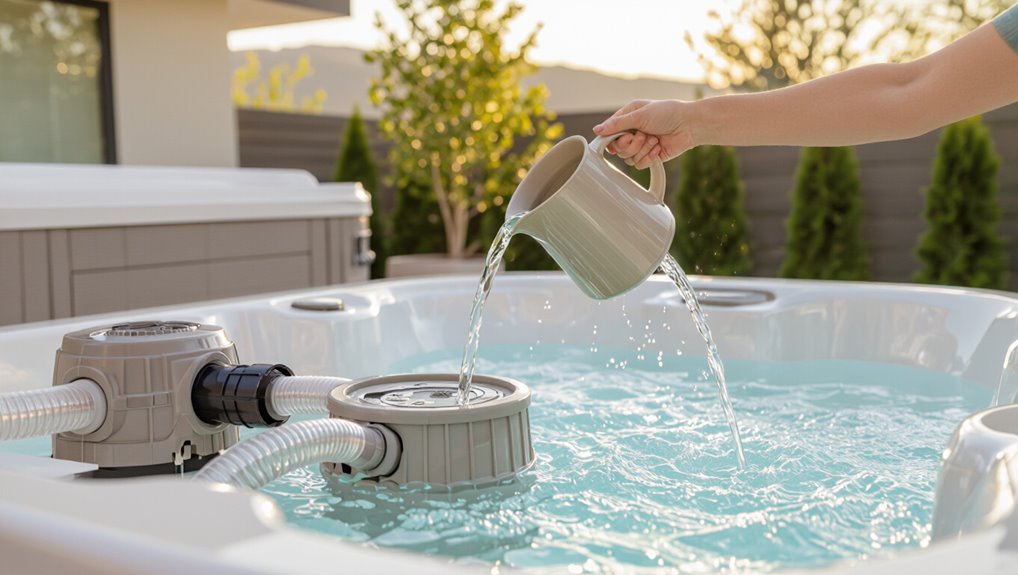
Priming a hot tub pump means ensuring the pump and its suction lines are filled with water so the impeller can move fluid efficiently.
Proper priming improves pump performance, reduces strain that accelerates wear, and helps extend the unit’s lifespan.
Common signs that priming is needed include sputtering or reduced flow, unusual noise from the pump, and repeated air pockets in the plumbing.
How priming affects pump performance and lifespan
Ensuring the pump is filled with water and free of air pockets is essential for ideal operation and longevity of a hot tub’s circulation system.
Proper priming—knowing how to prime a hot tub pump—prevents cavitation, maintains steady flow, and reduces motor strain.
Consistent priming minimizes overheating, seal wear, and premature failure, extending pump lifespan while preserving efficiency and reducing maintenance needs.
Common signs your pump needs priming
Several clear indicators show when a hot tub pump requires priming: reduced water flow from jets, loud or unusual noises like grinding or whining, air bubbles circulating in the water, and frequent motor overheating or tripping of thermal protection.
Additional signs include slow suction at skimmers, sputtering starts, and persistent loss of prime after shutdown.
Prompt priming prevents cavitation, motor strain, and premature failure.
Quick checklist: What you need before you start
Before starting to prime the hot tub pump, the reader should confirm they have the right tools and supplies and have followed basic safety precautions.
A concise checklist prevents delays and reduces risk during the procedure. The following items cover essentials to have on hand.
- Basic tools and replacement parts (screwdrivers, pliers, spare O-rings)
- Cleaning supplies and lubricants (filter brush, hose, silicone grease)
- Safety gear and precautions (gloves, eye protection, power disconnected)
Tools and supplies
A concise checklist of tools and supplies helps prevent delays and missed steps when priming a hot tub pump.
Required items include a flathead and Phillips screwdriver, adjustable wrench, garden hose, bucket, replacement O-rings, plumber’s grease, clean rags, and a flashlight.
Also recommended: a small funnel, channel-lock pliers, and a utility knife for sealing or hose adjustments.
Safety precautions to take first
When preparing to prime a hot tub pump, guarantee power to the spa is fully disconnected, water chemistry is stable, and the work area is dry and well-lit to reduce shock and slip hazards.
Wear insulated gloves and eye protection, keep tools organized, have a non-slip mat, and place a bucket and towels nearby.
Confirm a helper is available for assistance if needed.
Step-by-step guide to priming a hot tub pump
Before starting, power is shut off and the breaker is locked out to guarantee safety.
The pump and plumbing are inspected for visible damage, then air relief valves and filter lids are opened to release trapped air.
The skimmer or filter housing is filled to prime water to the pump, after which components are reassembled and seals tightened.
Step 1 Turn off power and lock out breaker
Shut off the hot tub’s power at the breaker and lock the switch to prevent accidental reactivation; this isolates electrical hazards before any work on the pump begins.
A qualified person confirms power is off with a noncontact tester, posts a lockout tag, and guarantees no one else can restore power.
Only proceed once isolation and verification are complete.
Step 2 Inspect pump and plumbing for visible issues
One should visually examine the pump, unions, hoses, and visible fittings for cracks, loose clamps, corrosion, or signs of leakage.
Check for worn O‑rings, brittle hoses, and thread damage at unions. Confirm fittings are seated and clamps tightened.
Note any sediment, rust flakes, or oil residue. Document defects, then plan repairs or part replacements before proceeding to priming.
Step 3 Open air relief valves and filter lids to release trapped air
Open each air relief valve and lift the filter lid to give trapped air an escape path, which prevents airlocks and allows the pump to draw water properly.
Observe bubbles exiting and listen for changes in suction.
Keep valves open until steady water flow appears, then close them securely.
Confirm no leaks around lids or fittings before proceeding to the next priming action.
Step 4 Fill the skimmer or filter housing to ensure water reaches the pump
Before restarting the pump, the skimmer or filter housing should be filled to the brim so water can flow directly into the pump without drawing air. This is done by removing the lid and pouring water slowly until it reaches the inlet level, taking care not to overfill or spill into electrical areas.
After filling, inspect seals and screens for debris. Then leave the lid off briefly to confirm steady water presence.
Step 5 Reassemble components and tighten seals
Reassemble the skimmer or filter housing, lid, and any removed fittings in the reverse order of disassembly, ensuring each component seats properly.
Inspect gaskets and O-rings for alignment, replace if damaged, then torque clamps and fasteners evenly to manufacturer specifications.
Hand-tighten threaded fittings, then finish with appropriate tools without over-tightening.
Wipe seals dry, confirm no visible gaps before proceeding.
Step 6 Restore power and run the pump on low speed briefly
Restore power to the hot tub and switch the circulation pump to its low-speed setting to begin the initial priming cycle.
The pump runs briefly while air is expelled and water fills the housing. Observe for steady flow at returns and no unusual vibration.
If the pump struggles, shut off immediately to recheck fittings and suction line integrity before repeating the brief low-speed attempt.
Step 7 Monitor pressure, flow, and listen for cavitation
Begin monitoring immediately after the pump starts: watch the pressure gauge for a steady rise into its normal operating range, observe consistent return flow at the jets, and listen closely for any high-pitched or rattling noises that indicate cavitation.
Note irregular pressure drops, sputtering returns, or unusual sounds.
If cavitation is suspected, shut the pump and inspect suction lines, fittings, and skimmer to identify air leaks or restrictions.
Step 8 Bleed remaining air and adjust settings until flow is steady
Bleed the system methodically to remove trapped air and fine-tune valve and pump settings until return flow remains constant.
Technicians open air bleeder screws, slowly crack union fittings, and cycle jets to purge pockets. They adjust suction/discharge valves and pump speed in small increments, observing gauge and sight glass.
Repeat until bubbles cease and flow stabilizes, then secure fittings and recheck performance.
Troubleshooting when priming fails
When priming fails, the first task is to confirm whether water is reaching the pump and address blockages or closed valves.
If the pump loses prime repeatedly, common causes include air leaks at fittings, a failing check valve, or debris in the skimmer basket and suction lines; diagnostic steps should distinguish air ingress from suction restriction.
Only after isolating the symptom should the check valve, skimmer basket, and suction plumbing be inspected and repaired or replaced as needed.
No water reaching pump causes and fixes
Inspecting a dry pump housing is the first step in diagnosing why water fails to reach the pump.
Check skimmer and suction lines for clogs, closed valves, or collapsed hoses. Verify filter basket and impeller inlet are clear.
Confirm water level is adequate and suction fittings sealed.
Repair leaks, reopen valves, replace damaged hoses, and clear obstructions before attempting to prime again.
Pump losing prime repeatedly common reasons
Loss of prime in a hot tub pump typically signals a persistent air intrusion, plumbing restriction, or mechanical fault that prevents a stable water seal; pinpointing the source quickly reduces repeated priming attempts and potential pump damage.
Common causes include cracked fittings, loose unions, deteriorated seals, clogged suction lines, internal impeller wear, or a failing check valve.
Systematic inspection and targeted repairs restore reliable priming.
Air leaks vs suction blockages: how to diagnose
How can one tell whether a hot tub pump is losing prime because of an air leak or a suction blockage?
Observe symptoms: steady hissing, bubbles at fittings, or water level drop indicate air ingress.
Sudden cavitation, sputtering, or complete loss of flow with trapped water upstream suggests blockage.
Isolate by inspecting visible seals and running with fittings sealed; persistent flow loss points to suction obstruction.
When to check the check valve, skimmer basket, and suction lines
When priming repeatedly fails, the technician should move on to the check valve, skimmer basket, and suction lines to pinpoint the fault.
Inspect the check valve for debris or stuck flapper, ensuring one-way flow.
Empty and clean the skimmer basket.
Trace suction lines for kinks, crushed sections, or obstructions, and pressure-test or use a wet/dry vacuum to clear persistent blockages before retesting priming.
Preventive maintenance to avoid re-priming issues
Routine preventive maintenance reduces the likelihood of having to re-prime a hot tub pump.
Regular cleaning of filters and skimmer, timely inspection and replacement of seals, O-rings, and check valves, and following seasonal care like winterizing and startup priming steps all help maintain proper suction.
Addressing these items systematically extends component life and keeps the pump primed and ready.
Regular cleaning schedule for filters and skimmer
Establishing a regular cleaning schedule for the hot tub’s filters and skimmer prevents debris buildup that can starve the pump and force repeated priming.
Weekly rinsing removes hair and large particles; monthly deep-soak with filter cleaner dissolves oils and scale.
The skimmer basket should be emptied several times weekly during heavy use.
Consistent cleaning maintains flow, reduces strain, and lowers the likelihood of loss of prime.
Inspecting and replacing seals, O-rings, and check valves
A handful of small components—the pump seals, O-rings, and check valves—play an outsized role in maintaining proper suction and preventing air leaks that force repeated priming.
Inspect for cracks, flattening, mineral buildup, or stiffness; replace worn parts with manufacturer-specified sizes and materials.
Lubricate O-rings with approved silicone grease, test check valve operation, and retighten fittings to factory torque to guarantee airtight seals.
Seasonal care: winterizing and start-up priming steps
Several simple seasonal steps greatly reduce the risk of air leaks and repeated priming by protecting the pump and plumbing during long idle periods.
Winterize by draining lines, blowing out remaining water, and adding antifreeze where recommended.
Label and cap fittings, remove and store removable components, and inspect seals.
On start-up, refill slowly, bleed air from high points, and confirm steady suction before running.
Safety warnings and when to call a professional
The section outlines key safety warnings, emphasizing electrical hazards and proper lockout/tagout procedures before any pump access.
It also identifies scenarios—such as persistent leaks, damaged wiring, motor failures, or complex control errors—that require a licensed technician.
Readers are advised to stop attempts at DIY repairs and contact a professional when risks exceed basic maintenance skills.
Electrical hazards and lockout procedures
Homeowners should recognize that electrical components around a hot tub present serious shock and fire risks if not handled correctly; power must be isolated before any pump work begins.
All breakers and disconnects should be tagged and verified de-energized with a tester.
Never bypass safety devices.
If uncertainty exists about wiring, grounding, or GFCI function, stop and contact a qualified electrician to prevent injury or damage.
Situations requiring a licensed technician
After verifying power is isolated and electrical components have been checked, some hot tub issues still exceed typical homeowner repairs and require a licensed technician.
Call a professional for persistent motor overheating, burned wiring, tripped breakers tied to the spa, sealed hydraulic leaks, failed seals inside the pump, unusual noises indicating internal rotor damage, or when diagnostics require specialized tools, warranties, or code-compliant electrical work.
Comparison of priming methods and tools
A concise comparison helps owners choose between manual filling and a priming pump based on time, effort, and reliability. The table below highlights key trade-offs to guide that choice. The following discussion summarizes pros and cons of each approach.
| Method | Time/Effort | Reliability |
|---|---|---|
| Manual filling | Low cost, higher effort | Variable, human error possible |
| Priming pump | Faster, less effort | More consistent, requires purchase |
| Hybrid (assist tools) | Moderate effort, moderate cost | Balanced performance |
Manual filling vs using a priming pump
When choosing between manual filling and a dedicated priming pump, the decision hinges on factors like speed, reliability, cost, and the tub’s plumbing layout.
Manual filling is simple, low-cost and suits minor airlocks but can be slow and inconsistent.
A priming pump provides rapid, controlled suction for complex systems, reduces effort and repeat attempts, and suits frequent maintenance or larger plumbing networks.
Pros and cons of different approaches
Building on the choice between manual filling and a dedicated priming pump, the comparison of priming methods should focus on effectiveness, speed, cost, ease of use, and suitability for different plumbing layouts.
Manual filling is low‑cost and simple but slow and laborious; priming pumps are faster and reliable yet costlier and require storage.
Adapters and wet-vac methods vary in compatibility and complexity.
Quick reference troubleshooting flowchart
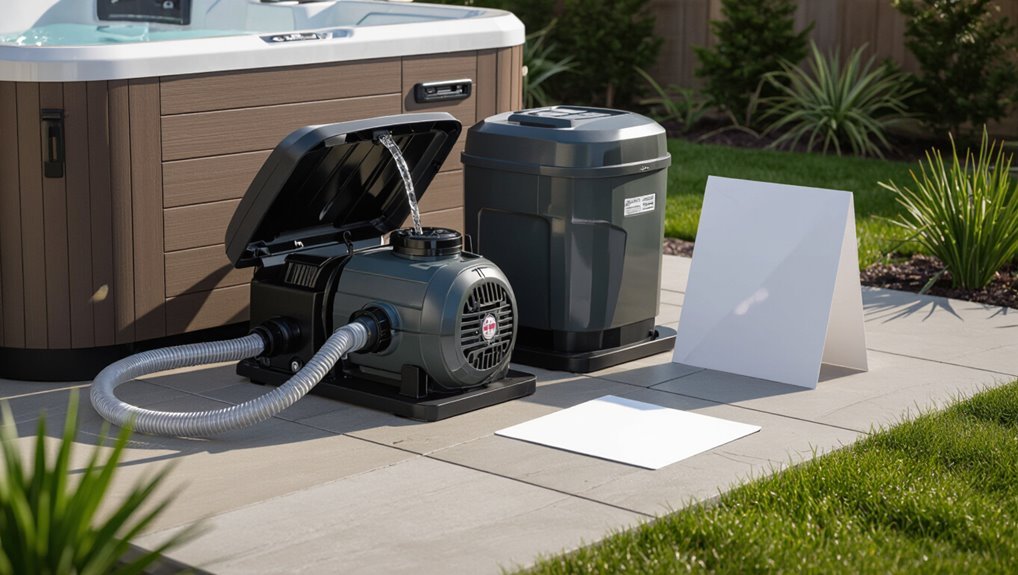
If priming fails, a clearly organized flowchart guides the user through quick checks and corrective steps, prioritizing safety and likely causes.
It sequences inspections: power and breaker, skimmer and filter clarity, air leaks at fittings, pump lid and seals, water level and suction line blockages, and final restart procedure.
Each decision node directs to corrective action or professional service if unresolved.
Handy tips and shortcuts for faster priming
A few targeted adjustments can noticeably improve pump suction and speed up priming without complex tools.
A concise checklist helps first-time hot tub owners follow the correct sequence and avoid common mistakes. The following three quick actions are practical starting points.
- Check and tighten all visible fittings and valves to eliminate air leaks.
- Elevate the filter housing or remove trapped air from lines by tilting hoses slightly.
- Keep a simple priming kit (screwdriver, small bucket, and hose clamp) and the checklist near the tub for repeatable setup.
Small adjustments that improve suction
Make small, targeted adjustments to restore and enhance suction quickly: checking for trapped air in the skimmer and pump lid, tightening loose hose clamps, and repositioning return jets can eliminate common airflow paths that slow priming.
Inspect impeller access and strainer basket for debris, verify drain plugs are sealed, slightly tilt suction lines to remove air pockets, and retighten unions to confirm airtight seals before restarting the pump.
Checklist for first-time hot tub owners
Several concise checks help first-time hot tub owners prime pumps faster and with less trial-and-error: confirm water level above skimmer, remove air from filter housing, tighten unions and lid, open bleed valves, guarantee suction lines are clear, run jets briefly to purge air, inspect pump basket, verify heater bypass position, and monitor pressure gauge during initial start.
Follow sequence methodically for quicker priming.
Conclusion
Priming a hot tub pump restores flow, prevents damage, and returns calm; it requires patience, practice, and proper tools. The reader learns steps, checks, and fixes; the reader avoids common mistakes, minimizes downtime, and protects equipment. The reader gains confidence, saves money, and prolongs spa life. With clear steps, careful troubleshooting, and routine maintenance, the reader moves from frustration to control, from uncertainty to competence, and from stalled water to soothing warmth.