How to Plumb a Shower Drain: Step-by-Step Diagram and Easy DIY Guide
This guide provides a straightforward approach to plumbing a shower drain, ensuring you have all the necessary components and tools. It details how to measure and position the drain, cut the subfloor, install the flange and drain body, and connect the tailpiece to a P-trap and waste line with the correct slope and venting. Additionally, it covers the use of sealants, pan liners, and necessary code compliance. You’ll also find maintenance and troubleshooting tips for common issues like clogs, odors, and leaks. For further clarity, detailed diagrams, step-by-step sequences, and practical tips are included.
Overview of Shower Drain Plumbing and What This Guide Covers
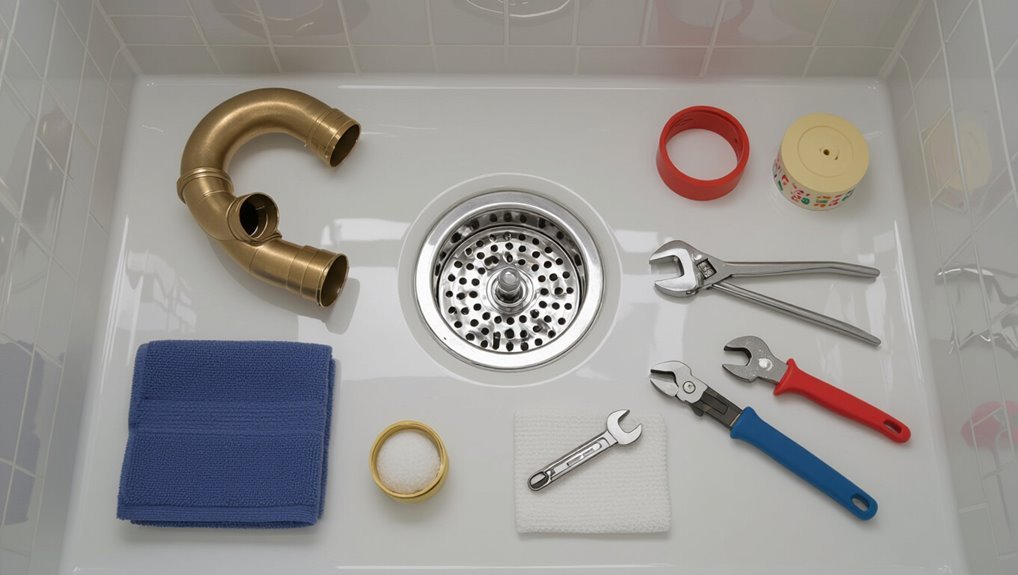
A shower drain collects and directs wastewater through traps and piping, with common types including pop-up, clamped, and bonded drains.
The guide outlines which tasks are suitable for a competent homeowner and which require a licensed plumber.
It also lists the essential tools and materials needed for typical installations and repairs.
What a shower drain does and common drain types
Directing wastewater away from the shower, a drain collects and channels used water into the home’s plumbing system while preventing sewer gases from entering the bathroom.
Common drain types include center, linear, point, and tiled-toilet options, each offering different flow patterns, aesthetics, and installation needs.
A clear how to plumb a shower drain diagram assists selection and shows trap, piping, and slope requirements.
Who can do this job safely homeowner vs. professional
Choosing the right installer depends on the project’s complexity, local code requirements, and the homeowner’s skills.
Simple repairs or straightforward shower replacements may be suitable for experienced DIYers comfortable with basic plumbing, permits, and leak testing.
Complex installations, structural changes, cast-iron or main-line work, or uncertain code compliance warrant a licensed plumber to guarantee safety, warranty validity, and inspection approval.
Tools and materials needed at a glance
Tools and materials are listed so readers can quickly assess whether they have the skillset and supplies to proceed or should hire a pro.
The guide summarizes essential tools, fittings, and safety gear for installing a shower drain, and clarifies material options and quantities.
Quick checklist:
- Drain assembly and flange
- PVC/ABS pipe and fittings
- Sealants, plumber’s putty, tape
- Basic tools and safety gear
Quick Safety and Preparation Steps Before You Start
Before beginning work, the installer should don appropriate safety gear and clear the site to prevent slips and debris hazards.
They must shut off the water supply and protect adjacent finishes and fixtures to avoid accidental damage.
Finally, the installer should verify applicable local codes and permit requirements to guarantee the job meets regulations.
Safety gear and site preparation
Safety gear and a clear work area are essential prerequisites for any shower drain job: eye protection, gloves, and hearing protection mitigate common hazards, while a level, debris-free workspace reduces trip and contamination risks.
Additionally, sturdy footwear and a dust mask protect from falling objects and particulates. Adequate lighting, organized tools, and clear access paths minimize mistakes and speed the task.
How to shut off water and protect surrounding areas
Shut off the water supply at the appropriate valve—usually the home’s main shutoff or a localized bathroom shutoff—to prevent accidental flooding.
Then verify by opening a nearby faucet until flow stops.
Drain residual water from pipes and the fixture.
Protect floors and fixtures with waterproof tarps and absorbent towels.
Isolate electrical outlets and cover nearby drains to catch debris and prevent contamination.
Checking local codes and permit requirements
Why check local codes and permits? The installer confirms legal requirements, fixture placement, trap type, venting, and slope standards before work begins.
Many jurisdictions require permits and inspections for drain alterations; skipping them risks fines, failed inspections, or mandated rework.
Contact the local building department, review code citations, and obtain permits when required to guarantee compliance and safe, approved plumbing.
Understanding Drain Components and Pipe Layouts
The section outlines the key parts of a shower drain assembly—strainer, trap, tailpiece, trap arm and vent—and their interaction.
It also compares common pipe materials (PVC, ABS, copper, cast iron) and notes typical uses and limitations for each.
Finally, it explains how proper venting, trap configuration and pipe slope guarantee reliable drainage and prevent sewer gas entry.
Parts of a shower drain assembly (strainer, trap, tailpiece, trap arm, vent)
A shower drain assembly consists of several distinct components that work together to carry wastewater away while preventing sewer gases and debris from entering the bathroom.
The visible strainer covers the opening; the tailpiece connects to the trap, which holds water as a gas seal.
The trap arm links to the building drain; a vent equalizes pressure and prevents siphoning, ensuring proper flow.
Typical pipe materials and when to use each (PVC, ABS, copper, cast iron)
Different pipe materials offer distinct advantages and limitations depending on local code, installation context, and budget. PVC is common, affordable, and easy to glue for residential drains. ABS suits cold climates and some codes. Copper resists heat and corrosion but costs more. Cast iron is durable and quiet yet heavy.
| Material | Typical use |
|---|---|
| PVC | Residential drains |
| Cast iron | Commercial/long-lasting installations |
How vents, traps, and slope affect drainage
Consideration of vents, traps, and slope is essential for reliable shower drainage because each component controls flow, prevents sewer gas entry, and guarantees waste moves away from the fixture.
Proper trap depth holds water to seal gases; venting equalizes pressure to avoid siphoning; and a 1/4 inch per foot slope guarantees gravity-assisted flow.
Incorrect installation causes slow drains, odors, and backups.
Step-by-Step: Installing a New Shower Drain (Prep for New Shower or Remodel)
The installer begins by measuring and planning the drain location with respect to joists and the subfloor to avoid structural conflicts.
After cutting the subfloor and positioning the flange, the drain body is set and sealed to the pan liner or shower base to guarantee watertight integrity.
Finally, the tailpiece is connected to the trap and the trap to the waste line, with piping secured and sloped correctly for proper drainage.
Measuring and planning drain location relative to joists and subfloor
Accurate measurement and thoughtful planning determine whether a new shower drain aligns with joists and preserves subfloor integrity. Begin by locating joist centers and mapping their orientation relative to the proposed drain so that cutting is minimized and structural members are not compromised.
Measure clearances to plumbing below, note rim joists and bridging, plan pipe runs to avoid hangers, and mark safe cut zones on the subfloor.
Cutting subfloor and positioning the drain flange
With joists and clearances marked, cutting the subfloor and positioning the drain flange can begin.
The installer scores the outline, uses a jigsaw to cut the opening, and deburrs edges.
The flange is dry-fitted, centered over the hole and checked for level with joists and blocking.
Adjustments guarantee proper alignment and structural support before proceeding to the drain body installation.
Installing the drain body and creating a watertight seal with the pan liner or shower base
Begin by seating the drain body into the prepared flange opening and securing it per manufacturer instructions.
Then integrate the pan liner or prefabricated shower base to form a continuous, watertight assembly.
Verify liner is clamped or bonded around the drain, smooth wrinkles, and create a proper flange-to-liner connection with sealant or gasket.
Test for continuity and correct slope before final mortar or adhesive set.
Connecting the tailpiece to the trap and trap to waste line
After the drain body and pan liner are secured and slope verified, attention turns to linking the exposed tailpiece to the trap and running the trap to the waste line.
The installer measures and trims the tailpiece to fit, assembles a slip-joint or threaded trap with appropriate washers, confirms alignment with the waste stub, temporarily tightens fittings, then checks for smooth, unobstructed flow before final snugging.
Ensuring proper slope and securing piping
Verify slope and anchor piping before finalizing the trap run: the drain line must maintain a consistent fall (typically 1/4 inch per foot for 1-1/2 or 2-inch DWV) from the trap toward the waste stack.
All fittings and joints should be supported to prevent sagging or movement.
Use level and measuring tape, install hangers or clamps at recommended intervals, avoid dips, and secure connections to framing.
Installing the strainer/grate and testing for leaks
Once the drain line slope and pipe supports are confirmed, attention turns to installing the strainer or grate and performing a leak test.
The installer seats the flange with plumber’s putty or a rubber gasket, secures the grate, then fills the trap and drain assembly with water.
All joints are inspected for seepage; any leaks are tightened or resealed until dry.
Step-by-Step: Replacing or Repairing an Existing Shower Drain
Before beginning work on an existing shower drain, the technician inspects for common issues such as leaks, slow drainage, and odors to determine the necessary repairs.
They carefully remove the old flange, tailpiece, and trap components without harming the tile or pan, then replace worn parts as required.
Finally, all joints are resealed and the system is tested for watertightness and proper flow.
Diagnosing common drain problems (leaks, slow drain, odor)
Diagnosing common shower drain problems begins with observing symptoms and isolating their source: leaks are often traced to a failed seal or cracked flange.
Slow drainage typically indicates a clog in the trap or piping, and persistent odors suggest a dry trap or trapped buildup.
Inspect accessible fittings, test with controlled water flow, use a flashlight for hidden leaks, and note odor timing to pinpoint causes before repair.
Removing old drain components without damaging tile or pan
Begin by shutting off water to the shower and removing any visible grate, stopper, or trim pieces to expose the drain assembly.
Protect tile with thin plywood or cloth and use penetrating oil on corroded fittings.
Loosen fasteners gently with appropriate tools, prying slowly to avoid chipping glaze.
Remove sealants with a plastic scraper and clean edges, preserving the pan and surrounding tile.
Replacing the trap, tailpiece, or flange
Remove the old trap, tailpiece, or flange carefully to prepare for replacement, working from the drain upward while supporting any plumbing to prevent strain.
Inspect threads, slip joints, and fittings for corrosion or cracks. Match new parts to existing sizes and material.
Assemble parts dry to verify fit, then disassemble for cleaning. Replace gaskets, washers, and hardware as required before final reassembly.
Resealing and testing repairs
After parts are reinstalled, the repairer must reseal all joints and test for leaks to guarantee a watertight finish.
Apply plumber’s putty or silicone to flange edges, tighten slip nuts with appropriate torque, and replace worn gaskets.
Run a prolonged water test, inspect beneath for drips, and monitor after initial use.
Re-tighten or reapply sealant if any seepage appears.
How to Plumb a Shower Drain in Different Installation Scenarios
Different installation settings require tailored shower drain strategies, from concrete slab routing and core-drilling to suspended floors with framing and crawlspace access.
Curbless or low-threshold showers and linear drains demand specific slope and waterproofing details, while multiple fixtures on a single drain line call for correct sizing and thoughtful layout to prevent backups.
The following section compares these scenarios and highlights the critical steps and trade-offs for each.
Shower over a concrete slab routing and core drilling considerations
When a shower is installed over a concrete slab, routing the drain requires planning for slab penetration, slope, and waterproofing so the drain lines can be accurately located and properly sealed.
Core drilling is often the preferred method to create a clean, controlled opening for the drain pipe while minimizing damage to surrounding concrete.
Measurements, reinforcement avoidance, correct bit size, and sealing around the pipe guarantee durability.
Shower over a suspended floor or crawlspace framing and access tips
Plumbing a shower over a suspended floor or crawlspace requires careful coordination of framing, drain placement, and access for future maintenance.
Install a reinforced plywood or flange support under the shower pan, align the trap and vertical stack within joist bays, and provide an accessible cleanout panel.
Guarantee proper slope to the drain, protect piping from cold, and secure vent routing without weakening structural members.
Curbless/low-threshold showers and linear drains special installation steps
For curbless or low-threshold showers with linear drains, layout and slope requirements change from conventional pans: the floor must pitch uniformly toward the linear channel.
The waterproofing membrane must be continuous and turn up behind the finished wall, and the drain body often sits at or near the finished floor level rather than below a boxed pan.
Installers set consistent single-plane slopes, guarantee membrane integration with the adjustable drain flange, and verify proper edge support and threshold sealing.
Multiple fixtures on a single drain line sizing and layout tips
Multiple fixtures tied into a single drain line require careful sizing and layout to prevent backups, meet code trap‑arm limits, and maintain adequate slope.
Determine total fixture units, choose pipe diameter per local code, and keep continuous fall (typically 1/4″ per foot for 1¼–2″ lines).
Space cleanouts, minimize offset bends, avoid long horizontal runs before venting, and test for proper flow and venting.
Plumbing Connections, Fittings, and Sizing Rules
Sizing trap and drain piping for typical residential showers follows standard codes and practical limits, with 2-inch drains commonly used and traps matched to fixture outlet sizes.
The discussion covers common fittings, when to use adapters or couplings, required slope and how to measure pitch, and compatibility or conversion fittings for different materials.
Clear attention to proper sizing, correct fittings, and accurate pitch guarantees reliable drainage and code compliance.
How to size trap and drain piping for typical residential showers
Determining the correct trap and drain pipe sizes for a residential shower requires matching fixture flow capacity, local code requirements, and practical installation constraints to guarantee reliable drainage and trap seal protection.
Typically a 2-inch trap and trap arm are used where codes allow, ensuring adequate flow and reduced clogging; some low-flow setups accept 1½-inch.
Maintain proper slope, venting, and accessible cleanouts.
Common fittings and when to use adapters or couplings
Plumbing fittings — elbows, tees, couplings, bushings, and traps — provide the alterations and directional changes required to connect shower drains to the house drain and vent system.
Choice depends on material, diameter adjustment, and alignment: use couplings for same-size joins, adapters or bushings for dissimilar materials or sizes, elbows for direction changes, tees for branch connections, and trap fittings to prevent sewer gas entry.
Slope requirements and measuring pitch
Proper slope guarantees reliable drainage and prevents standing water or sewer gas backups in a shower waste line.
The standard pitch is 1/4 inch per foot (2%) for horizontal drain runs; 1/8 inch per foot may be allowed for long runs with approval.
Measure pitch with a level and tape, calculate drop over distance, and adjust supports to maintain continuous slope.
Materials compatibility and transition fittings
Select compatible materials and the correct connector fittings to guarantee a watertight, code-compliant shower drain assembly.
Verify pipe types (PVC, ABS, CPVC, cast iron) and use listed connection couplings or dielectric unions where dissimilar metals join.
Match sizes and slope, install proper solvent welds, gaskets, or mechanical couplers, and follow manufacturer and local code specifications to prevent leaks, corrosion, and premature failure.
Testing, Finishing, and Protecting Your Work
Before closing the floor, the installer conducts standardized leak tests—such as a water fill or a pressurized air/smoke check—to verify joints and traps are watertight.
Once proven leak-free, pipes are backfilled, insulated where needed, and any exposed runs are protected from mechanical damage or freezing.
Finally, the drain flange and surrounding area are finished to accept tile or other surface treatments, ensuring a watertight seal and proper slope to the drain.
Leak testing methods (water test, smoke/air test)
Begin leak testing by isolating the drain assembly and choosing an appropriate method—water or smoke/air—based on access, fixture type, and local code.
For water tests, plug the outlet, fill to the required level, and observe for seepage over the specified period.
For smoke/air tests, pressurize the system per code and inspect joints for escaping smoke or pressure loss, documenting results.
Backfilling, insulating, and protecting exposed pipes
Once leak testing is complete and repairs verified, the pipe trenches can be backfilled, insulated, and protected to prevent future damage and guarantee performance.
Compact clean fill around pipes in layers, avoiding sharp rocks. Install foam or fiberglass insulation on cold-water runs to prevent freezing and condensation.
Wrap exposed joints with waterproof tape and apply protective sleeves where pipes cross hard surfaces before restoring flooring substrate.
Final tile or finish work around the drain
With the trenches refilled, insulated, and all joints secured, attention shifts to the visible finish where the drain meets the tiled surface.
Tile is cut to fit snugly around the drain flange, slope verified for proper drainage, and thinset applied evenly.
Grout and waterproof sealant are installed, excess cleaned promptly, and a final leak and drainage test confirms a durable, tidy completion.
Troubleshooting Common Problems and How to Fix Them
Common shower drain problems are summarized here with clear causes and step‑by‑step remedies for slow draining, including hair clogs and venting issues.
Persistent odors and sewer gas are addressed by inspecting and repairing traps and vents, while leaks beneath the shower are located and fixed through targeted testing and seal or pipe repairs.
Noisy drains and water hammer are resolved by identifying loose fittings, adding anchors or air chambers, and correcting pressure imbalances.
Slow draining water causes and step-by-step remedies
Slow draining in a shower typically signals an obstruction or partial blockage within the drain line, trap, or strainer assembly.
Inspect and remove visible debris from the strainer, then clear the P-trap by loosening its slip nuts and extracting trapped hair or gunk.
Use a plumber’s snake for deeper clogs, flush with hot water, reassemble, and test flow.
Repeat if needed.
Persistent odors or sewer gas trap and vent fixes
Persistent odors emanating from a shower usually indicate a problem with the trap seal or venting rather than the drain itself.
Inspect the P-trap for water level; refill if dry. Check for cracked or loose trap connections and improper slope causing siphoning.
Verify vent pipe clearance for blockages or insect nests. Correct seals, replace faulty trap components, and clear vents to restore proper pressure balance and odor control.
Leaks under the shower locating and repairing
Begin by isolating the source with a visual inspection and simple tests: look for water stains, damp insulation, or mold beneath the shower.
Run the shower in different modes while a helper watches below, and place dry paper towels around suspected joints to pinpoint active drips.
Tighten fittings, replace worn gaskets or plumber’s putty, repair cracked trap or primer, and retest for leaks.
Noisy drains and water hammer solutions
Addressing noisy drains and water hammer requires identifying the sound source and the plumbing components involved.
The guide recommends checking loose pipes, worn valve washers, and improper air chamber function.
Solutions include tightening supports, replacing faulty valves or cartridges, installing water hammer arrestors, and adding pipe insulation.
Test flow after repairs; persistent noise may require professional inspection to prevent damage and guarantee code compliance.
Cost, Time Estimates, and When to Hire a Professional
A comparison of costs shows that DIY materials and fittings typically run much lower than contractor labor and permit fees, though complex repairs can erase those savings.
Common projects like replacing a trap or installing a new waste assembly often take a few hours to a day, while rerouting drains or fixing hidden leaks can require multiple days.
Immediate calls to a licensed plumber are recommended for sewer smells, recurring backups, structural damage, or any situation requiring permits or modified piping in walls or floors.
Typical cost breakdown for DIY vs. contractor-installed shower drain
When weighing whether to tackle a shower drain installation personally or hire a contractor, the decision typically rests on cost, time, and the complexity of the job.
DIY material costs range $30–$150 for parts; modest tools may add $50–$200.
Contractor-installed jobs typically cost $300–$1,200+ including labor, permits, and disposal.
Choose a pro for complex plumbing, code compliance, or leak risk.
Estimated time for common projects
Although project scope and site conditions vary, estimated durations help homeowners decide whether to DIY or hire a pro.
Typical tasks: replacing a shower drain insert—30–90 minutes; installing new P-trap and tailpiece—1–3 hours; rerouting nearby drain lines or cutting concrete—6–12+ hours over multiple days.
Allow extra time for drying, inspections, and unexpected complications.
Red flags that warrant calling a licensed plumber
Several clear warning signs indicate the job should move from DIY to a licensed plumber: persistent leaks, sewage odors, slow or gurgling drains after multiple attempts at clearing, visible corrosion or cracked piping, repeated failures of new installations, and any work requiring changes to main lines, vents, or structural elements.
Costs rise with complexity; expect higher rates for emergency calls, permits, or structural repairs.
Hire a pro when safety, code compliance, or extensive teardown is involved.
Maintenance Checklist to Keep Shower Drains Flowing
A concise maintenance checklist helps prevent clogs and prolong the life of shower drain plumbing.
It should cover routine cleaning and preventive care, seasonal or annual inspections, and recommended products and tools for safe upkeep.
Following a simple schedule and using proper tools reduces emergency repairs and maintains reliable flow.
Routine cleaning and preventive care
Establish a simple maintenance routine to prevent clogs and extend the life of the shower drain:
regularly remove visible debris from the strainer, flush the drain weekly with hot water, use a mild enzymatic cleaner monthly to break down organic buildup, and inspect seals and fittings quarterly for leaks or corrosion.
- Remove hair and debris.
- Flush with hot water.
- Apply enzymatic cleaner.
- Check seals and fittings.
Seasonal or annual inspections
Routine maintenance keeps most issues at bay, but scheduled seasonal or annual inspections catch developing problems before they escalate.
Inspectors or homeowners should check drain flow, trap seals, visible pipe joints, and surrounding grout or flooring for leaks.
Verify venting function and examine for odors, slow drainage, or pests.
Document findings, note corrective actions, and schedule repairs before minor defects worsen.
Products and tools recommended for maintenance
Assemble a concise kit of products and tools tailored to shower-drain upkeep so inspections and minor repairs proceed efficiently.
Include a drain snake, handheld auger, pair of nitrile gloves, adjustable wrench, plumber’s putty, silicone sealant, pipe tape, small bucket, flashlight, and replacement gaskets.
Add enzyme-based drain cleaner for maintenance and a soft-bristle brush for residue removal.
Store in a labeled tote for accessibility.
Helpful Diagrams and Visual Steps to Follow
The article provides three clear diagrams to guide installation: a standard shower drain assembly with trap layout, a slope and pipe routing plan for suspended floors, and a cross-section for linear drain installation.
Each visual highlights critical dimensions, required fall, and connection points to reduce errors during cutting and fitting. Readers are encouraged to follow the labeled steps on each diagram when planning and executing the work.
Diagram: standard shower drain assembly and trap layout
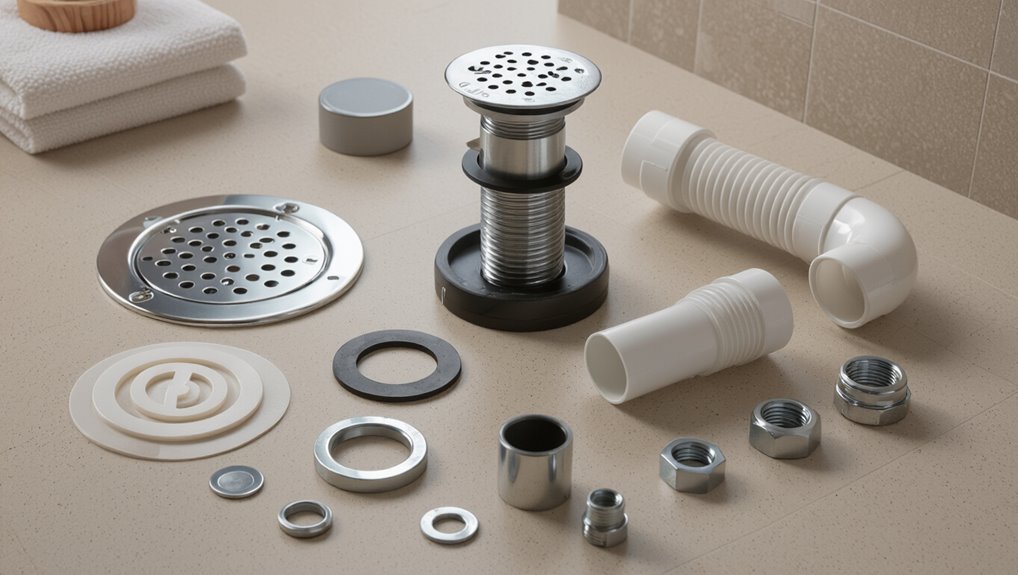
A clear diagram clarifies the components and flow of a standard shower drain assembly and trap layout, showing how the strainer, drain body, trap adapter, P-trap, and trap arm connect to the waste line.
The illustration labels parts, indicates seal types and connection methods, and shows required clearances.
Flow direction, vent location, and slip-joint or solvent-weld joints are depicted for accurate assembly and inspection.
Diagram: slope and pipe routing for suspended floor
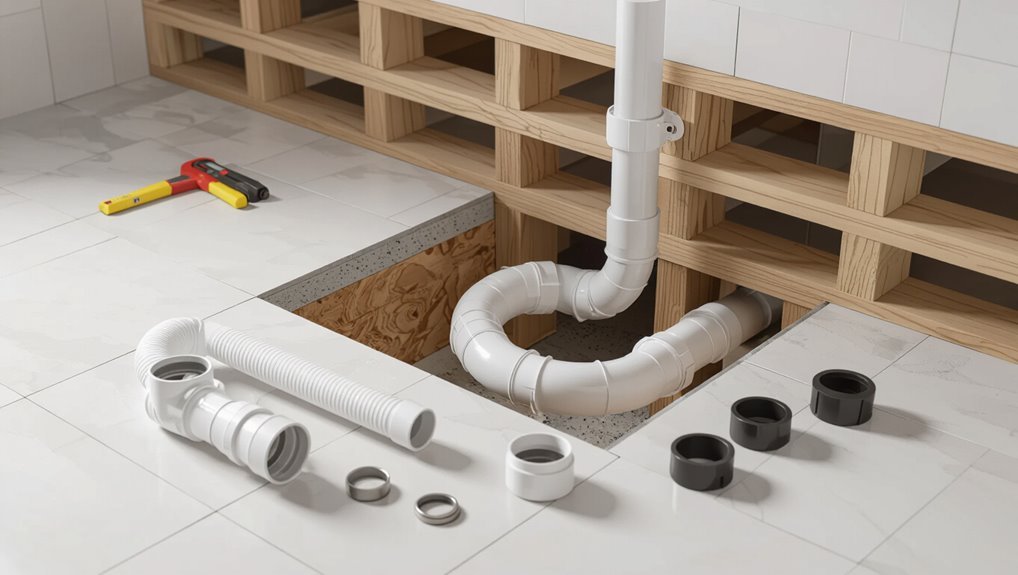
Clear diagrams for slope and pipe routing on a suspended floor show the required fall, support spacing, and routing options so installers can position the drain body, trap arm, and waste stacks without guesswork.
Illustrations indicate minimum slope (typically 1/4″ per foot), hanger locations, penetration details through joists or beams, soundproofing clearances, and routing alternatives to reach soil stacks while maintaining access and serviceability.
Diagram: linear drain installation cross-section
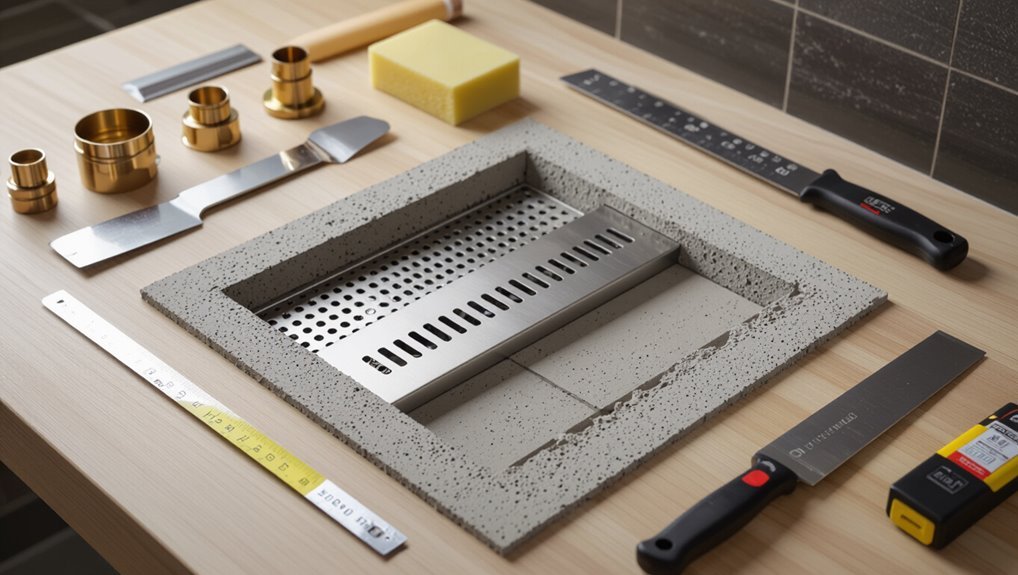
Diagrammatic cross-sections for linear drain installation condense critical dimensions and sequencing into a single, easy-to-read graphic that guides installers through waterproofing, substrate build-up, and channel placement.
The illustration shows membrane layers, mortar bed thickness, fall profile toward the channel, drain flange elevation, weep hole paths, and finished tile level.
Notes specify tolerances, slope percentages, and connection to the waste outlet for proper function.
Conclusion
Plumbing a shower drain need not intimidate even a cautious DIYer; careful preparation, correct parts, and attention to watertight joints make success likely. When problems arise, can methodical troubleshooting and basic repairs not save time and money? Yet recognizing when to call a professional preserves safety and compliance. With routine maintenance and clear diagrams, most homeowners can install, replace, or maintain a shower drain confidently, avoiding leaks and ensuring reliable drainage for years.