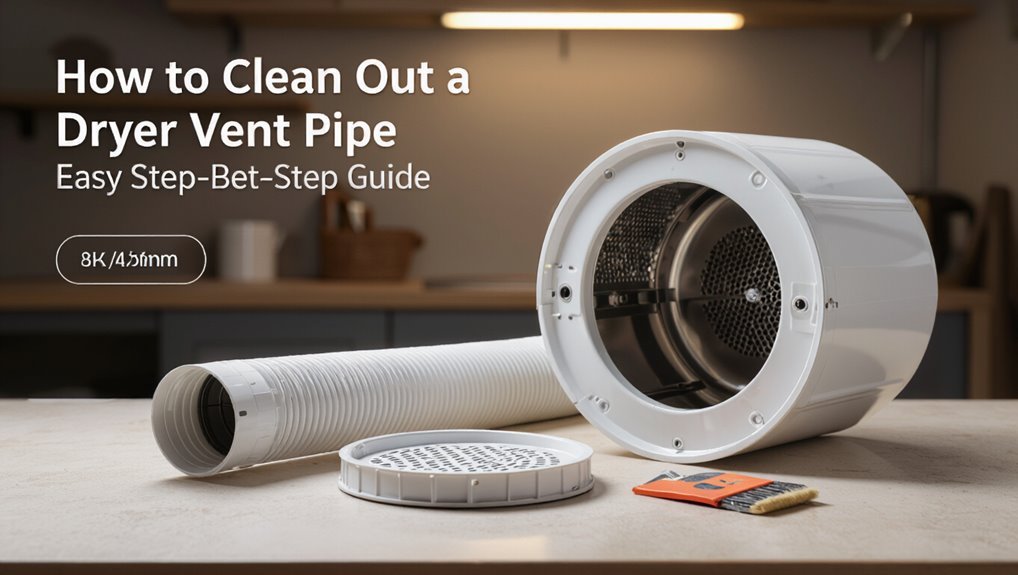
How to Clean Out a Dryer Vent Pipe: Easy Step-by-Step Guide
Key Takeaway: Cleaning a dryer vent pipe is crucial for maintaining efficiency and safety. Follow these steps to ensure proper cleaning:
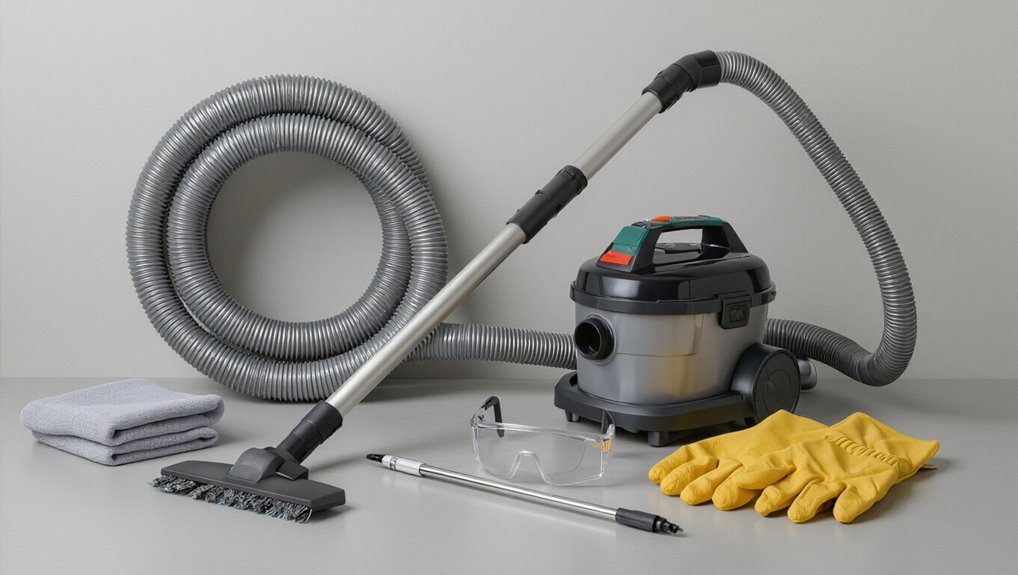
- Preparation: Turn off the power or gas to the dryer. Gather gloves, a mask, a vacuum with a hose, a flexible vent brush, and screwdrivers.
- Disconnecting: Pull the dryer away from the wall and loosen the clamp or tape connecting the dryer to the exterior hood. Be ready to contain any loose lint.
- Cleaning Process: Use the vacuum and brush to clean the vent from the dryer outwards. Repeat the process until the airflow paths are clear.
- Reconnection: Reconnect the vent with a smooth and snug fit, securing the clamps properly.
- Testing: Restore power or gas briefly to check for strong exhaust airflow.
For further tips on timing your inspections and knowing when to call a professional, consult additional resources.
Safety Checklist & Tools (What to Shut Off and Bring)
What should be turned off and gathered before beginning work on a dryer vent pipe? The technician confirms the dryer is unplugged or the circuit breaker is off for electric models; gas dryers require shutting off the gas supply and verifying the valve is closed.
Protective gear includes gloves, safety glasses, and a dust mask.
Tools: a vacuum with hose attachment, flexible vent brush, screwdriver set, foil tape, and a flashlight. A ladder is included if the exterior vent is elevated.
A small catch tray and rags handle lint and debris. A phone or tester verifies power and gas remain off.
Access and Disconnect the Dryer Vent Pipe
Before disconnecting the vent, the technician positions the dryer for easy access, pulls it away from the wall several inches, and verifies the power and gas remain off. The technician inspects the hose connection, identifies clamps or foil tape, and readies tools. Disconnecting proceeds gently to avoid kinking ducts or damaging fittings. Loose lint is contained with a drop cloth and a vacuum at hand. Any crushed sections are noted for replacement; rigid ducts are checked for screws while flexible ducts are examined for tears. The technician labels orientation to make certain proper reassembly and stages replacement parts if needed.
| Item | Action |
|---|---|
| Power | Confirmed off |
| Gas | Confirmed off |
| Clamp | Loosened carefully |
| Duct | Inspected for damage |
| Cloth | Placed to catch lint |
Clean the Dryer Vent Pipe and Duct : Step‑By‑Step
With the dryer pulled forward and the power and gas secured, the technician begins by removing loose lint and debris from the pipe and ductwork using a vacuum and lint brush, working from the dryer outward to prevent pushing obstructions deeper into the line.
Next, flexible duct brushes are fed into the line, rotated and withdrawn in sections, dislodging compacted lint.
Stubborn clogs are broken up with a plumber’s snake or powered rotary brush if needed.
After brushing, the technician vacuums again, inspects with a flashlight, and repeats until airflow paths appear clear and free of residue before reassembly.
Reconnect the Dryer Vent and Test Airflow
Once the duct and dryer connection surfaces are verified clean and dry, the technician reconnects the vent to the dryer and secures it to the wall or exterior hood, ensuring a snug, accordion-free fit and properly seated clamps or foil tape.
Next, electrical or gas connections are confirmed safe and the dryer is powered briefly. The technician runs the dryer on a high-heat, no-dry-cycle setting while observing exhaust at the exterior hood and feeling airflow at the duct end.
Airflow strength and temperature are noted; insignificant flow or heat loss prompts recheck of seals, clamps, and any crush points before concluding the job.
Prevent Clogs: Inspection Schedule & When to Call a Pro
After confirming proper reconnection and satisfactory airflow, a regular inspection schedule helps prevent clogs from forming and preserves dryer performance. Inspect lint traps after every load, vent hose monthly, and external vent quarterly. Clean visible lint promptly and note reduced airflow or overheating. If inspections reveal restricted airflow, persistent lint accumulation, or dryer runtime increases, escalate to deeper cleaning or professional service. Professionals should be called for roof/soffit vent access, long duct runs, rigid metal ducts with buildup, or suspected fire hazards.
| Frequency | Task | Action |
|---|---|---|
| After each load | Lint trap | Clean |
| Monthly | Hose | Inspect |
| Quarterly | External vent | Check |
Conclusion
Regular maintenance keeps dryers safe and efficient, and as the old adage says, “A stitch in time saves nine.” Following the safety checklist, disconnecting the vent, and methodically removing lint restores proper airflow and reduces fire risk. Reconnect, test, and schedule periodic inspections to catch issues early. If ducts are long, damaged, or stubbornly clogged, call a professional. Consistent care saves time, money, and the peace of mind that comes from a well-tended home appliance.