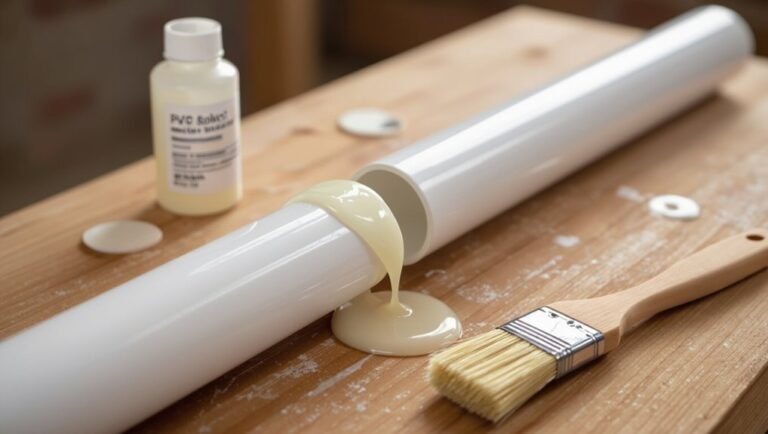
How to Attach a Toilet Flange to a Concrete Floor: Step-by-Step Guide for a Secure Install
To securely attach a toilet flange to a concrete floor, first align the flange over the drain and ensure it’s level. Use a hammer drill to create holes for mechanical anchors, then insert the anchors and tighten the nuts evenly. Before placing the toilet bowl, add a wax ring or gasket to prevent leaks. Finally, torque the bowl to specification and perform a follow-up check to ensure a stable, leak-free installation.
Overview of Attaching a Toilet Flange to Concrete
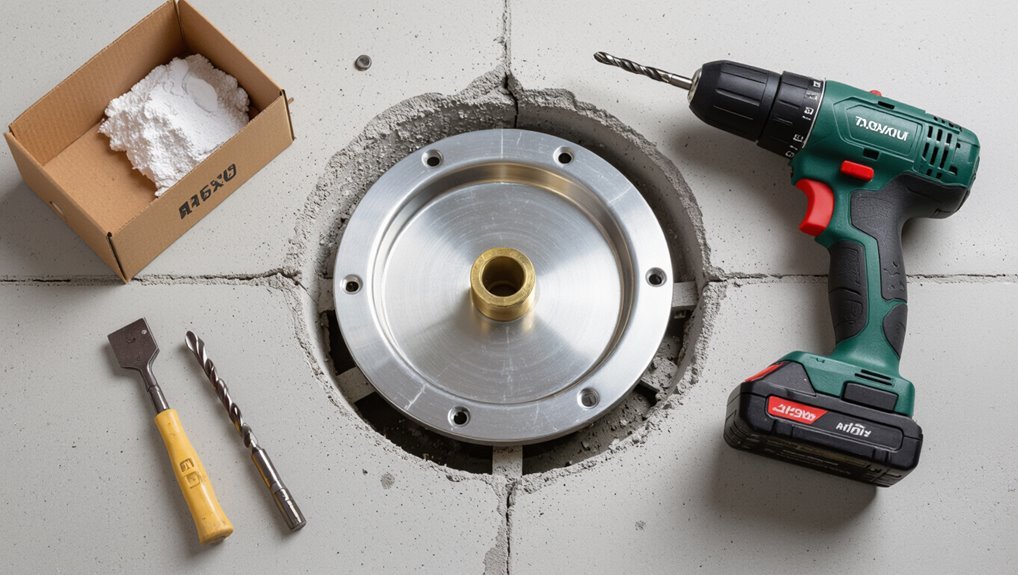
A toilet flange is the fitting that connects the toilet to the drain and secures it to the floor. Fastening it firmly to concrete prevents leaks, wobbling, and sewer gas entry.
Installing a flange on concrete is commonly required in new construction, during toilet replacement, or when an existing flange is cracked or corroded. Proper attachment methods and hardware vary by situation and affect long-term stability and seal integrity.
What a toilet flange is and why secure attachment to concrete matters
Toilet flanges serve as the critical interface between the toilet and the drain, anchoring the fixture to the floor while creating a sealed connection to the sewer line.
A flange aligns the toilet, supports weight, and prevents leaks and odors.
Proper how to attach toilet flange to concrete floor technique guarantees stability, waterproofing, and long-term performance, minimizing cracks, movement, and sewer-gas infiltration.
Common scenarios requiring flange installation on concrete (new construction, replacement, damaged flange)
When projects call for work on bathroom drains, three situations most commonly require installing a flange on concrete: new construction where the subfloor and waste line are being laid, replacement during remodels or fixture upgrades, and repair when an existing flange is cracked, corroded, or improperly seated.
Each scenario demands proper alignment, secure anchoring, and a watertight seal to prevent leaks, odors, and structural damage.
Tools and Materials Needed
The section lists the essential tools—drill with masonry bits, hammer, torque wrench, and sealant—required for installing a toilet flange on concrete.
It also compares recommended flange types and materials suited to concrete floors, such as stainless steel, PVC, and composite options.
Safety gear and preparatory steps, including eye protection, dust mask, and floor cleaning, are specified before work begins.
Essential tools list
Successful flange installation requires a compact set of durable tools and appropriate materials to guarantee secure anchoring to concrete and a watertight seal.
Essential items include cutting, drilling, fastening, and sealing tools selected for concrete work.
Typical list:
- Hammer drill with masonry bits
- Concrete anchors or sleeve anchors
- Adjustable wrench and torque driver
- Wax ring or rubber gasket and silicone sealant
Recommended flange types and materials for concrete floors
Moving from tools to materials, the choice of flange type and construction for concrete floors determines durability, seal integrity, and anchor compatibility.
- Cast iron flanges: extremely durable, match older stacks.
- PVC/ABS flanges: lightweight, solvent-weld to plastic drain lines.
- Stainless steel flanges: corrosion-resistant, ideal for moisture-prone areas.
- Brass or bronze inserts: offer robust anchor threads and long-term reliability.
Safety gear and preparations
Before starting work, everyone on the job should assemble appropriate safety gear and verify site readiness: eye protection, chemical-resistant gloves for sealants, a dust mask or respirator for cutting concrete or PVC, knee pads for extended floor work, and steel-toe shoes to guard against falling tools.
A utility knife, caulk gun, hammer drill with masonry bit, concrete anchors, flange, wax ring, and measuring tape complete essential preparations.
Assessing the Existing Plumbing and Flange Conditions
Before beginning work, the plumber inspects the drain pipe type and position to confirm compatibility with the replacement flange.
The flange height is measured relative to the finished floor to guarantee a proper seal and prevent leaks.
The surrounding concrete and subfloor are checked for cracks, spalling, or voids that could compromise flange anchoring.
Inspecting drain pipe type and position
When evaluating the existing plumbing and flange conditions, the inspector should identify the drain pipe material, diameter, and exact elevation relative to the finished floor. These factors determine flange selection, sealing methods, and any necessary pipe modifications.
The inspector also notes pipe orientation, accessibility for fasteners, presence of offsets or sags, and any visible damage or corrosion that could affect sealing, adapter choice, or future repairs.
Measuring flange height relative to finished floor
Measure the flange height precisely to determine whether the top of the toilet flange sits flush with, above, or below the finished floor. This measurement dictates the type of flange, wax ring, or spacer required for a reliable seal.
Use a straightedge and caliper or ruler to record the gap or protrusion in millimeters. Note offsets and record for parts selection and installation alignment.
Checking for concrete damage and subfloor issues
Several key inspections reveal whether the concrete and subfloor can support a new flange and maintain a watertight seal.
The inspector checks for cracks, spalling, soft spots, moisture stains, and efflorescence.
Verify slab levelness and core integrity around the drain, confirm no active leaks or sewer odors, and assess underlying joists or subfloor patches for rot or instability before proceeding with flange installation.
Preparing the Concrete Floor
The concrete must be prepared before installing a new flange by accurately marking the flange location and centerline to align with the drain.
Any old flange and debris should be removed and the surrounding area cleaned to expose sound concrete.
Damaged or uneven sections are then repaired and leveled with appropriate patching compounds and methods to guarantee a stable, flat surface for mounting.
Marking flange location and centerline
Before drilling or setting the flange, establish an accurate centerline and outline the fixture location on the concrete to guarantee proper alignment with the drain and bolt pattern.
Measure from fixed room references, transfer toilet bolt spacing, and mark flange edges.
Verify symmetry with the bathroom layout and double-check measurements before proceeding, ensuring bolt holes clear obstructions and maintain recommended clearances.
Removing an old flange and cleaning the area
Remove the old flange carefully to prevent damage to the drain pipe and surrounding concrete.
The flange, bolts, and wax ring residue are removed using a wrench, screwdriver, and scraper. Corroded fasteners may require penetrating oil and a grinder.
Vacuum and brush the flange opening and adjacent concrete to remove dust, debris, and old sealant.
Make certain the surface is dry and visible for the next steps.
Repairing and leveling damaged concrete (patching compounds and methods)
Assess damaged areas for depth, extent, and bonding soundness before applying any patching material.
Remove loose concrete, dust, and contaminants; widen hairline cracks slightly to guarantee adhesion.
Use a polymer-modified cement repair for deep voids and a feather-finish patch for shallow depressions.
Follow manufacturer mixing, apply in layers if needed, level to slope, cure properly, and verify a flat, solid surface for the flange.
Step-by-Step Installation Using Mechanical Anchors
Next, the flange is dry-fit and aligned to the drain to confirm position before any holes are made.
The installer marks and drills anchor holes to the correct bit size, depth, and layout, fits the chosen concrete or sleeve anchors, then secures the flange to those anchors while rechecking alignment.
Finally, the perimeter is sealed with an appropriate caulk or sealant to prevent leaks and protect the installation.
Dry-fitting the flange and aligning to drain
Position the flange over the drain opening and verify that the bolt slots line up with the toilet’s base and the flange sits flush against the concrete; this dry-fit confirms fit, orientation, and necessary adjustments before anchoring.
Inspect gasket seating, guarantee the flange’s top is level with the finished floor, and mark anchor locations.
Rotate or shift slightly to align waste inlet with trapway for unobstructed flow.
Drilling anchor holes in concrete (bit size, depth, layout)
Begin by confirming the flange’s anchor marks and choosing the correct drill bit: a 3/8-inch masonry bit is typical for 1/4-inch wedge or sleeve anchors, while 1/2-inch anchors require a 1/2-inch bit; the depth should be the anchor length plus 1/4 inch for dust clearance.
Mark hole positions to match flange bolt pattern, space holes evenly, use a hammer drill, and clear debris before inserting anchors.
Installing concrete anchors or sleeve anchors
Install the mechanical anchors by placing the flange over the drilled holes, inserting each anchor through the flange into the drilled hole, and tapping them flush with a hammer so the sleeve sits snugly against the concrete.
Tighten each anchor nut gradually to expand the sleeve, ensuring consistent engagement.
Remove debris, verify sleeves remain seated, and prepare for final fastening without disturbing anchor alignment.
Securing flange to anchors and checking alignment
With the anchors seated and nuts snugged to expand the sleeves, the flange is lowered onto the anchors so each bolt passes cleanly through its corresponding slot or hole; care is taken to keep the gasket or wax ring in place and the flange flat against the concrete.
Nuts are tightened evenly in a star pattern to prevent rocking. Flange level is verified, and bolt alignment is confirmed before final torque.
Sealing around flange with appropriate caulk or sealant
After the flange is firmly anchored and level, attention turns to sealing the perimeter to prevent water infiltration and odor escape.
A low-modulus, bathroom-grade silicone or polyurethane sealant is applied beadwise around the flange base, smoothed with a damp finger or tool for full contact.
Avoid sealant inside the drain opening.
Allow manufacturer-recommended cure time before reinstalling the toilet to guarantee a durable, watertight seal.
Step-by-Step Installation Using Epoxy or Chemical Anchors
When ground conditions or load requirements make mechanical anchors unsuitable, chemical anchors provide superior bond and vibration resistance for a toilet flange.
The process requires accurately drilled and thoroughly cleaned holes, precise epoxy injection and setting of threaded rods or bolts, then flange attachment with attention to manufacturer curing times.
Proper preparation and curing guarantee a secure, long-lasting connection to the concrete.
When to choose chemical anchors over mechanical
Decide between chemical and mechanical anchors based on substrate condition, load demands, and installation constraints.
Chemical anchors suit cracked or weak concrete, thin sections, or where vibration resistance and higher pullout strength are required. They perform well with irregular hole surfaces and offset loads.
Choose chemical anchoring when permanent, high-capacity, or flexible bite is needed; otherwise, mechanical anchors remain simpler and faster.
Drilling and cleaning holes for epoxy anchors
Begin by marking hole locations directly from the flange, ensuring alignment with anchor spacing and avoiding edge proximity that could crack the slab.
Use a hammer drill with an appropriate-size carbide masonry bit, drilling to specified depth.
Clear debris with a vacuum and compressed air, then brush holes with a nylon or wire brush.
Confirm cleanliness and dryness before proceeding to adhesive application.
Applying epoxy and setting threaded rods or bolts
After confirming that the drilled holes are clean and completely dry, the installer prepares the epoxy cartridges and threaded rods or anchoring bolts according to the manufacturer’s instructions.
The epoxy is injected into each hole to the recommended depth; rods are inserted and rotated slightly to guarantee even distribution. Excess epoxy is wiped away, alignment verified, and rods left undisturbed for the specified initial set period before proceeding.
Attaching flange and curing times
With the anchored rods set and the epoxy initially tack-free, the installer positions the toilet flange over the threaded rods, confirming the flange face sits flush with the finished floor and the horn aligns with the waste outlet.
Nuts and washers are threaded on finger-tight to hold the flange in proper orientation while the epoxy cures fully according to the manufacturer’s specified time.
After full cure, nuts are tightened and excess cured epoxy trimmed.
Installing a Wax Ring, Rubber Gasket, or Compression Seal
Selection of a wax ring, rubber gasket, or compression seal should be based on flange height, toilet type, and the need for a moisture-resistant seal on concrete.
The chosen seal must be centered and seated squarely on the flange or spud to guarantee an even contact surface.
Careful alignment of the bowl and gradual, alternating bolt tightening will compress the seal evenly and minimize the risk of leaks or damage.
Choosing the right seal type for concrete floor installations
Choosing the appropriate seal for a toilet flange on a concrete floor requires balancing durability, ease of installation, and the flange’s elevation relative to the finished floor.
Wax rings suit level flanges recessed slightly below finished floor.
Rubber gaskets tolerate minor misalignment and offer reusable resilience.
Compression seals work best where flange height varies or a tight, adjustable seal is needed for uneven concrete surfaces.
Proper placement of wax ring or gasket on flange
Begin by centering the chosen seal directly over the flange bore so it will compress evenly when the toilet is set; a wax ring should sit flat and fully cover the flange hub.
A rubber gasket should align its lip with the flange face and bolt holes, and a compression seal must be positioned so its movable components can engage the horn of the toilet without obstruction.
Confirm no folds, debris, or misalignment remain before lowering.
Methods to prevent leaks and protect seal during bolt tightening
With the seal centered and free of folds or debris, attention turns to tightening the toilet bolts without compromising the wax ring, rubber gasket, or compression seal.
Tighten nuts alternately and gradually, using a wrench with controlled turns.
Place foam or rubber shims to distribute pressure and prevent over-compression.
Inspect for uniform seating, test for leaks by flushing, and re-torque if settling occurs.
Setting and Securing the Toilet
The toilet is lowered carefully onto the flange, aligning the bowl over the guide bolts so the seal seats evenly.
Once positioned, the nuts are tightened alternately to the manufacturer’s specified torque to secure the bowl without cracking the porcelain.
Finally, the water supply is reattached and the flush function is tested for leaks and proper operation.
Positioning toilet over flange and guide bolts
Careful alignment is essential when lowering the toilet onto the flange so the bowl seats evenly and the wax ring seals properly.
The installer lines up the horn over the flange, guides the bowl onto exposed closet bolts, and guarantees both bolt slots engage.
Minor rocking corrects fit; excess lateral pressure is avoided.
Once seated, bolts remain accessible for final securing.
Tightening bolts to manufacturer torque (avoiding cracking)
Begin tightening the closet bolts evenly and incrementally, alternating between sides to draw the toilet down straight onto the flange.
Use a torque wrench or calibrated driver to reach the manufacturer’s specified torque.
Tighten in small steps, checking level and wax ring compression.
Stop immediately if porcelain shows stress or gasket deforms.
Replace bolts or flange hardware if uneven resistance or cracking risk appears.
Reattaching water supply and testing flush function
Reconnect the water supply line to the toilet’s fill-valve shank, threading the compression nut or flexible hose fitting by hand until snug.
Then give it a quarter-turn with an adjustable wrench—avoid over-tightening.
Open the shutoff valve slowly, observe for leaks at connections and base.
Flush multiple times to verify fill, flush valve seating, and stable bowl refill.
Tighten or re-seat as needed.
Common Problems and How to Fix Them
Common issues that arise when attaching a toilet flange to a concrete floor include a flange sitting below the finished floor, a loose flange after installation from anchor or concrete failures, persistent leaks at the base, and cracks in the toilet or concrete from overtightening.
Each problem requires specific troubleshooting: extensions or spacers for a low flange, proper anchors or epoxy and concrete repair for looseness, inspection and replacement of the seal or flange for leaks, and careful torqueing or crack repairs for damage.
The following section outlines practical fixes and preventive steps for each condition.
Flange sits below finished floor extension solutions
When a flange sits below the finished floor, the toilet can rock, seal improperly, or sit unevenly, creating leaks and odor issues; addressing this requires raising or extending the flange to meet the finished surface.
Options include flange spacers, stacked ring extensions, or adjustable-height flanges.
Guarantee clean, level mating surfaces and use a compatible wax or rubber gasket rated for the added thickness to preserve a watertight seal.
Loose flange after installation troubleshooting anchors and concrete failures
Inspecting a loose toilet flange begins with identifying whether the failure stems from anchor hardware, cracked or crumbling concrete, or improper original installation.
If anchors pulled out, remove debris, drill new holes into solid concrete, and use epoxy-set or concrete wedge anchors.
For crumbled concrete, chisel back to sound material, patch with repair mortar, then reinstall flange with proper anchors and torque to spec.
Persistent leaks at base diagnosing seal or flange damage
A loose or improperly seated flange often presents not only mechanical instability but also persistent water at the base of the toilet.
So the next step is to determine whether the leak originates from the seal or from flange damage. Inspect the wax or rubber seal for compression, cracks, or displacement.
Then examine the flange for corrosion, cracks, or broken mounting tabs.
Replace the failed component.
Cracked toilet or concrete due to overtightening prevention and repair
Overtightening toilet bolts or flange anchors can fracture porcelain or crack surrounding concrete, creating hairline fissures that worsen under normal use.
To prevent damage, torque evenly using washers and a hand wrench, and follow manufacturer specs.
For minor porcelain chips, use epoxy repair; for cracked bowls replace the toilet.
For concrete fractures, clean, inject epoxy or use hydraulic cement; stabilize flange with sleeves or neoprene shims.
Alternatives and When to Call a Professional
When the existing flange is too low, damaged, or misaligned, flange extenders, repair rings, and offset flanges offer practical alternatives to full replacement.
These products can restore a secure seal and proper toilet height without extensive concrete work.
However, visible sewer leaks, major flange movement, extensive concrete damage, or uncertainty about proper sealing are signs that a licensed plumber or concrete contractor should be called.
Using flange extenders, repair rings, and offset flanges
Several practical alternatives exist for restoring a damaged or poorly positioned toilet flange: flange extenders, repair rings, and offset flanges each address specific problems without full replacement.
- Flange extenders raise flange height to meet finished floor.
- Repair rings bridge cracked or crumbling concrete edges.
- Offset flanges shift toilet position slightly to clear obstructions.
Installation requires correct sealing, bolts, and sometimes concrete anchors.
Signs the job requires a licensed plumber or concrete contractor
How can a homeowner tell if a toilet flange repair is beyond DIY skill?
Severe corrosion, crumbled concrete, or a flange that spins indicate structural failure.
Persistent leaks, sewer gas odor, repeated seal failures, or misaligned drain connections suggest plumbing complexity.
If cutting concrete, relocating drain lines, or obtaining permits is required, hire a licensed plumber or concrete contractor to guarantee safety and code compliance.
Maintenance Tips and Longevity Recommendations
Regular inspections of the flange and wax or rubber seal help catch leaks and corrosion before they worsen.
Routine cleaning, periodic bolt re‑tightening, and ensuring the toilet does not rock are effective practices to prevent future damage.
Following these simple maintenance steps extends the flange’s service life and reduces the likelihood of costly repairs.
Inspecting flange and seal periodically
Periodic inspection of the toilet flange and wax or rubber seal helps catch early signs of deterioration that can lead to leaks or structural damage.
Technicians or homeowners should look for cracks, corrosion, loose bolts, deformed seals, and odors indicating moisture.
Document findings, measure gap or movement, and schedule repairs or replacement promptly to prevent worsening conditions and protect surrounding flooring and subfloor integrity.
Best practices to avoid future damage (cleaning, re-tightening, preventing movement)
Maintain the flange and seal proactively to extend service life and prevent leaks: clean the flange and surrounding floor of debris and mineral buildup, inspect and re-tighten closet bolts and flange-to-floor fasteners after the first few uses and then at recommended intervals, and secure any loose flooring or flange adapters to eliminate movement that can shear seals.
Use corrosion-resistant fasteners, replace degraded wax or rubber gaskets, and monitor for odors or wobble.
Cost, Time Estimates, and Material Comparisons
Typical material costs for attaching a toilet flange to a concrete floor range from modest DIY purchases (anchors, flange, seal) to higher-priced specialty parts, while professional labor can add a substantial portion to the total.
A DIY installation commonly takes one to three hours for an experienced homeowner, whereas a plumber may complete the job in one hour but requires scheduling and travel time.
Comparing materials — standard PVC or ABS versus metal or brass flanges — highlights trade-offs between upfront cost, corrosion resistance, and long-term durability.
Typical material and labor cost ranges
Several common factors determine the material and labor cost ranges for attaching a toilet flange to a concrete floor, including flange type, anchor and seal materials, concrete condition, and local labor rates. Typical ranges: materials $15–$80; anchors/sealants $5–$30; labor $100–$300. Choices affect durability and total expense; allowances for repairs raise costs.
| Item | Low | High |
|---|---|---|
| Flange | $15 | $80 |
| Anchors/seal | $5 | $30 |
| Labor/repair | $100 | $300 |
Time required for DIY installation vs. professional job
How long will attaching a toilet flange to concrete take, and how do DIY and professional timelines compare?
A DIYer typically spends 2–6 hours: site prep, drilling anchors, epoxy or concrete screws, and curing time for adhesives.
A professional usually completes the physical installation in 1–2 hours, excluding travel and scheduling.
Professionals reduce risk of mistakes but cost more; fast availability varies.
Visual Aids and Reference Diagrams
The article provides clear visual aids showing a typical flange assembly and the correct orientation for toilet mounting.
Accompanying reference diagrams illustrate the drill pattern and precise anchor placement for concrete floors. These images help confirm measurements and reduce installation errors.
Typical flange assembly and toilet mounting diagram
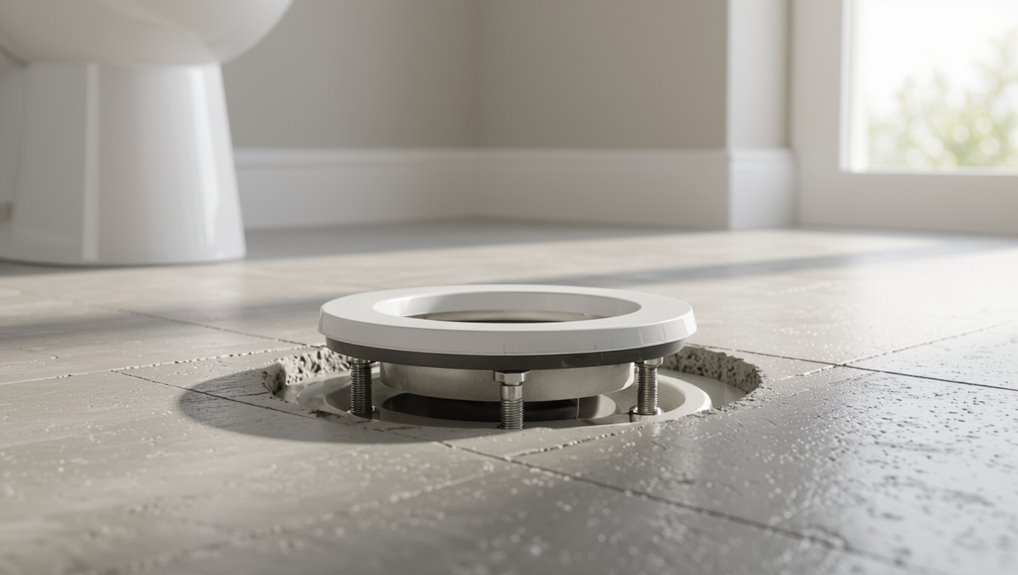
A clear diagram of a typical flange assembly and toilet mounting clarifies the spatial relationships among the flange, wax ring, bowl bolts, closet flange screws, and finished floor level.
The illustration labels flange height relative to finished floor, wax ring compression zone, bolt locations and spacing, bowl base outline, and outlet alignment.
Callouts indicate gasket position, torque limits for bolts, and directional flow to the drain.
Drill pattern and anchor placement illustration
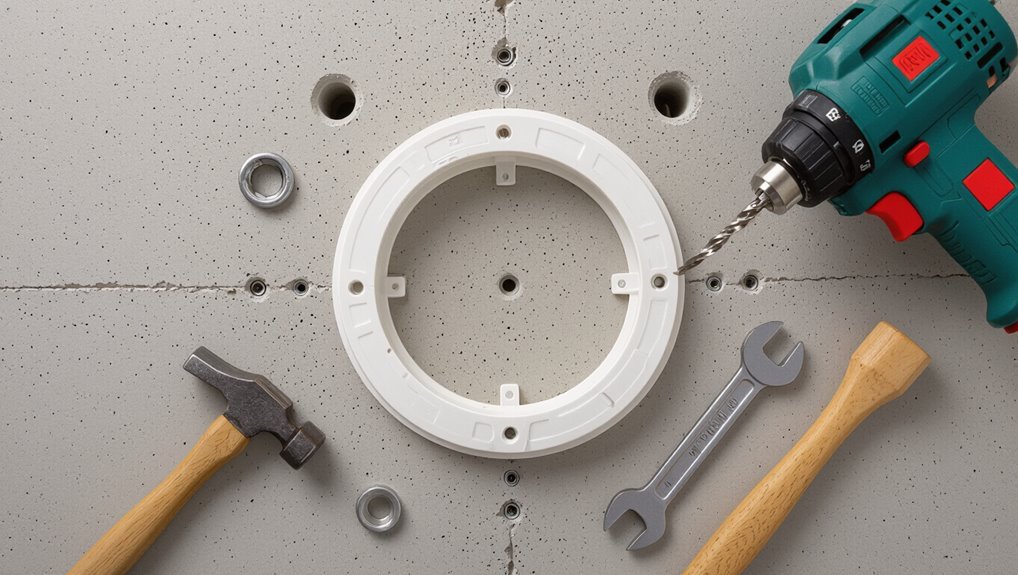
Begin by showing a top-down diagram that specifies the exact bolt-hole pattern and anchor locations relative to the flange centerline and finished floor edges.
Include radial measurements to each anchor, hole diameters, and recommended anchor types (sleeve or wedge).
Indicate offset tolerances for irregular concrete, spacing from finished floor, and typical screw lengths.
Label scale and orientation for installation reference.
Conclusion
A homeowner once hesitated, then drilled three anchor holes—transforming a wobbly flange into a steadfast base. That small act, like planting a sapling in cracked earth, illustrates how careful preparation and the right anchors yield lasting stability: anchoring a toilet flange to concrete is less about brute force and more about method. With proper assessment, tools, and occasional professional help, the fixture endures, saving time, leaks, and future headaches.