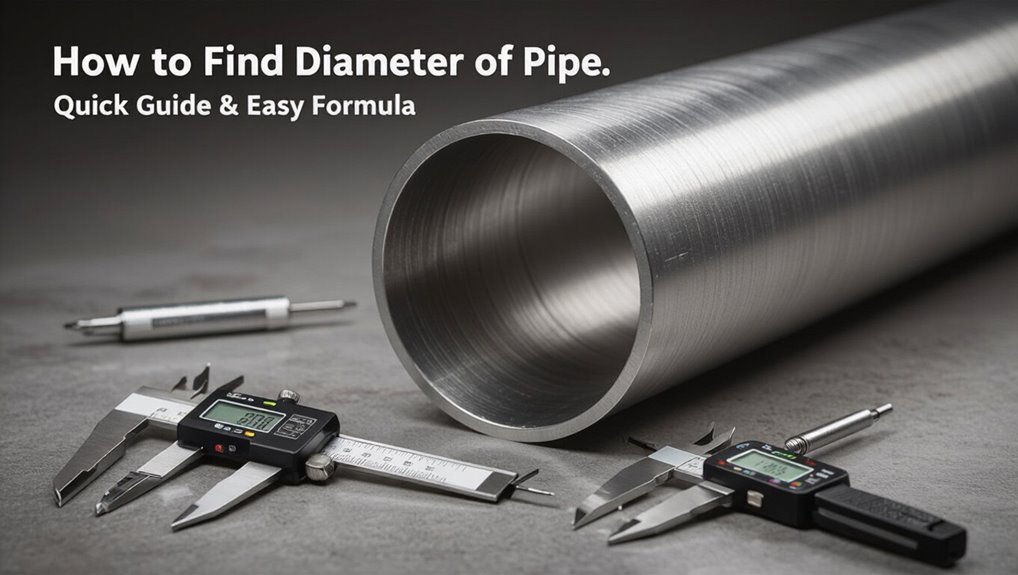
How to Find Diameter of Pipe: Quick Guide & Easy Formula
To quickly find the diameter of a pipe, measure the outside width at the opening using a caliper or tape measure, then subtract twice the wall thickness to obtain the internal diameter. If you can only access the circumference, wrap a tape or string around it and divide that length by π (approximately 3.14159) to find the diameter. For buried or irregular pipes, use camera or acoustic tools at access points.
Key Takeaways:
- Measure outside diameter and subtract twice the wall thickness for internal diameter.
- Use circumference (divide by π) if only that measurement is available.
- Utilize specialized tools for hard-to-reach areas.
Be mindful of common mistakes, such as measuring over fittings or buildup.
Quick Answer: How to Find Pipe Diameter Fast
For a fast estimate of pipe diameter, measure across the pipe’s opening and subtract the wall thickness if measuring the outside, or measure the inside opening directly for the internal diameter; when only circumference is accessible, divide that measurement by pi (3.1416) to get the diameter.
The quickest approach uses a ruler or tape for visible openings and string-plus-measure for confined pipes.
Account for coating or buildup that alters apparent size.
Convert units consistently.
If precision under 1% is required, use calipers or professional gauges (discussed elsewhere).
Record whether diameter reported is internal (ID) or external (OD) to avoid confusion.
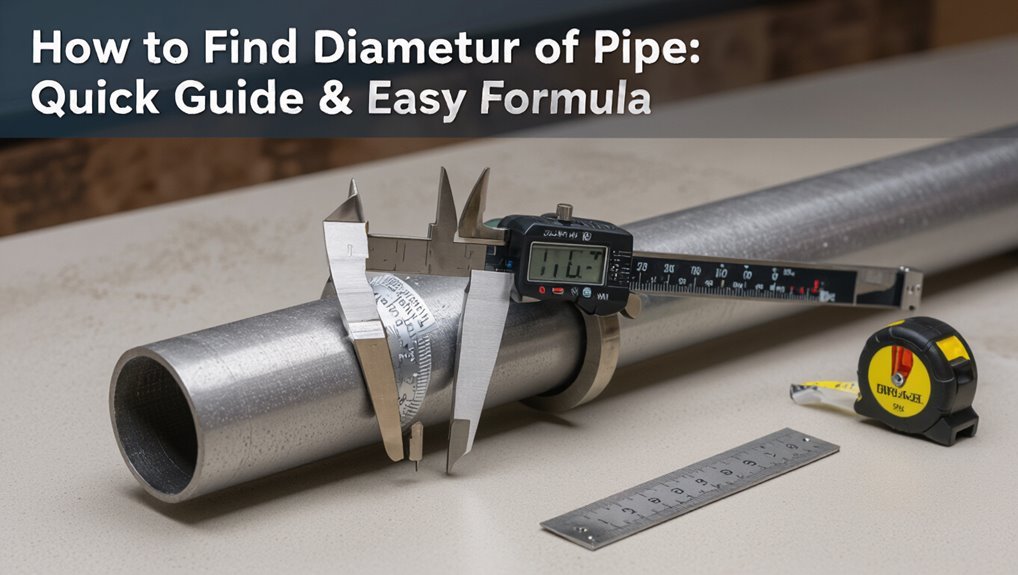
Measure Pipe Diameter (OD) With Tape or Caliper
Selecting the right tool—a flexible tape for large, curved runs or a caliper for precise measurements on exposed ends—ensures accuracy.
The outer circumference should be measured snugly around the pipe, avoiding gaps or overlaps.
Divide the measured circumference by pi (≈3.1416) to calculate the outside diameter.
Choose Proper Measuring Tool
When measuring pipe outside diameter (OD), using the correct tool—tape measure for large, accessible pipes or calipers for small or precise work—ensures accurate readings.
Select a flexible steel tape for curved or long runs; its graduations and tension control yield reliable OD estimates when calipers cannot span the span.
Use vernier, dial, or digital calipers for fittings, short lengths, or when tolerances matter; make certain jaws sit squarely on the pipe and read to the caliper’s resolution.
For painted, corroded, or irregular surfaces, prefer calipers and take multiple measurements around the circumference to confirm consistency before recording.
Measure Outer Circumference Accurately
Using a flexible tape or caliper held square to the pipe, measure the outer circumference precisely by wrapping the tape snugly without compressing the material or, with calipers, by taking multiple diameter readings around the pipe and averaging them to account for ovality. Measurements should be taken at several points along the length to detect deformation. Record readings immediately and note measurement tool, temperature, and surface condition. Clean the pipe surface of debris or scale before measuring. Use consistent tension on the tape. Verify calibration of calipers periodically.
| Tool | Best practice |
|---|---|
| Tape | Snug, no compression |
| Caliper | Multiple averaged readings |
Convert Circumference To Diameter
Convert the measured outer circumference to the outside diameter (OD) by dividing the circumference value by pi (π ≈ 3.14159); for example, an outer circumference of 31.42 inches corresponds to an OD of 10.00 inches.
The technician records the tape or caliper circumference, verifies units match, then computes OD = circumference ÷ π.
For metric measurements use centimeters or millimeters consistently.
If tape measures around fittings with gaps, take multiple readings and average them.
For high precision, account for tape thickness and measurement error; for quick checks, round to two decimal places.
Report OD with its units and estimated uncertainty.
Calculate ID From OD and Wall Thickness
For a circular pipe, the internal diameter (ID) is found by subtracting twice the wall thickness from the outside diameter (OD): ID = OD − 2 × wall thickness. This formula applies when wall thickness is uniform and measurements use the same units. Convert units first if needed.
For metric or imperial, substitute numeric values directly: ID = OD − 2t. If measured OD includes coatings or corrosion, remove those layers from OD before calculation.
For thin-walled pipes where nominal sizes are used, consult manufacturer dimensions because nominal OD may not equal actual. Report ID with appropriate tolerance based on measurement precision.
Measure Diameter From Circumference (String + π)
By wrapping a flexible line or string snugly around the pipe to measure its circumference and then dividing that length by π, one obtains the pipe’s diameter: D = C / π.
The method suits round pipes when calipers or tapes are unavailable.
Use a non-stretch string, mark the overlap, then measure that length with a ruler for C. Apply π ≈ 3.14159 for reasonable accuracy; more precision uses a longer decimal.
Repeat measurements at different axial positions to check roundness and average results if minor variation occurs.
Record units consistently; convert afterward only if required for the intended purpose.
Convert Measured Diameter to Nominal Pipe Size
When matching a measured outer or inside diameter to pipe nomenclature, it is important to recognize that nominal pipe size (NPS) often does not equal the actual physical diameter. The measured dimension must be compared to standard NPS tables which list inside diameter (ID), outside diameter (OD), and wall thickness for each nominal size and schedule.
Convert the measured OD or ID to the closest standard value, accounting for manufacturing tolerances and pipe schedule. Use decimal inches or millimeters consistently, and interpolate only when necessary. Confirm selection by checking intended purpose and fitting compatibility rather than relying on nominal label alone.
Read Pipe Markings and Common Standards (PVC, Copper, Steel)
Typically, pipe markings provide the quickest way to identify material, nominal size, schedule, pressure rating, and applicable standard.
Manufacturers stamp or print codes along pipe length: PVC shows “PVC” plus SDR or schedule and pressure (e.g., SDR21, PN10); copper uses Type (K, L, M), diameter in inches, and temper; steel displays nominal pipe size (NPS), schedule (SCH40, SCH80), material grade (A53, A106), and API or ASTM standards.
Interpreting these markings lets users match marked nominal size to actual OD/ID charts.
When markings are faded, reference standards or traceability records assist accurate identification.
Measure Hidden, Buried, or Inaccessible Pipes
If markings are illegible or the pipe runs out of sight, measurement must rely on indirect methods and tools suited for hidden, buried, or otherwise inaccessible runs. Acoustic or sonar gauges estimate diameter from reflected signals; tracer wires and probes reveal routing; camera inspections show visible cross-sections where accessible; excavation or exposed fittings provide verification points. Record multiple readings and note conditions for reliability.
| Method | Use case |
|---|---|
| Sonar/Acoustic | Buried lines with access points |
| Inspection camera | Long runs with entry points |
| Tracer/probe | Locate concealed routing |
| Expose fitting | Confirm and measure directly |
Common Measurement Mistakes and How to Avoid Them
Why do measurement errors persist even with straightforward tools? Common mistakes include misreading caliper jaws, measuring over fittings or paint buildup, assuming wall thickness, and ignoring pipe ovality. Inaccurate tape alignment, using worn or improperly zeroed tools, and measuring at nonperpendicular angles produce systematic bias.
Environmental factors—temperature, dirt, and limited light—also degrade accuracy. To avoid errors, verify tool calibration, clean measurement surfaces, take multiple readings around the circumference, and average them. Record whether measurements are inner, outer, or nominal diameter.
When access is limited, use appropriate adapters or indirect methods and document assumptions for later validation.
Quick Formulas, Conversions, and Cheat Sheet
For rapid field work and quick checks, a compact set of formulas and conversions streamlines diameter determinations and reduces calculation errors.
The guide collects essential equations, unit conversions, and a cheat sheet for common scenarios so technicians can extract diameter swiftly from circumference, area, flow, or wall thickness data.
Reference values and conversion factors minimize rework.
Measurements should be double-checked against tool accuracy and pipe standards.
- Circumference to diameter: D = C / π
- Area to diameter: D = 2 sqrt(A / π)
- Flow (Q) relation: use Q = A v, solve for D
- Inch–mm: 1 in = 25.4 mm
- Nominal vs. actual: consult standards
Conclusion
Like sailors reading stars, the guide steers readers through pipe‑measurement seas with steady tools and simple formulas. It reminds technicians to match OD, ID and wall thickness, to use calipers, tape or a string-and-π method, and to translate measurements into nominal sizes and standards. For hidden runs, clever access and indirect measures replace direct sight. With these concise practices, measuring pipes becomes less guesswork and more reliable craft, learned by doing.