How to Cut a Stainless Steel Pipe: Easy DIY Guide & Tools
To cut a stainless steel pipe effectively, follow these steps:
- Match the Tools: Select a cutting method based on the pipe’s diameter, wall thickness, and finish. Use a tube cutter for thin walls or a bi-metal/carbon carbide blade, portable band saw, reciprocating saw, or stainless-rated cutoff wheel for thicker sections.
- Prepare the Pipe: Measure and mark a clear cutting line. Secure the pipe using padded jaws or V-blocks to prevent movement during cutting.
- Cutting Process: Use steady feeds and apply intermittent cooling while cutting to avoid overheating.
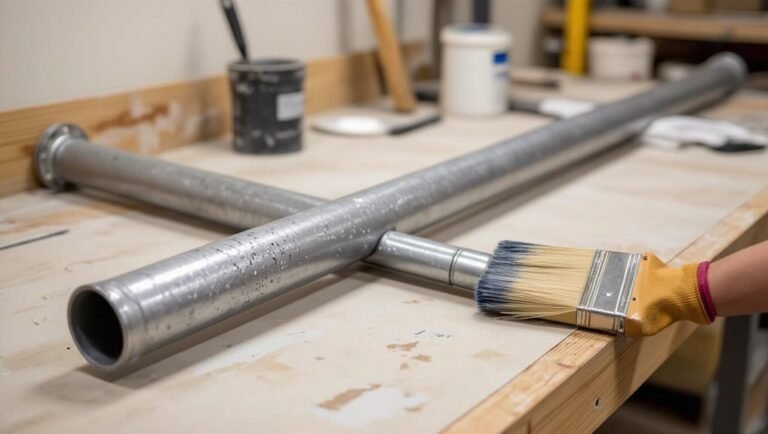
- Finishing Touches: After cutting, deburr the edges with a file or flap wheel to ensure a smooth finish.
- Safety First: Always wear appropriate safety gear throughout the process.
This concise guide ensures you have the necessary steps and tools for cutting stainless steel pipes properly.
Quick Decision Guide: Best Way to Cut Stainless Steel Pipe
Choose the cutting method based on pipe diameter, wall thickness, required finish, and available tools.
The writer notes that thin-wall small-diameter tubing favors a tubing cutter or abrasive wheel for clean, quick cuts; thicker-walled or larger-diameter pipe benefits from a reciprocating saw, band saw, or powered cutoff wheel to maintain control and speed.
For precision finishes, an abrasive cutoff followed by deburring and light filing reduces burrs.
For structural or welded applications, consider square, perpendicular cuts and allowance for grinding.
Safety, access, and minimization of heat-affected zones guide the final method selection.
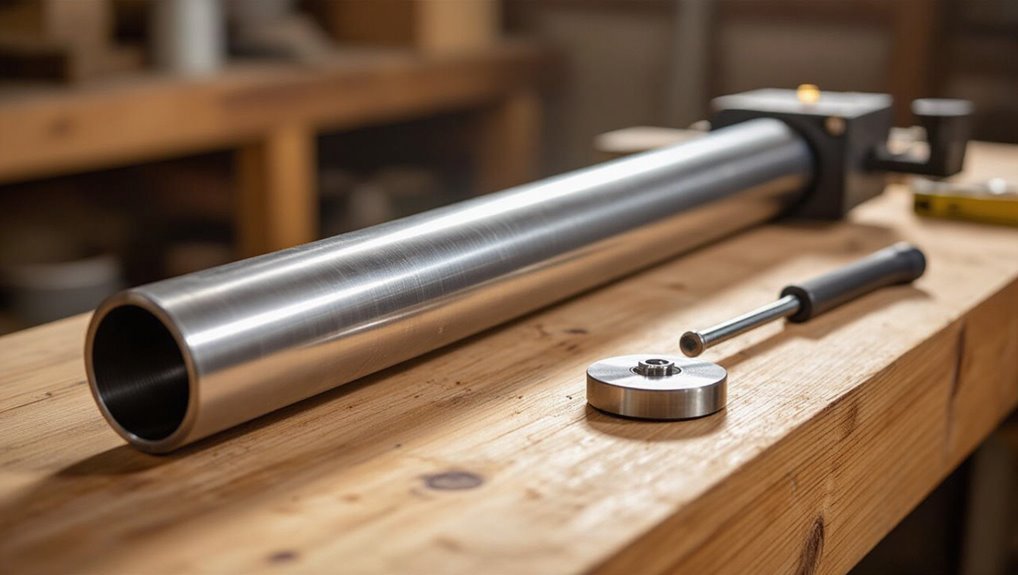
Essential Tools for Cutting Stainless Steel Pipe
Tools for cutting stainless steel pipe fall into distinct categories—handheld cutters, power saws, abrasive wheels, and finishing implements—each selected for diameter, wall thickness, finish requirement, and work environment.
The section outlines essential tools, safety gear, and consumables, emphasizing durability and compatibility with stainless steel. Selection favors corrosion-resistant blades and appropriate RPM ratings; lubrication and clamping are noted for quality cuts.
- Tubing cutters (ratchet or wheel) for thin-walled pipe
- Reciprocating and circular saws with bi-metal or carbide blades
- Angle grinders with cut-off wheels
- Portable band saws for larger diameters
- Deburring tools and files for finishing
Choosing the Right Cutting Method for Your Pipe
After outlining the available cutters and accessories, the next step is matching a cutting method to the pipe’s diameter, wall thickness, finish requirement, and work conditions.
Thin-walled, small-diameter tubes suit tubing cutters or fine-toothed hacksaws for clean edges.
Thicker walls require abrasive wheels, cold saws, or carbide-blade bandsaws to prevent distortion.
Polished or visible finishes favor cold cutting methods and minimal grinding; painted or concealed sections tolerate abrasive cutting followed by blending.
Portable jobs benefit from angle grinders; workshop setups permit stationary saws for repeatable accuracy.
Safety, access, and available power dictate the most effective balance between speed, finish, and heat control.
Measure and Mark a Precise Cut Line
Accurate measurements determine final fit and must account for wall thickness, joint allowances, and tool kerf.
Clear, consistent marking methods—such as using a caliper for layout and a scribe or marker wrapped with a template—ensure the cut line stays true around the pipe circumference.
Practical tips include double-checking measurements, marking from a fixed reference point, and rotating the pipe to verify alignment before cutting.
Accurate Measuring Techniques
How precisely should the pipe be measured before cutting to guarantee a true, square end? Careful measurement guarantees fit and minimizes rework.
The process emphasizes consistent reference points, tool calibration, and accounting for wall thickness and fitting allowances.
Recommended steps include:
- Use a reliable tape measure or caliper for length and diameter checks.
- Establish a fixed datum—pipe end, flange face, or centerline.
- Verify tool zero and measure twice before cutting.
- Account for burr removal and weld penetration in the final length.
- Record measurements and clamp positions to maintain repeatability across multiple cuts.
Precision at this stage prevents alignment issues later.
Marking Methods And Tips
With a verified measurement established, the cutter marks a precise cut line using consistent reference points and high-contrast layout tools; a fine-tip permanent marker or scribe paired with a square, pipe wrap, or adjustable marking guide produces a clear, true line around the circumference.
The process begins by aligning one reference end, transferring measurement, and rotating the pipe while keeping the guide steady.
For thin-walled tubing, use light strokes to avoid deformation; for heavy wall, scribe deeper for visibility.
Verify line with calipers or rule at multiple points.
Add a small alignment notch to orient the pipe in the vise before cutting.
Clamp and Support the Pipe Safely
A pipe vise is used to secure the stainless steel pipe firmly at the marked location.
Wooden or rubber blocks are placed between the vise jaws and the pipe to prevent marring and to distribute pressure.
Additional supports under the pipe stabilize the free length to prevent movement or sagging during cutting.
Secure With Pipe Vise
Before cutting, the pipe must be firmly secured in a pipe vise so it cannot twist, slip, or drop during sawing.
The operator positions the pipe so the cut line aligns with the jaws’ edge, leaving adequate overhang for the saw blade and minimizing vibration.
Tighten gradually, checking alignment and avoiding over-compression that can deform stainless tubing. Use soft jaws or protectors if needed.
Confirm accessibility for the cutting tool and maintain a clear work area. After securing, recheck stability before starting the cut.
- Align cut line with vise
- Tighten incrementally
- Use protective jaw covers
- Verify blade clearance
- Recheck stability
Stabilize Using Blocks
Stabilizing blocks and clamps create firm, distributed support under and around the stainless steel pipe to prevent sagging, rotation, or vibration during sawing.
The worker places hardwood or rubber blocks beneath the pipe at intervals, aligning supports near the cut and at each end.
Clamps secure the pipe to the blocks and workbench, applying even pressure to avoid deforming the metal.
Padding protects the pipe surface from clamp jaws.
For long runs, add intermediate supports to maintain straightness.
Confirm the assembly is rigid, square to the blade, and accessible for cutting.
Re-check tightness periodically during the cut.
Cut Stainless Steel Pipe With a Hacksaw
Use a sharp-toothed hacksaw and steady, even strokes to cut stainless steel pipe, maintaining a slow pace to prevent overheating and dulling the blade.
The operator marks the cut, secures the pipe in blocks or a vise with protective padding, and aligns the blade with the mark.
Cutting progresses with consistent pressure, turning the pipe slightly every few strokes to keep the kerf even.
Metal filing deburrs the edge after completion, and periodic blade checks avoid wandering or snagging.
- Mark cut line precisely
- Clamp securely with padding
- Use steady, even strokes
- Rotate pipe occasionally
- Deburr and inspect edge
Cut Stainless Steel Pipe With a Reciprocating Saw
After marking and securing the pipe as for a hacksaw, an operator can switch to a reciprocating saw when speed or access demands it.
The operator fits a bi‑metal or carbide‑grit blade rated for stainless steel, confirms firm clamping, and wears eye, ear, and hand protection.
Start the blade perpendicular, use steady pressure, and let the tool cut; forcing risks blade breakage and heat buildup.
Pause periodically to avoid overheating and to check alignment.
Deburr the cut with a file or flap wheel.
Inspect the edge for notches or roughness before installation or welding.
Cut Stainless Steel Pipe With an Angle Grinder
An angle grinder fitted with a thin, stainless‑steel–rated cutting disc can make fast, straight cuts in pipe sections too large or awkward for saws, provided the operator secures the work, controls sparks, and manages heat buildup to prevent warping or surface discoloration.
The method emphasizes steady motion, light pressure, and intermittent cutting to limit heat. Protective equipment is mandatory, and clamps or a vise prevent rotation. After cutting, deburring and light filing restore edges.
Recommended steps include:
- Choose a stainless steel cutting disc rated for the grinder size.
- Mark the cut line clearly and clamp the pipe securely.
- Use steady, even passes; avoid forcing the tool.
- Pause to cool the metal and inspect progress.
Cut Stainless Steel Pipe With a Tubing/Pipe Cutter
For smaller-diameter stainless steel tubes or when a cleaner, burr-free finish is desired, a dedicated tubing or pipe cutter often offers greater control and less heat than an angle grinder. The tool clamps around the tube; incremental tightening and rotation scores the metal until separation. It minimizes deformation and sparks, suits thin-wall tubing, and eases deburring. Properly align the cutter, mark the cut, and maintain steady pressure. Use cutting wheels rated for stainless and replace worn parts. After cutting, file or use a deburring tool for a smooth edge.
| Topic | Detail |
|---|---|
| Best use | Thin-wall tubes |
| Heat | Low |
| Finish | Clean, minimal burrs |
| Speed | Moderate |
| Tool care | Replace wheel regularly |
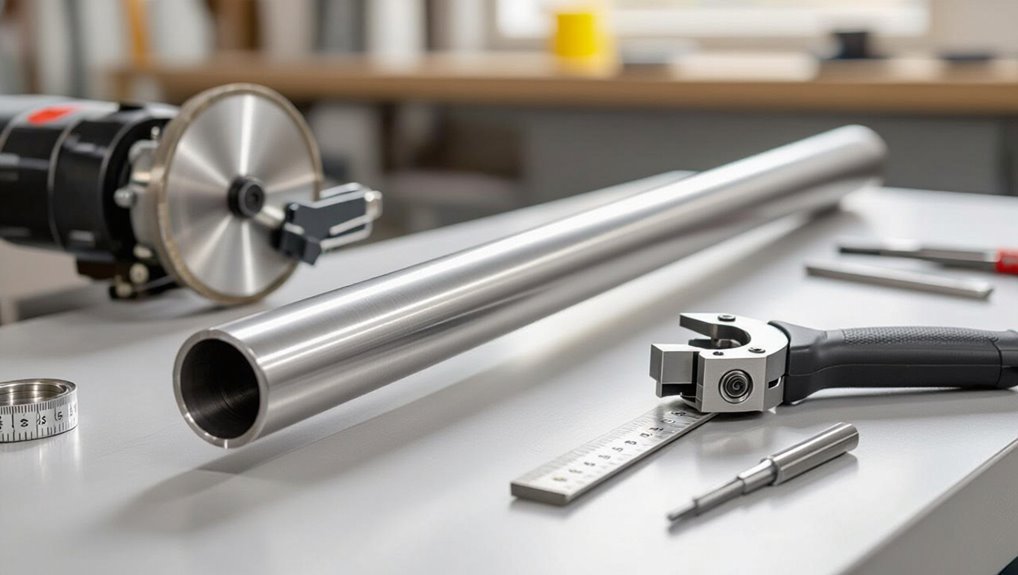
Cut Stainless Steel Pipe With a Band Saw or Chop Saw
Cutting stainless steel pipe with a band saw or chop saw delivers fast, straight cuts suitable for larger-diameter or thicker-walled material where speed and repeatability matter.
The operator secures the pipe, selects a bi‑metal or carbide blade, and uses slow, steady feed with cutting fluid to reduce heat and work hardening. Safety gear, proper clamps, and blade guards are mandatory. After cutting, a file or deburring tool removes burrs.
- Choose appropriate blade tooth pitch and material
- Clamp pipe to prevent rotation and vibration
- Use cutting fluid to prolong blade life
- Maintain steady feed rate
- Deburr and inspect cut end
Technique Differences: Thin‑Wall vs Thick‑Wall Pipe
Having established band saw and chop saw practices for straight, repeatable cuts, differences emerge when working with thin‑wall versus thick‑wall stainless pipe.
Thin‑wall tubing requires lighter feeds, finer-tooth blades, and firm clamping to prevent collapse and vibration; cooling is less critical but steady support at the cut prevents distortion.
Thick‑wall pipe demands slower advance, coarse-tooth or carbide blades, more powerful machines, and attention to heat buildup to avoid hardening near the kerf.
Preparation differs: scoring or pilot cuts help thin walls, while stepped cuts or multiple passes suit thick sections.
Cutting parameters should match wall thickness and machine capability.
Avoid Burring and Deformation
Preventing burrs and deformation requires consistent clamping to support the pipe without distorting its shape.
Sharp, appropriate cutting tools minimize heat and mechanical stress that cause rough edges.
Any remaining burrs should be removed and edges chamfered to restore a smooth, accurate finish.
Proper Clamping Technique
When preparing a stainless steel pipe for a cut, secure clamping is essential to prevent burring and deformation; the clamp should hold the pipe firmly without crushing, using padding or a V-block to distribute pressure evenly.
Proper technique centers the pipe, stabilizes both ends, and allows controlled cutting motion.
The operator inspects contact points and adjusts tension gradually.
Clamping should minimize vibrations and permit coolant access.
Post-clamp checks confirm roundness and alignment before cutting begins.
- Center pipe on V-block or padded jaws
- Apply even, moderate clamping force
- Use soft pads to protect surface
- Support both sides of the cut
- Recheck alignment and tension
Use Sharp Cutting Tools
With the pipe secured and aligned, attention turns to tool condition: sharp, properly ground cutters produce clean cuts and limit burr formation and wall distortion.
Inspect blades for nicks, uneven edges, or excessive wear; replace or resharpen before cutting.
Choose the correct tool: tubing cutters, carbide saw blades, or abrasive discs rated for stainless steel.
Maintain consistent feed rate and steady pressure to avoid tooth grabbing or blade overheating, which can compress or flare the pipe wall.
Coolant or cutting oil reduces heat and preserves edge geometry.
Frequent blade changes and light passes yield the truest profile and minimize deformation.
Deburring And Chamfering
After cutting, removing burrs and creating a controlled chamfer are essential to restore edge integrity and prevent injury, assembly problems, or stress concentrations.
The procedure uses hand or powered tools chosen to avoid burring and deformation.
Proper technique preserves tolerances and finish.
Recommended steps include:
- Inspect the cut for burrs, sharp edges, and flatness.
- Use a deburring tool, file, or fine abrasive wheel with light pressure.
- Create a small 15–30° chamfer to aid assembly and reduce stress risers.
- Keep the pipe supported to prevent ovaling during work.
- Clean the area and verify fit before final assembly or welding.
Deburr, File, and Smooth the Cut Edge
Removing burrs and smoothing the cut edge prepares the stainless steel pipe for safe handling and reliable joining. The process begins with a deburring tool to remove sharp flakes, followed by a round file to even the bore. A flap wheel or fine-grit sandpaper refines the exterior edge. Clean with a lint-free cloth and inspect for remaining nicks. Final polishing with a Scotch-Brite pad restores a uniform finish and improves fit for fittings.
| Step | Tool |
|---|---|
| Deburr interior | Deburring tool |
| Even bore | Round file |
| Smooth exterior | Sandpaper/flap wheel |
| Inspect | Cloth/visual |
| Polish | Scotch-Brite pad |
Control Heat to Prevent Discoloration and Warping
Once the edge is smooth and polished, attention turns to managing heat during any further cutting, welding, or grinding to prevent discoloration and distortion of the stainless steel.
The practitioner minimizes heat input to preserve finish and metallurgical integrity. Recommended practices reduce color change and warping while maintaining strength.
- Use intermittent cutting or short passes to let metal cool between operations.
- Apply coolant, cutting fluid, or water mist when compatible with the tool and process.
- Clamp securely and support long sections to dissipate heat and prevent bowing.
- Use lower speeds and lighter pressure to limit frictional heating.
- Allow parts to air-cool; avoid quenching that induces stress.
Pick the Right Blade, Disc, or Wheel
Select a blade, disc, or wheel that matches stainless steel’s hardness and the purposefully planned cut—use carbide-tipped blades or abrasive discs labeled for stainless or “inox” to minimize loading and heat build-up.
For circular saws, choose thin-kerf carbide or Cermet blades with positive hook angles for clean cuts.
Angle grinders perform best with resin-bonded, stainless-rated cutting wheels; avoid general-purpose metal wheels that glaze.
For pipe bevels, use flap discs with fine-grit ceramic abrasives.
Bandsaws should run bi-metal blades designed for stainless.
Match RPM limits and arbor sizes; replace worn abrasives promptly to maintain cutting efficiency and reduce heat.
Safety Gear and Precautions When Cutting Stainless Pipe
After choosing an appropriate blade or wheel for stainless, attention must turn to personal protective equipment and safe procedures to prevent injury and material damage.
The cutter should wear gear, secure work, and plan cuts to control sparks, chips, and heat.
Inspection of tools and work area reduces hazards.
Use clamps and supports to prevent movement and distortion.
Maintain ventilation for fumes and dust.
Follow manufacturer speed and feed recommendations, and allow cooling pauses.
- Safety glasses with side shields
- Cut-resistant gloves and long sleeves
- Hearing protection
- Respirator rated for metal dust
- Fire extinguisher nearby
Common DIY Mistakes and How to Fix Them
Common DIY errors when cutting stainless steel pipe include misaligned cuts, use of dull blades, and improper deburring techniques.
Each issue affects fit, finish, and safety if not corrected promptly.
The following section explains how to identify these mistakes and apply straightforward fixes.
Misaligned Cuts
Misaligning a stainless steel pipe during cutting often results from inconsistent marking, unstable clamping, or moving the saw rather than the workpiece, producing angled or stepped ends that compromise fit and sealing.
The remedy is methodical: re-mark using a wraparound guide, secure the pipe firmly, and use a guide or mitre box to keep the cut square. Light passes with steady pressure reduce deviation.
After cutting, deburr and inspect with a square; minor angle errors can be corrected by sanding or filing flat. Replace clamps or guides if they allow play.
- Use a wraparound marker
- Clamp close to the cut
- Employ a cutting guide
- Make light, steady passes
- File and verify with a square
Dull Blade Problems
A blade that has lost its edge produces slow, hot cuts, ragged edges, and increased chance of slipping—symptoms that often appear after addressing misaligned cuts and can be mistaken for clamping or technique issues.
Worn teeth or dulled abrasive discs demand more force, generating heat that work-hardens stainless steel and accelerates blade wear. The remedy: inspect cutting surfaces for burrs or glazing, replace or resharpen blades per manufacturer guidance, and use blades rated for stainless steel.
Reduce feed pressure and allow cooling pauses during long cuts. Regularly rotating new blades and keeping guards clean extends life and make certain consistent, safe cuts.
Incorrect Deburring Methods
How did a simple finishing step turn into a recurring source of leaks and injuries? Incorrect deburring methods often leave sharp edges, inconsistent bevels, or excessive material removal, compromising seals and fit. The writer notes common mistakes and precise fixes.
- Using a coarse file that gouges or tears the lip.
- Skipping internal burr removal, causing turbulence and sealing failure.
- Over-sanding the OD, altering pipe diameter and joint fit.
- Relying on power tools without guide control, creating uneven bevels.
- Ignoring tool cleanliness, embedding grit that scratches fittings.
Correct practice: use proper tools, light passes, inspect, and test-fit before assembly.
When to Hire a Pro and Cost/Time Comparison
When should a homeowner call a professional rather than attempting a DIY cut? A professional is recommended for thick gauge tubing, pressurized systems, confined spaces, or when certifications and warranty preservation are required. Time, precision, and safety trade-offs justify hiring: pros deliver faster, cleaner results and handle permits or complex fittings. Typical comparisons vary by job; simple home cuts take minutes DIY, complex jobs take hours and risk errors.
| Scenario | Typical outcome |
|---|---|
| Simple small pipe | DIY: low cost, quick |
| Thick or pressurized | Pro: safer, higher cost |
| Permits/fittings needed | Pro: required, saves time |
Conclusion
Like a craftsman standing before a silver river, the DIYer chooses tools and technique with careful intent. Measured lines become guides, blades and wheels bite cleanly, and clamps hold the pipe steady as dusk settles on a tidy workspace. Safety gear glints like armor; mistakes polish into learning. When complexities loom, a professional’s steady hand can finish the cut. With patience and the right tools, stainless steel yields to precise, confident strokes.