DIY Fix for a Broken Sprinkler Pipe: Quick Steps & Tips
Quick Guide to Fixing a Broken Sprinkler Pipe
If you’ve discovered a break in your sprinkler pipe, follow these essential steps for a quick and effective repair:
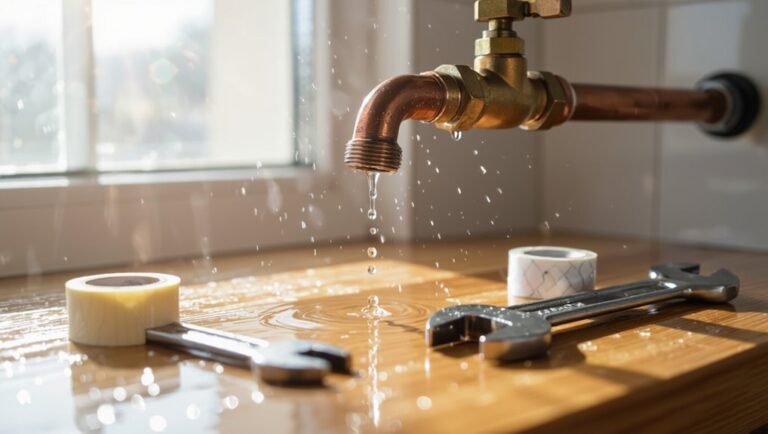
1. Confirm the Break: Look for wet spots, listen for hissing sounds, and test each zone individually.
2. Shut Off the Affected Zone: Turn off the water supply to the damaged area and relieve any pressure in the system.
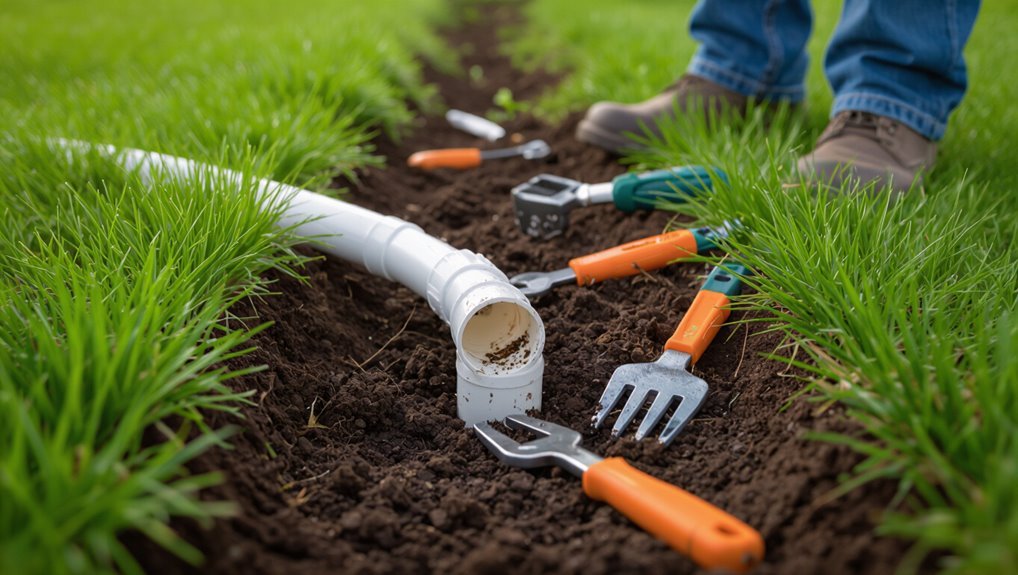
3. Gather Tools: You will need a cutter, couplings, primer/solvent for PVC, or repair sleeves for poly pipes.
4. Temporary Fix: For small pinholes, apply a rubber patch or self-fusing tape to seal the leak temporarily.
5. Permanent Repair:
- Cut out the damaged section of the pipe.
- Deburr the edges to ensure a smooth fit.
- Dry-fit new pieces to ensure they align correctly.
- Join using appropriate fittings and allow to cure.
6. Repressurize and Inspect: Slowly restore water pressure and check for leaks to confirm the repair is successful.
By following these steps, you can efficiently fix your broken sprinkler pipe and restore your irrigation system.
Confirm the Sprinkler Pipe Break (5 Quick Checks)
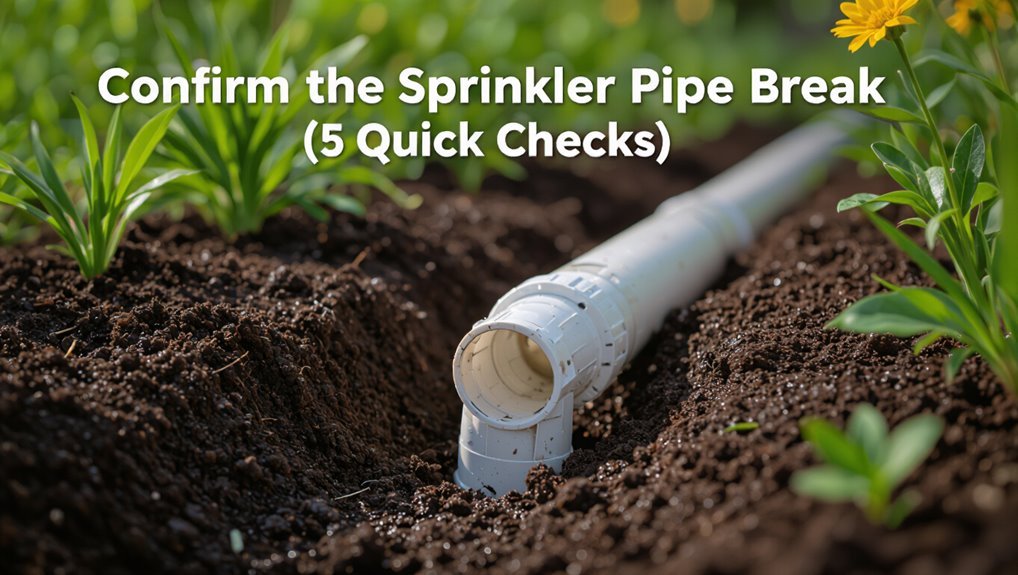
How can one be sure the underground sprinkler pipe is actually broken? A detached observer lists five quick checks:
1) Look for unusually wet or sinking ground patches when zones run.
2) Listen for hissing or gurgling near valves and lines.
3) Inspect visible fittings, risers, and heads for steady leaks or low output.
4) Monitor system pressure—a sudden drop indicates loss.
5) Use a manual zone test: run one zone at a time, watching for unexpected flow elsewhere.
Together these checks distinguish a pipe break from clogged heads, valve faults, or controller errors.
Shut Off Water and Isolate the Broken Zone
After confirming a break with the quick checks, the next step is to stop water flow to prevent further damage and make repairs safer. The homeowner locates the main irrigation valve or the specific zone valve at the controller and shuts it off. If valves are stiff, gentle pressure avoids damage. Drain residual pressure by running a nearby sprinkler or opening a manual drain to prevent spurting. Mark the isolated zone to prevent accidental activation. Verify isolation by observing that sprinklers and exposed pipe remain dry.
With water halted and pressure relieved, the area is ready for inspection and repair.
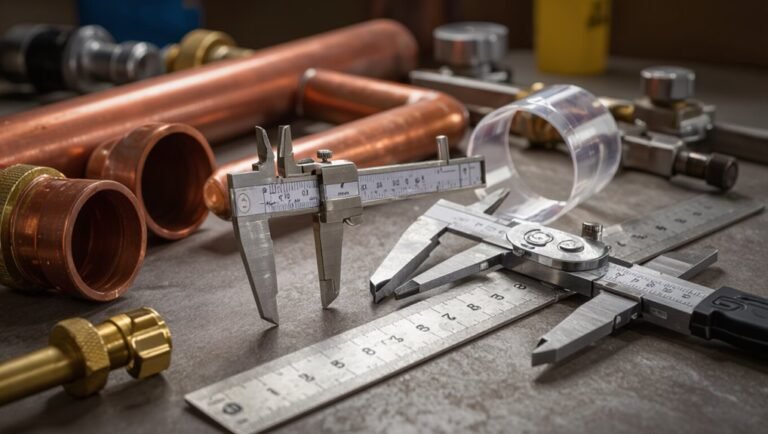
Tools & Parts to Have for Emergency and Permanent Repairs
A compact kit of basic tools and a few common replacement parts guarantees a quick, effective response to both emergency leaks and permanent repairs.
Include a PVC cutter or hacksaw, adjustable wrench, slip-joint pliers, Teflon tape, and a deburring tool.
Stock replacement pipe sections (PVC or poly), couplings, slip or repair sleeves, threaded adapters, and primer/solvent cement for permanent joins.
Keep hose clamps, rubber repair sleeves, and waterproof silicone for temporary stabilization but avoid detailed temporary methods here.
Add PVC primer/cement applicators, spare sprinkler risers, a utility knife, and a small flashlight for confined excavations or nighttime fixes.
Quick Temporary Fixes You Can Do Now (Clamps, Tape, Wraps)
Several simple temporary fixes can stop a leaking sprinkler pipe long enough to locate the break and perform a permanent repair. The person inspects the leak, shuts water at the valve, then chooses an appropriate short-term fix: a rubber patch and hose clamp for small cracks, self-fusing silicone tape for pinholes, or epoxy putty for larger, dryable holes. All are temporary; recheck for seepage and avoid pressure higher than normal. Replace or permanently repair the damaged section when convenient. Quick reference:
| Fix | Best for | Notes |
|---|---|---|
| Rubber patch + clamp | Longitudinal crack | Durable short-term |
| Silicone tape | Small pinhole | Conforms tightly |
| Epoxy putty | Larger hole | Cures before pressure |
Permanent Repair for PVC and Polyethylene Pipes (Cut, Clean, Join)
The damaged section of PVC or polyethylene pipe is removed cleanly to expose two solid ends.
Each end is cleaned and prepared to guarantee a secure, leak-free bond.
The prepared ends are then joined using the appropriate coupler or solvent-weld method for a permanent repair.
Cut Out Damaged Section
Begin by isolating the damaged section and shutting off water to the affected zone, then mark cut lines beyond visible cracks or breaks to guarantee sound material on both ends.
The cutter selection depends on pipe type: use a PVC saw or ratchet cutter for rigid pipe and a plastic tubing cutter for polyethylene.
Make straight, square cuts to assure proper alignment later.
Remove burrs and debris from cut faces without joining yet.
Measure the removed length accurately to select appropriate couplings or replacement pieces.
Keep cut ends dry and supported to prevent shifting before the subsequent cleaning and joining steps.
- Choose the right cutting tool
- Assure square, clean cuts
- Support pipe ends during work
Clean And Join Ends
Before joining, each cut end must be cleaned, squared, and prepared to guarantee a watertight, durable bond; for PVC this means deburring, sanding lightly, and wiping with a solvent primer, while polyethylene requires scraping, degreasing, and using manufacturer-recommended adhesive or heat-fusion methods. After preparation, dry-fit components to confirm alignment and measure gaps. Apply primer and cement for PVC, or follow heat-fusion/adhesive instructions for polyethylene, maintaining proper cure or cooling times. Test the joint at low pressure, inspect for leaks, and retighten or rework if necessary. Proper surface prep and correct joining technique secures a lasting repair.
| Item | Action |
|---|---|
| PVC prep | Deburr, sand, primer |
| PVC join | Apply cement, assemble |
| Poly prep | Scrape, degrease |
| Poly join | Adhesive or fusion |
Repressurize the Sprinkler Pipe and Test Safely
Before restoring full pressure, the technician guarantees the main water valve is closed to isolate the repair area.
The supply line is then reopened slowly to prevent pressure shocks and to monitor system response.
Finally, the repair is inspected for leaks at joints and fittings before leaving the system pressurized.
Close Main Water Valve
Shut the main water valve slowly to stop flow into the damaged sprinkler pipe, then allow the system to depressurize fully before proceeding.
The homeowner watches gauges and listens for drip sounds; trapped pressure can cause spray or worsen leaks.
Confirm water flow stops at visible outlets and relieve residual pressure by opening a downstream drain or test port.
Wear eye protection and gloves while handling fittings.
Verify any repair materials are ready before moving forward to avoid delays.
- Check house main and irrigation shutoffs for complete closure.
- Use a pressure gauge to confirm zero psi.
- Keep tools and replacement parts organized and dry.
Slowly Reopen Supply Line
Gently reopen the irrigation shutoff to reintroduce flow and bring the sprinkler line back to operating pressure in a controlled manner.
Open the valve slowly—quarter turns with pauses—to avoid pressure shock. Observe pressure gauges, if present, and listen for unusual sounds indicating trapped air releasing.
Allow water to fill pipes gradually until normal pressure is reached, then cycle the zone briefly to clear residual air.
Close any manual bleeds once steady flow appears.
Keep a wrench and shutoff tool nearby to stop flow immediately if fittings shift or tools vibrate.
Record pressure readings for reference after repairs.
Check For Leaks
Repressurize the repaired section slowly and inspect all joints, fittings, and exposed pipe for signs of leakage as water returns to the system.
The observer watches for drips, wet soil, and pressure stability changes. Any small leak warrants immediate shutdown and re-tightening or resealing; larger failures require replacement of the damaged segment.
Operate nearby sprinkler heads briefly to confirm uniform flow and to reveal concealed leaks.
Note pressure gauge readings before and after testing to detect hidden losses.
Document findings and cleanup needs, then monitor the area over the next 24 hours for delayed seepage.
- Check pressure gauge for steady reading
- Observe soil for new damp spots
- Run adjacent heads briefly to reveal leaks
Troubleshooting If Water Still Leaks or Zones Won’t Run
If leaks persist or certain zones fail to run after repairing a broken sprinkler pipe, diagnose the system step by step: confirm the main supply is pressurized, isolate and test individual valves, inspect wiring and controllers for faults, and trace the line for hidden damage or blockages that could reroute flow or prevent zone activation.
Verify each zone by activating manually at the controller, then at the valve solenoid. Check for broken diaphragms, clogged filters, or stuck solenoids. Use a multimeter for continuity and voltage.
Repair or replace faulty valves, reconnect loose wiring, and excavate suspected line sections to locate concealed leaks or obstructions.
Simple Maintenance to Prevent Future Sprinkler Pipe Breaks
Regularly scheduled inspections and basic upkeep markedly reduce the risk of sprinkler pipe breaks by catching wear, stress, and small faults before they worsen.
A homeowner or maintenance worker should check for leaks, pressure irregularities, and corrosion, ensuring fittings are tight and valves operate smoothly.
Winterization and proper drainage prevent freeze damage; replacing aged PVC, worn seals, or brittle tubing avoids sudden failures.
Recordkeeping of repairs and pressure readings identifies recurring problems and guides preventive replacement.
Simple, consistent maintenance preserves system function and reduces emergency repairs, saving time and costs over the long term.
- Inspect joints, fittings, and visible pipe for hairline cracks
- Flush lines annually and confirm proper drainage
- Test and adjust system pressure periodically
Conclusion
A quick, confident repair can save water and landscaping: about 30% of urban irrigation systems leak annually, underscoring the value of prompt fixes. After confirming the break, shutting off water, using a temporary clamp or wrap, and completing a permanent cut-and-join repair for PVC or polyethylene, repressurize and test. If leaks persist, troubleshoot valves and fittings. Regular inspection and basic maintenance materially reduce future breaks and costly emergency repairs.