How to Use Water Filtration System: Step-by-Step Guide for Clean, Safe Drinking Water
To effectively use a water filtration system for clean, safe drinking water, start by testing your water quality. Choose the right filtration technology—such as carbon, reverse osmosis (RO), or ultraviolet (UV)—based on your needs. Ensure you have adequate space and water pressure for installation. Follow the manufacturer’s installation instructions carefully, using the appropriate tools.
To maintain optimal performance, regularly change the filter cartridges, sanitize the system periodically, and check water pressure. If you encounter issues like low flow, leaks, or unpleasant odors, inspect the filters and valves, and consult a technician for persistent problems. For comprehensive guidance on installation, maintenance, and troubleshooting, continue reading.
What a Water Filtration System Does and Why It Matters
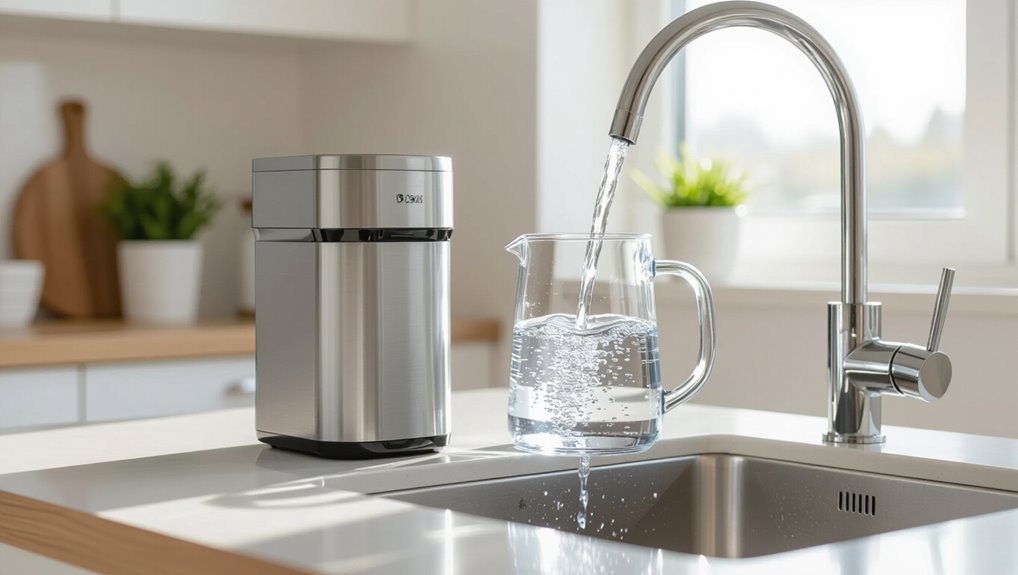
A water filtration system removes contaminants such as sediment, chlorine, heavy metals, microbes, and chemicals to improve taste, odor, and public health outcomes.
Systems range from simple pitchers and faucet or countertop filters to under-sink, whole-house, reverse osmosis, and UV units, each suited to different contaminants and installation locations.
Choosing the right system depends on testing the water source, identifying target contaminants, household water use, and budget constraints.
How filtration improves water quality (contaminants removed and health benefits)
Removing impurities through filtration markedly improves water quality by targeting a broad range of contaminants—sediment, chlorine, heavy metals, pathogens, and chemical pollutants—while also reducing taste and odor problems.
Filtration lowers gastrointestinal and chronic disease risks, protects vulnerable populations, and preserves plumbing.
Guidance on how to use water filtration system guarantees ideal contaminant reduction, prolongs filter life, and maintains consistent potable water safety.
Types of water filtration systems and where they’re used (pitcher, faucet, under-sink, countertop, whole-house, reverse osmosis, UV)
With improvements in water quality achieved through filtration, choosing the right type of system determines which contaminants are reduced and where treatment is best applied.
Pitcher and countertop units suit basic taste and chlorine removal. Faucet and under-sink filters handle daily drinking water. Whole-house systems protect plumbing.
Reverse osmosis targets dissolved solids; UV inactivates microorganisms. Installation varies by location and usage.
How to choose the right system for your water source and household needs
Why does the choice of a water filtration system matter? The right system matches source contaminants, household size, budget, and maintenance capacity.
Test water for contaminants, then prioritize technologies: carbon for taste/chemicals, RO for dissolved solids, UV for microbes, whole-house for distribution.
Consider flow rate, filter lifespan, installation complexity, and certification to guarantee effective, safe, and sustainable treatment.
Preparing to Install or Use Your Water Filtration System
Before installing or using a water filtration system, one should verify water quality, flow rate, pressure, available space, and compatibility with existing plumbing.
Gather necessary tools and materials—such as wrenches, tubing, fittings, replacement cartridges, and mounting hardware—based on the chosen system and installation type.
Observe safety precautions and confirm compliance with local plumbing codes and permit requirements to guarantee a safe, legal installation.
What to check before installation (water test, flow rate, pressure, space, plumbing)
Although a water filtration system can improve water quality, proper preparation requires a concise checklist:
- test source water for contaminants and hardness,
- verify household flow rate and static/dynamic pressure,
- confirm available installation space and clearances,
- inspect existing plumbing for compatibility and leaks,
- note shutoff valve locations, and
- guarantee required permits or codes are met before proceeding.
Required tools and materials for common installations
With site conditions and plumbing compatibility confirmed, the next step is assembling the tools and materials needed for common residential filter installations.
Necessary items vary by system but typically include:
- Adjustable wrench, pliers, and tubing cutter
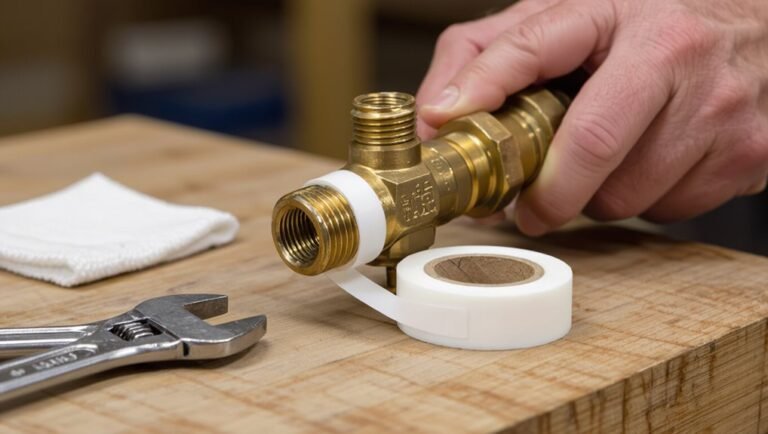
- Teflon tape, pipe sealant, and fittings/adapters
- Mounting bracket, screws, and drill bits
- Replacement cartridges and compatible tubing lengths
Safety precautions and local codes to consider
When preparing to install or operate a water filtration system, adherence to safety protocols and local plumbing codes reduces risk and guarantees legal compliance. Installers should verify permit requirements, pressure ratings, drainage rules, and electrical clearances specific to their jurisdiction.
Additionally, protective equipment, safe handling of chemicals, lockout procedures for power and water, and documentation of approvals secure ongoing safety and regulatory adherence.
Step-by-Step Guide: Installing Common Water Filtration Systems
The section outlines practical installation steps for commonly used water filters, from simple pitchers and countertop units to faucet-mounted options.
It then covers under-sink single-cartridge and multi-stage reverse osmosis systems with their distinct connections and maintenance points.
Finally, it provides an overview of whole-house system installation, highlighting key preparatory and safety steps.
Installing a pitcher or countertop filter
Begin by gathering the pitcher or countertop unit, its filter cartridge, and any included accessories on a clean surface near the designated faucet or storage area.
Rinse components per manufacturer instructions, install the cartridge securely, fill and flush the filter to remove carbon fines, test flow and seal, place unit in designated location, and record date of installation for future replacement tracking.
Installing a faucet-mounted filter
Attach the faucet-mounted filter by first confirming compatibility with the sink faucet and gathering the adapter, filter cartridge, and basic tools on a clean workspace.
Remove the aerator, select the correct adapter, and hand-thread the unit.
Insert the cartridge, tighten per instructions, flush the filter to clear carbon fines, check for leaks, and test flow and taste before regular use.
Installing an under-sink filter or single-filter cartridge
Install an under-sink or single-cartridge filter by first verifying space, waterline layout, and the unit’s specifications so selection of fittings and tools is correct.
Shut off supply, relieve pressure, and place the housing where accessible.
Cut and deburr cold-water line, install saddle valve or tee, connect inlet and outlet with proper fittings, secure mounting bracket, check for leaks, and flush per manufacturer instructions.
Installing a multi-stage reverse osmosis under-sink system
After completing a basic under-sink cartridge installation, the process for a multi-stage reverse osmosis (RO) system requires additional planning because of its greater complexity and extra components.
The installer mounts the RO membrane housing, sediment and carbon prefilters, storage tank, and postfilter; connects feed, drain, and faucet lines; installs a check and shutoff valve; purges air and sanitizes; then tests pressure and checks for leaks.
Installing a whole-house filtration system (overview and key steps)
A whole-house filtration system treats all incoming water at the point of entry, protecting plumbing and fixtures while delivering filtered water to every tap. Its installation requires careful planning to match system capacity to household flow rates, select appropriate media for the contaminants of concern, and provide space for pre- and post-filters, a bypass valve, and maintenance access.
Install shutoff and drain ports, mount housings, plumb inlet/outlet with proper fittings, pressure-test, and clearly label valves for service.
Connecting and testing UV disinfection components
Begin by positioning the UV chamber and ballast near the final post-filter outlet, ensuring the lamp axis is horizontal or vertical per manufacturer guidance and that there’s unobstructed access for lamp and sleeve removal.
Connect inlet and outlet with recommended fittings and flow direction.
Wire ballast to power with ground and GFCI protection.
Flush, verify lamp ignition, measure UVT and dose, and document results.
How to Operate and Maintain Your Filtration System
The section explains first-time flushing and priming procedures specific to each filtration type to guarantee safe startup.
It then outlines a concise maintenance checklist—filter replacements, sanitizing, pressure checks—and how to read indicators and troubleshoot common issues.
Finally, clear step-by-step instructions cover replacing cartridges, membranes, and UV bulbs.
First-time flushing and priming procedures for each system type
Several manufacturers recommend flushing and priming every new or replaced component before regular use to guarantee sediment removal, proper seal seating, and accurate flow rates.
Procedures vary: cartridge filters require timed cold-water flushes until clear; carbon blocks need extended flush to remove fines; reverse-osmosis systems demand membrane priming and tank cycling; UV units require wetted sensor checks.
Follow manufacturer flow rates and discard initial outputs.
Regular maintenance checklist (filter changes, sanitizing, pressure checks)
After initial flushing and priming, ongoing upkeep guarantees consistent water quality and system longevity.
Routine actions include scheduled filter replacements, periodic sanitizing, pressure monitoring, and recordkeeping. Follow manufacturer intervals and local water conditions.
Promptly replace worn seals and cartridges. Maintain clear access and label dates.
- Replace filters per schedule
- Sanitize housings quarterly or as directed
- Check and record system pressure
- Inspect seals and connections
How to read indicators and troubleshoot common operational issues
Consult the system’s gauges, indicator lights, and monitoring app to quickly assess performance and spot developing problems.
Read pressure differentials, flow rates, and alert codes; compare to baseline values in the manual.
For low flow, check inlet valves, clogged prefilters, or air locks.
For leaks or abnormal noises, isolate sections, shut down power, and inspect seals and fittings before contacting service.
How to replace cartridges, membranes, and UV bulbs with step-by-step guidance
Begin by preparing a clean, well-lit workspace and gathering the replacement parts, tools, and safety gear specified in the manual.
Shut off water and relieve pressure.
Remove and dispose used cartridges, membranes, or UV bulbs per manufacturer instructions.
Install new components ensuring proper seals and orientation.
Repressurize, check for leaks, reset service counters, and run water until specified flushing and UV lamp warm-up times are met.
Troubleshooting Common Problems and When to Call a Professional
Common causes of low flow or reduced pressure, such as clogged filters or valve issues, can often be resolved with simple cleaning or replacement.
If water exhibits bad taste, odor, or cloudiness after installation, basic diagnostics—flushing the system, checking cartridge seating, and confirming water source quality—help identify the issue.
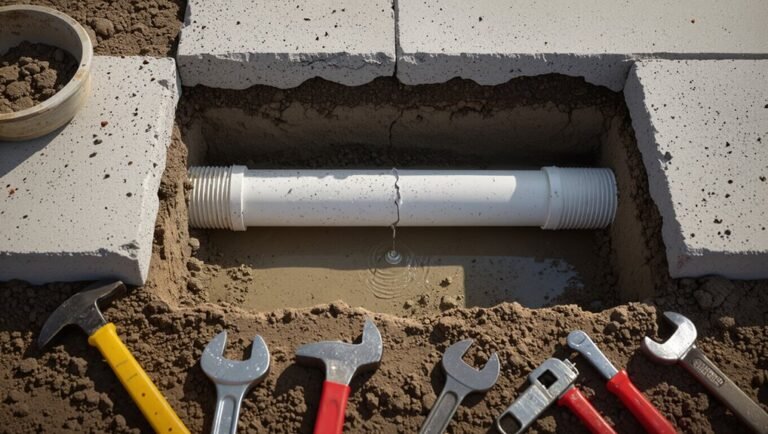
Visible leaks, persistent dripping, or warning signs like repeated contamination test failures indicate the need for prompt repairs and, in some cases, professional service.
Low flow or reduced water pressure causes and fixes
When water pressure drops or flow becomes noticeably weak, the filtration system’s performance and household water use can be compromised; diagnosing the cause quickly helps determine whether a simple cleaning or a professional repair is required.
Common causes include clogged prefilters, mineral buildup in cartridges, closed valves, airlocks, or supply line issues.
Inspect and replace filters, check valves and fittings, flush lines, and call a technician if pressure loss persists.
Bad taste, odor, or cloudiness after installation diagnostic steps
After installation, unpleasant tastes, odors, or cloudy water often indicate residual air, loose carbon fines, or insufficient flushing rather than system failure; a systematic, step‑by‑step diagnosis helps separate simple post‑install artifacts from genuine contamination so appropriate corrective action can be taken.
Inspect flush duration, run water until clear, replace prefilters if needed, sanitize housings per instructions, test water quality, and call a professional if abnormalities persist.
Leaks and dripping immediate actions and repair tips
Inspect the system immediately when leaks or dripping are noticed, since prompt action limits water damage and identifies whether the issue is a simple seal problem or a component failure.
Shut off inlet water, drain lines, and dry fittings. Tighten loose connections, replace O-rings or washers, and reseat cartridges. Test under pressure.
If leaks persist or originate from housings or valves, consult a qualified technician.
Signs your system is failing and professional service indicators
Several clear signs indicate a filtration system is failing and merit attention: reduced flow rate, persistent taste or odor in treated water, visible sediment, unusual noises, frequent pressure drops, or repeated need for filter changes.
Additional indicators include leaking housings, cloudy output, and system cycling. If simple maintenance fails, persistent problems, contamination risk, warranty concerns, or complex component failure warrant professional inspection and repair.
Comparing Performance, Cost, and Water Waste
A clear comparison of filter lifespans, replacement and running costs helps homeowners balance upfront investment with long-term maintenance.
Water waste and recovery rates — particularly for reverse osmosis systems — should be weighed alongside mitigation options like permeate pumps or pre-filters.
Effectiveness against common contaminants (chlorine, lead, bacteria, VOCs) completes the assessment to match system choice with water quality needs.
Filter lifespans, replacement costs, and running costs
Cost-effectiveness depends on filter lifespan, replacement price, and ongoing operating expenses, all of which vary greatly by technology and usage. The guide compares typical lifespans, average replacement costs, and maintenance needs so users can predict annual expenses and choose appropriate systems.
| Filter Type | Lifespan | Typical Annual Cost |
|---|---|---|
| Carbon | 3–6 months | $20–$60 |
| Ceramic | 6–12 months | $15–50 |
| RO Membrane | 2–3 years | $50–150 |
Water waste and recovery rates (especially for reverse osmosis) with mitigation tips
Compare recovery rates and waste volumes to understand a system’s true efficiency: reverse osmosis (RO) units commonly reject 3–4 gallons of wastewater for every gallon of purified water, while other technologies like carbon or ceramic filters produce negligible direct waste.
Mitigation includes selecting high-recovery RO membranes, adding a permeate pump, installing a booster pump to reduce backpressure, reusing waste for nonpotable tasks, and regular maintenance.
Effectiveness against common contaminants (chlorine, lead, bacteria, VOCs)
Having examined recovery rates and waste management for different systems, the focus shifts to how those technologies perform against specific contaminants like chlorine, lead, bacteria, and VOCs. Filtration choices balance removal efficacy, cost, and waste: activated carbon excels for chlorine and VOCs, RO and specialty cartridges reduce lead, and UV or combined systems target bacteria with minimal chemicals.
| Contaminant | Best tech | Typical cost |
|---|---|---|
| Chlorine/VOCs | Activated carbon | Low |
| Lead/Bacteria | RO + cartridges/UV | Moderate-High |
Optimizing Water Safety and Longevity of the System
The section outlines practical steps to extend filter life and preserve water quality through regular maintenance, proper pre-filtration, and monitoring of flow and taste.
It also covers storage and winterization procedures to prevent microbial growth and freeze damage during seasonal or long-term downtime.
Finally, it reviews recommended methods for safe disposal and recycling of used filters and membranes to minimize environmental impact.
Best practices to extend filter life and maintain water quality
Regularly scheduled maintenance and simple user habits greatly extend filter life and preserve water quality in a filtration system.
Users should follow manufacturer replacement intervals, flush new cartridges, monitor flow rate and taste, and pre-filter sediment when needed.
Clean housings and sanitize connections during changes, avoid chemical exposure, and keep records of service.
Promptly address leaks or performance drops to prevent contamination and system damage.
Seasonal and long-term storage and winterization tips
How should a filtration system be prepared for extended downtime or freezing temperatures to protect water safety and equipment integrity?
The system should be drained, disinfected with appropriate sanitizer, and flushed.
Remove or bypass cartridges if manufacturer advises, store components dry in a cool, labeled container.
Insulate exposed piping, maintain periodic checks, and restart with fresh water and sanitization before regular use.
Safe disposal and recycling options for used filters and membranes
After winter shutdowns and storage maintenance, attention should shift to end-of-life handling for filters and membranes to protect water quality and the system’s performance.
Proper disposal prevents contamination and enables recycling where available.
- Check manufacturer take-back or recycling programs.
- Separate housings from media; rinse housings.
- Dispose spent cartridges per local hazardous waste rules.
- Consider certified recyclers for membranes and electronic components.
Quick Reference: Maintenance Schedule and Troubleshooting Flowchart
A concise maintenance calendar is provided for different system types to indicate filter replacement intervals, UV lamp checks, and routine inspections.
A clear, step-by-step decision flowchart addresses common problems — no flow, off-taste, and leaks — with diagnostic checkpoints and recommended actions.
Readers can use the calendar and flowchart together to schedule preventive care and troubleshoot issues quickly.
Sample maintenance calendar by system type
While individual components and usage patterns vary, a concise maintenance calendar organized by system type gives owners a predictable schedule for routine tasks and inspections. A simple quarterly-to-annual checklist aids planning: replace cartridges, sanitize tanks, inspect seals, and record dates. Refer to manufacturer specifics for intervals.
| System Type | Task Frequency | Key Action |
|---|---|---|
| Pitcher | 3 months | Replace filter |
| RO | 6–12 months | Sanitize, pre/post filters |
Step-by-step decision flow for common problems (no flow, taste issues, leaks)
If a system exhibits no flow, off taste, or leaks, the troubleshooting flow directs the user through prioritized checks—verify water supply and shutoff valves, confirm filter and membrane condition, and inspect fittings and tank pressure—so problems are isolated quickly and corrected in logical sequence.
- Check incoming supply and shutoffs
- Replace clogged prefilters or membranes
- Tighten or replace leaking fittings
- Test and adjust storage tank pressure
Useful Resources and Next Steps
The section points readers to practical resources for interpreting water quality reports and selecting trusted filter certifications.
It also outlines indicators for when a full system upgrade or replacement is warranted.
Links to manufacturer manuals, accredited testing labs, and professional installer directories are provided for follow-up.
How to interpret a water quality report and choose filter certifications to trust
How can a homeowner make sense of a water quality report and select credible filter certifications?
A homeowner should identify contaminants listed, compare concentrations to EPA or local standards, and note testing dates.
Choose filters certified by independent bodies (NSF/ANSI, WQA) for targeted contaminant reduction.
Verify certification scope and flow rates, review lab data, and prioritize third-party validation and clear manufacturer documentation.
When to upgrade or replace your entire system
At certain intervals or after clear signs of diminished performance, a homeowner should assess whether an upgrade or full replacement of a water filtration system is warranted.
Consider persistent water quality issues, frequent repairs, obsolete technology, inability to meet current contaminant levels, or changes in household needs.
Prioritize systems with verified performance, long-term cost-effectiveness, and compatibility with plumbing before deciding to replace.
Links to manufacturer manuals, testing labs, and professional installer directories
When replacement or an upgrade is under consideration, homeowners benefit from direct access to authoritative resources: manufacturer manuals for model-specific guidance, accredited testing laboratories for water analysis, and verified professional installer directories for reliable service.
Concise links and contacts expedite correct part selection, certified testing, and installer vetting, reducing downtime and ensuring compliance with warranties and local codes.
- Manufacturer manuals and parts pages
- Accredited water testing labs
- Certified installer directories
- Warranty and service contacts
Conclusion
A reliable water filtration system safeguards health and peace of mind, removing contaminants so households drink with confidence. Regular maintenance, timely filter changes, and periodic testing keep performance high and costs predictable; compare options by effectiveness, flow rate, and waste to choose wisely. When problems arise, consult the troubleshooting guide and seek professional help for complex issues. Like a trusted guardian, a well-maintained system quietly preserves clean water every day.