How to Cut PVC Pipe Lengthwise by Hand €“ Easy DIY Guide
To cut PVC pipe lengthwise by hand, follow these simple steps:
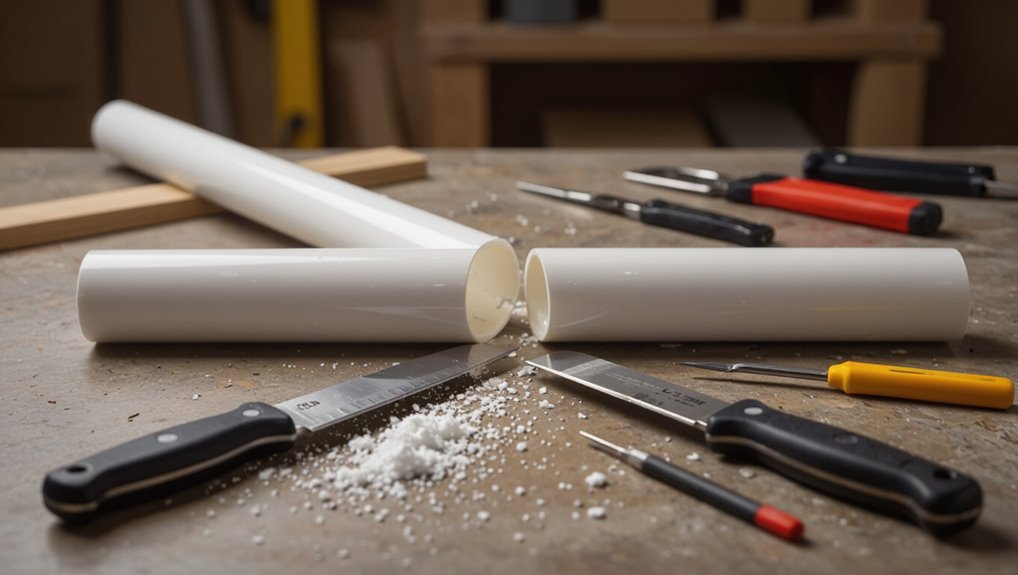
- Mark the Pipe: Use a flexible tape and fine marker to create a continuous lengthwise guide.
- Scribe a Groove: Lightly score a groove along the marked line with a utility knife to ensure a straight cut.
- Secure the Pipe: Use padded clamps or a V-cradle to hold the pipe in place without crushing it.
- Choose Your Tool: Utilize a fine-tooth hacksaw or coping saw for the cut.
- Cutting Technique: Make shallow, steady passes while rotating the pipe, and clear any shavings frequently.
- Finish the Edges: Use files and sandpaper to deburr the cut edges.
By following these steps, you can effectively and safely cut PVC pipe lengthwise by hand.
Quick Method: Cut PVC Lengthwise in 3 Steps
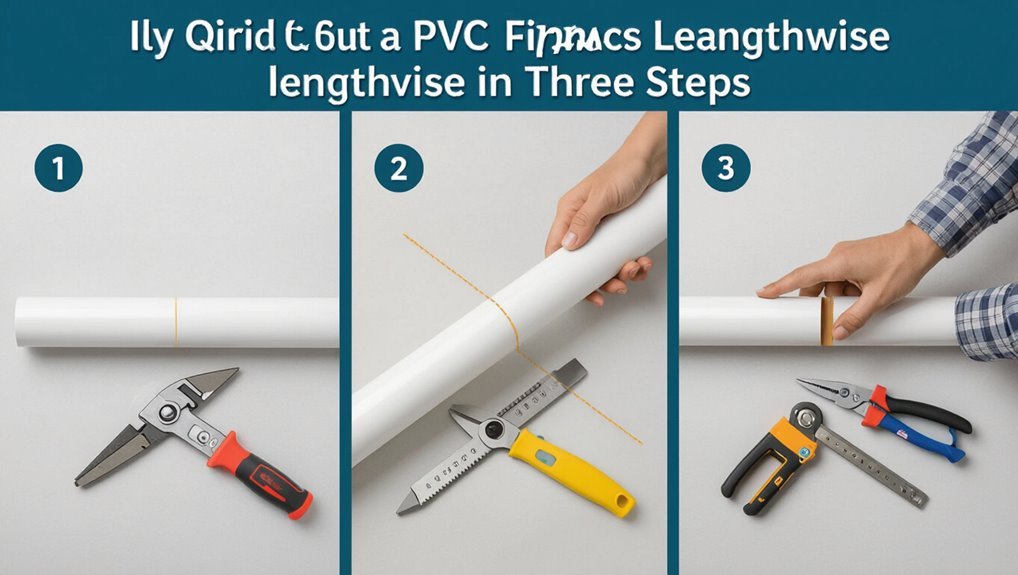
When preparing to cut PVC lengthwise by hand, gather a marker, measuring tape, a vise or clamp, a fine-toothed handsaw (or coping saw), and safety gear; then mark the cutting line, secure the pipe, and verify measurements before beginning the cut.
First, score along the marked line with light passes to establish a groove.
Second, saw steadily following the groove, rotating the pipe as needed to keep the blade aligned; pause to clear debris and inspect the progress.
Third, finish with fine strokes near the end to avoid splintering, deburr the edge with sandpaper, and confirm the fit.
Safety Checklist Before You Start Cutting PVC
Before beginning the lengthwise cut, the worker should confirm appropriate personal protective equipment is worn, including safety glasses, gloves, and a dust mask.
The work area must be well ventilated to disperse fumes and dust produced while cutting. These precautions reduce the risk of injury and airborne irritants.
Personal Protective Equipment
Always wear appropriate personal protective equipment (PPE) to reduce the risk of cuts, eye injury, and inhalation of plastic dust while cutting PVC by hand.
Protective eyewear with side shields prevents flying shards; a face shield adds extra coverage during aggressive rasping.
Cut-resistant gloves improve grip and reduce laceration risk from sharp edges.
A dust mask or respirator with P100 or N95 filters guards against fine particles.
Long sleeves and closed-toe shoes protect skin and feet from dropped sections.
Make certain PPE fits correctly and is in good condition. Replace disposable items after heavy use or when soiled.
Work Area Ventilation
In a well-ventilated workspace, make certain air movement removes dust and fumes generated by cutting and rasping PVC.
Position work near an open window or door when possible, and use a box or pedestal fan to direct contaminated air away from the operator.
If indoors without adequate natural airflow, run a shop vacuum with a HEPA filter or a portable extractor to capture particulates at the source. Avoid confined spaces and guarantee neighboring rooms are sealed.
Consider a carbon-activated or HEPA respirator when ventilation is limited.
Regularly inspect ventilation equipment and replace filters per manufacturer guidance.
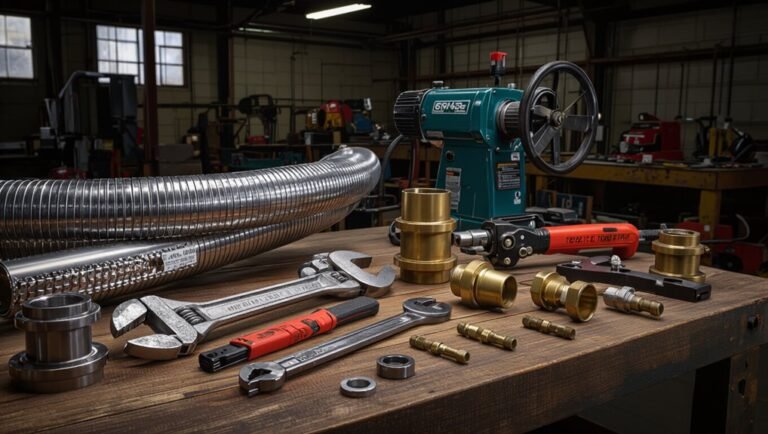
Gather the Right Tools for Lengthwise PVC Cuts
With a clear layout and steady hands, the right combination of tools makes lengthwise PVC cuts safe and accurate.
Essential items include a sturdy workbench or sawhorse to secure the pipe, adjustable clamps or a pipe vise to prevent rotation, and a marker for precise guide lines.
Protective equipment—safety glasses, gloves, and a dust mask—reduces risk from debris.
A measuring tape and a straightedge guarantee even layout.
A scrap block or padding protects the pipe from compression damage when clamped.
Keep a small brush or compressed air handy to remove shavings during intermittent checking for fit and alignment.
Choosing the Right Blade or File
After securing the pipe and marking the cut lines, selecting the proper blade or file determines the speed, finish, and control of a lengthwise cut.
For straight, rapid slicing, a fine-toothed hacksaw blade offers balance between cutting rate and minimal melting; use steady strokes.
A coping saw or jeweler’s saw suits curved or delicate profiles where maneuverability matters.
For smoothing and shaping after removal, medium-cut bastard files or half-round files refine edges and remove burrs without gouging.
Rasps remove material quickly but risk rough finishes.
Choose corrosion-resistant, sharp tools and replace dull edges to maintain clean, safe cuts.
Mark and Layout Your Lengthwise Cut Precisely
For a straight, accurate lengthwise split, the pipe’s layout must be precise and easily visible from every angle. The worker measures circumference and marks the longitudinal centerline with a fine-tip permanent marker, using a flexible measuring tape. Transfer the line by rolling the pipe against a straightedge, ensuring alignment along the entire length.
For repeated accuracy, scribe a shallow guide groove with a utility knife following the marker line. Mark start and stop points clearly.
If curves or channels are needed, draw them symmetrically and label interior/exterior faces. Verify the layout by rotating the pipe and checking line continuity before cutting.
Clamp PVC Securely for Steady Cutting
The writer recommends selecting a clamp suited to PVC diameters and the chosen cutting tool to guarantee a secure hold.
The pipe should be positioned with its marked cutline accessible and supported along its length to prevent rolling or shifting.
Padding or soft jaws are advised to protect the pipe from crushing or marring during tightening.
Choose The Right Clamp
When cutting PVC lengthwise, selecting a clamp that holds the pipe firmly without crushing it is essential; a padded C-clamp or a pipe vise with rubber jaws balances grip and protection.
The ideal clamp matches pipe diameter, offers adjustable pressure, and resists lateral movement.
Quick-release models speed setup for repeated cuts, while screw-tightened clamps allow fine pressure control.
Avoid metal-on-plastic contact without padding to prevent surface damage.
For thin-walled or brittle PVC, use wider contact pads to distribute force.
Make sure the chosen clamp permits unobstructed access along the cut line and accommodates necessary tooling without repositioning the pipe.
Position Pipe For Stability
With the clamp set, the pipe should rest on a flat, level surface and be aligned so the marked cut line faces upward and remains fully accessible. The cutter positions slowly, checking that the clamp holds without squeezing the pipe out of round. Hands stay clear of the blade path; one hand steadies, the other guides the tool. Small adjustments guarantee the pipe does not roll or shift when pressure is applied. Confirm clearance for saw strokes and file work. A quick test squeeze verifies stability before cutting.
| Check | Action |
|---|---|
| Alignment | Adjust until mark is centered |
| Pressure | Tighten gradually |
| Clearance | Verify blade path |
Protect Pipe From Damage
To prevent crushing or deformation during cutting, use a wide-padded clamp or a vise lined with scrap wood or rubber to distribute pressure evenly along the pipe’s curved surface.
The pipe should be held firmly but not over-tightened; tightening just enough prevents movement while avoiding flattening.
Place protective pads at contact points and support the pipe on both sides of the cut to reduce flex.
For thin-walled PVC, consider wrapping foam or cloth beneath the clamp.
Periodically check alignment and retighten gently as needed.
Proper clamping preserves roundness, assures a straighter cut, and reduces tool binding and chatter.
Score the Pipe to Start the Split
Begin by marking the cut line clearly around the pipe’s circumference where the lengthwise split will start; a permanent marker or pencil works well on clean PVC.
Next, secure the pipe so it cannot roll, using soft clamps or padded vise jaws to avoid marring.
With a sharp utility knife or hobby blade held at a low angle, make shallow, continuous scoring passes along the marked line, rotating the pipe after each pass.
Maintain steady pressure and follow the guide mark; multiple light passes are safer and more controlled than a single deep cut.
Aim for a consistent groove depth to guide the subsequent opening.
Saw the Pipe Open by Hand (Step-by-Step)
The guide lists the essential tools and materials, including a fine-tooth saw, clamp, vise or cradle, safety glasses, and gloves.
It then explains how to mark the scored line clearly and secure the pipe to prevent movement before cutting.
Finally, it describes the hand-sawing technique, steady stroke patterns, and practical tips to keep the cut even and burr-free.
Tools And Materials Needed
A compact set of tools and a few safety items are all that’s required to saw a PVC pipe open by hand: a fine-toothed hacksaw or PVC saw, a reliable clamp or vise to secure the pipe, a straightedge and permanent marker for layout, medium-grit sandpaper or a file for finishing, and safety gear—gloves, eye protection, and a dust mask.
Additional useful items include a length of scrap wood to support the pipe, a utility knife for trimming burrs, and a small brush to clear debris. Quality blades and steady clamping improve results and reduce effort.
Marking And Securing Pipe
Before cutting, mark the pipe’s split line and secure it firmly to prevent movement.
A fine-tip marker traces the desired lengthwise line, referencing fittings or templates for accuracy.
Rotate the pipe and inspect the mark to guarantee continuity.
Use clamps with protective pads to avoid crushing; a bench vise with soft jaws is acceptable for short sections.
Position supports near each end and midway to eliminate wobble.
Check alignment from multiple angles and adjust until the line remains centered and taut.
Confirm the work area is stable and the pipe cannot roll or shift before proceeding to the cutting step.
Cutting Technique And Tips
With the pipe firmly clamped and the split line verified, begin cutting slowly along the marked line using a fine-toothed handsaw, maintaining a steady stroke and light forward pressure so the blade follows the mark without wandering.
Keep the saw angled slightly outward to avoid binding, pause periodically to clear plastic filings, and inspect progress to make certain even depth.
If resistance increases, back the blade out and resume to prevent cracking.
Use a rasp or fine file to remove burrs and smooth the edge after cutting.
Wear gloves and eye protection; work in a well-lit, ventilated area to control dust and fumes.
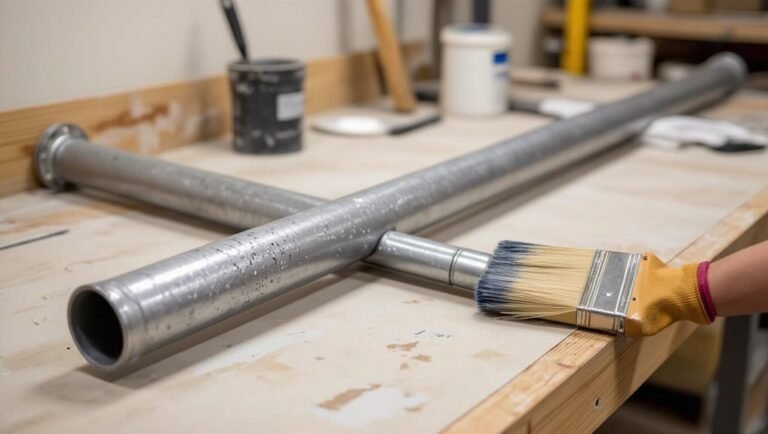
Use a Rasp and File to Smooth the Edge
Frequently, smoothing the cut edge with a rasp and file is the quickest way to remove burrs and create an even profile for bonding or finishing.
The operator uses a coarse rasp first, following the cut line with controlled strokes to knock down high spots.
A flat file refines the contour, maintaining a steady angle and light pressure to avoid gouging.
Work proceeds until the edge feels uniform and free of sharp fragments.
Final checks confirm the mating surfaces align.
Recommended sequence:
- Use a coarse rasp to remove major irregularities.
- Follow with a flat file for precision shaping.
- Inspect by touch and sight for uniformity.
Finish: Deburr, Clean, and Prep for Installation
Deburr the cut edge thoroughly, then clean and prepare the pipe so it seats and bonds reliably during installation.
After filing, remove all burrs with a deburring tool or a utility knife, working around the circumference to eliminate hanging edges.
Wipe the surface with a lint-free cloth to remove dust, then use a solvent-compatible cleaner or isopropyl alcohol to degrease the mating surfaces.
Lightly scuff the bonding area with fine-grit sandpaper for better adhesion, and blow or wipe away residue. Dry completely.
Inspect for remaining imperfections and verify fit; proper finishing guarantees a secure, leak-free joint when glued or clamped.
Fixes for Uneven or Too-Short Lengthwise Cuts
When a lengthwise cut comes out uneven or shorter than intended, practical remedies can restore fit and strength.
Options include realigning the mark and re-cutting carefully, building a simple sanding jig to true the edge, or using filler and reinforcing strips where material is missing. Each method balances time, appearance, and structural requirements.
Adjust And Re-Cut
If a lengthwise cut on PVC is uneven or slightly short, the repair process focuses on reshaping and extending the cut with controlled trimming and joining rather than discarding the piece. The technician assesses discrepancies, marks low spots, and plans incremental removal to preserve wall thickness. Repairs favor conservative trimming, test-fitting, and adhesive reinforcement when pieces are joined. Final cleanup guarantees consistent edges ready for installation.
- Trim low lips with a fine-tooth saw or deburring tool, removing minimal material per pass.
- Use a thin PVC strip and solvent cement to extend a short section, clamping until set.
- File and check fit frequently to avoid overcutting.
Build A Sanding Jig
To correct uneven or slightly short lengthwise cuts, a simple sanding jig provides controlled support and repeatable contact between the PVC and abrasive surface.
Construct a base from scrap plywood sized to hold the pipe; glue or screw a narrow strip of sacrificial wood parallel to the path to act as a fence.
Mount coarse sandpaper to the base and clamp the pipe against the fence so the cut edge rides the abrasive at a consistent angle.
Move the pipe steadily along the paper, checking progress frequently.
Change paper grit from coarse to fine for a smoother, accurate final edge.
Fill And Reinforce
For repairs where the lengthwise cut left the PVC edge uneven or slightly short, filling and reinforcing restores profile and strength with minimal tooling.
The process begins by cleaning the cut, sanding irregularities, and degreasing.
Epoxy or PVC cement mixed with filler rebuilds missing material; applied in thin layers it bonds well and cures hard.
Reinforcement along the inside edge prevents future flex and splits.
- Apply a thin epoxy-filler layer, shape before curing.
- Add a fiberglass or plastic strip inside, bonded with adhesive.
- Sand smooth, then prime and paint or solvent-weld for a final seal.
Cutting Long or Curved PVC Sections Safely
Cutting long or curved PVC sections by hand demands steady support and controlled strokes to prevent binding, uneven cuts, or accidental cracks.
Work on a stable bench with padded clamps or saddles to distribute pressure and avoid deforming the pipe.
Mark the cutting line continuously along the curve; use a flexible ruler or string for accuracy.
Progress slowly, rotating the pipe frequently and making shallow passes rather than forcing deep cuts.
Keep tools sharp to reduce tearing.
Wear eye and hand protection, and clear chips regularly to maintain visibility.
Inspect the edge and sand lightly to remove burrs before finishing.
Tips for Large-Diameter PVC Lengthwise Cuts
When working with large-diameter PVC, extra support and slower, controlled strokes become essential to prevent the pipe from flexing or the blade from wandering; use broad, padded saddles or a V-cradle to distribute pressure evenly and reduce ovaling. Stabilization minimizes chatter and guarantees a straight kerf. Mark the cut clearly and work from both ends toward the center on very wide sections to relieve stress. Use a sharp fine-tooth blade and pause frequently to check alignment and cool the material.
- Secure supports spaced closer than for smaller pipes
- Progress with shallow passes rather than a single aggressive cut
- Reposition clamps to maintain even pressure
Avoid Mistakes That Crack or Warp PVC
Large-diameter projects that required careful support and slow, controlled strokes still face a different set of hazards: cracking and warping from excessive heat, uneven pressure, or improper blade choice.
PVC should be cut with sharp blades designed for plastics; dull or metal-cutting blades generate heat and melt edges. Secure the pipe to prevent flexing; movement concentrates stress and causes splits. Feed slowly, let the tool do work, and pause to cool if friction builds. Avoid clamping that deforms the profile. Test on scrap to confirm settings. Sand edges lightly rather than force-bending to preserve shape and structural integrity.
Project Ideas Using Lengthwise-Cut PVC
For DIYers and makers, lengthwise-cut PVC opens a range of practical and decorative possibilities that take advantage of its flat, flexible profile and smooth interior.
It becomes raw material for simple, useful creations that require light weight, water resistance, and easy shaping.
Ideas suit novices and experienced builders alike.
- Shelving liners and drawer organizers: cut strips fit shelves, protect surfaces, and resist moisture.
- Garden cloches and plant ties: wrap or form strips for frost protection, flexible supports, and tidy trellises.
- Lighting diffusers and lamp shades: sanded interior softens LED glare and molds into pleasing silhouettes.
Conclusion
Practice makes perfect, and when cutting PVC lengthwise by hand, patience pays off. Follow safety checks, pick the right tools, and measure twice before each precise mark. Take steady, controlled passes with the chosen blade or file to avoid cracks and warping; slow and steady wins the race. For larger or curved sections, brace securely and proceed in stages. With care and correct technique, clean, usable lengthwise cuts become routine.