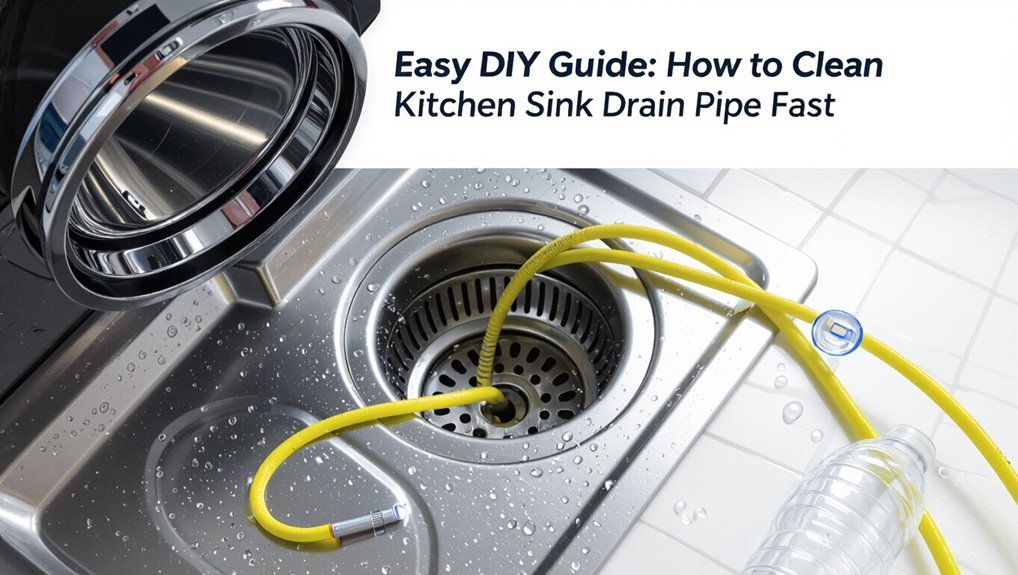
Easy DIY Guide: How to Clean Kitchen Sink Drain Pipe Fast
Quick Guide to Clean Your Kitchen Sink Drain Pipe
If you’re dealing with a slow kitchen sink drain, you can clear it quickly using some simple tools and safe steps. Here’s a concise approach to tackle the issue:
- Remove Standing Water: Start by clearing out any standing water and debris from the stopper.
- Use a Plunger: Plunge firmly to dislodge any soft clogs.
- Hand Snake or P-Trap: If the clog persists, feed a hand snake into the drain or loosen the P-trap (remember to place a bucket underneath to catch any water).
- Flush with Baking Soda and Vinegar: Finish the process by pouring a mixture of baking soda and vinegar down the drain and then test the flow.
If problems continue, consider using an auger or calling a professional plumber.
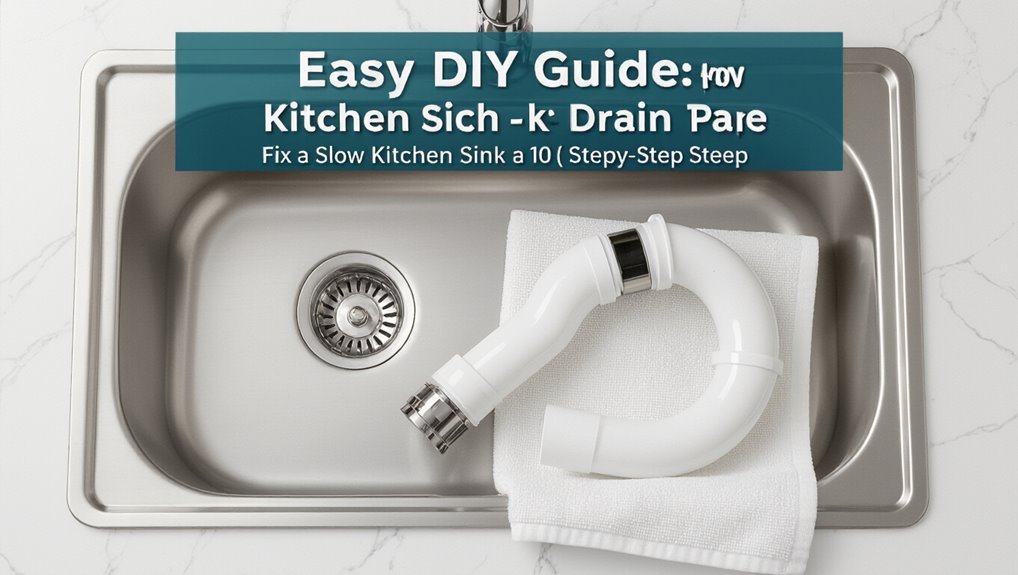
Fix a Slow Kitchen Sink in 10 Minutes (Step‑by‑Step)
Want to clear a slow kitchen sink quickly? One person inspects the drain, removes standing water with a cup, and checks the stopper for visible debris.
A plunger is positioned over the drain and pumped briskly to dislodge clogs. If flow improves, the stopper is cleaned and replaced.
If not, the person loosens the P-trap with a wrench over a bucket, empties trapped debris, and rinses components before reassembling.
Finally, hot water runs to confirm clear flow and to wash residual grime. If resistance persists, consider deeper mechanical or professional intervention.
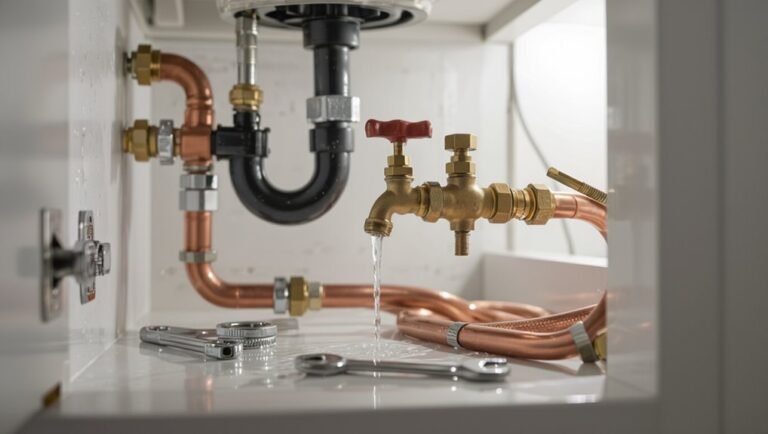
Gather the Right Tools and Supplies
Before starting any repair, assemble the necessary tools and supplies so the job proceeds without interruptions. A concise kit speeds work and reduces mistakes. Essentials include gloves, bucket, adjustable wrench, and replacement washers. A gentle drain brush and biodegradable cleaner handle residue without harsh chemicals. Prepare towels and flashlight for visibility and cleanup.
| Tool/Supply | Purpose |
|---|---|
| Gloves | Protect hands |
| Adjustable wrench | Loosen slip nuts |
| Drain brush | Remove buildup |
Confirm items fit the sink type and remain accessible. Organizing them before beginning prevents delays and keeps the workspace safe.
Plunge and Use a Hand Snake (Quick Method)
With tools ready and the area protected, attention turns to clearing blockages using a plunger and a hand snake.
The plunger is positioned firmly over the drain, water added to create a seal, and several brisk pumps applied to dislodge soft obstructions. If resistance persists, the hand snake is fed slowly into the drain until it meets the clog; rotating the handle breaks up or hooks debris.
Withdraw the snake carefully, disposing of captured material. Repeat plunging and snaking as needed until flow returns.
Finally, run hot water to flush residual particles and confirm proper drainage.
Remove and Clean the P‑Trap Safely
When the plunger and hand snake fail to clear the clog, the P‑trap should be removed and cleaned to access trapped debris and buildup.
Gloves and a bucket are placed beneath the trap. Shutoff isn’t usually required; proceed carefully.
Loosen slip nuts by hand or wrench, then lower the trap slowly to avoid spills.
Inspect for hair, grease, and foreign objects; scrape and rinse parts thoroughly.
Reassemble, hand‑tightening nuts and checking alignment.
Run water to confirm the seal and test for leaks.
If corrosion or cracks appear, replace the trap to prevent recurrent issues.
- Gather tools and bucket
- Loosen nuts carefully
- Clean and inspect parts
- Reassemble and test
Use a Hand Auger (Drain Snake) Without Damaging Pipes
Using a hand auger carefully protects pipes while clearing stubborn clogs: the operator feeds the snake slowly, feels for resistance, and avoids forcing the cable to prevent kinking or scraping soft joints.
The auger should be chosen to match pipe diameter and material; use a plastic-headed or nylon-coated snake for PVC and a standard coil for metal.
Rotate the handle gently, retracting debris periodically to inspect and wipe the cable.
Stop if unusual resistance or metal-on-plastic scraping is felt.
Rinse the line by running water after clearing.
Clean and dry the auger before storage to prevent corrosion and cross-contamination.
Flush the Drain Naturally With Baking Soda + Vinegar
A simple, chemical-free method begins by sprinkling baking soda down the drain to coat the inner pipe.
Next, pouring vinegar over the baking soda creates a foaming reaction that helps loosen grime.
After the fizz subsides, flushing the drain with hot water clears residue and carries loosened debris away.
Baking Soda First
One common home remedy for a slow kitchen sink drain is a baking soda and vinegar flush, which relies on a simple chemical reaction to loosen grime and dislodge mild clogs.
First, dry the sink area and remove any visible debris.
Next, pour baking soda directly into the drain, aiming to coat the pipe opening.
Allow the powder to settle for several minutes before adding vinegar in the next step (covered later).
After waiting, flush with water to clear loosened material.
Benefits include non-toxic cleaning, low cost, and prevention of buildup when done periodically.
- Measure
- Pour
- Wait
- Rinse
Vinegar And Hot Water
Pouring hot water over baking soda followed by vinegar creates an effervescent flush that helps dislodge grime and clear mild clogs without harsh chemicals.
First, sprinkle baking soda into the dry drain, then pour a measured cup of white vinegar slowly to allow fizzing.
After the reaction subsides, follow with several liters of just-boiled water to rinse loosened debris through the trap and into the sewer line.
Repeat weekly for maintenance or after greasy use.
This method is safe for most pipes, economical, and eco-friendly.
Avoid using immediately after commercial drain cleaners to prevent dangerous chemical interactions.
If DIY Fails: Next Steps and When to Call a Pro
When basic methods fail and the clog resists plunging, snaking, or homemade cleaners, it’s time to assess whether continued DIY efforts are practical or likely to cause more harm.
The homeowner should watch for persistent backups, foul odors, slow drainage after attempts, or leaks around joints.
If any appear, consider professional help to avoid damaged pipes or voided warranties.
- Contact a licensed plumber for inspection and camera diagnosis.
- Ask for written estimates and scope of work.
- Prioritize plumbers with credentials and positive reviews.
- Request preventive recommendations and warranty on repairs.
Prevent Clogs: Daily Habits and Monthly Maintenance
Regularly adopting a few simple habits and a short monthly routine greatly reduces the chance of kitchen sink clogs. The guide recommends scraping plates and using a sink strainer to catch solids, avoiding grease down the drain by collecting it in a container, and running hot water after dishwashing to clear residues.
Weekly rinses with a baking soda and vinegar mix followed by hot water help dissolve buildup.
Monthly disassembly and cleaning of the P-trap removes trapped debris; a quick brush of the tailpiece and strainer prevents accumulation. Consistent small actions minimize blockages and extend drain system reliability.
Quick Troubleshooting for Smells and Partial Backups
When odors or slow drainage occur, the first check is the P‑trap for trapped debris or leaks that allow sewer gases upward.
If the P‑trap is clear, attention turns to the vent pipe, since a blocked vent can cause gurgling and partial backups by preventing proper airflow. Addressing these two points often resolves smells and slow drains before more invasive repairs are needed.
Check The P-Trap
Inspect the P‑trap under the sink first, since it commonly holds standing water and debris that cause odors or slow drainage. The guide recommends simple, safe steps to inspect, remove, and clean the trap to restore flow.
- Shut off water, place a bucket, and loosen slip nuts with pliers.
- Remove the trap, watching for trapped grease, hair, and food particles.
- Clean with a brush and mild detergent, flush thoroughly, and inspect for cracks or corrosion.
- Reassemble snugly, restore water, and test for leaks and improved drainage.
If problems persist, the trap may need replacement or professional assessment.
Clear The Vent Pipe
If clearing the P‑trap did not eliminate odors or only partially restored drainage, attention should turn to the vent pipe that equalizes air pressure in the drain system.
Roof vents can clog with leaves, nests, or debris, causing slow drains and sewer smells. From ground level, inspect the vent opening; use binoculars or a ladder safely.
Remove visible obstructions with a plumber’s snake, flexible rod, or garden hose jetting upward. After clearing, flush the system by running water and testing fixtures for improved flow and odor.
If blockage persists or access is unsafe, contact a professional plumber for roof vent servicing.
Conclusion
In ten minutes the homeowner confronts the sluggish sink like a medieval barber-surgeon wielding brass tools, methodically plunging, snaking, and unhooking the P‑trap. Baking soda and vinegar purge lingering grime while a hand auger reaches deeper. If clogs persist, professional help is the sensible next step. Adopting simple daily habits and monthly maintenance prevents recurrences, keeps odors at bay, and guarantees the kitchen remains efficient and hygienic.