How to Install Outdoor Shower Plumbing?
If you’re looking to enhance your outdoor space or create a convenient shower area for outdoor activities, you’ve come to the right place. We’ll walk you through the step-by-step process of installing plumbing for your outdoor shower, providing you with all the information you need to master this DIY project. Lt’s discus and learn how to install outdoor shower plumbing with ease.
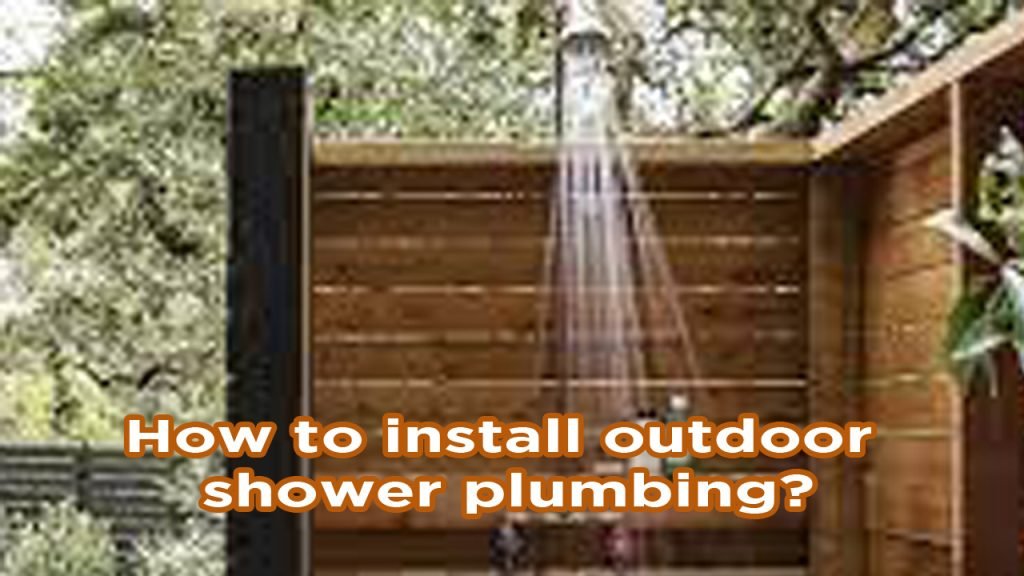
Photo by sunset
Gathering the Necessary Materials
Before you begin the installation process, it’s important to gather all the necessary materials. Having the right outdoor shower plumbing materials on hand will ensure a smooth installation process. Below is a detailed list of materials you will need:
- Pipes
- Fittings
- Valve
- Showerhead
- Sealants
- Teflon tape
- Wrench
- Tubing cutter
- Plumber’s tape
- Screwdriver
- Level
- Hacksaw
By ensuring you have all these materials ready, you can save time and avoid any interruptions during the installation process.
Planning the Shower Layout
Proper planning is essential for a successful outdoor shower plumbing installation. The layout of your outdoor shower will determine its functionality and aesthetic appeal. In this section, we’ll guide you through a step-by-step process to help you plan the perfect shower layout for your outdoor space.
Determining the Best Location
The first step in planning your shower layout is to identify the best location for your outdoor shower. Consider factors such as privacy, accessibility, and proximity to water sources. Ideally, you’ll want a spot that offers both convenience and a pleasant environment for showering.
Positioning the Showerhead
Once you’ve determined the location, it’s important to decide on the height and position of the showerhead. Consider the average height of the people who will be using the shower, as well as any potential obstructions such as trees or structures. The goal is to ensure comfortable and efficient water flow.
Aligning the Plumbing Pipes
The next step is to align the plumbing pipes according to your chosen shower layout. This involves mapping out the path the pipes will take from the water source to the showerhead. It’s essential to plan for proper drainage, as well as the positioning of valves, fittings, and other necessary components.
By following these step-by-step guidelines, you can create a functional and visually appealing outdoor shower. The table below summarizes the key considerations for planning your shower layout.
Installing the Plumbing Pipes
Now that you have successfully planned the layout of your outdoor shower, it’s time to move on to the next step of the installation process – installing the plumbing pipes. This crucial step ensures proper water flow and connectivity for your outdoor shower. Follow our guide below to learn how to install the plumbing pipes for your outdoor shower.
- Start by cutting the pipes to the desired length using a pipe cutter. Make sure to measure accurately to avoid any leaks or uneven connections.
- Before connecting the pipes, smooth the edges using a pipe reamer or sandpaper to remove any burrs or rough edges.
- Apply a generous amount of primer to the ends of the pipes and the inside of the fittings to ensure a secure bond.
- Apply glue to the primed areas and quickly connect the pipes and fittings together, making sure they are aligned properly.
- Hold the pipes and fittings together firmly for a few seconds to allow the glue to set and create a strong bond.
- Repeat the above steps for all other connections in the plumbing system, including the connections to the showerhead, control valves, and water source.
- Once all the connections are complete, check for any leaks by running water through the pipes and inspecting each joint for any signs of moisture.
- If you notice any leaks, tighten the connections or apply additional glue to seal the joints.
- Finally, make any necessary adjustments to ensure proper water flow and test the entire system by using the outdoor shower.
By following these instructions, you’ll be able to install the plumbing pipes for your outdoor shower with confidence and precision, bringing you one step closer to enjoying a refreshing outdoor shower experience.
| Materials Needed | Tools Needed |
|---|---|
| PVC pipes | Pipe cutter |
| PVC fittings | Pipe reamer or sandpaper |
| Primer | Glue |
| Teflon tape | Adjustable wrench |
| Showerhead | Level |
| Control valves | Measuring tape |
| Water source connector |
Connecting the Shower Valve and Fixtures
In this section, we will guide you through the process of connecting the shower ball valve and fixtures to the plumbing pipes for your outdoor shower. This step is crucial to ensure proper functioning and a watertight seal.
Step 1: Install the Valve
The first step is to install the shower valve, which controls the flow of water to your showerhead. Follow these steps:
- Locate the area where you want to install the shower valve, typically on the wall near the showerhead.
- Measure and mark the placement of the valve.
- Turn off the main water supply before proceeding with the installation.
- Use a pipe cutter to cut the pipe at the marked location.
- Prepare the valve by assembling any necessary fittings or adapters.
- Connect the valve to the existing plumbing by soldering or using compression fittings.
- Ensure a secure connection and test for leaks by turning on the water supply.
Step 2: Connect the Showerhead and Controls
Once the valve is properly installed, it’s time to connect the showerhead and controls. Follow these steps:
- Attach the showerhead to the shower arm, making sure to use plumber’s tape for a tight seal.
- Connect the shower controls, such as knobs or levers, to the valve following the manufacturer’s instructions.
- Test the functionality of the showerhead and controls by turning on the water supply.
- Check for any leaks and make any necessary adjustments to ensure a watertight seal.
By following these steps, you can successfully connect the shower valve and fixtures to the plumbing pipes for your outdoor shower. Once this step is complete, you’ll be one step closer to enjoying a refreshing outdoor shower experience.
Testing and Troubleshooting
Once the plumbing is installed and the fixtures are connected, it’s essential to test the system for any leaks or issues. Here are some valuable tips and advice on how to ensure your outdoor shower plumbing is functioning properly.
Check for leaks
Run water through the system and inspect all connections, joints, and pipes for any signs of leakage. Use a flashlight to thoroughly examine all areas, as even small leaks can cause problems. If you notice any leaks, tighten the fittings or make the necessary adjustments.
Test water flow and pressure
Turn on the water to check for adequate water flow and pressure. Ensure that the water flows smoothly and at the desired pressure level. If there are any issues, verify that the valves are fully open and that there are no obstructions or blockages in the pipes.
Assess valve functionality
Test the functionality of the shower valve by turning it on and off. Make sure it operates smoothly and that there are no leaks when the valve is in the closed position.
Troubleshoot common problems
If you encounter any issues during testing, here are a few common problems and their potential solutions:
Weak water flow
Check for blockages in the system, such as debris or sediment in the pipes. Clean or replace any clogged filters or screens.
Uneven water temperature
If the water temperature is inconsistent, it may be due to an issue with the mixing valve or improper pipe insulation. Check and adjust the valve or insulate the pipes to maintain a stable temperature.
Leaking showerhead
If there are leaks around the showerhead, ensure that the connections are tight and that there are no damaged washers or seals. Apply plumber’s tape if necessary.
By following these tips, you can troubleshoot and resolve any issues that may arise during the testing process, ensuring that your outdoor shower is ready for use without any problems.
Conclusion
Now that you have successfully completed the installation of your outdoor shower plumbing, you can enjoy the convenience and refreshment it brings to your backyard space. By following this guide, you have learned how to plan the layout, gather the necessary materials, install the plumbing pipes, connect the fixtures, and test the system.
With your newly installed outdoor shower, you can create a functional and enjoyable space for outdoor activities or simply relax after a long day. Imagine the convenience of rinsing off after a swim or gardening session, with the peace of mind that comes from knowing your DIY skills have yielded a successful project.