How to Use a Pipe Bender for Accurate Bends in Pipes
To achieve accurate bends in pipes using a pipe bender, follow these steps:
- Choose the Right Bender: Select a bender suitable for the pipe material and the size of your project.
- Prepare Your Pipe: Measure and mark the locations for bends precisely.
- Ensure Calibration: Check that the bender is calibrated and set up correctly before starting.
- Bend Carefully: Apply steady, gradual pressure during the bending process to protect the pipe’s integrity.
- Inspect Your Work: After bending, examine the bends for accuracy and smoothness.
By adhering to these steps, you can achieve high precision in your pipe bending projects. For further insights, consider exploring advanced techniques and common pitfalls in the bending process.
Understanding Different Types of Pipe Benders

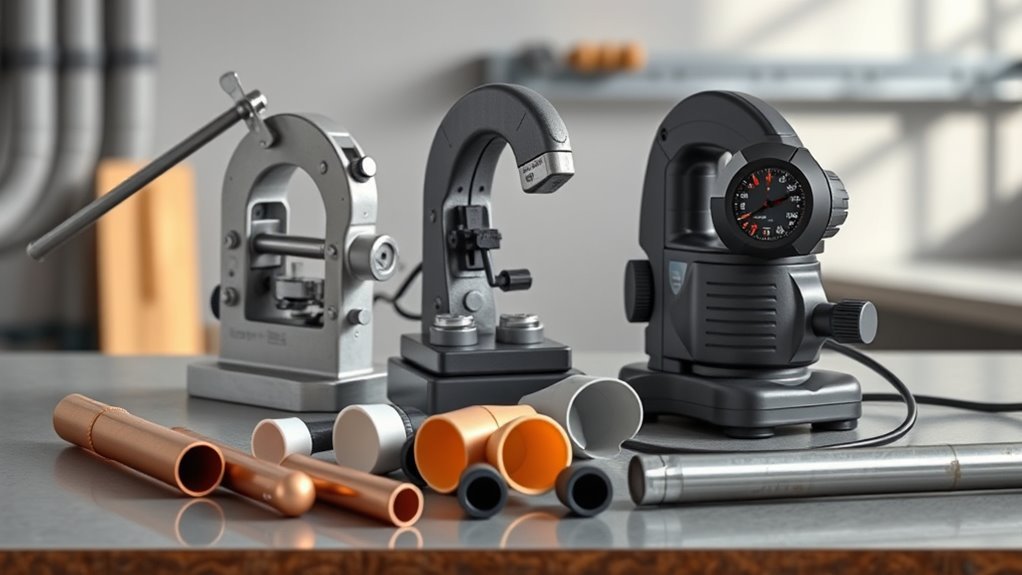
When selecting a pipe bender, it’s important to understand the different types available to meet your specific needs.
1. Manual Pipe Benders: Ideal for softer metals like copper and aluminum, these benders allow for precise bends using physical effort.
They’re great for small projects or DIY tasks.
2. Hydraulic Pipe Benders: These utilize hydraulic pressure to bend thicker materials such as steel or stainless steel.
They’re suited for industrial applications where strength and durability are required.
3. Electric Pipe Benders: Offering automated bending processes, electric benders enhance efficiency and accuracy, making them perfect for larger projects where speed is essential.
4. Specialized Benders: Designed for specific pipe shapes and sizes, these offer versatility for different plumbing and construction needs.
Choosing the right type of pipe bender ensures accurate bends while maintaining the integrity of your materials.
Choosing the Right Pipe Bender for Your Project
When selecting a pipe bender, it’s crucial to understand the various types available and their specific applications.
Consider the materials you’ll be working with and the required bend radius for your project.
Types of Pipe Benders
When planning a pipe bending project, it’s crucial to choose the right type of pipe bender for your needs. Here’s a quick overview:
- Manual Pipe Benders: These are cost-effective and ideal for small-scale projects. They allow for precise bends without needing electricity, making them great for DIY tasks.
- Hydraulic Pipe Benders: Best for larger pipes, hydraulic benders generate substantial force, making them suitable for professional applications where strength and precision are required.
- Electric Pipe Benders: Designed for high-volume tasks, electric benders automate the bending process, ensuring uniformity and speed, which is valuable in commercial settings.
Select the bender that aligns with your project size, material, and required precision for optimal results.
Material Compatibility Considerations
When selecting a pipe bender, it’s crucial to choose one that is compatible with the material you are working with. Using the right type of bender ensures precise bends while preventing damage to the pipe. Here’s a quick guide:
| Material Type | Recommended Bender Type |
|---|---|
| Steel | Hydraulic or Manual Bender |
| Copper | Manual or Electric Bender |
| PVC | Manual or Ratchet Bender |
Using the appropriate bender type for your material is essential to avoid distortion or breakage, which can lead to project delays and higher costs. Make your choice wisely to ensure optimal results.
Bend Radius Requirements
Understanding bend radius requirements is essential for effective pipe bending. The bend radius is the smallest curve achievable without compromising the pipe’s integrity, influenced by the pipe’s material, wall thickness, and diameter.
Larger diameters typically allow for wider bends, while smaller diameters require tighter bends, which may risk kinks or structural failures.
When selecting a pipe bender, it’s crucial to consider the specific bend radius that suits your project’s requirements, including the desired angle and radius.
Adhering to these requirements ensures both aesthetic appeal and safety in your project.
Safety Precautions Before Using a Pipe Bender

Before using a pipe bender, it’s crucial to follow safety precautions to avoid accidents and ensure effective operation. Here are the essential safety guidelines:
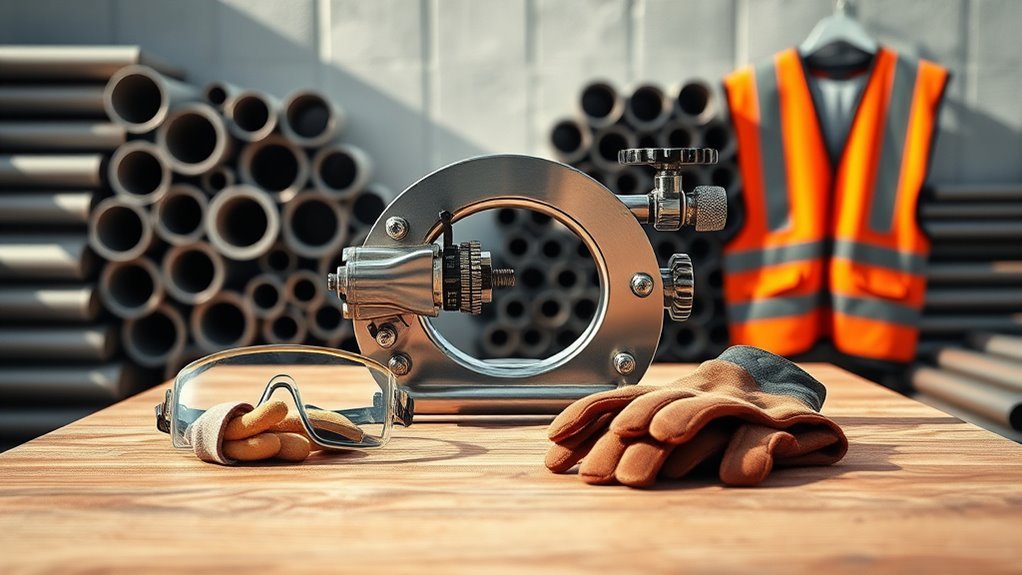
- Wear protective gear: Use gloves and safety goggles to protect against debris.
- Keep the work area clean: This helps prevent tripping hazards and distractions.
- Inspect the equipment: Check the pipe bender for any wear or damage before starting.
- Secure loose clothing and hair: This prevents entanglement in moving parts.
- Follow manufacturer instructions: Adhering to guidelines ensures safe operation.
Preparing the Pipe for Bending
Proper preparation is essential for successful pipe bending.
Start by selecting the appropriate type of pipe for your project. Next, measure the length of the pipe accurately to ensure precise bends.
Clearly mark the locations where bends will occur. Following these steps will help you achieve accurate bends and prevent errors during the bending process.
Selecting the Right Pipe
Selecting the right pipe is crucial for achieving accurate bends and ensuring structural integrity. Here are key factors to consider when choosing a pipe for your project:
- Material: Choose a strong material that can withstand bending pressures and prevent future repairs.
- Diameter: Select the correct diameter for seamless integration into your existing systems.
- Thickness: Opt for an appropriate thickness to minimize the risk of kinks or breaks during the bending process.
Measuring Length Accurately
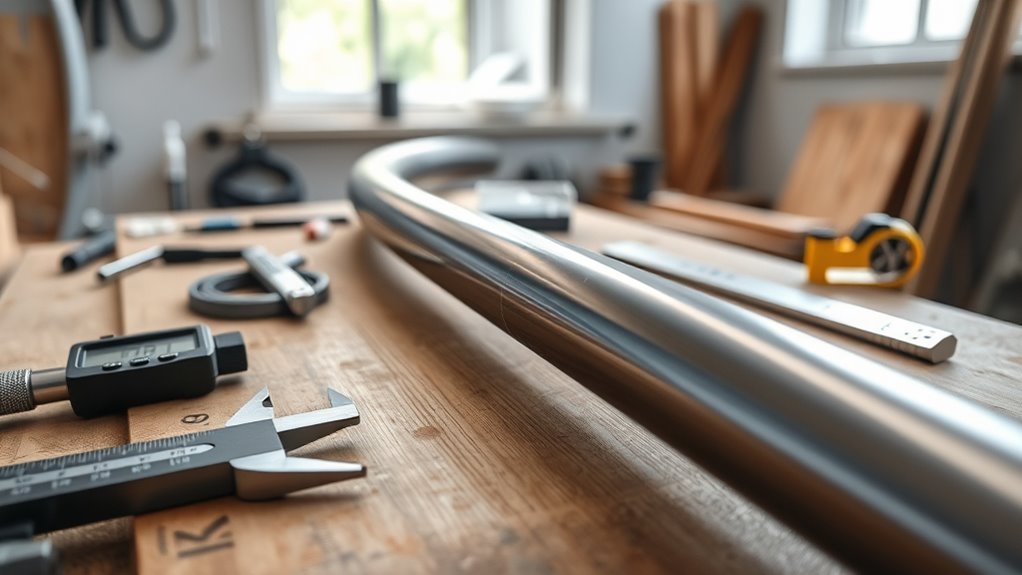
Accurate measurement of pipe length is crucial for successful bending. To ensure precision, use a reliable measuring tool like a tape measure or caliper, and always measure from the correct reference point.
Lay the pipe on a flat surface to avoid discrepancies, and consider any allowances needed for the bend radius, as this impacts the overall length. By measuring carefully, you minimize errors during the bending process, leading to a better project outcome.
Marking Bend Locations Clearly
Marking bend locations clearly is crucial for precise and consistent pipe bending. Here are steps to ensure accuracy:
- Use a fine-tip marker: This ensures visibility of your markings.
- Measure twice: Confirm the correct location before marking.
- Mark both sides: This aids in easy alignment during bending.
- Utilize a consistent marking system: This minimizes confusion.
- Double-check all measurements: Verify before you start bending to avoid costly mistakes.
Measuring and Marking the Bend Location

Measuring and marking the bend location accurately is crucial for precise pipe bending. Start by determining the desired angle and length of the bend.
Use a tape measure or ruler to clearly define the starting and end points of the pipe. Mark the bend location with a permanent marker or chalk for visibility during bending.
Always double-check your measurements to avoid errors that can lead to wasted materials or incorrect bends. Consistent marking techniques will also help you replicate bends for future projects.
Setting Up the Pipe Bender
Setting up the pipe bender correctly is essential for achieving accurate and safe bending results. Follow these steps to ensure optimal performance:
- Calibrate the Bender: Make sure the pipe bender is calibrated according to the manufacturer’s instructions. This ensures precision in your bends.
- Create a Stable Setup: Ensure the bender is securely positioned to minimize the risk of accidents. A stable setup allows for safer operation.
- Arrange Your Workspace: Keep your workspace organized to enhance focus and creativity. A clear area reduces distractions while bending.
- Pay Attention to Detail: Take the time to double-check your setup. Precision at this stage is crucial for the quality of the final product.
Aligning the Pipe Correctly
To achieve a precise bend in your pipe, start by ensuring correct alignment within the bender.
Properly positioning the pipe in the designated channel and against the stop is crucial. Check that the marked bending point aligns with the bender’s mechanism to avoid inaccurate bends that could compromise the final product.
Using clamps or supports will enhance stability and prevent shifting during the process. This careful alignment is essential for successful bending.
Applying Pressure for a Smooth Bend
To achieve a smooth bend in your pipe, first ensure it is properly aligned in the bender.
Then, apply gradual and even pressure throughout the bending process. This careful application is crucial to prevent kinks or distortions that could compromise the quality of the bend.
Monitor the pipe’s response to the pressure to ensure it maintains its integrity.
Following these steps will help you create a perfect arc, avoid costly mistakes, and enhance your craftsmanship skills.
Monitoring the Bend Angle
Monitoring the bend angle in pipe bending is crucial for achieving accurate results.
Utilize specialized angle indicators to ensure the desired angle is reached, which is essential for the integrity and functionality of the finished product.
This precise measurement directly impacts the quality of your work, making it a vital step in the pipe bending process.
Measuring Bend Angles
To ensure accuracy in bend angles during the pipe bending process, consistent measurement is crucial. Regularly check the angle as you bend; even minor deviations can lead to costly mistakes and wasted materials.
By using effective measuring techniques, you can maintain control over the workflow, resulting in bends that meet specifications and minimize errors.
- Overcome frustration from repeated mistakes
- Experience satisfaction with perfect bends
- Feel relief from avoiding costly errors
- Take pride in mastering the craft
- Gain confidence from precise measurements
Using Angle Indicators
Using angle indicators can significantly improve the accuracy of pipe bending.
These tools provide real-time feedback on the bend angle, allowing operators to monitor the process closely. As the pipe is bent, the angle indicator shows the current angle, enabling immediate adjustments if needed. This helps achieve the desired angle without overbending or underbending.
Additionally, angle indicators ensure consistency across multiple bends, which is crucial for uniformity in projects. By incorporating angle indicators into your bending process, you can enhance results and minimize errors.
Releasing the Pipe From the Bender
After finishing the bending process, it’s crucial to carefully release the pipe from the bender to maintain the quality of the bend.
Operators should move slowly and avoid sudden movements to prevent any distortion. Once the pipe is free, handle it with care to avoid damage.
This process not only ensures the integrity of your work but also brings satisfaction from a perfectly crafted bend, the thrill of achieving the right angle, and the pride of mastering a valuable skill.
Inspecting the Bends for Accuracy
After bending a pipe, it’s essential to inspect the bends to ensure they meet the required specifications for your application. This inspection focuses on the bend angle, curve smoothness, and alignment.
Here’s a quick overview of the bend inspection results:
| Bend Number | Angle (Degrees) | Alignment Status |
|---|---|---|
| 1 | 45 | Correct |
| 2 | 90 | Correct |
| 3 | 180 | Adjust Required |
| 4 | 30 | Correct |
| 5 | 60 | Adjust Required |
Bends marked “Adjust Required” need modifications to ensure proper fit and functionality.
Common Mistakes to Avoid When Bending Pipes
When bending pipes, avoid these common mistakes for optimal results:
- Incorrect Material Selection: Ensure you choose the right material for your project to maintain the integrity of the bend.
- Improper Tool Calibration: Always calibrate your tools before use to achieve accurate bends.
- Ignoring Bend Radius: Pay attention to the bend radius; exceeding it can lead to kinks or weak spots in the pipe.
Being mindful of these factors will help you achieve precise and effective bends.
Incorrect Material Selection
Selecting the right material for pipe bending is crucial to ensure effectiveness and avoid common pitfalls.
Using the wrong material can lead to:
- Structural failures and compromised bends
- Wasted time and resources
- Increased costs from material loss
- Safety risks due to weak bends
- Damage to your reputation for quality workmanship
To prevent these issues, it’s vital to understand the specific properties and bending capabilities of different materials.
Make informed choices to ensure successful pipe bending and maintain high standards.
Improper Tool Calibration
Improper tool calibration is a critical issue in pipe bending projects that can lead to significant errors. Ensuring that your pipe bender is calibrated correctly is essential for achieving precise angles and dimensions. Here are key calibration aspects to consider:
| Calibration Aspect | Common Mistakes |
|---|---|
| Pressure Settings | Failing to adjust for pipe thickness can result in bends that are too tight or too loose. |
| Angle Accuracy | Overlooking manufacturer specifications can lead to incorrect bend angles, affecting the overall design. |
| Tool Alignment | Misplacing the pipe in the bender can cause misaligned joints, compromising the integrity of the project. |
To avoid these pitfalls, regularly check and adjust your tool calibration before starting any bending tasks. This will ensure a successful outcome and maintain the structural integrity of your project.
Ignoring Bend Radius
Ignoring the bend radius in pipe bending projects can lead to significant issues that compromise both quality and safety. Here’s why considering the bend radius is crucial:
- Structural Integrity: An incorrect bend radius can cause kinks or weak points, increasing the risk of structural failure.
- Cost Implications: Oversights may necessitate rework, resulting in unnecessary expenses.
- Safety Concerns: Neglecting the bend radius can compromise safety standards, putting workers at risk.
- Professional Reputation: Repeated mistakes can harm your credibility in the industry.
To avoid these problems, always calculate and adhere to the appropriate bend radius for your project.
Maintenance Tips for Your Pipe Bender
To ensure your pipe bender operates efficiently and lasts longer, follow these essential maintenance tips:
- Regular Inspections: Frequently check the bending frame and components for wear or damage.
- Keep It Clean: Regularly clean the machine to prevent dirt and debris from affecting functionality.
- Lubricate Moving Parts: Use the right oil to lubricate moving components, ensuring smooth operation and reducing friction.
- Check Calibration and Alignment: Regularly verify the calibration and alignment of the bending mechanism for accurate bends.
- Tighten Loose Bolts: Periodically tighten any loose bolts or screws to prevent further damage.
- Proper Storage: Store the pipe bender in a dry, temperature-controlled environment to avoid rust and deterioration.
Troubleshooting Bending Issues
When facing bending issues with your pipe bender, it’s crucial to quickly identify the root cause to restore functionality. Common problems include inconsistent bends, material kinks, and improper angles.
Here’s a streamlined approach to troubleshoot effectively:
- Analyze Bends: Check for inconsistencies in the bends and ensure the setup is correct.
- Inspect Material: Look for kinks or defects in the material that could affect the bending process.
- Verify Angles: Make sure that the desired angles are set accurately on your bender.
Addressing these issues can help eliminate frustration over wasted materials, disappointment in work quality, and anxiety about project deadlines.
With practice, mastering the bending process will also bring a sense of relief.
Advanced Techniques for Complex Bends
If you’re looking to master complex bends in your projects, here are some advanced techniques to consider:
- Segmental Bending: This involves making multiple smaller bends to achieve a tighter radius. This method reduces distortion and preserves the integrity of the material.
- Using a Mandrel: Incorporating a mandrel during the bending process helps support the pipe, preventing kinks and ensuring smooth, consistent curves.
- Measurement Tools: For precise angles, use a protractor or bending template. This ensures accurate alignment and measurement for your bends.
- Practice on Scrap Material: Before working on your final piece, practice on scrap materials to build your skills and confidence.
Conclusion
Using a pipe bender accurately is essential for achieving precise bends in pipes. Here are key steps to ensure that you get the best results:
- Select the Right Bender: Choose a pipe bender suited for the type and size of the pipe you are working with.
- Measure and Mark: Use a measuring tape to determine where the bend needs to occur. Clearly mark the spot on the pipe.
- Align the Pipe: Place the pipe in the bender, aligning the marked spot with the bending point of the tool for accurate bends.
- Check the Angle: Before bending, ensure you know the angle you need (e.g., 90 degrees, 45 degrees) and adjust the bender accordingly.
- Apply Steady Pressure: As you bend the pipe, apply consistent and steady pressure to avoid kinks or misalignment.
- Verify the Bend: After bending, measure the angle again to ensure it meets your specifications.
By following these steps, you can achieve clean, accurate bends in your pipes, minimizing errors and enhancing your craftsmanship.


