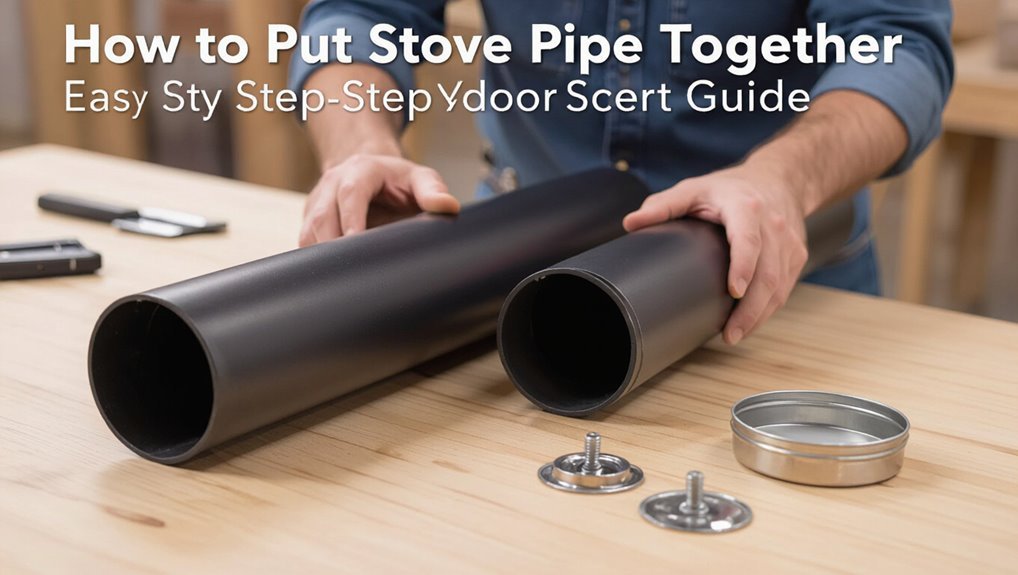
How to Put Stove Pipe Together: Easy Step-by-Step Guide
Key Takeaway: A Simple Stove-Pipe Installation Guide
To install a stove pipe safely and effectively, follow these essential steps:
1. Safety First: Gather safety equipment including gloves, eye protection, and a carbon monoxide (CO) detector.
2. Tools Needed: Have screws and high-temperature sealant ready.
3. Measurements: Measure the distance from your stove to the chimney to determine the necessary pipe lengths and elbow placements.
4. Assembly:
- Connect straight sections of the pipe with the crimped male ends facing the stove.
- Ensure each joint is fully seated and secure it with three sheet-metal screws or a locking band.
5. Support and Seal: Add necessary supports and seal joints with high-temperature compound.
6. Clearances: Maintain appropriate clearances from combustibles.
7. Testing: Test the draft to ensure proper airflow.
By following these straightforward steps, you can successfully install your stove pipe while adhering to safety and building codes.
Tools, Parts, and Safety Checks (Stove-Pipe)
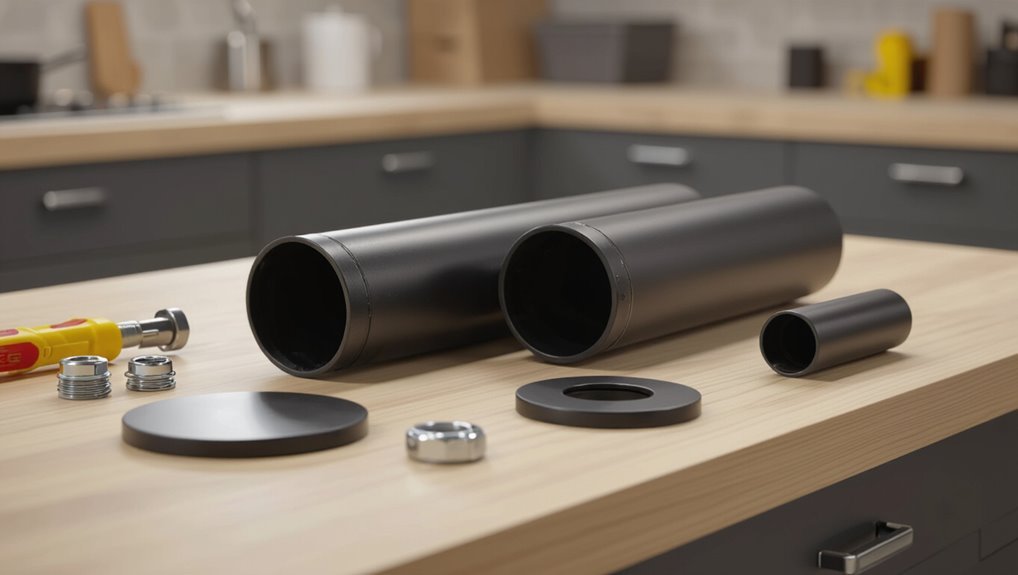
One essential step before assembling any stove pipe is to gather the correct tools and parts and perform basic safety checks: gloves, eye protection, a screwdriver or nut driver, sheet-metal screws, stove pipe sections with matching diameters and crimped ends, a stove pipe elbow if required, a stove pipe adapter for the stove flange, high-temperature silicone or furnace cement, and a carbon monoxide detector.
Additionally, inspect the chimney and surrounding clearances for creosote buildup, damaged pipe, or nearby combustible materials.
The installer verifies parts fit, confirms venting type (single- or double-wall), checks stove flange dimensions, and readies sealing materials.
Safety equipment remains accessible.
Measure and Plan Your Stove-Pipe Layout
Before cutting or joining any sections, the installer measures the stove-to-chimney distance, ceiling heights, and offsets to determine the shortest, straightest route that meets clearance and code requirements.
Next, the planner sketches the layout, marking wall penetrations, ceiling joists, and required clearances from combustibles.
Clear dimensions guide selection of pipe lengths, elbows, and support brackets while noting maximum single-run lengths and required inspection points per local code.
Consideration is given to service access for cleaning and installation of cleanout tees.
Final planning verifies vent termination location, weatherproofing needs, and any roof or chase flashing details before purchase.
Join Straight Stove-Pipe Sections (Step‑by‑Step)
Begin by laying out the straight stove‑pipe sections on a flat, clear surface in the order they will be installed, verifying each piece fits and that male (crimped) ends face toward the stove so smoke flows downhill toward the appliance.
Wearing gloves, slide the male end of the upper section into the female end of the lower section until the seam seats fully.
Rotate slightly to align seam tabs.
Secure with three stainless‑steel sheet‑metal screws spaced evenly around the circumference, or use the manufacturer’s locking band if provided.
Inspect each joint for firm engagement and remove any debris before final positioning.
Install Elbows, Supports, and Seal Joints
Install elbows and supports with attention to alignment and secure joints to maintain proper draft and prevent leaks.
The installer measures angles, orients elbows to minimize turbulence, and fits male ends into female ends fully.
Supports—brackets, straps, or wall thimbles—are placed per code to bear weight and prevent sagging.
High‑temperature sealant or stove rope is applied sparingly at joints where required; excess is wiped away.
Fasteners are tightened without deforming pipe.
Clearances to combustibles are checked after assembly.
Final inspection confirms verticality, support spacing, and sealed seams before first use.
- Align elbows to smooth flow
- Support every change of direction
- Seal only where specified
- Inspect fastening and clearances
Troubleshooting and Common Installation Fixes
What should be checked first when a stove pipe system underperforms or leaks? The installer inspects joints, seals, and clearances for gaps, loose connections, and improper overlaps.
Creosote buildup, blockages, and chimney cap condition are examined. Draft problems prompt assessment of vent height, capillary action at seams, and appliance adjustment.
If joints leak, connectors are realigned, slip joints reseated, and high-temperature sealant or approved tape applied where specified. Damaged sections are replaced; supports corrected to eliminate sag.
After fixes, the system is tested for proper draft and leaks using smoke or a smoke pencil, and combustion appliances are rechecked for safe operation.
Conclusion
The installer pauses, measures again, and notices the final elbow fits as if it had been waiting—coincidence or careful planning. Having followed the safety checks, joined sections, sealed joints, and supported the run, the stove pipe sits square and true. Occasional troubles were met with simple fixes, and the completed assembly sparks calm satisfaction. In this quiet aftermath, the house feels warmer and a small, necessary task feels unexpectedly right.