Fix a Washing Machine Drain Pipe: Easy DIY Steps & Tips
Key Takeaway: Fixing a washing machine drain pipe is a manageable DIY task that requires basic tools and safety precautions.
To begin, unplug the washer and turn off the water supply. Pull the machine forward and inspect the drain hose, clamps, and standpipe for any splits, loose fittings, or blockages. If you find a brittle hose or corroded clamps, replace them. Use a snake or a bucket test to clear any clogs, and secure everything with stainless worm clamps. After making the necessary repairs, run a short drain cycle to check for leaks. If you encounter persistent issues or feel uncertain, consider consulting a professional.
Quick Fix: Stop Leaks and Reattach the Drain Hose
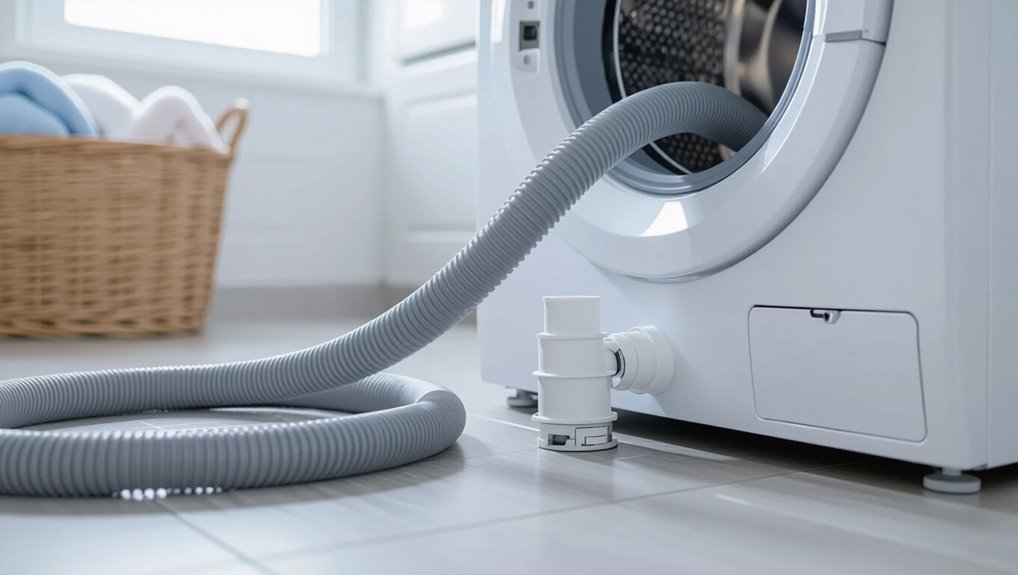
Begin by unplugging the washer and shutting off the water supply, then inspect the drain hose and its connections for splits, loose clamps, or dislodged fittings.
The technician notes worn sections and cracked ends, replacing the hose if damage is evident. For loose fittings, tighten or replace clamps with stainless steel worm clamps to guarantee a secure seal.
Reinsert the hose into the standpipe to the proper depth and secure it to prevent dislodgement during cycles. Test by running a short drain cycle while watching connections for leaks.
If leaks persist despite secure fittings, replace defective components promptly.
Diagnose: Is the Hose or Standpipe the Problem?
Diagnose whether the issue originates from the drain hose or the standpipe by isolating each component and observing how water behaves during a controlled drain cycle.
First, disconnect the hose from the standpipe and run a short drain to see if water exits freely from the machine into a bucket; steady flow indicates the hose is clear.
Next, reconnect and inspect the standpipe by pouring water into it; slow rise, gurgling, or overflow suggests standpipe blockage or inadequate venting.
Note leaks at connection points and check hose collapse under suction.
Record observations before proceeding to repair.
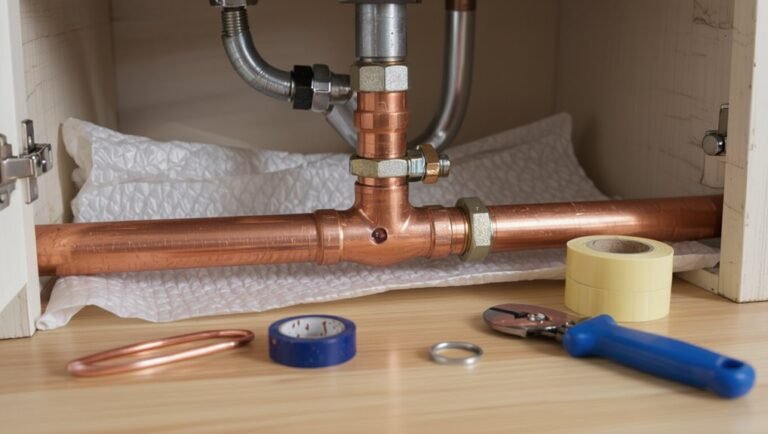
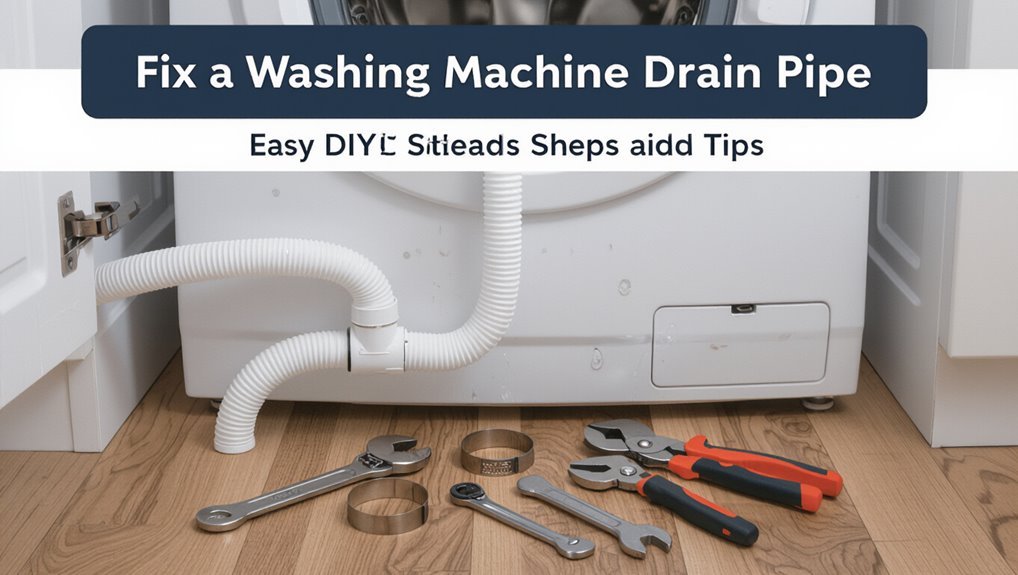
Tools & Parts You’ll Need for the Repair
A concise list of essential tools, replacement parts, and safety gear helps prepare for the drain pipe repair.
Necessary tools typically include pliers, a screwdriver set, a wrench, and a utility knife; replacement parts may be a new drain hose, clamps, or a standpipe section.
Protective gloves, eye protection, rags, and a bucket should also be on hand.
Essential Tools List
For this repair, gather a concise set of tools and replacement parts that cover common issues—clogged hoses, loose connections, and worn clamps—so the job proceeds smoothly without interruptions.
Essentials include slip-joint pliers for gripping and loosening hose fittings, adjustable wrench for nuts, flathead and Phillips screwdrivers for clamps and covers, and a utility knife for cutting damaged hose sections.
A small bucket and absorbent rags catch water.
A hand auger or plumbing snake helps clear blockages.
A flashlight improves visibility.
Optional items: hose clamps in various sizes and a pair of work gloves for protection.
Replacement Parts Needed
Replacement parts list: durable replacement drain hose, a set of stainless-steel worm-gear clamps, and a rubber or silicone tailpiece gasket should be on hand before starting the repair.
Additional items include a corrugated standpipe adapter for machines requiring that style, a replacement drain pump hose if the pump outlet differs, and a small length of vinyl tubing for temporary bypass or testing.
Spare hose connectors or barbed fittings matching existing diameters prevent mismatches. Include a roll of plumber’s tape for threaded joints and a tube of plumber’s grease for gasket seating.
Matching parts to machine model numbers guarantees fit and reduces rework.
Safety Gear And Materials
Before beginning work on the drain system, the technician equips appropriate safety gear and lays out required materials to reduce risk and streamline the repair.
Safety items include gloves, safety glasses, and knee pads; a dust mask is used if mold or debris is present.
Materials and tools are organized: adjustable wrench, pliers, pipe cutter, plumber’s tape, sealant, replacement hose or sections, hose clamps, bucket, rags, and a flashlight.
A parts list is checked against the machine model to guarantee compatibility.
Clear workspace lighting and a drip tray prevent water damage.
Manuals and a smartphone for reference complete the setup.
Shut Off Water and Power Safely
Shut off the washing machine’s water supply and disconnect its power to prevent flooding and electrical hazards.
The person locates the shutoff valves—usually behind the machine or at the household supply—and turns both hot and cold valves clockwise until fully closed.
Next, the person unplugs the machine from the wall outlet; if hardwired, the household breaker controlling the laundry circuit is switched off and labeled.
To confirm isolation, they gently attempt to start a rinse cycle (machine remains unpowered) and check that faucets produce no flow.
Finally, a small towel is placed under connections to catch residual drips.
Move the Washer and Access the Drain Connection
The washer is carefully pulled straight out from its alcove to provide clear access to the rear plumbing and the drain connection.
Wheels are locked or chocked before moving, and two people position themselves to lift or guide the appliance without tilting.
The floor is cleared and protected with cardboard or a mat.
The power cord and water lines remain disconnected per prior steps.
Once positioned, the technician inspects the drain hose routing, clamp type, and nearby fittings.
Lighting is adjusted for visibility.
Notes or photos document original hose placement and connections to make certain correct reinstallation after any repairs.
Replace a Cracked Drain Hose in 6 Simple Steps
The section lists the necessary tools and materials and then walks through a clear step-by-step replacement of a cracked drain hose.
It specifies common parts, safety items, and basic tools before outlining each stage from disconnecting the old hose to securing the new one.
The instructions emphasize checking fittings and testing for leaks after reinstallation.
Tools And Materials
Before beginning the hose replacement, gather the necessary tools and parts to guarantee a smooth, uninterrupted repair. The operator should assemble quality components, verify compatibility with the machine model, and prepare a clean workspace.
Essential items include durable replacement hose rated for laundry use, corrosion-resistant clamps, and basic hand tools. Inspect accessories for wear and confirm water supply is off before proceeding to avoid surprises.
- Replacement corrugated or smooth drain hose (correct length and diameter)
- Worm-drive or stainless-steel hose clamps (two)
- Adjustable wrench, pliers, and utility knife
Pack materials within reach to streamline the procedure.
Step-By-Step Replacement
With tools and materials gathered and the water supply confirmed off, proceed to replace the cracked drain hose in six clear steps that prioritize safety and leak-free results.
Step 1: unplug the washer and pull it forward for access.
Step 2: drain residual water by running a short spin or manually siphoning into a bucket.
Step 3: loosen and remove existing hose clamps with pliers or screwdriver.
Step 4: detach the old hose from machine and standpipe, inspecting fittings.
Step 5: fit the new hose, ensuring correct orientation and secure clamps.
Step 6: test for leaks with a short wash cycle and adjust clamps.
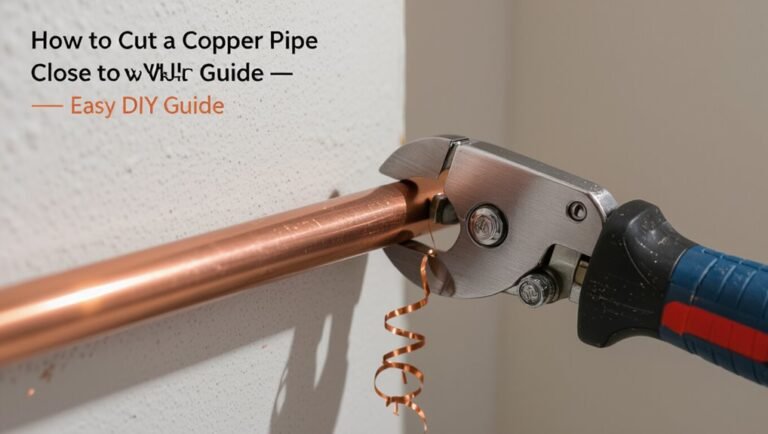
Repair a Split PVC Standpipe (Temporary & Permanent Fixes)
A split PVC standpipe can cause leaks, improper drainage, and sewage odors that demand prompt attention.
Temporary fixes include cleaning the area, applying epoxy putty or silicone tape to seal hairline cracks, and supporting the pipe to prevent further stress.
Permanent repair requires cutting out the damaged section and installing a replacement coupling with PVC primer and cement, or replacing the entire riser if corrosion is extensive.
- Small hairline cracks sealed with epoxy putty for short-term use
- Clamped rubber sleeve as an intermediate stabilization
- Full section replacement with primer, solvent cement, and proper fittings for a lasting solution
Tighten or Replace Loose Drain Fittings and Hose Clamps
After repairing or replacing a split standpipe, attention should turn to the fittings and hose clamps that join the washing machine drain hose to the plumbing; loose or corroded fasteners can undo earlier repairs by allowing leaks or allowing the hose to slip off under pressure.
Inspect metal and plastic clamps, hose barb fittings, and the hose end for cracks, corrosion, or deformation. Tighten accessible clamps with a screwdriver or nut driver until snug, avoiding overtightening that cuts the hose.
Replace rusted clamps and damaged hose ends with stainless-steel worm-drive or T-bolt clamps and properly sized replacement hose for a secure, lasting connection.
Clear Clogs or Replace the Pipe? Decision Checklist
A quick inspection of the blockage determines whether a simple clear-out will restore flow or if more persistent material is present.
The pipe’s material, age, and any visible damage are then assessed to judge remaining service life.
Finally, a cost-and-risk comparison—time and parts for a repair versus the long-term benefits of replacement—guides the decision.
Inspect The Blockage
Before deciding between clearing a clog and replacing the drain pipe, the blockage must be inspected to determine its location, composition, and severity.
A methodical inspection guides the choice: visual checks, probing tools, and simple tests reveal whether material is removable or if flow pathways are compromised.
Note odor, hardness, and how far the obstruction sits from accessible ends.
Record findings before proceeding.
- Visible debris near the trap: lint, soap scum, small objects.
- Deep, solid obstruction detected by a snake: compacted mineral or crushed material.
- Slow drainage after partial clearing: indicates recurring buildup or hidden damage.
Assess Pipe Condition
Evaluate the pipe’s condition systematically to decide whether clearing blockages will suffice or if replacement is warranted.
Examine visible surfaces for cracks, corrosion, soft spots, or joint separation; flex the hose gently to detect brittleness.
Note persistent leaks after temporary fixes, recurring clogs in short intervals, or distortions that impede flow.
Consider material age: older plastics and rubber degrade faster.
Measure wall thickness where accessible and check threaded connections for stripped threads.
If structural damage, widespread corrosion, or compromised seals appear, replacement becomes necessary.
If damage is isolated and interior obstruction is primary, focused cleaning or section repair may be adequate.
Weigh Repair Versus Replace
Decision-making balances practicality and longevity: the homeowner should weigh frequency and severity of issues, visible pipe damage, material age, and cost of parts versus labor to determine whether clearing clogs or full replacement is appropriate.
A concise checklist helps guide choice. Minor, infrequent clogs with intact piping often justify snaking or enzymatic cleaners. Recurrent backups, brittle or corroded sections, or DIY-unfriendly configurations favor replacement for long-term reliability.
Consider permit or plumbing-code requirements and resale value when investing. If uncertain, a professional inspection can quantify costs and risks, enabling a cost-per-year comparison to inform the final decision.
- Infrequent clog: repair
- Recurrent issues: replace
- Structural damage: replace
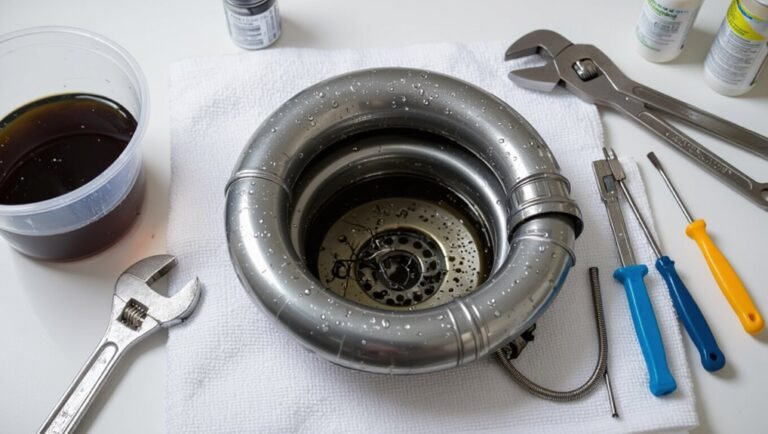
Test the Drain Hose/Standpipe for Leaks and Blockages
Inspect the drain hose and standpipe for leaks and blockages by running a short cycle and observing water flow at the hose connections and inside the standpipe.
Note variations: weak flow suggests a blockage; sputtering or backup indicates partial clog or venting issue.
Turn off the washer, disconnect the hose, and inspect ends for debris, kinks, or holes.
Flush the hose with water or a plumbing snake; clear the standpipe with a flexible brush or snake if accessible.
Reconnect securely, ensuring clamps and gaskets seal.
Run another short cycle while monitoring for steady drainage and any signs of leakage.
Maintenance Checklist to Prevent Future Drainage Problems
Regularly following a concise maintenance checklist helps prevent most washing machine drainage problems before they start. A brief routine reduces clogs, detects wear, and keeps fittings secure.
Inspect hoses and clamps monthly for cracks or looseness. Clean the drain trap and filter quarterly to remove lint and debris. Verify the standpipe height and clear surrounding floor drains after heavy use. Keep a log of checks and any replacements.
- Inspect hoses and clamps monthly; replace if brittle.
- Clean filter/trap quarterly and flush the standpipe.
- Check for slow drains after each heavy load and act promptly.
When to Call a Plumber or Replace the Drain System
When should a homeowner escalate from DIY fixes to professional help or a full drain replacement? If recurring clogs, slow drainage after repeated cleaning, foul odors, visible leaks, or water damage persist, professional assessment is warranted.
Structural issues, cast-iron or clay pipe corrosion, multiple failing connections, or incorrect slope require licensed plumbers.
Sewage backups, mold growth, and code violations demand immediate intervention. A plumber can camera-inspect lines, recommend pipe lining or replacement, and estimate costs versus continued repairs.
If repair frequency or expense approaches replacement cost, or safety and sanitation are compromised, replacement typically provides the most reliable long-term solution.
Conclusion
In short, the guide arms the DIYer with clear steps to stop leaks, diagnose hose versus standpipe problems, and choose parts wisely, making the task feel less like wrestling a small tornado and more like routine upkeep. Following safety, testing, and maintenance advice reduces surprises and extends appliance life. If persistent issues or complex plumbing appear, professional help remains the prudent next step to guarantee a lasting, watertight fix.